2000 NISSAN FRONTIER manual transmission
[x] Cancel search: manual transmissionPage 65 of 269
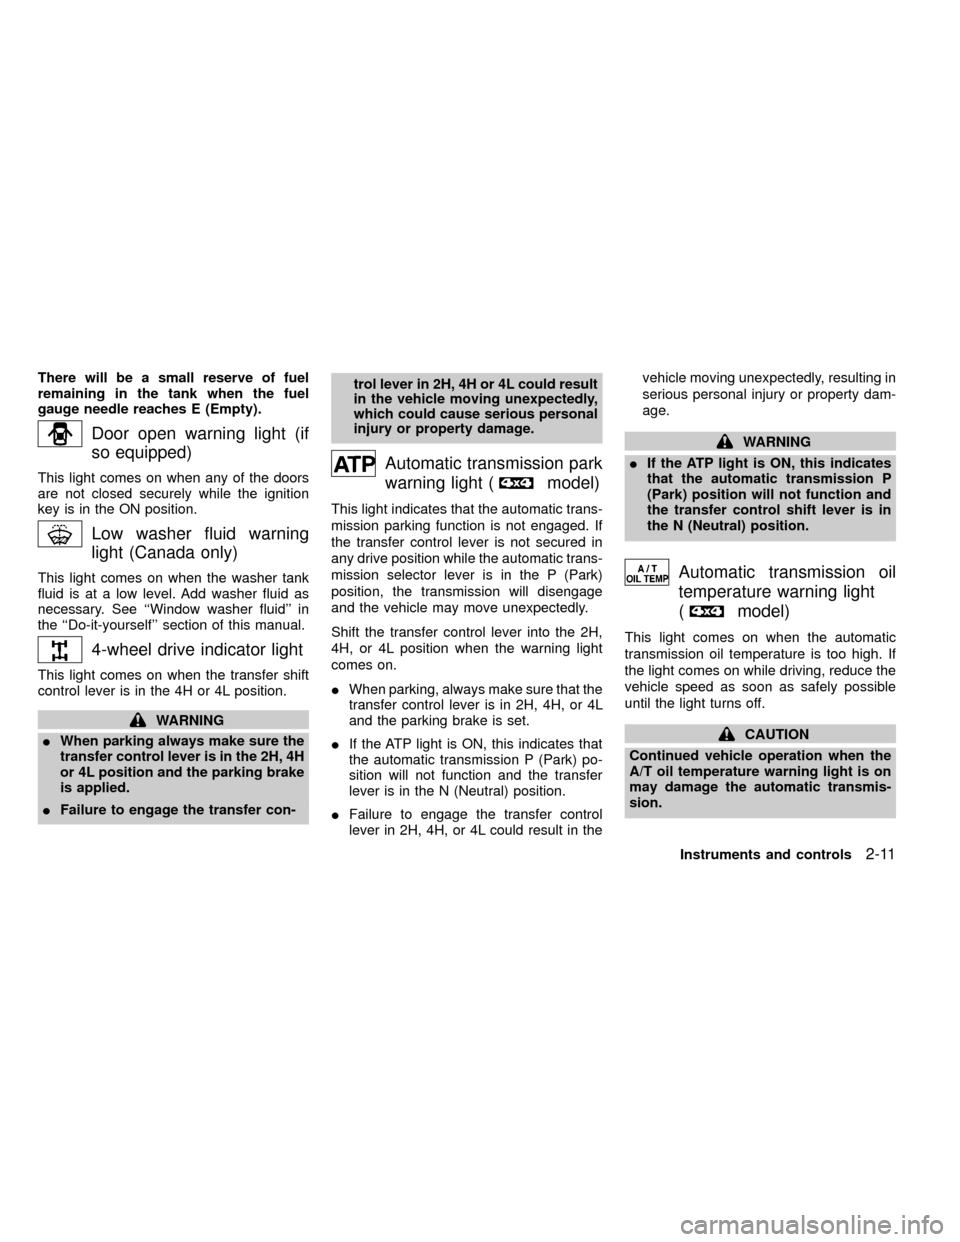
There will be a small reserve of fuel
remaining in the tank when the fuel
gauge needle reaches E (Empty).
Door open warning light (if
so equipped)
This light comes on when any of the doors
are not closed securely while the ignition
key is in the ON position.
Low washer fluid warning
light (Canada only)
This light comes on when the washer tank
fluid is at a low level. Add washer fluid as
necessary. See ``Window washer fluid'' in
the ``Do-it-yourself'' section of this manual.
4-wheel drive indicator light
This light comes on when the transfer shift
control lever is in the 4H or 4L position.
WARNING
IWhen parking always make sure the
transfer control lever is in the 2H, 4H
or 4L position and the parking brake
is applied.
IFailure to engage the transfer con-trol lever in 2H, 4H or 4L could result
in the vehicle moving unexpectedly,
which could cause serious personal
injury or property damage.
Automatic transmission park
warning light (
model)
This light indicates that the automatic trans-
mission parking function is not engaged. If
the transfer control lever is not secured in
any drive position while the automatic trans-
mission selector lever is in the P (Park)
position, the transmission will disengage
and the vehicle may move unexpectedly.
Shift the transfer control lever into the 2H,
4H, or 4L position when the warning light
comes on.
IWhen parking, always make sure that the
transfer control lever is in 2H, 4H, or 4L
and the parking brake is set.
IIf the ATP light is ON, this indicates that
the automatic transmission P (Park) po-
sition will not function and the transfer
lever is in the N (Neutral) position.
IFailure to engage the transfer control
lever in 2H, 4H, or 4L could result in thevehicle moving unexpectedly, resulting in
serious personal injury or property dam-
age.
WARNING
IIf the ATP light is ON, this indicates
that the automatic transmission P
(Park) position will not function and
the transfer control shift lever is in
the N (Neutral) position.
Automatic transmission oil
temperature warning light
(
model)
This light comes on when the automatic
transmission oil temperature is too high. If
the light comes on while driving, reduce the
vehicle speed as soon as safely possible
until the light turns off.
CAUTION
Continued vehicle operation when the
A/T oil temperature warning light is on
may damage the automatic transmis-
sion.
Instruments and controls
2-11
ZX
Page 131 of 269

5 Starting and driving
Precautions when starting and driving ...................5-2
Exhaust gas (carbon monoxide) ............................5-2
Three-way catalyst ..................................................5-2
On-pavement and off-road driving precautions......5-3
Avoiding collision and rollover ................................5-3
Drinking alcohol/drugs and driving .........................5-4
Driving safety precautions ......................................5-4
Ignition switch .........................................................5-6
Manual transmission...............................................5-6
Automatic transmission ..........................................5-7
Before starting the engine ......................................5-8
Driving with automatic transmission (if so
equipped) ...............................................................5-8
Overdrive switch (KA24DE engine) .....................5-13
Overdrive switch (VG33E engine)........................5-14
Driving with manual transmission.........................5-14Starting the engine ...............................................5-16
Parking brake operation .......................................5-16
Cruise control (if so equipped) .............................5-18
Break-in schedule ................................................5-20
Increasing fuel economy ......................................5-20
Transfer case shifting procedures for 4-wheel
drive vehicles........................................................5-21
Auto-lock free-running hubs .................................5-22
Manual-lock free-running hubs.............................5-24
Tires of four-wheel drive ......................................5-26
Parking/parking on hills ........................................5-27
Power steering system .........................................5-28
Brake system........................................................5-28
Anti-lock brake system (ABS) ..............................5-29
Cold weather driving ............................................5-30
ZX
Page 135 of 269
or with the clutch depressed
(manual transmission vehicles), us-
ing only the brake, as this could
cause loss of control.
IHeavy braking going down a hill
could cause your brakes to overheat
and fade, resulting in loss of control
and an accident. Apply brakes lightly
and use a low gear to control your
speed.
IUnsecured cargo can be thrown
around when driving over rough ter-
rain. Properly secure all cargo so it
will not be thrown forward and cause
injury to you or your passengers.
ITo avoid raising the center of gravity
excessively, do not exceed the rated
capacity of the roof rack (if so
equipped) and evenly distribute the
load. Secure heavy loads in the
cargo area as far forward and as low
as possible. Do not equip the vehicle
with tires larger than specified in this
manual. This could cause your ve-
hicle to roll over.
IDo not grip the inside or spokes of
the steering wheel when driving off-road. The steering wheel could move
suddenly and injure your hands. In-
stead drive with your fingers and
thumbs on the outside of the rim.
IBefore operating the vehicle, ensure
that the driver and all passengers
have their seat belts fastened.
IAlways drive with the floor mats in
place as the floor may become hot.
ILower your speed when encounter-
ing strong crosswinds. With a higher
center of gravity, your NISSAN is
more affected by strong side winds.
Slower speeds ensure better vehicle
control.
IDo not drive beyond the perfor-
mance of the tires, even with 4WD
engaged.
IAccelerating quickly, sharp steering
maneuvers or sudden braking may
cause loss of control.
IIf at all possible, avoid sharp turning
maneuvers, particularly at high
speeds. Your NISSAN four wheeld-
rive vehicle has a higher center of
gravity than a two wheel drive veh-icle. The vehicle is not designed for
cornering at the same speeds as
conventional two wheel drive ve-
hicles. Failure to operate this vehicle
correctly could result in loss of con-
trol and/or a roll over accident.
IAlways use tires of the same type,
size, brand, construction (bias, bias-
belted, or radial), and tread pattern
on all four wheels. Install tire chains
on the rear wheels when driving on
slippery roads and drive carefully.
IBe sure to check the brakes immedi-
ately after driving in mud or water.
See²Brake system²later in this sec-
tion for²Wet brakes².
IAvoid parking your vehicle on steep
hills. If you get out of the vehicle and
it rolls forward, backward or side-
ways, you could be injured.
IWhenever you drive off-road
through sand, mud or water as deep
as the wheel hub, more frequent-
maintenance may be required. See
²Periodic maintenance²in the²Main-
tenance²section of this manual.
Starting and driving
5-5
ZX
Page 136 of 269
MANUAL TRANSMISSION
The ignition switch includes an anti-theft
steering lock device.
The key can only be removed when the
ignition switch is in the LOCK position.
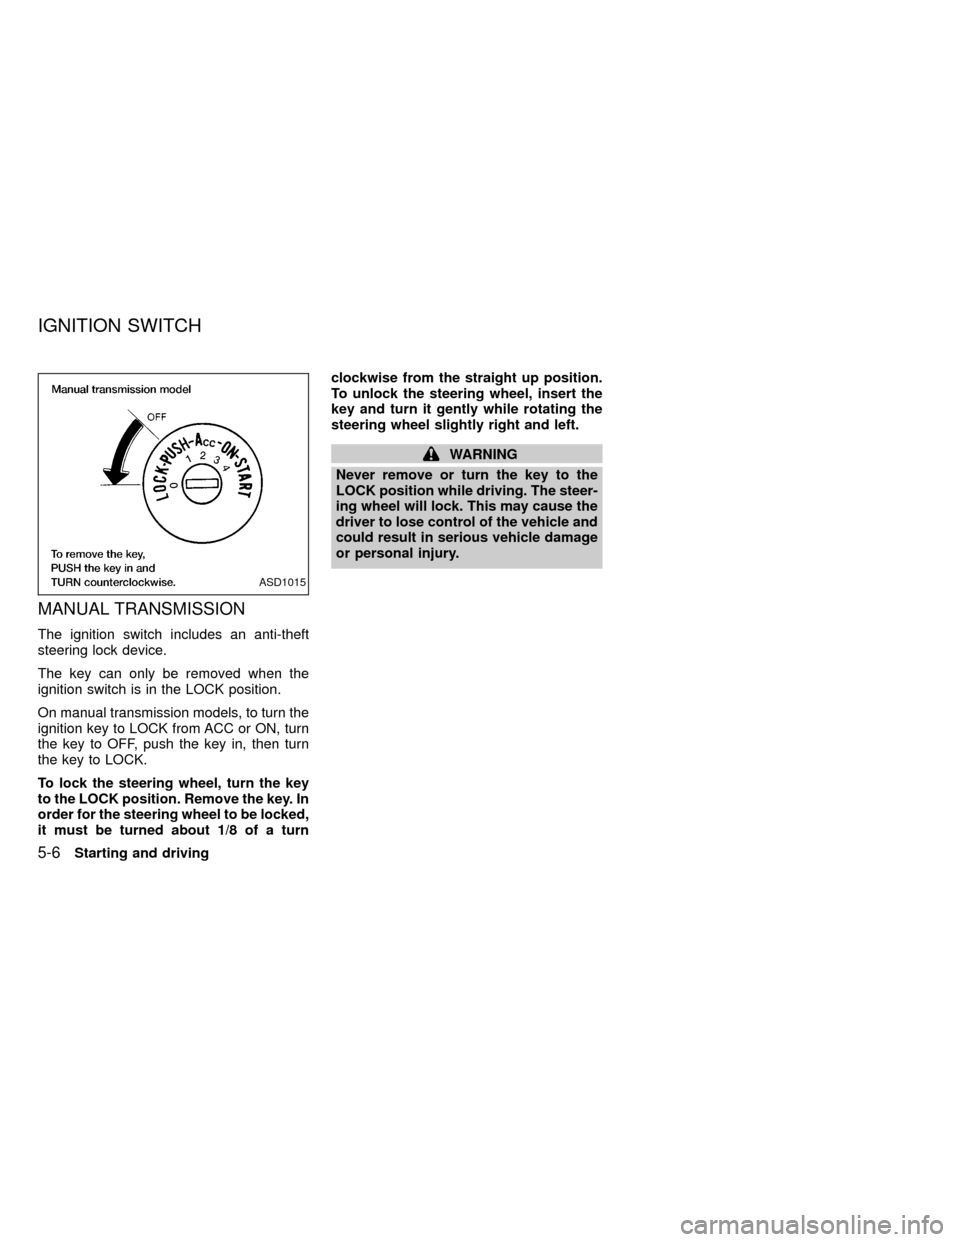
On manual transmission models, to turn the
ignition key to LOCK from ACC or ON, turn
the key to OFF, push the key in, then turn
the key to LOCK.
To lock the steering wheel, turn the key
to the LOCK position. Remove the key. In
order for the steering wheel to be locked,
it must be turned about 1/8 of a turnclockwise from the straight up position.
To unlock the steering wheel, insert the
key and turn it gently while rotating the
steering wheel slightly right and left.
WARNING
Never remove or turn the key to the
LOCK position while driving. The steer-
ing wheel will lock. This may cause the
driver to lose control of the vehicle and
could result in serious vehicle damage
or personal injury.
ASD1015
IGNITION SWITCH
5-6Starting and driving
ZX
Page 137 of 269
AUTOMATIC TRANSMISSION
On automatic transmission models, the ig-
nition lock is designed so the key cannot be
turned to LOCK and removed until the shift
selector lever is moved to the P (Park)
position.
When removing the key from the ignition,
make sure the shift selector lever is in the P
(Park) position.
If the key cannot be turned to the LOCK
position, proceed as follows to remove the key:
1) Move the shift selector lever into the P
(Park) position.2) Turn the ignition key slightly in the ON
direction.
3) Turn the key toward the LOCK position.
4) Remove the key.
The shift lever is designed so it cannot be
moved out of P (Park) and into any of the
other gear positions if the ignition key is
turned to OFF or if the key is removed from
the switch.
The shift lever can be moved if the igni-
tion switch is in the ACC position. This
allows the vehicle to be moved if the
battery is discharged. The shift lever can
also be moved if the ignition switch is in
the ON position and the foot brake pedal
is depressed.
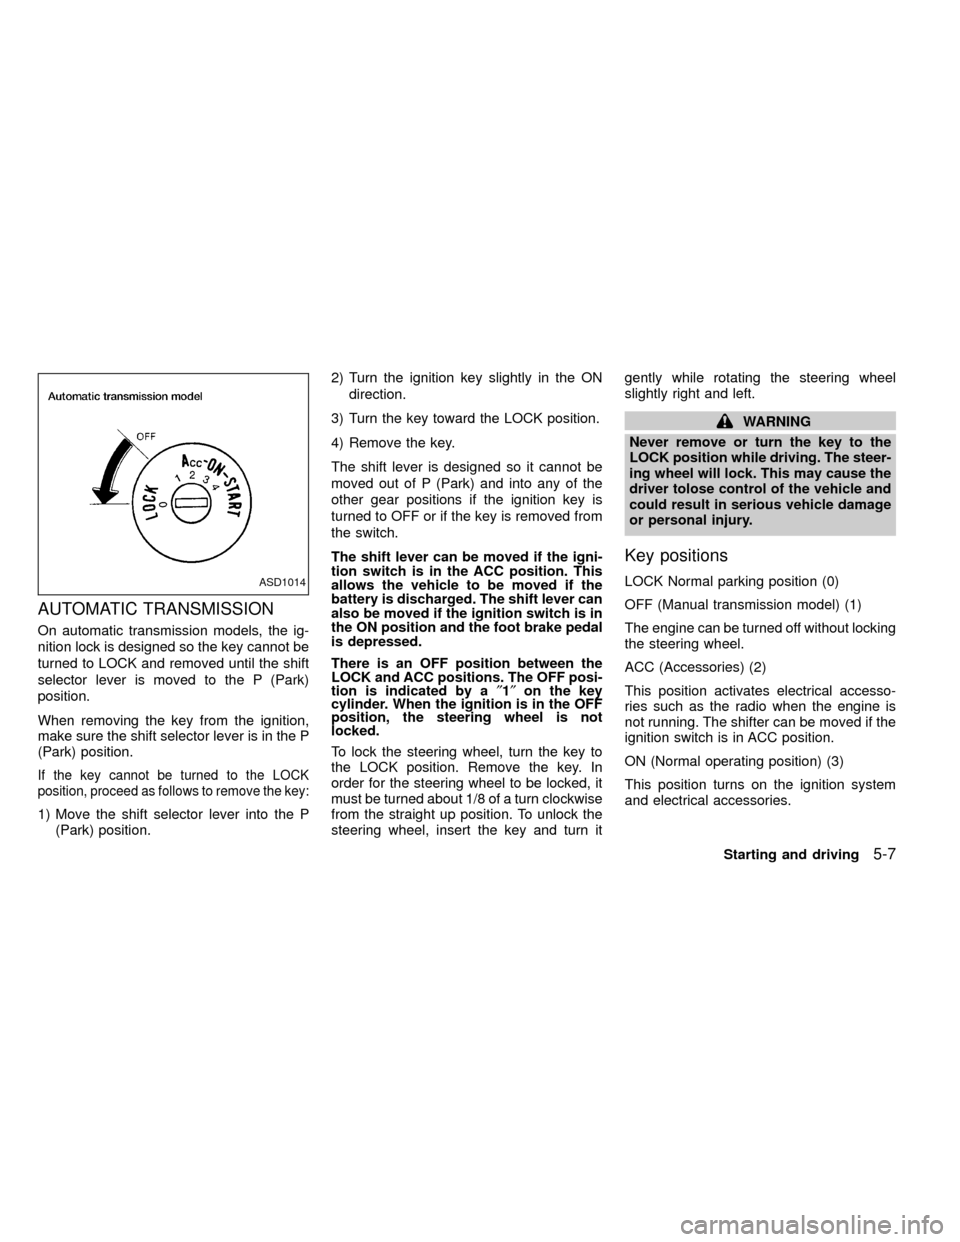
There is an OFF position between the
LOCK and ACC positions. The OFF posi-
tion is indicated by a²1²on the key
cylinder. When the ignition is in the OFF
position, the steering wheel is not
locked.
To lock the steering wheel, turn the key to
the LOCK position. Remove the key. In
order for the steering wheel to be locked, it
must be turned about 1/8 of a turn clockwise
from the straight up position. To unlock the
steering wheel, insert the key and turn itgently while rotating the steering wheel
slightly right and left.
WARNING
Never remove or turn the key to the
LOCK position while driving. The steer-
ing wheel will lock. This may cause the
driver tolose control of the vehicle and
could result in serious vehicle damage
or personal injury.
Key positions
LOCK Normal parking position (0)
OFF (Manual transmission model) (1)
The engine can be turned off without locking
the steering wheel.
ACC (Accessories) (2)
This position activates electrical accesso-
ries such as the radio when the engine is
not running. The shifter can be moved if the
ignition switch is in ACC position.
ON (Normal operating position) (3)
This position turns on the ignition system
and electrical accessories.ASD1014
Starting and driving5-7
ZX
Page 144 of 269
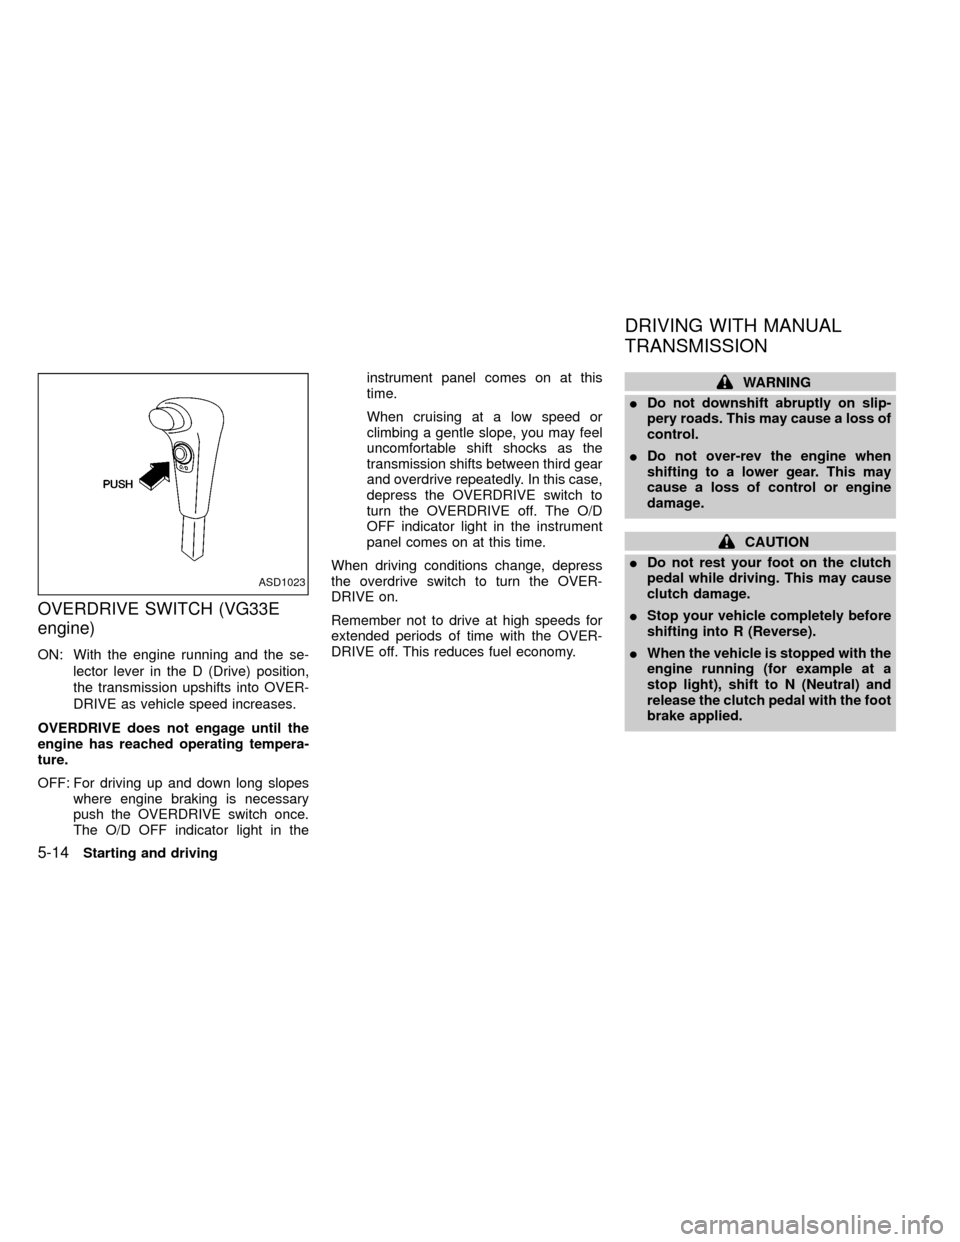
OVERDRIVE SWITCH (VG33E
engine)
ON: With the engine running and the se-
lector lever in the D (Drive) position,
the transmission upshifts into OVER-
DRIVE as vehicle speed increases.
OVERDRIVE does not engage until the
engine has reached operating tempera-
ture.
OFF: For driving up and down long slopes
where engine braking is necessary
push the OVERDRIVE switch once.
The O/D OFF indicator light in theinstrument panel comes on at this
time.
When cruising at a low speed or
climbing a gentle slope, you may feel
uncomfortable shift shocks as the
transmission shifts between third gear
and overdrive repeatedly. In this case,
depress the OVERDRIVE switch to
turn the OVERDRIVE off. The O/D
OFF indicator light in the instrument
panel comes on at this time.
When driving conditions change, depress
the overdrive switch to turn the OVER-
DRIVE on.
Remember not to drive at high speeds for
extended periods of time with the OVER-
DRIVE off. This reduces fuel economy.
WARNING
IDo not downshift abruptly on slip-
pery roads. This may cause a loss of
control.
IDo not over-rev the engine when
shifting to a lower gear. This may
cause a loss of control or engine
damage.
CAUTION
IDo not rest your foot on the clutch
pedal while driving. This may cause
clutch damage.
IStop your vehicle completely before
shifting into R (Reverse).
IWhen the vehicle is stopped with the
engine running (for example at a
stop light), shift to N (Neutral) and
release the clutch pedal with the foot
brake applied.
ASD1023
DRIVING WITH MANUAL
TRANSMISSION
5-14Starting and driving
ZX
Page 145 of 269

Shifting with manual transmission
To change gears, or when up shifting or
down shifting, depress the clutch pedal fully,
shift into the appropriate gear, then release
the clutch slowly and smoothly.
You cannot shift directly from 5th gear into R
(Reverse). First shift into the N (Neutral)
position, then into R (Reverse).
If it is difficult to move the shift lever into R
(Reverse) or 1st, shift into N (Neutral), then
release the clutch pedal. Depress the clutch
pedal and shift into R (Reverse) or 1st
again.If your vehicle is equipped with 4-wheel
drive, see ``
Transfer case shifting pro-
cedures for four-wheel drive vehicles'' later
in this section.
Suggested up-shift speeds
The folllowing table provides suggested speed
ranges for shifting into a higher gear. These
suggestions relate to fuel economy and vehicle
performance. Actual shift ranges should be
adjusted for specific road conditions, weather
conditions and individual driving habits.
ITwo-wheel drive models and four-wheel
drive models (2H and 4H position):
Shift from MPH (km/h)
1st to 2nd 15 (24)
2nd to 3rd 25 (40)
3rd to 4th 40 (64)
4th to 5th 45 (72)
I4-wheel drive model (4L posi-
tion):
Shift from MPH (km/h)
1st to 2nd 8 (13)
2nd to 3rd 12 (19)
3rd to 4th 20 (32)
4th to 5th 22 (35)
Suggested maximum speed in each
gear
Downshift to a lower gear if the engine is not
running smoothly, or if you need to accelerate.
Do not exceed the maximum suggested speed
(shown below) in any gear. For level road
driving, use the highest gear suggested for that
speed. Always observe posted speed limits,
and drive according to the road conditions,
which will ensure safe operation.
Allowable maximum speed in each gear:
2-wheel drive models MPH (km/h)
1st 30 (48)
2nd 55 (88)
3rd 80 (129)
4th & 5th þ (þ)
4-wheel drive models MPH (km/h)
2H/4H position
1st 25 (40)
2nd 43 (69)
3rd 68 (109)
4th & 5th þ (þ)
4L position
1st 12 (19)
2nd 22 (35)
3rd 30 (48)
4th & 5th þ (þ)
SD1017M
Starting and driving5-15
ZX
Page 146 of 269
1. Apply the parking brake.
2.Automatic transmission:
Move the selector lever to P (Park) or N
(Neutral). P (Park) is preferred.
The shift lever cannot be moved out of
P (Park) and into any of the other gear
positions if the ignition key is turned
to OFF or if the key is removed from
the ignition switch.
The starter is designed not to operate
if the selector lever is in one of the
driving positions.
Manual transmission:
Move the gearshift lever to N (Neutral),
and fully depress the clutch pedal to the
floor while starting the engine.
The starter is designed not to operate
unless the clutch pedal is fully de-
pressed.
3.With your foot off the accelerator
pedal,turn the ignition key to START.
Release the key when the engine starts.
If the engine starts, but fails to run, repeat
the above procedure.IIf the engine is very hard to start in
extremely cold or hot weather, depress
the accelerator pedal fully and hold it
to help start the engine.
IIn the summer, when restarting the
engine within 30 minutes after it has
been stopped, keep the accelerator
pedal fully depressed while starting.
CAUTION
Do not operate the starter for more than
15 seconds at a time. If the engine does
not start, turn the key off and wait 10
seconds before cranking again, other-
wise the starter could be damaged.
4.Warm-up
Always allow the engine to idle for at
least 30 seconds after starting. Drive at a
moderate speed for a short distance first,
especially in cold weather.
WARNING
IBe sure the parking brake is fully
released before driving. Failure to do
so can cause brake failure and lead
to an accident.
IDo not release the parking brake
from outside the vehicle.
IDo not use the gear shift in place of
the parking brake. When parking, be
sure the parking brake is fully en-
gaged.
I
Do not leave children unattended in a
vehicle. They could release the park-
ing brake and cause an accident.
STARTING THE ENGINE PARKING BRAKE OPERATION
5-16Starting and driving
ZX