Page 113 of 323

Exterior lamp switch
Te ch n ica l
data Instruments
and controlsOperationDrivingInstrument
cluster displayPractical hints Car care Index Notes:
With the electronic key removed and the driver’s door
open, a warning sounds and the message “SWITCH OFF
LIGHTS” in the multifunction indicator appears if the
vehicle’s exterior lamps (except standing lamps) are not
switched off.
Fog lamps will operate with the parking lamps and/or
the low beam headlamps on. Fog lamps should only be
used in conjunction with low beam headlamps. Consult
your State or Province Motor Vehicle Regulations
regarding allowable lamp operation.
Fog lamps are automatically switched off when the
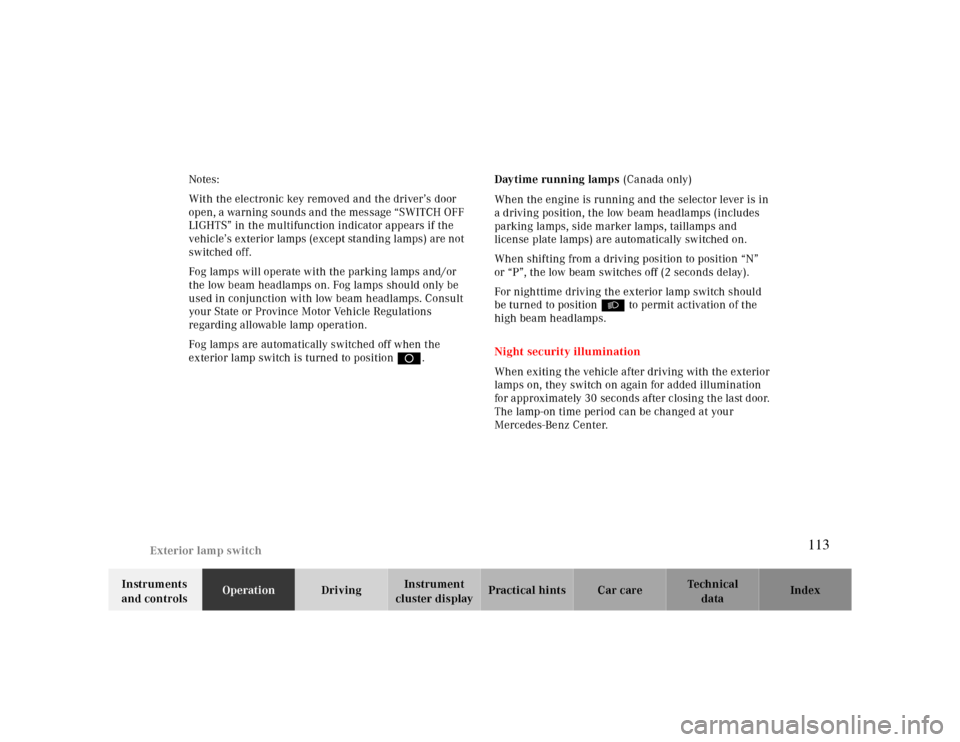
exterior lamp switch is turned to position D.Daytime running lamps (Canada only)
When the engine is running and the selector lever is in
a driving position, the low beam headlamps (includes
parking lamps, side marker lamps, taillamps and
license plate lamps) are automatically switched on.
When shifting from a driving position to position “N”
or “P”, the low beam switches off (2 seconds delay).
For nighttime driving the exterior lamp switch should
be turned to position B to permit activation of the
high beam headlamps.
Night security illumination
When exiting the vehicle after driving with the exterior
lamps on, they switch on again for added illumination
for approximately 30 seconds after closing the last door.
The lamp-on time period can be changed at your
Mercedes-Benz Center.
113
Page 114 of 323
Headlamp cleaning system
Te ch n ica l
data Instruments
and controlsOperationDrivingInstrument
cluster displayPractical hints Car care Index
Headlamp cleaning system (optional)The switch is located in the center console.
The headlamp washer can be activated with the
electronic key in steering lock position 2.
Briefly press symbol side of switch.
P82.15-2007-26
114
Page 115 of 323
Combination switch
Te ch n ica l
data Instruments
and controlsOperationDrivingInstrument
cluster displayPractical hints Car care Index Combination switch
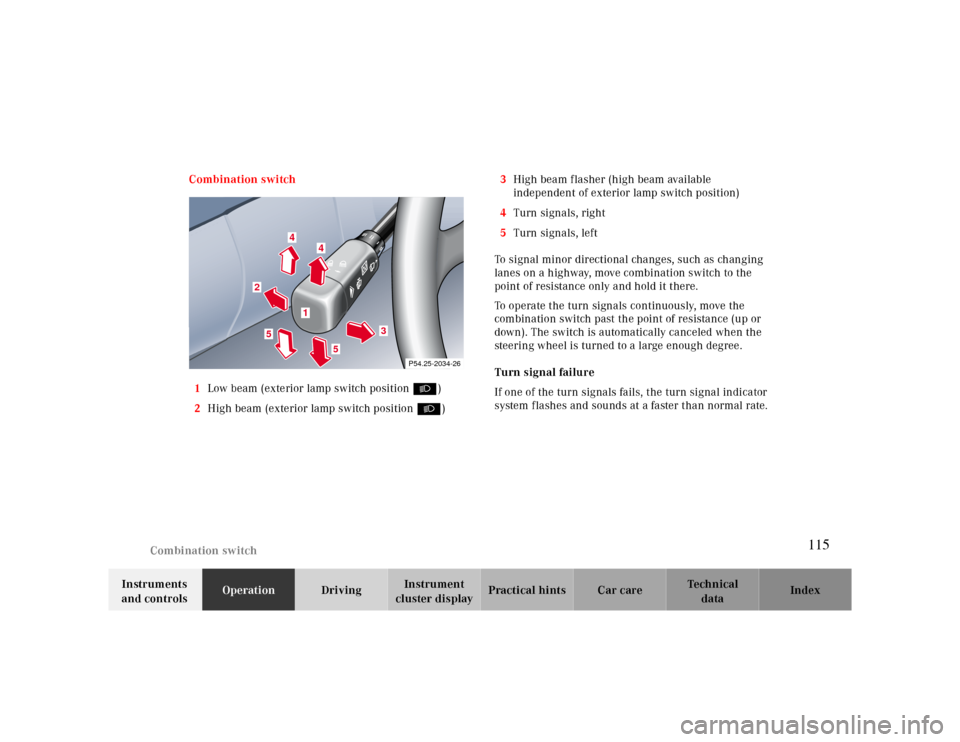
1Low beam (exterior lamp switch position B)
2High beam (exterior lamp switch position B)3High beam flasher (high beam available
independent of exterior lamp switch position)
4Turn signals, right
5Turn signals, left
To signal minor directional changes, such as changing
lanes on a highway, move combination switch to the
point of resistance only and hold it there.
To operate the turn signals continuously, move the
combination switch past the point of resistance (up or
down). The switch is automatically canceled when the
steering wheel is turned to a large enough degree.
Turn signal failure
If one of the turn signals fails, the turn signal indicator
system flashes and sounds at a faster than normal rate.
P54.25-2034-26
2
3
4
4
5
5
1
115
Page 116 of 323

Combination switch
Te ch n ica l
data Instruments
and controlsOperationDrivingInstrument
cluster displayPractical hints Car care Index
6Control for windshield wiper/washer system:
Push briefly for single wipe without adding washer
fluid (use only when windshield is wet).
Push past detent and hold to activate wiper and
washer.
Notes:
The windshield washer reservoir, hoses and nozzles are
automatically heated. 7Windshield
wiper0Wiper off
I Intermittent wiping
(optional rain sensor: One initial wipe, pauses
between wipes are automatically controlled by a
rain sensor monitoring the wetness of the
windshield.)
Notes:
With switch in this position, one wipe occurs
when turning the electronic main key in steering
lock from position 0.
Optional rain sensor:
Do not leave in intermittent setting when vehicle
is taken to an automatic car wash or during
windshield cleaning. Wiper will operate in
presence of water spray at windshield, and wiper
may be damaged as a result.
II Normal wiper speed
III Fast wiper speed
P54.25-2033-26
6
7
116
Page 117 of 323

Hazard warning flasher
Te ch n ica l
data Instruments
and controlsOperationDrivingInstrument
cluster displayPractical hints Car care Index Windshield wiper smears
If the windshield wiper smears the windshield, even
during rain, activate the washer system as often as
necessary. The fluid in the washer reservoir should be
mixed in the correct ratio, see page 259.
Blocked windshield wiper
If the windshield wiper becomes blocked (for example,
due to snow), switch off the wiper.
For safety reasons before removing ice or snow, remove
electronic key from steering lock. Remove blockage.
Activate combination switch again (electronic key in
steering lock position 1).Hazard warning flasher switch
The hazard warning flasher can be activated with the
switch located in the dashboard.
To activate hazard warning flasher, press switch once.
To deactivate, press switch again.
Note:
With the hazard warning flasher activated, the
combination switch in position for either left or right
turn, and the electronic main key in steering lock
position 2, only the respective left or right side turn
signals will operate.
117
Page 118 of 323
Automatic climate control
Te ch n ica l
data Instruments
and controlsOperationDrivingInstrument
cluster displayPractical hints Car care Index
Automatic climate control
P83.40-2157-29
1
3
36
2
4
*
*
Mercedes-Benz
DO
L
B
Y
-S
TE
R
E
O
5
118
Page 119 of 323

Automatic climate control
Te ch n ica l
data Instruments
and controlsOperationDrivingInstrument
cluster displayPractical hints Car care Index 1Air volume control for center air outlets, turn wheel
up to open.
2Air volume control for side air outlet.
To open air outlets: Turn wheel to position i.
3Center air outlet, adjustable
4Side air outlet, adjustable
5Display and controls
The system is always at operational readiness, except
when manually switched off.
The automatic climate control only operates with the
engine running.The temperature selector should be left at the desired
temperature setting. The temperature selected is
reached as quickly as possible.
The system will not heat or cool any quicker by setting a
higher or lower temperature.
The automatic climate control removes considerable
moisture from the air during operation in the cooling
mode. It is normal for water to drip on the ground
through ducts in the underbody.
The desired interior temperature can be selected
separately for the left and right side of the passenger
compartment.
119
Page 120 of 323
Automatic climate control
Te ch n ica l
data Instruments
and controlsOperationDrivingInstrument
cluster displayPractical hints Car care Index
Display and controls
Press the desired button to activate, indicator lamp is on
while activated.
UAutomatic mode
fRaise temperature
gLower temperaturePDefrost
OAir recirculation
FRear window defroster
bAir distribution, manual
SEconomy mode
ïAir volume, manual
TResidual engine heat utilization
Basic setting - automatic mode
Press left and right U button for automatic mode.
Simultaneously press both f and g buttons for
temperature setting of 72°F.
QAir volume and distribution are controlled
automatically.
This setting can be used all year around.
0
MAX
120