Page 4 of 224
These are some of the symbols you may see on your vehicle.
Vehicle Symbol Glossary
Safety Alert
See Owner's Guide
Fasten Safety BeltAir Bag-Front
Air Bag-SideChild Seat
Child Seat Installation
WarningChild Seat Tether
Anchorage
Brake SystemAnti-Lock Brake System
Brake Fluid -
Non-Petroleum BasedTraction Control
Master Lighting SwitchHazard Warning Flasher
Fog Lamps-FrontFuse Compartment
Fuel Pump ResetWindshield Wash/Wipe
Windshield
Defrost/DemistRear Window
Defrost/Demist
Power Windows
Front/RearPower Window Lockout
Introduction
4
Page 25 of 224

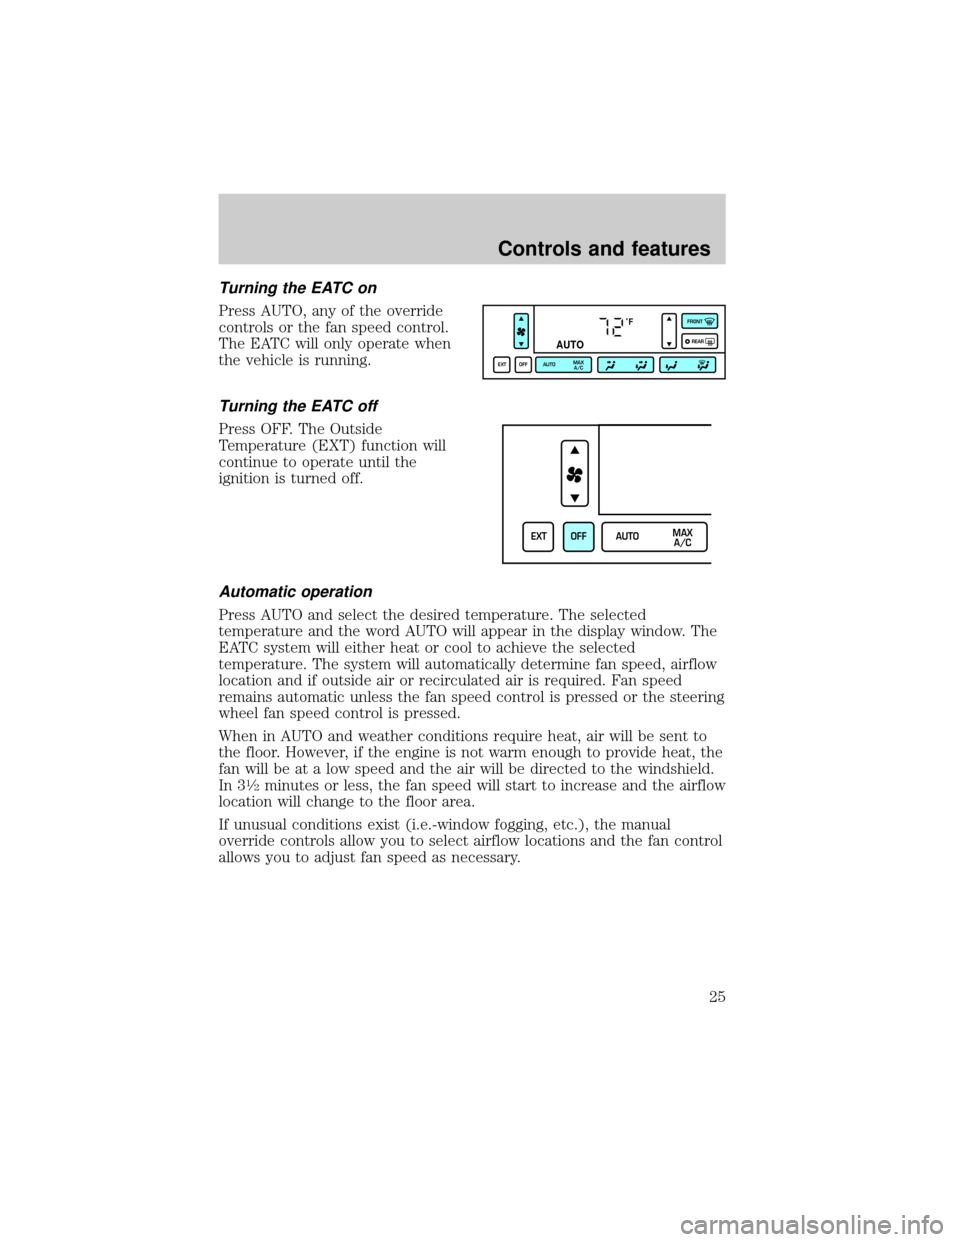
Turning the EATC on
Press AUTO, any of the override
controls or the fan speed control.
The EATC will only operate when
the vehicle is running.
Turning the EATC off
Press OFF. The Outside
Temperature (EXT) function will
continue to operate until the
ignition is turned off.
Automatic operation
Press AUTO and select the desired temperature. The selected
temperature and the word AUTO will appear in the display window. The
EATC system will either heat or cool to achieve the selected
temperature. The system will automatically determine fan speed, airflow
location and if outside air or recirculated air is required. Fan speed
remains automatic unless the fan speed control is pressed or the steering
wheel fan speed control is pressed.
When in AUTO and weather conditions require heat, air will be sent to
the floor. However, if the engine is not warm enough to provide heat, the
fan will be at a low speed and the air will be directed to the windshield.
In 3
1¤2minutes or less, the fan speed will start to increase and the airflow
location will change to the floor area.
If unusual conditions exist (i.e.-window fogging, etc.), the manual
override controls allow you to select airflow locations and the fan control
allows you to adjust fan speed as necessary.
˚F
AUTO
EXT OFF AUTOMAX
A/CFRONT
REAR
EXT OFF AUTOMAX
A/C
Controls and features
25
Page 26 of 224

Temperature selection
The display window indicates the
selected temperature, function
(AUTO or one of the override
controls) and manual control of fan
speed (
) if automatic fan speed
is not desired.
To control the temperature, select
any temperature between 18ÉC
(65ÉF) and 29ÉC (85ÉF) by pressing
the temperature control.
For continuous maximum cooling, push the temperature control until
16ÉC (60ÉF) is shown in the display window. The EATC will continue
maximum cooling (disregarding the displayed temperature) until a
warmer temperature is selected by pressing the temperature control.
For continuous maximum heating, push the temperature control until
32ÉC (90ÉF) is shown in the display window. The EATC will continue
maximum heating (disregarding the displayed temperature) until a
cooler temperature is selected by pressing the temperature control.
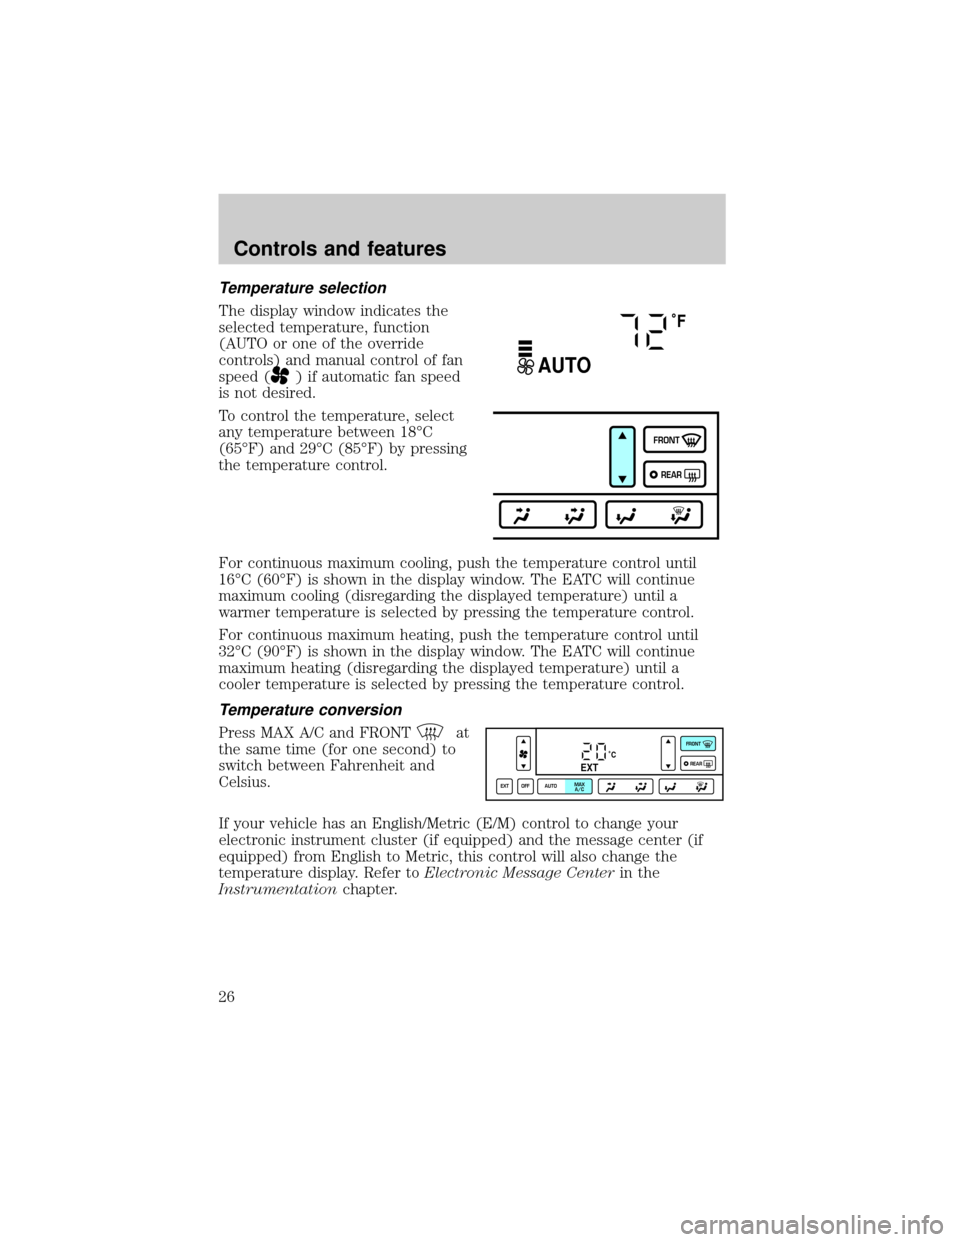
Temperature conversion
Press MAX A/C and FRONTat
the same time (for one second) to
switch between Fahrenheit and
Celsius.
If your vehicle has an English/Metric (E/M) control to change your
electronic instrument cluster (if equipped) and the message center (if
equipped) from English to Metric, this control will also change the
temperature display. Refer toElectronic Message Centerin the
Instrumentationchapter.
˚F
AUTO
FRONT
REAR
˚CEXT
EXT OFF AUTOMAX
A/CFRONT
REAR
Controls and features
26
Page 29 of 224

Displaying outside temperature
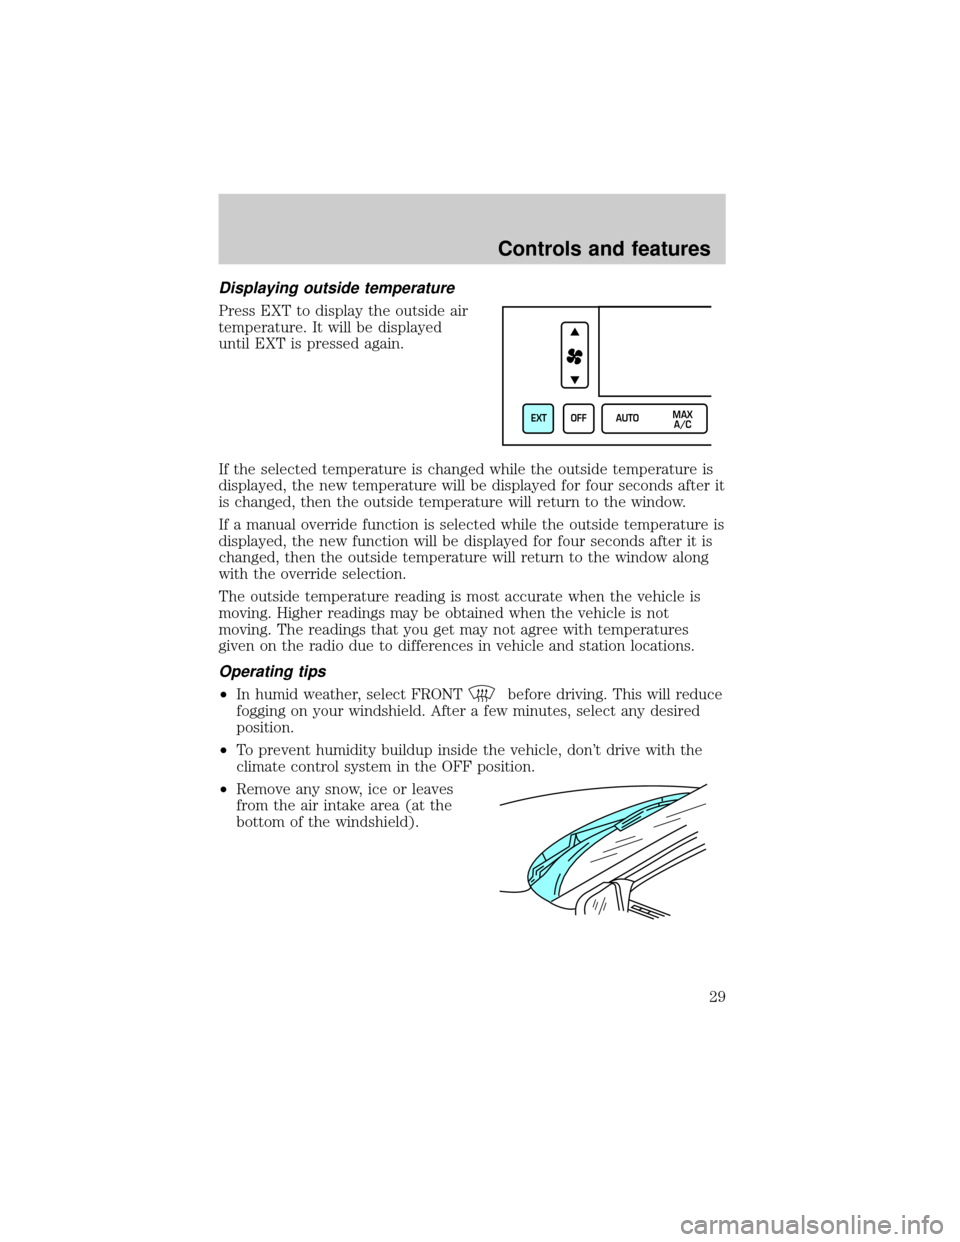
Press EXT to display the outside air
temperature. It will be displayed
until EXT is pressed again.
If the selected temperature is changed while the outside temperature is
displayed, the new temperature will be displayed for four seconds after it
is changed, then the outside temperature will return to the window.
If a manual override function is selected while the outside temperature is
displayed, the new function will be displayed for four seconds after it is
changed, then the outside temperature will return to the window along
with the override selection.
The outside temperature reading is most accurate when the vehicle is
moving. Higher readings may be obtained when the vehicle is not
moving. The readings that you get may not agree with temperatures
given on the radio due to differences in vehicle and station locations.
Operating tips
²In humid weather, select FRONTbefore driving. This will reduce
fogging on your windshield. After a few minutes, select any desired
position.
²To prevent humidity buildup inside the vehicle, don't drive with the
climate control system in the OFF position.
²Remove any snow, ice or leaves
from the air intake area (at the
bottom of the windshield).
EXT OFF AUTOMAX
A/C
Controls and features
29
Page 30 of 224

²If your vehicle has been parked with the windows closed during hot
weather, the air conditioner will do a much faster job of cooling if you
drive for two or three minutes with the windows open. This will force
most of the hot, stale air out of the vehicle. Then operate the air
conditioner as you would normally.
²Do not place objects over the defroster outlets. These objects can
block airflow and reduce your ability to see through your windshield.
Also, avoid placing small objects on top of your instrument panel.
These objects can fall down into the defroster outlets and block
airflow and possibly damage your climate control system.
Do not place objects on top of the instrument panel, as these
objects may become projectiles in a collision or sudden stop.
USING YOUR AUDIO SYSTEM
AM/FM stereo cassette
Your vehicle is equipped with a delayed accessory feature. This feature
enables the audio playing media to continue playing up to 10 minutes
after the ignition has been turned off, or until a door is opened.
SCAN
BASS TREB BAL FADE
SIDE
EJ
REW FF1 - 2TAPE
AMS
VOL - PUSH ON
SEEK
TUNE
AM
FMCLK
12 3456
FM1ST
Controls and features
30
Page 53 of 224

²Station overload.Weak signals are sometimes captured by stronger
signals when you pass a broadcast tower. A stronger signal may
temporarily overtake a weaker signal and play while the weak station
frequency is displayed.
The audio system automatically switches to single channel reception if it
will improve the reception of a station normally received in stereo.
Audio system warranties and service
Refer to the ªWarranty Guideº for audio system warranty information.
If service is necessary, see your dealer or a qualified technician.
REAR WINDOW DEFROSTER
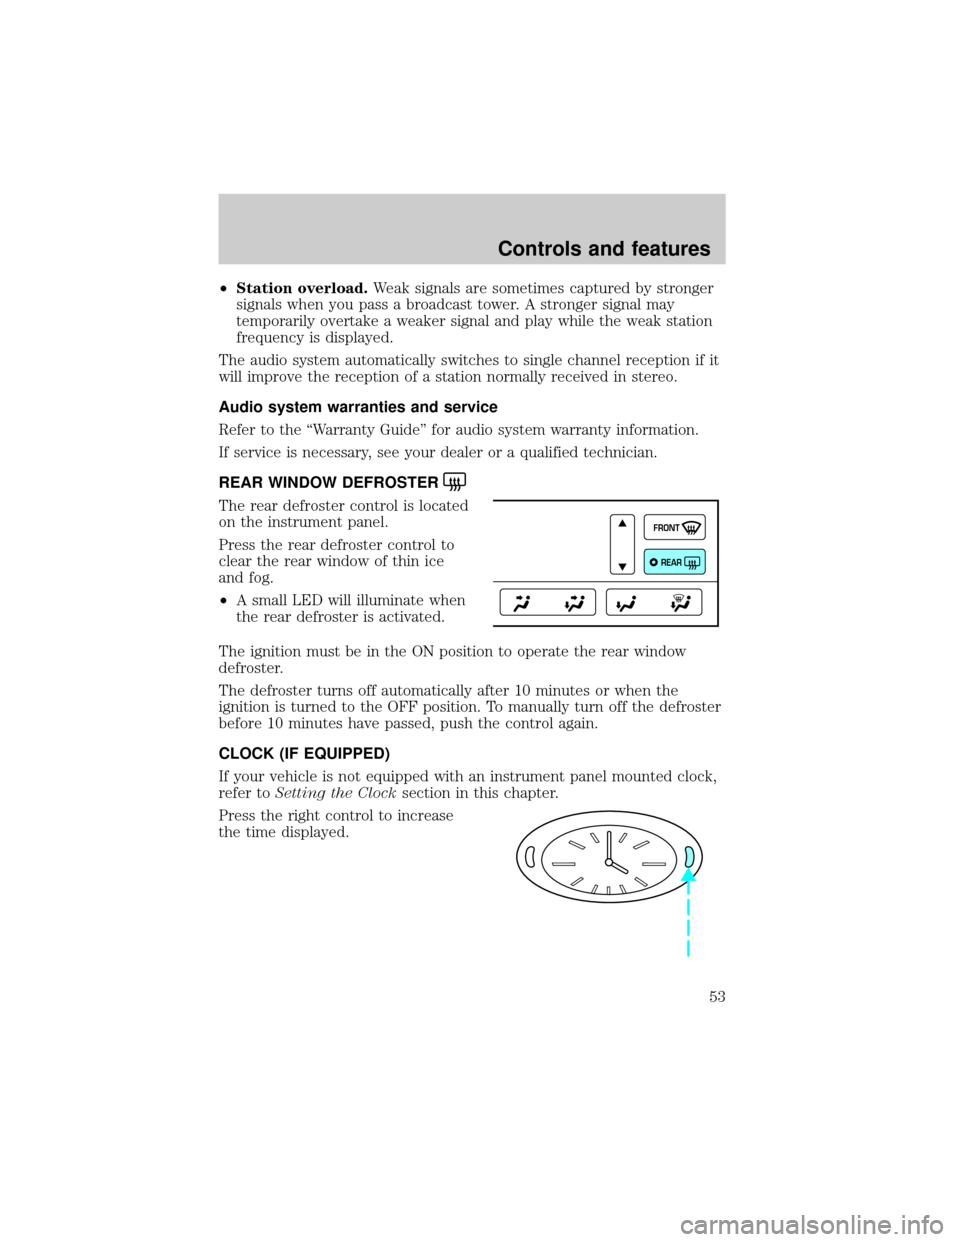
The rear defroster control is located
on the instrument panel.
Press the rear defroster control to
clear the rear window of thin ice
and fog.
²A small LED will illuminate when
the rear defroster is activated.
The ignition must be in the ON position to operate the rear window
defroster.
The defroster turns off automatically after 10 minutes or when the
ignition is turned to the OFF position. To manually turn off the defroster
before 10 minutes have passed, push the control again.
CLOCK (IF EQUIPPED)
If your vehicle is not equipped with an instrument panel mounted clock,
refer toSetting the Clocksection in this chapter.
Press the right control to increase
the time displayed.
FRONT
REAR
Controls and features
53
Page 67 of 224
Fuel filler door override release
If the remote release is inoperative,
open the trunk, then pull the
override release handle located
inside the trunk to open the fuel
filler door.
POWER WINDOWS
Express down
To make the driver window open
fully without holding the window
control, press the driver window
control completely down and release
quickly. Depress again to stop
window operation.
Window lock
The window lock feature allows only
the driver to operate the power
windows.
To lock out all the window controls
except for the driver's press the right side of the control. Press the left
side to restore the window controls.
WINDOW LOCK
WINDOW LOCK
Controls and features
67
Page 68 of 224
Accessory delay (if equipped)
With accessory delay, the window switches, radio, and moonroof may be
used for up to ten minutes after the ignition switch is turned to the OFF
position or until any door is opened.
POWER DOOR LOCKS
Press control to unlock or lock all
doors.
Smart locks
With the key in the ignition, in any switch position, and either the
driver's or passenger's door open, the doors cannot be locked using the
front door lock switches.
POWER SIDE VIEW MIRRORS
The ignition must be in ACC or ON position to adjust the power side
view mirrors.
To adjust your mirrors:
1. Select L to adjust the left mirror
or R to adjust the right mirror.
2. Move the control in the direction
you wish to tilt the mirror.
3. Return to the center position to lock mirrors in place.
DOOR LOCK
LR
LR
Controls and features
68