2000 LINCOLN TOWN CAR warning lights
[x] Cancel search: warning lightsPage 8 of 224

WARNING LIGHTS AND CHIMES
Service engine soon
Your vehicle is equipped with a
computer that monitors the engine's
emission control system. This
system is commonly known as the
On Board Diagnostics System (OBD
II). The OBD II system protects the
environment by ensuring that your vehicle continues to meet
government emission standards. The OBD II system also assists the
service technician in properly servicing your vehicle.
TheService Engine Soonindicator light illuminates when the ignition is
first turned to the ON position to check the bulb. If it comes on after the
engine is started, one of the engine's emission control systems may be
malfunctioning. The light may illuminate without a driveability concern
being noted. The vehicle will usually be drivable and will not require
towing.
What you should do if the Service Engine Soon light illuminates
Light turns on solid:
This means that the OBD II system has detected a malfunction.
Temporary malfunctions may cause yourService Engine Soonlight to
illuminate. Examples are:
1. The vehicle has run out of fuel. (The engine may misfire or run
poorly.)
10
2030405060
70
80
90
100
120206080
40100
120
160 140
180
P R N D 2 1
MPHkm/h
110
HF
E1
2
FILL ON
LEFT<
AIR
BAG CHECK
TRAC
SERVICE
ENGINE
SOON
TRUNK AJAR DOOR AJAR
TRAC OFF AIR SUSPENSION
O/D OFF TRAC ACTIVE
SPEED CONTROL COMPASSkmCIRCLE
SLOWLY FUEL ECON
DIST TO EMPTY
AVG SPEED
TRIP A B
E/M
km MILES/GALWASHER
LTR/100km
BRAKE
SERVICE
ENGINE
SOON
Instrumentation
8
Page 10 of 224

Brake system warning
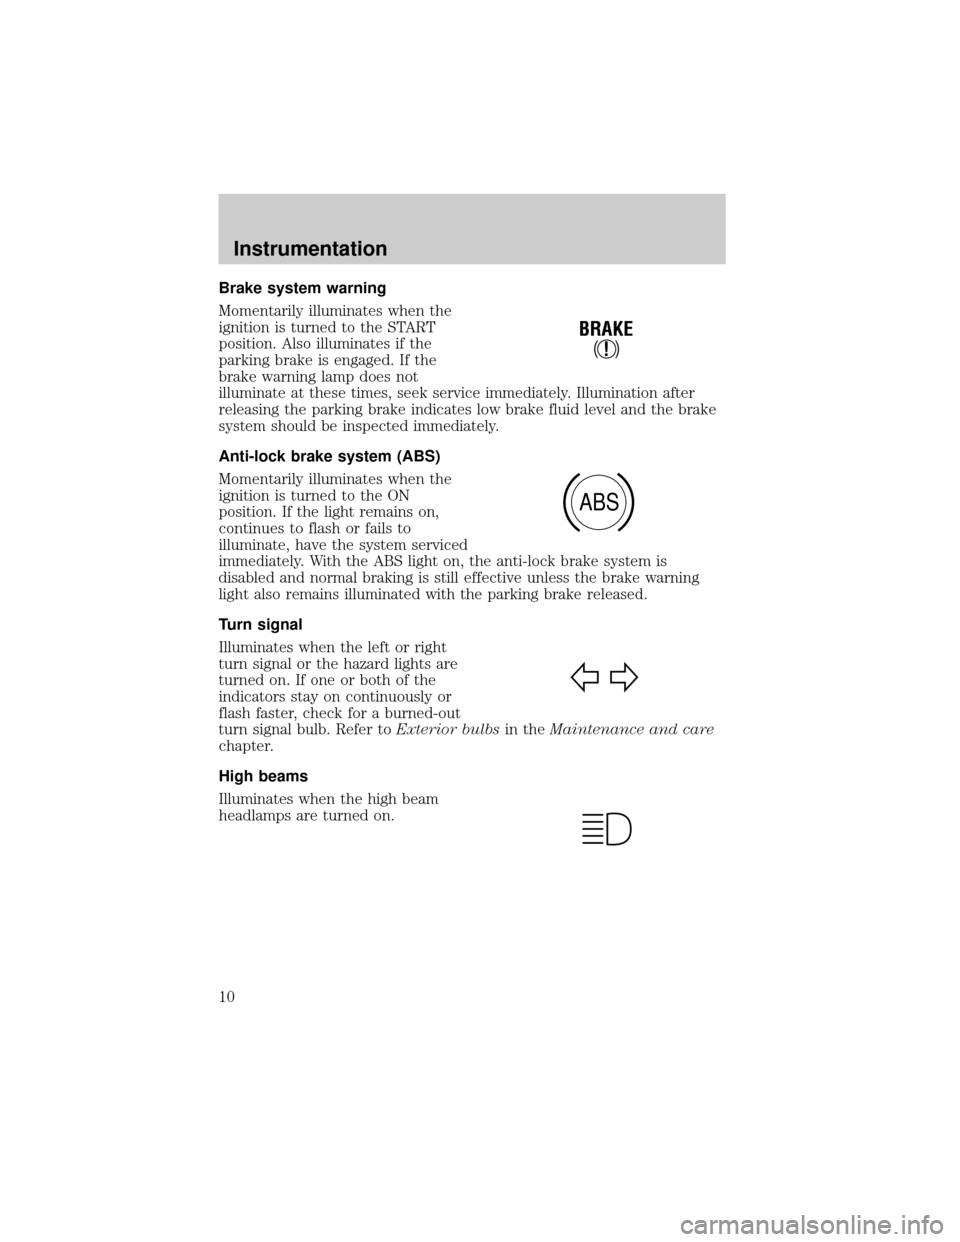
Momentarily illuminates when the
ignition is turned to the START
position. Also illuminates if the
parking brake is engaged. If the
brake warning lamp does not
illuminate at these times, seek service immediately. Illumination after
releasing the parking brake indicates low brake fluid level and the brake
system should be inspected immediately.
Anti-lock brake system (ABS)
Momentarily illuminates when the
ignition is turned to the ON
position. If the light remains on,
continues to flash or fails to
illuminate, have the system serviced
immediately. With the ABS light on, the anti-lock brake system is
disabled and normal braking is still effective unless the brake warning
light also remains illuminated with the parking brake released.
Turn signal
Illuminates when the left or right
turn signal or the hazard lights are
turned on. If one or both of the
indicators stay on continuously or
flash faster, check for a burned-out
turn signal bulb. Refer toExterior bulbsin theMaintenance and care
chapter.
High beams
Illuminates when the high beam
headlamps are turned on.
!
BRAKE
ABS
Instrumentation
10
Page 54 of 224

Press the left control to decrease
the time displayed.
AUXILIARY POWER POINT
The auxiliary power point is located
under the instrument panel. This
outlet should be used in place of the
cigarette lighter for optional
electrical accessories.
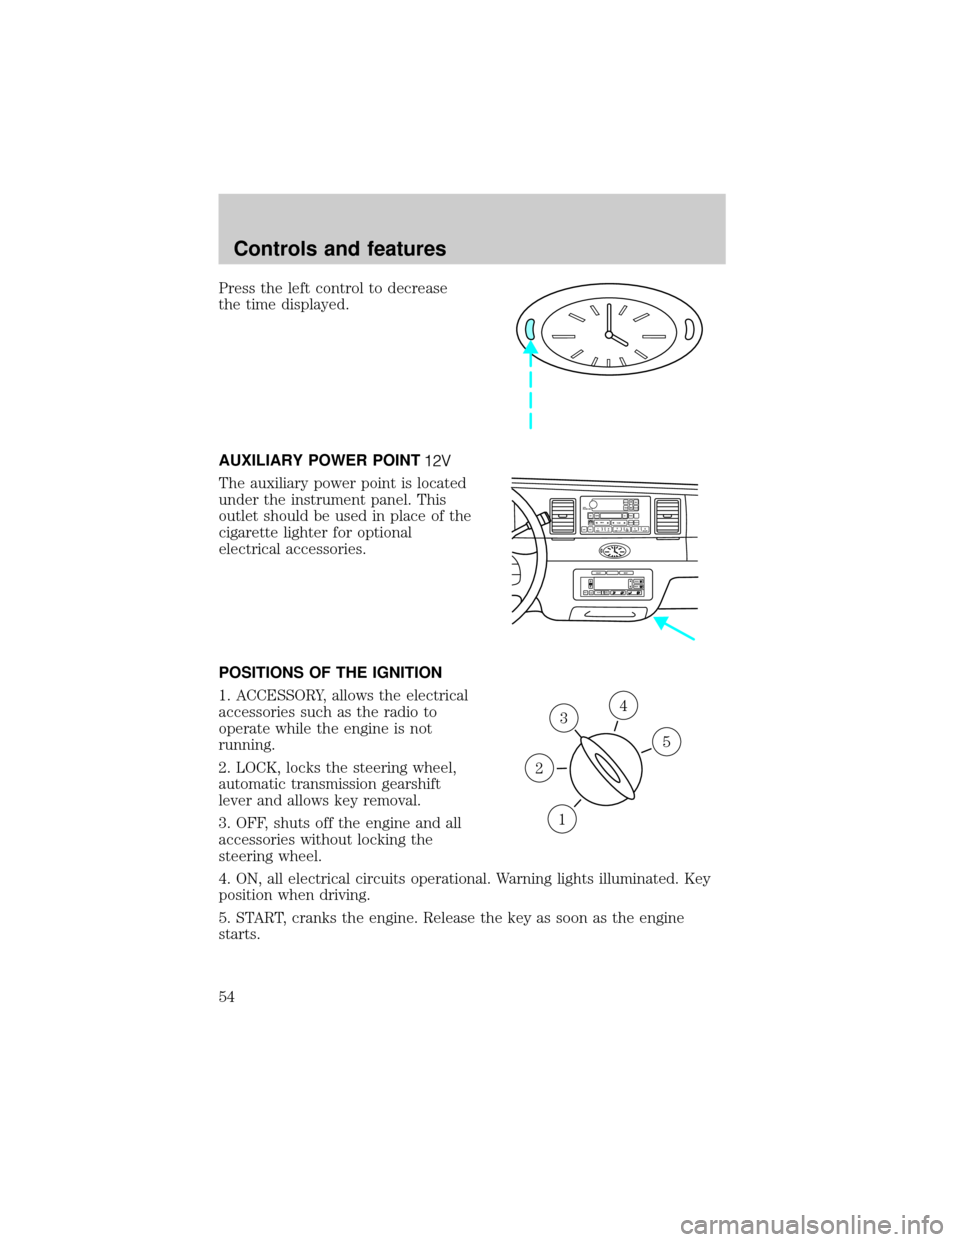
POSITIONS OF THE IGNITION
1. ACCESSORY, allows the electrical
accessories such as the radio to
operate while the engine is not
running.
2. LOCK, locks the steering wheel,
automatic transmission gearshift
lever and allows key removal.
3. OFF, shuts off the engine and all
accessories without locking the
steering wheel.
4. ON, all electrical circuits operational. Warning lights illuminated. Key
position when driving.
5. START, cranks the engine. Release the key as soon as the engine
starts.
VOL
PUSH ONTAPE
MUTESEEK
TUNE
AM
FM
REW
FFSIDE 1 2
COMP
SHUFFCDEJ
RDS
SCAN AUTO123
4
56
BASS
TREBSELBAL
FADE
EXT
OFFMAX
A/CAUTOFRONT
REARSELECTRESET
3
1
2
5
4
Controls and features
54
Page 120 of 224

The BRAKE warning lamp in the
instrument cluster illuminates and
remains illuminated (when the
ignition is turned ON) until the
parking brake is fully released.
Always set the parking brake fully and make sure the gearshift is
latched in P (Park). Turn off the ignition whenever you leave
your vehicle.
The parking brake is not recommended to stop a moving vehicle.
However, if the normal brakes fail, the parking brake can be used to stop
your vehicle in an emergency. Since the parking brake applies only the
rear brakes, the vehicle's stopping distance will increase greatly and the
handling of your vehicle will be adversely affected.
Your vehicle has an automatic parking brake release. To release the
parking brake:
1. Turn the ignition to the ON position.
2. Press the brake pedal.
3. Move the gearshift from the P (Park) position to one of the forward
gears (the parking brake will not release automatically when you shift
into reverse). The brake pedal must remain pressed while the gearshift is
moved.
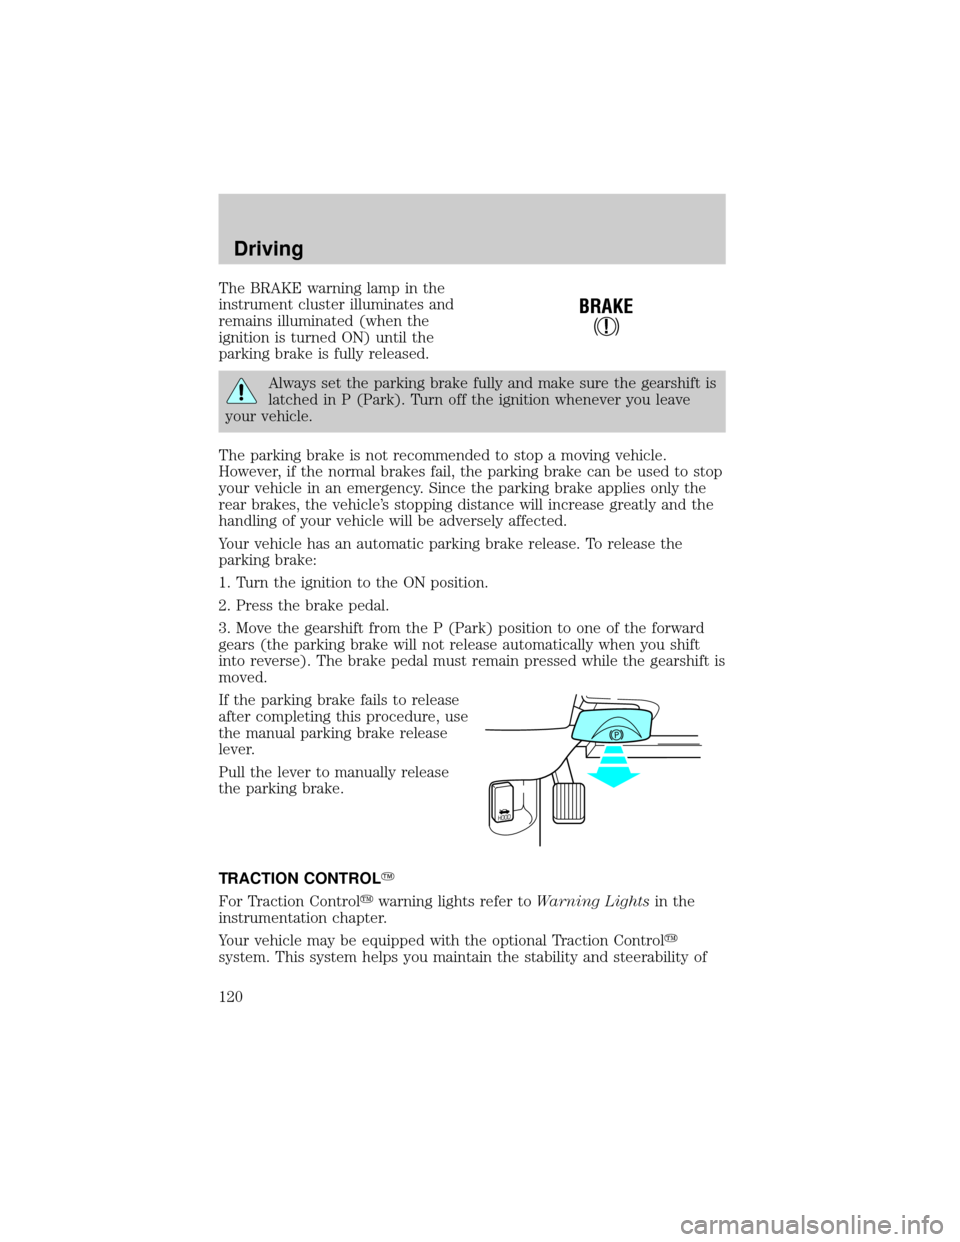
If the parking brake fails to release
after completing this procedure, use
the manual parking brake release
lever.
Pull the lever to manually release
the parking brake.
TRACTION CONTROLY
For Traction Controlywarning lights refer toWarning Lightsin the
instrumentation chapter.
Your vehicle may be equipped with the optional Traction Controly
system. This system helps you maintain the stability and steerability of
!
BRAKE
HOOD
Driving
120
Page 183 of 224

Exhaust leaks may result in entry of harmful and potentially
lethal fumes into the passenger compartment.
Do not make any unauthorized changes to your vehicle or engine. By
law, vehicle owners and anyone who manufactures, repairs, services,
sells, leases, trades vehicles, or supervises a fleet of vehicles are not
permitted to intentionally remove an emission control device or prevent
it from working. Information about your vehicle's emission system is on
the Vehicle Emission Control Information Decal located on or near the
engine. This decal identifies engine displacement and gives some tune up
specifications.
Please consult your ªWarranty Guideº for complete emission warranty
information.
Readiness for Inspection/Maintenance (I/M) testing
In some localities, it may be a legal requirement to pass an I/M test of
the on-board diagnostics system. If your ªCheck Engine/Service Engine
Soonº light is on, refer to the description in theWarning Lights and
Chimessection of theInstrumentationchapter. Your vehicle may not
pass the I/M test with the ªCheck Engine/Service Engine Soonº light on.
If the vehicle's powertrain system or its battery has just been serviced,
the on-board diagnostics system is reset to a ªnot ready for I/M testº
condition. To ready the on-board diagnostics system for I/M testing, a
minimum of 30 minutes of city and highway driving is necessary as
described below:
²First, at least 10 minutes of driving on an expressway or highway.
²Next, at least 20 minutes driving in stop-and-go, city-type traffic with
at least four idle periods.
Allow the vehicle to sit for at least eight hours without starting the
engine. Then, start the engine and complete the above driving cycle. The
engine must warm up to its normal operating temperature. Once started,
do not turn off the engine until the above driving cycle is complete.
Maintenance and care
183
Page 216 of 224

filter, specifications .........178,195
fuel filler door override ............67
fuel filler door release ..............66
fuel pump shut-off switch .....133
gauge .........................................15
improving fuel economy ........179
octane rating ....................177,198
quality ......................................177
running out of fuel .................178
safety information relating
to automotive fuels ................174
Fuses ...................................134,135
Garage door opener ....................61
Gas cap (see Fuel cap) ............176
Gas mileage
(see Fuel economy) .................179
Gauges .........................................15
engine coolant
temperature gauge ...................16
fuel gauge ..................................15
odometer ...................................15
speedometer .............................16
GAWR
(Gross Axle Weight Rating) .....127
definition .................................127
driving with a heavy load ......127
location ....................................127
GVWR (Gross Vehicle
Weight Rating) ..........................127
calculating ...............................127
definition .................................127
driving with a heavy load ......127
location ....................................127
Hazard flashers .........................133
Head restraints ...........................84
Headlamps ...................................23
aiming ........................188,189,190
autolamp system .......................23
bulb specifications ..................188
daytime running lights .............23
flash to pass ..............................24
high beam ............................10,24replacing bulbs .......................184
turning on and off ....................23
warning chime ..........................14
Heating ........................................24
HomeLink universal
transceiver (see
Garage door opener) ...61,62,63,64
Hood ..........................................151
Ignition .......................................198
positions of the ignition ...........54
Infant seats
(see Safety seats) .....................107
Inspection/maintenance
(I/M) testing ..............................183
Instrument panel
cleaning ...................................193
cluster ..........................................8
lighting up
panel and interior .....................23
location of components ..............8
Jump-starting your vehicle ......144
Keyless entry system .................77
autolock .....................................75
keypad .......................................77
programming entry code .........78
Keys .............................................55
key in ignition chime ...............14
positions of the ignition ...........54
Lamps
autolamp system .......................23
bulb replacement
specifications chart ................188
cargo lamps ...............................23
daytime running light ...............23
headlamps .................................23
headlamps, flash to pass ..........24
instrument panel, dimming .....23
interior lamps ....................65,188
replacing bulbs .........184,186,187
Lane change indicator
(see Turn signal) ........................55
Lights, warning and indicator ......8
Index
216
Page 218 of 224

memory seat ...................69,76,88
SecuriLock passive anti-theft
system ................................80,81,82
Servicing your vehicle ..............150
Spark plugs,
specifications ......................195,198
Specification chart,
lubricants ............................197,198
Speed control ..............................56
Speedometer ...............................16
Starting your vehicle .........114,116
jump starting ..........................144
Steering
speed sensitive .......................122
Steering wheel
controls ......................................60
tilting .........................................55
Tilt steering wheel ......................55
Tires ......................140,170,171,172
changing ...........................140,141
checking the pressure ............172
replacing ..................................173
rotating ....................................172
snow tires and chains ............173
tire grades ...............................171
treadwear ................................171
Towing ................................128,172
trailer towing ..........................128
wrecker ....................................149
Traction control ........................120active light ................................13
how to enable/disable ............121
off light ......................................12
Traction-lok rear axle ...............126
Transmission .............................123
fluid, checking and adding
(automatic) .............................164
fluid, refill capacities ..............195
lubricant specifications ...197,198
Trunk ...........................................83
remote release .....................66,73
Turn signal ........................10,14,55
Vehicle dimensions ...................198
Vehicle Identification
Number (VIN) ...........................201
Vehicle loading ..........................127
Ventilating your vehicle ...........117
Warning chimes ...........................14
Warning lights (see Lights) .........8
Washer fluid ..............................157
Water, Driving through .............131
Windows
power .........................................67
Windshield washer
fluid and wipers
checking and adding fluid .....157
checking and cleaning ............169
operation ...................................56
replacing wiper blades ...........169
Wrecker towing .........................149
Index
218