2000 LINCOLN TOWN CAR Wheel
[x] Cancel search: WheelPage 87 of 224

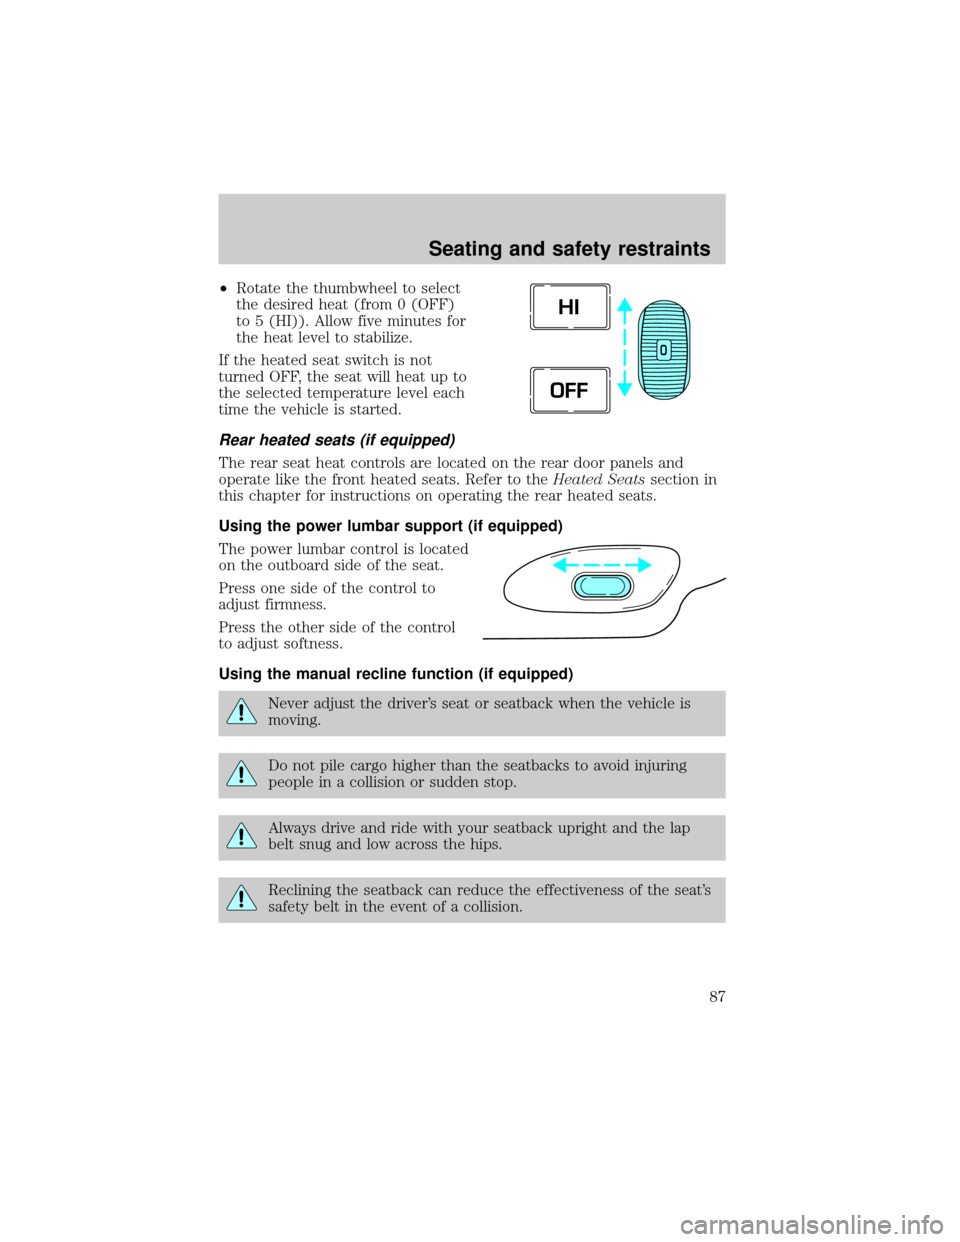
²Rotate the thumbwheel to select
the desired heat (from 0 (OFF)
to 5 (HI)). Allow five minutes for
the heat level to stabilize.
If the heated seat switch is not
turned OFF, the seat will heat up to
the selected temperature level each
time the vehicle is started.
Rear heated seats (if equipped)
The rear seat heat controls are located on the rear door panels and
operate like the front heated seats. Refer to theHeated Seatssection in
this chapter for instructions on operating the rear heated seats.
Using the power lumbar support (if equipped)
The power lumbar control is located
on the outboard side of the seat.
Press one side of the control to
adjust firmness.
Press the other side of the control
to adjust softness.
Using the manual recline function (if equipped)
Never adjust the driver's seat or seatback when the vehicle is
moving.
Do not pile cargo higher than the seatbacks to avoid injuring
people in a collision or sudden stop.
Always drive and ride with your seatback upright and the lap
belt snug and low across the hips.
Reclining the seatback can reduce the effectiveness of the seat's
safety belt in the event of a collision.
O
HI
OFF
Seating and safety restraints
87
Page 115 of 224

2. Make sure the headlamps and vehicle accessories are off.
3. Make sure the parking brake is
set.
4. Make sure the gearshift is in P
(Park).
5. Turn the key to 4 (ON) without
turning the key to 5 (START).
If there is difficulty in turning the
key, firmly rotate the steering wheel
left and right until the key turns
freely. This condition may occur
when:
²front wheels are turned
²front wheel is against the curb
²steering wheel is turned when getting in or out of the vehicle
HOOD
1
2
34
5
10
2030405060
70
80
90
100
120206080
40100
120
160 140
180
P R N D 2 1
MPHkm/h
110
HF
E1
2
FILL ON
LEFT<
AIR
BAG CHECK
TRAC
SERVICE
ENGINE
SOON
TRUNK AJAR DOOR AJAR
TRAC OFF AIR SUSPENSION
O/D OFF TRAC ACTIVE
SPEED CONTROL COMPASSkmCIRCLE
SLOWLY FUEL ECON
DIST TO EMPTY
AVG SPEED
TRIP A B
E/M
km MILES/GALWASHER
LTR/100km
BRAKE
Starting
115
Page 118 of 224

BRAKES
Your service brakes are self-adjusting. Refer to the scheduled
maintenance guide for scheduled maintenance.
Occasional brake noise is normal and often does not indicate a
performance concern with the vehicle's brake system. In normal
operation, automotive brake systems may emit occasional or intermittent
squeal or groan noises when the brakes are applied. Such noises are
usually heard during the first few brake applications in the morning;
however, they may be heard at any time while braking and can be
aggravated by environmental conditions such as cold, heat, moisture,
road dust, salt or mud. If a ªmetal-to-metal,º ªcontinuous grindingº or
ªcontinuous squealº sound is present while braking, the brake linings
may be worn-out and should be inspected by a qualified service
technician.
Anti-lock brake system (ABS)
On vehicles equipped with an anti-lock braking system (ABS), a noise
from the hydraulic pump motor and pulsation in the pedal may be
observed during ABS braking events. Pedal pulsation coupled with noise
while braking under panic conditions or on loose gravel, bumps, wet or
snowy roads is normal and indicates proper functioning of the vehicle's
anti-lock brake system. The ABS performs a self-check after you start
the engine and begin to drive away. A brief mechanical noise may be
heard during this test. This is normal. If a malfunction is found, the ABS
warning light will come on. If the vehicle has continuous vibration or
shudder in the steering wheel while braking, the vehicle should be
inspected by a qualified service technician.
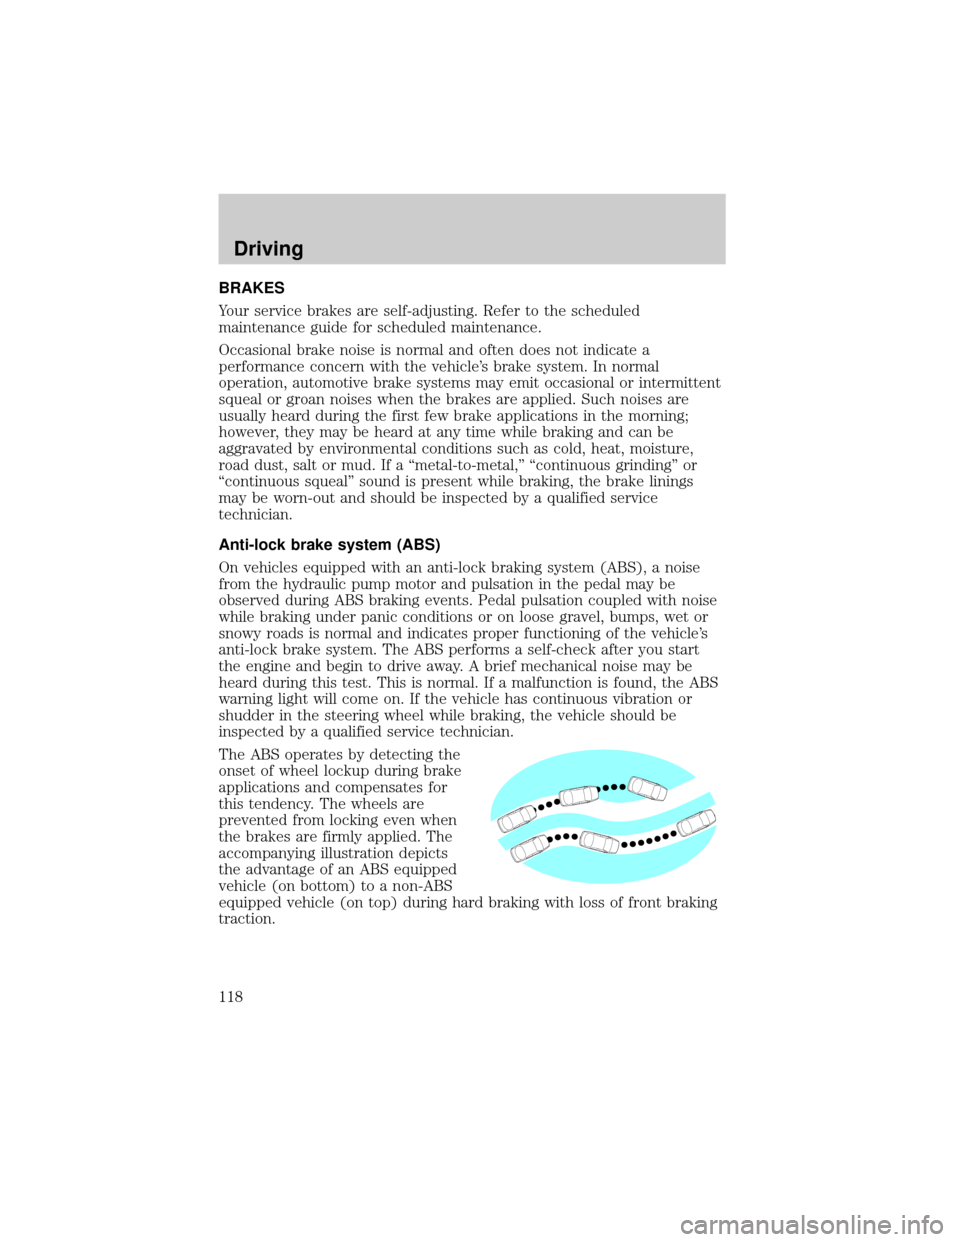
The ABS operates by detecting the
onset of wheel lockup during brake
applications and compensates for
this tendency. The wheels are
prevented from locking even when
the brakes are firmly applied. The
accompanying illustration depicts
the advantage of an ABS equipped
vehicle (on bottom) to a non-ABS
equipped vehicle (on top) during hard braking with loss of front braking
traction.
Driving
118
Page 121 of 224

your vehicle. It is especially useful on slippery and/or hilly road surfaces.
The system operates by detecting and controlling wheel spin. The system
borrows many of the electronic and mechanical elements already present
in the anti-lock braking system (ABS).
Wheel-speed sensors allow excess rear wheel spin to be detected by the
Traction Controlyportion of the ABS computer. Any excessive wheel
spin is controlled by automatically applying and releasing the rear brakes
in conjunction with engine torque reductions. Engine torque reduction is
realized via the fully electronic spark and fuel injection systems. This
process is very sensitive to driving conditions and very fast acting. The
rear wheels ªsearchº for optimum traction several times a second and
adjustments are made accordingly.
The Traction Controlysystem will allow your vehicle to make better use
of available traction on slippery surfaces. The system is a driver aid
which makes your vehicle easier to handle primarily on snow and ice
covered roads.
During Traction Controlyoperation you may hear an electric motor type
of sound coming from the engine compartment and the engine will not
ªrev-upº when you push further on the accelerator. This is normal
system behavior.
If you should become stuck in snow or ice or on a very slippery road
surface, try switching the Traction Controlysystem off. This may allow
excess wheel spin to ªdigº the vehicle out and enable a successful
ªrockingº maneuver.
If the Traction Controlysystem is cycled excessively, the brake portion
of the system will shut down to prevent the rear brakes from
overheating. A limited Traction Controlyfunction using only engine
torque reduction will still control wheels from over-spinning. When the
rear brakes have cooled down, the system will again function normally.
Anti-lock braking is not affected by this condition and will function
normally during the cool down period.
Traction control switch
The traction control switch is located on the left side of the glove
compartment. The traction control system defaults to ON when the
ignition key is turned from OFF to RUN.
Driving
121
Page 122 of 224

STEERING
Your vehicle is equipped with power steering. Power steering uses energy
from the engine to help steer the vehicle.
To prevent damage to the power steering pump:
²Never hold the steering wheel to the extreme right or the extreme left
for more than a few seconds when the engine is running.
²Do not operate the vehicle with a low power steering pump fluid level.
If the power steering system breaks down (or if the engine is turned
off), you can steer the vehicle manually, but it takes more effort.
If the steering wanders or pulls, the condition could be caused by any of
the following:
²underinflated tire(s) on any wheel(s)
²high crown in center of road
²high crosswinds
²wheels out of alignment
²loose or worn components in steering linkage
Speed sensitive steering
The steering in your vehicle is speed sensitive. At high speeds, steering
assist will decrease to improve steering feel. At lower speeds,
maneuverability will be increased.
If the amount of effort required to steer your vehicle changes at a
constant vehicle speed, have the power steering system checked by your
dealer or a qualified service technician.
AIR SUSPENSION SYSTEM
The air suspension system is designed to improve ride, handling and
general vehicle performance during:
²certain road conditions
²steering maneuvers
²braking
²accelerations
This system keeps the rear of your vehicle at a constant level by
automatically adding air or releasing air from the springs.
Driving
122
Page 124 of 224

If your vehicle gets stuck in mud or snow it may be rocked out by
shifting from forward and reverse gears, stopping between shifts, in a
steady pattern. Press lightly on the accelerator in each gear.
Do not rock the vehicle if the engine is not at normal operating
temperature or damage to the transmission may occur.
Do not rock the vehicle for more than a few minutes or damage
to the transmission and tires may occur or the engine may
overheat.
Always set the parking brake fully and make sure the gearshift is
latched in P (Park). Turn off the ignition whenever you leave
your vehicle.
If the parking brake is fully released, but the brake warning lamp
remains illuminated, the brakes may not be working properly.
See your dealer or a qualified service technician.
Driving with a 4±speed automatic transmission
Understanding gearshift positions
To put your vehicle in gear, start the engine, depress the brake pedal,
then move gearshift lever out of P (Park).
Hold the brake pedal down while you move the gearshift lever
from P (Park) to another position. If you do not hold the brake
pedal down, your vehicle may move unexpectedly and injure someone.
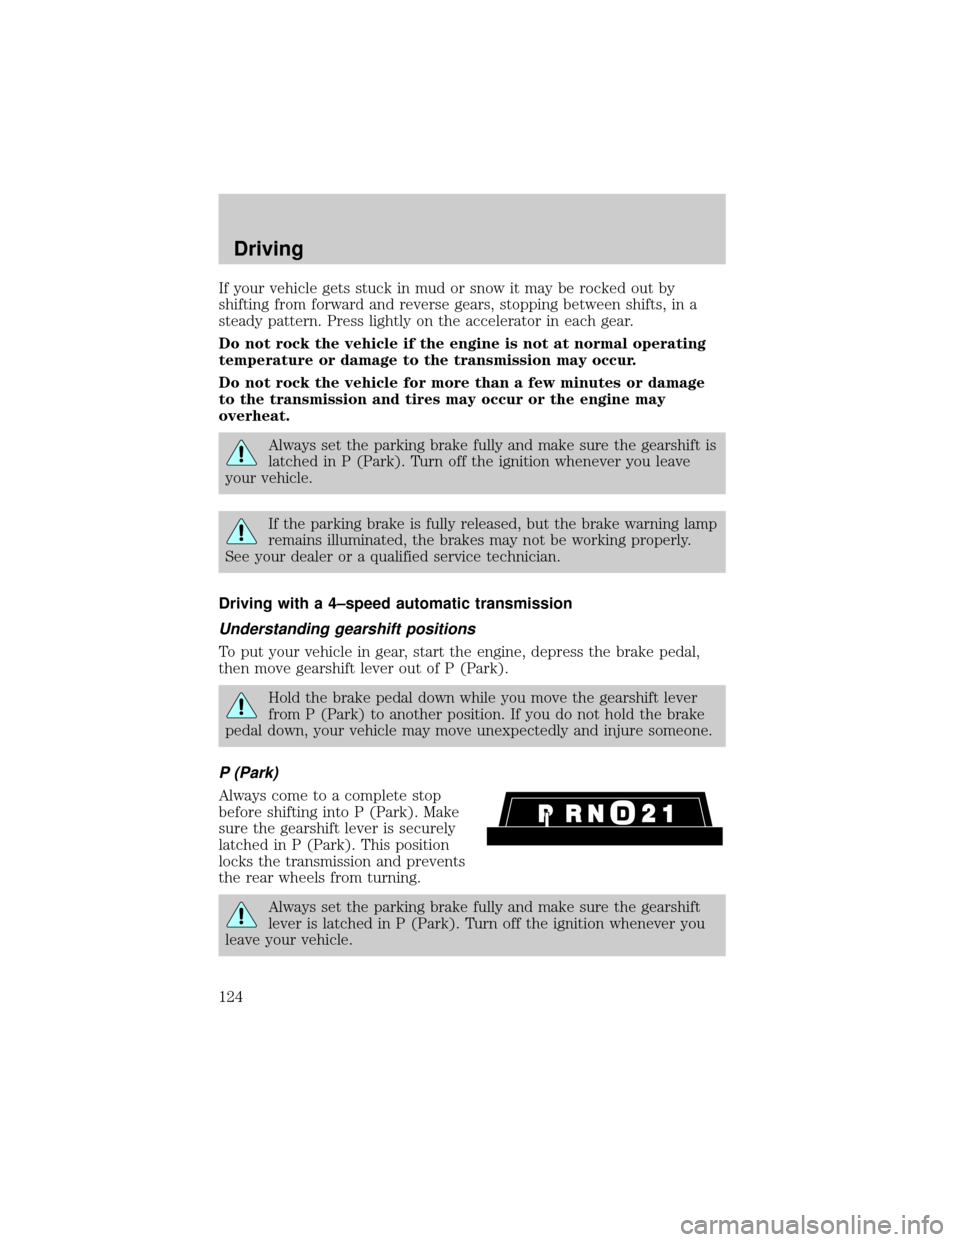
P (Park)
Always come to a complete stop
before shifting into P (Park). Make
sure the gearshift lever is securely
latched in P (Park). This position
locks the transmission and prevents
the rear wheels from turning.
Always set the parking brake fully and make sure the gearshift
lever is latched in P (Park). Turn off the ignition whenever you
leave your vehicle.
Driving
124
Page 126 of 224

²towing a trailer up or down steep hills.
²additional engine braking is desired. If towing a trailer, refer to
Driving while you towin theTrailer Towingchapter.
To return to Overdrive mode, press the transmission control switch. The
O/D OFF indicator light will no longer be illuminated.
Each time the vehicle is started, the transmission will automatically
return to normal Overdrive mode.
Every time the vehicle is shut off and restarted, you must press the
transmission control switch to cancel overdrive operation if the Overdrive
mode is not desired.
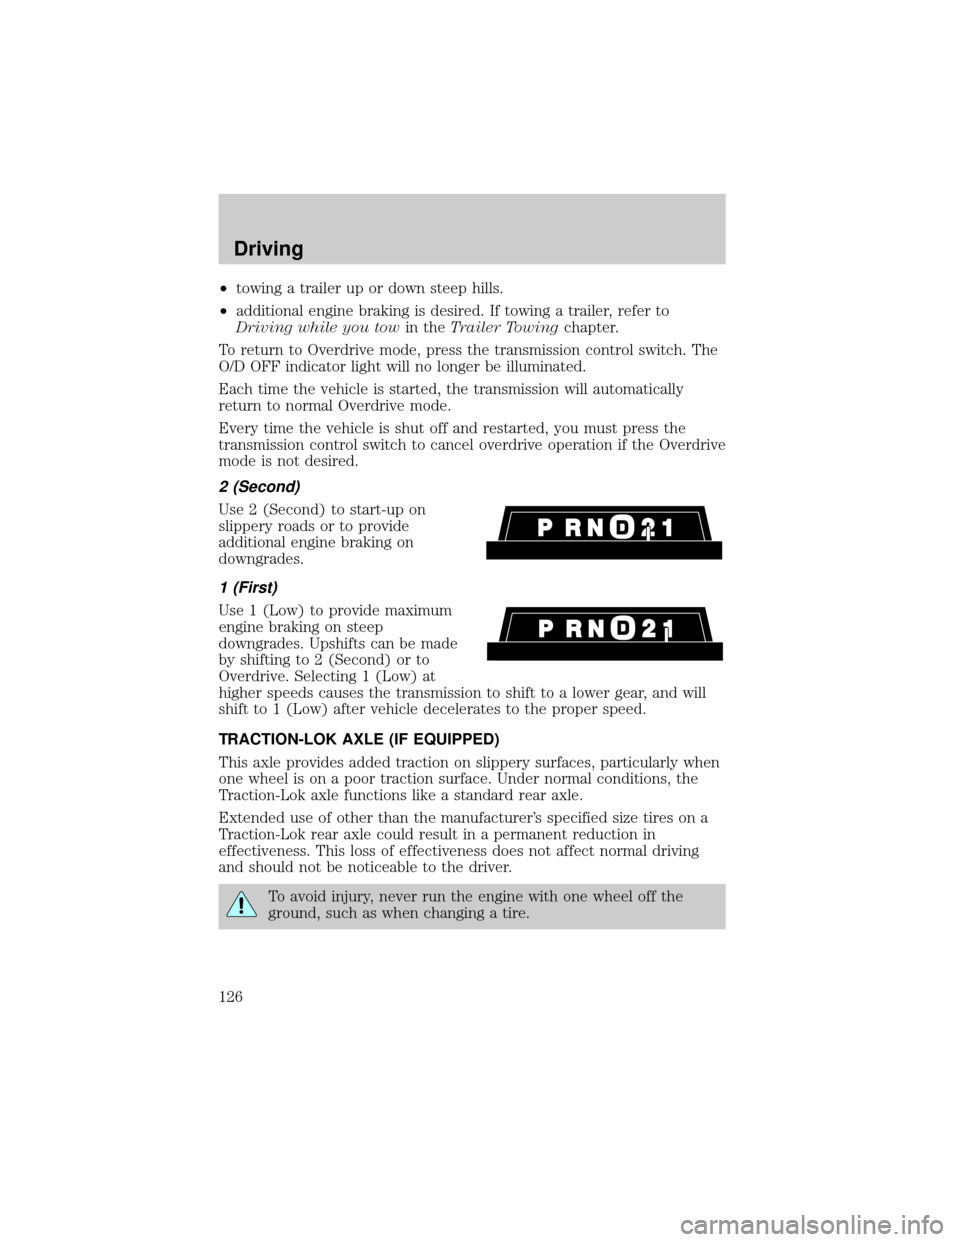
2 (Second)
Use 2 (Second) to start-up on
slippery roads or to provide
additional engine braking on
downgrades.
1 (First)
Use 1 (Low) to provide maximum
engine braking on steep
downgrades. Upshifts can be made
by shifting to 2 (Second) or to
Overdrive. Selecting 1 (Low) at
higher speeds causes the transmission to shift to a lower gear, and will
shift to 1 (Low) after vehicle decelerates to the proper speed.
TRACTION-LOK AXLE (IF EQUIPPED)
This axle provides added traction on slippery surfaces, particularly when
one wheel is on a poor traction surface. Under normal conditions, the
Traction-Lok axle functions like a standard rear axle.
Extended use of other than the manufacturer's specified size tires on a
Traction-Lok rear axle could result in a permanent reduction in
effectiveness. This loss of effectiveness does not affect normal driving
and should not be noticeable to the driver.
To avoid injury, never run the engine with one wheel off the
ground, such as when changing a tire.
Driving
126
Page 130 of 224

Driving while you tow
Do not drive faster than 88 km/h (55 mph) when towing a trailer.
Speed control may shut off if you are towing on long, steep grades.
When towing a trailer:
²Use a lower gear when towing up or down steep hills. This will
eliminate excessive downshifting and upshifting for optimum fuel
economy and transmission cooling.
²Anticipate stops and brake gradually.
Exceeding the GCWR rating may cause internal transmission
damage and void your warranty coverage.
Servicing after towing
If you tow a trailer for long distances, your vehicle will require more
frequent service intervals. Refer to your Scheduled Maintenance guide
for more information.
Trailer towing tips
²Practice turning, stopping and backing up in an area before starting on
a trip to get the feel of the vehicle trailer combination. When turning,
make wider turns so the trailer wheels will clear curbs and other
obstacles.
²Allow more distance for stopping with a trailer attached.
²The trailer tongue weight should be 10% of the loaded trailer weight.
²After you have traveled 80 km (50 miles), thoroughly check your
hitch, electrical connections and trailer wheel lug nuts.
²When stopped in traffic for long periods of time in hot weather, place
the gearshift in P (Park) and increase idle speed. This aids engine
cooling and air conditioner efficiency.
²Vehicles with trailers should not be parked on a grade. If you must
park on a grade, place wheel chocks under the trailer's wheels.
Launching or retrieving a boat
When backing down a ramp during boat launching or retrieval,
²Do not allow the static water level to rise above the bottom edge of
the rear bumper and
²Do not allow waves to break higher than 15 cm (6 inches) above the
bottom edge of the rear bumper.
Driving
130