Page 40 of 267

seat maker to determine whether a
tether is available for a particular
child seat.
Use the measurements shown in
the illustration to locate the attachment point. Find the precutslits at that location, then use a
razor blade to cut the carpet between the slits. Cut the carpet
between these two lines at the
front, and fold back the flap. Usea Phillips-head screwdriver to
remove the screw.
To attach the tether to the vehicle,
you need to purchase the anchor
plate and mounting hardwarefrom your Honda dealer (part
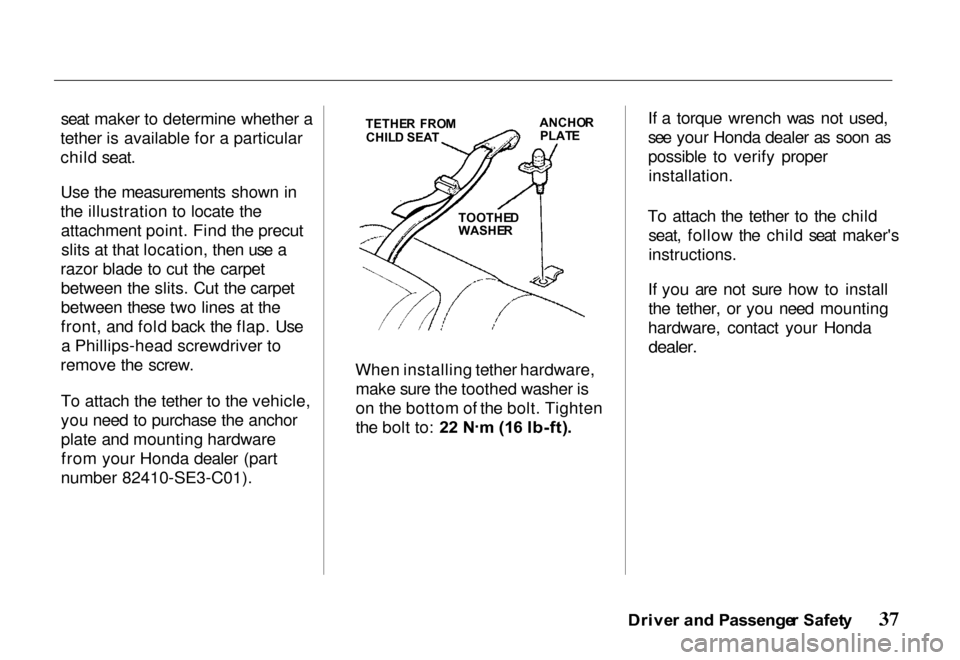
number 82410-SE3-C01). When installing tether hardware,
make sure the toothed washer is
on the bottom of the bolt. Tighten
the bolt to: 2 2 N .
m (1 6 Ib-ft) . If a torque wrench was not used,
see your Honda dealer as soon as
possible to verify proper
installation.
To attach the tether to the child seat, follow the child seat maker's
instructions.
If you are not sure how to install the tether, or you need mounting
hardware, contact your Honda
dealer.
Drive r an d Passenge r Safet y
TETHE
R FRO M
CHIL D SEA T ANCHO
R
PLAT E
TOOTHE D
WASHE R
Page 187 of 267

8. Turn the jack handle
clockwise with a slow, smooth
motion to raise the vehicle sothe inflated spare tire will
clear the surface.
9. Remove the wheel nuts and the wheel.
10. Install the wheel and replace the whee
l nuts with the
cone-shaped end toward the
wheel, then hand-tighten each
nut. The wheel must be seated on the hub.
11.
Lower the vehicle by turning
the jac
k handle counter-
clockwise, then fully tighten the wheel nuts in a crisscrosssequence by turning the
wrench clockwise. Have the
wheel nut torque checked at
the nearest automotive service
facility.
87 lb-ft ( 118 N.m)
12.
Stow the jacking tools and flat
tire i
n their proper locations.
Too
l Location s
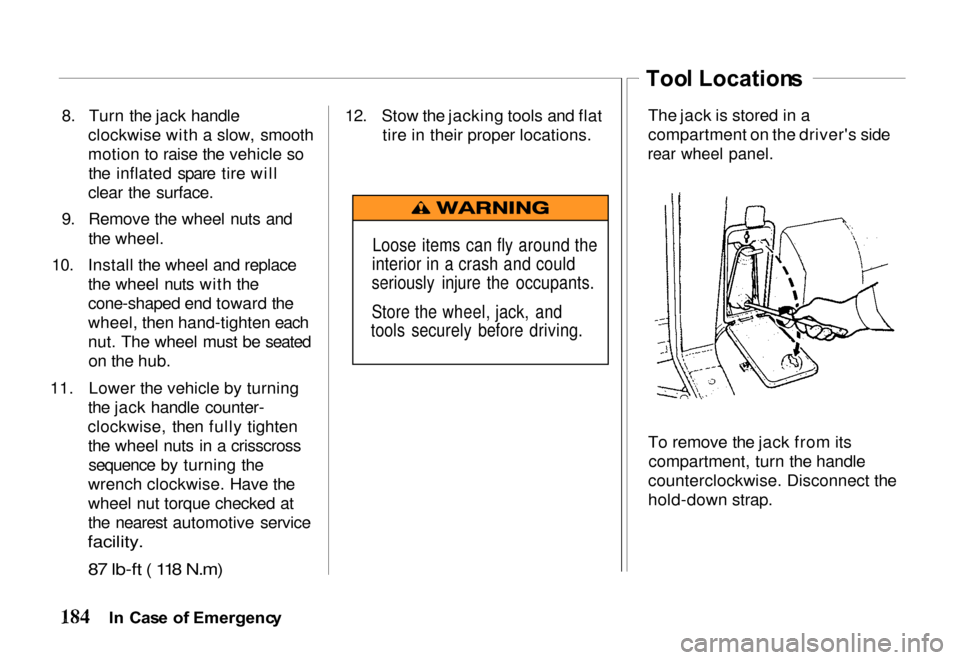
The jack is stored in a
compartment on the driver's side
rear wheel panel.
To remove the jack from itscompartment, turn the handle
counterclockwise. Disconnect the
hold-down strap.
I n Cas e o f Emergenc y
Loose items can fly around the
interior in a crash and could
seriously injure the occupants.
Store the wheel, jack, and
tools securely before driving.
Page 221 of 267

Fron
t (4W D Only ) an d Rea r
Propelle r Shaf t
Lubricate the sliding yoke with
EP chassis grease. Lubricate
universal joints with grease
containing MoS 2 (molybdenum
disulfide-type grease) at the intervals shown in the
Maintenance Schedule. Also
check the propeller shaft
flange-to-pinion bolts for proper
torque of 64 N.m (46.3 Ib-ft).
Most lubrication recommendations
and procedures for four-wheel drive-
equipped vehicles are the same
for the corresponding components in conventional drive vehicles.
Exhaus t Syste m
Check the complete exhaust
system and nearby body areas for
damaged, missing, or
mispositioned parts, open seams, holes, loose connections, or other
deterioration that could allow
exhaust fumes to seep into the
passenger compartment or cause
heat build-up in the floor pan. Any
necessary corrections should be made immediately. For continuedsafety, exhaust system pipes and
resonators rearward of the muffler must be replaced whenever a new
muffler is installed.
Fue l Lin e an d Fue l Tank/Ca p
Inspect the fuel tank, cap and lines
for damage that could cause
leakage. Inspect the fuel cap and
gasket for correct sealing ability
and indications of physical
damage. Replace any damaged or
malfunctioning parts.
Driv
e Bel t
Check the belt driving the
alternator, power steering pump,
and air conditioning compressor.
Look for cracks, fraying, and wear. Replace as necessary.
Timin g Bel t
The timing belt should normally
be replaced at the intervals shown
in the Maintenance Schedule.
Valv e Clearanc e
Incorrect valve clearance will
result in increased engine noise and lower engine output, thereby
adversely affecting engine
performance.
Car e an d Maintenanc e