2000 HONDA PASSPORT manual transmission
[x] Cancel search: manual transmissionPage 1 of 267

2000 Passport Online Reference Owner's Manual
Use these links (and links throughout this manual) to navigate through\
this reference.
For a printed owner's manual, click on authorized manuals or go to www.h\
elminc.com. Contents
Owner's Identification Form
A Word to the Owner
........................................................................\
................................................... i
Important Handling Information ........................................................................\
.............................. ii
A Few Words About Safety
........................................................................\
........................................ iv
Driver and Passenger Safety ........................................................................\
...................................... 3
Proper use and care of your vehicle's seat belts, and Supplemental Restr\
aint System.
Off to a Good Start
........................................................................\
..................................................... 47
Instruments and Controls
........................................................................\
......................................... 53
Instrument panel indicator and gauge, and how to use dashboard and steering co\
lumn controls.
Seats
........................................................................\
........................................................................\
.... 87
Interior Features
........................................................................\
....................................................... 95
Comfort and Convenience Features
........................................................................\
...................... 115
How to operate the climate control system, the audio system, and other c\
onvenience features.
Driving Tips
........................................................................\
.............................................................. 151
The proper way to start the engine, shift the transmission, and park, wh\
at gasoline to use, how to
break -in your new vehicle, and how to load luggage and other cargo.
In Case of Emergency
........................................................................\
.............................................. 179
This section covers several problems motorists sometimes experience, and how to handle them.
Care and Maintenance
........................................................................\
............................................ 191
The Maintenance Schedule shows you when you need to take your vehicle to\
the dealer and
tips on cleaning and protecting your vehicle. Things to look for if your\
car ever needs body
repairs.
Technical Data
........................................................................\
......................................................... 227
ID numbers, dimensions, capacities, and technical information.
Owner Assistance
........................................................................\
..................................................... 241
A summary of the warranties covering your new Honda, and how to contact \
us.
Authorized Manuals
........................................................................\
................................................ 249
How to order manuals and other technical literature.
Index ............................................................................................................................................... .....
251
Page 56 of 267

Instrument
s an d Control s
This section explains the controls
and displays that contribute to the
daily operation of your Honda.
All the essential controls are
within easy reach. Control Locations ......... 54
Indicators an
d Gauges ...... 55
Gauges .................. 56 Tachometer ............ 56Speedometer ........... 56
Odometer ............. 56
Trip Odometer/ Reset Knob ........... 56
Fuel Gauge ............ 57
Engine Coolant Temperature Gauge .... 58
Indicator Lights ........... 59
Switches ................. 68 Windshield Wiper/Washer 68Headlights ............. 70
Illumination Control ..... 71
Rear Window Defogger . . 72
Rear Window Wiper/ Washer .............. 72
Turn Signals ............ 73 Hazard Warning Flasher . .
74
Automatic Transmissio
n .... 74
Transfer Control (4WD Models) ......... 78
5-Speed Manual Transmission 81 Transfer Control(4WD Models) ......... 82
Parking Brake ............ 84
Accelerator Pedal .......... 85
Clutch Pedal ............. 85
Instrument s an d Control s
Page 67 of 267

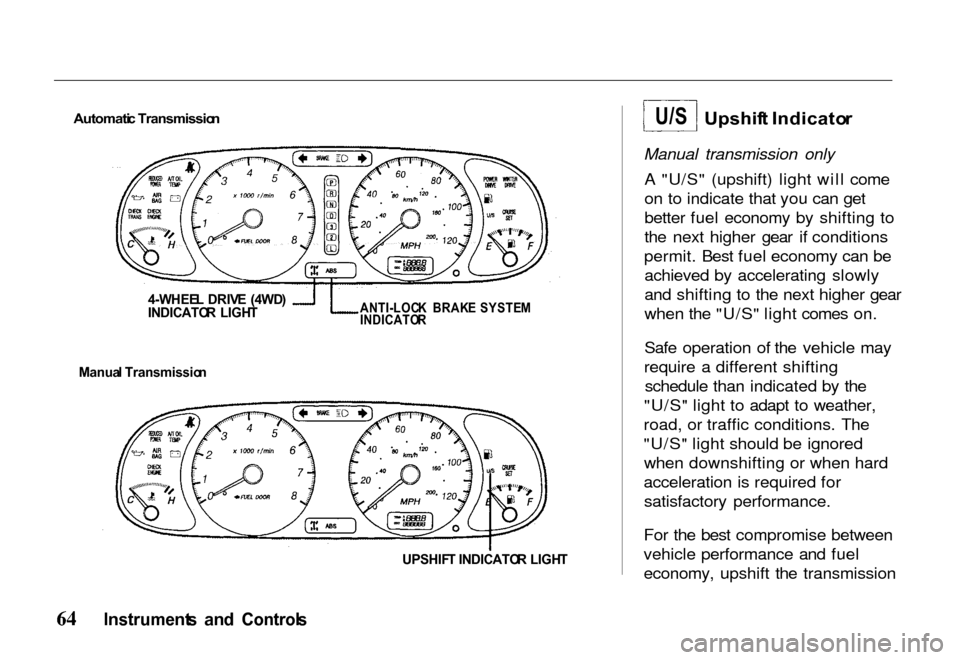
Automati
c Transmissio n
4-WHEE L DRIV E (4WD )
INDICATO R LIGH T
ANTI-LOC
K BRAK E SYSTE M
INDICATO R
Manua l Transmissio n
UPSHIFT INDICATO R LIGH T
Upshif
t Indicato r
Manual transmission only A "U/S" (upshift) light will come
on to indicate that you can get
better fuel economy by shifting to
the next higher gear if conditions
permit. Best fuel economy can be achieved by accelerating slowly
and shifting to the next higher gear
when the "U/S" light comes on.
Safe operation of the vehicle may
require a different shifting schedule than indicated by the
"U/S" light to adapt to weather,
road, or traffic conditions. The
"U/S" light should be ignored when downshifting or when hard
acceleration is required for satisfactory performance.
For the best compromise between
vehicle performance and fuel
economy, upshift the transmission
Instrument s an d Control s
U/S
Page 87 of 267

Operatio
n
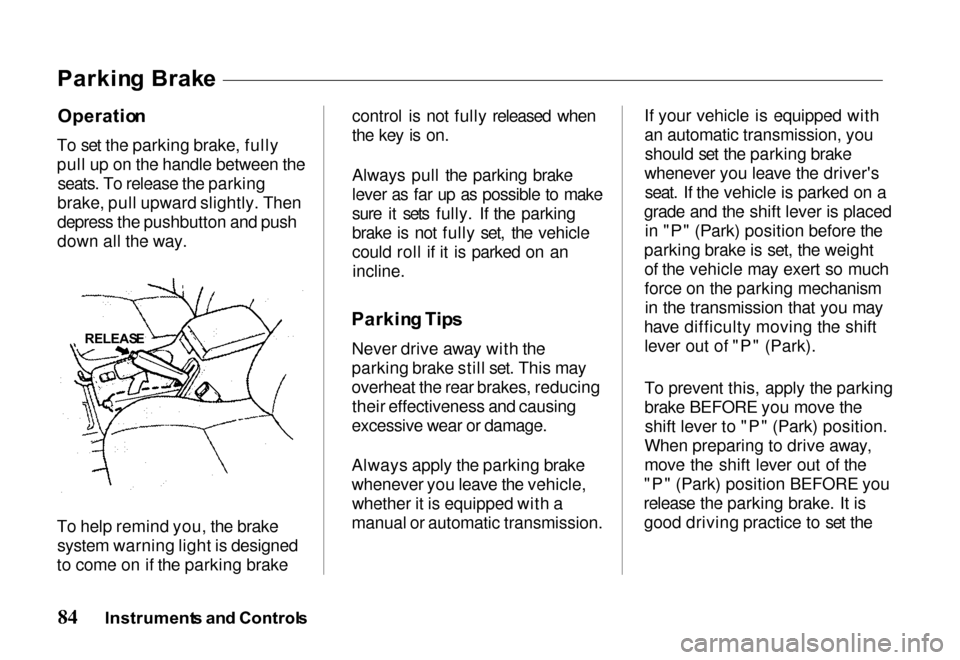
To set the parking brake, fully
pull up on the handle between the seats. To release the parking
brake, pull upward slightly. Then
depress the pushbutton and push
down all the way.
To help remind you, the brake system warning light is designed
to come on if the parking brake control is not fully released when
the key is on.
Always pull the parking brake
lever as far up as possible to make
sure it sets fully. If the parking
brake is not fully set, the vehicle
could roll if it is parked on an
incline.
Parkin g Tip s
Never drive away with the
parking brake still set. This may
overheat the rear brakes, reducing their effectiveness and causing
excessive wear or damage.
Always apply the parking brake
whenever you leave the vehicle, whether it is equipped with a
manual or automatic transmission. If your vehicle is equipped with
an automatic transmission, you
should set the parking brake
whenever you leave the driver's seat. If the vehicle is parked on a
grade and the shift lever is placed in "P" (Park) position before the
parking brake is set, the weight of the vehicle may exert so much
force on the parking mechanismin the transmission that you may
have difficulty moving the shift lever out of "P" (Park).
To prevent this, apply the parking
brake BEFORE you move theshift lever to "P" (Park) position.
When preparing to drive away,
move the shift lever out of the
"P" (Park) position BEFORE you
release the parking brake. It is good driving practice to set the
Instrument s an d Control s
Parkin
g Brak e
RELEAS E
Page 88 of 267

parking brake first, then place the
transmission in "P" (Park)
position, even on level surfaces.
When parking a vehicle equippedwith a manual transmission on an
upward slope or on a levelsurface, place the shift lever in the
" 1" (first gear) position.
When parking a vehicle equipped
with a manual transmission on a
downward slope, place the shift lever in the "R" (Reverse)
position. Accelerato
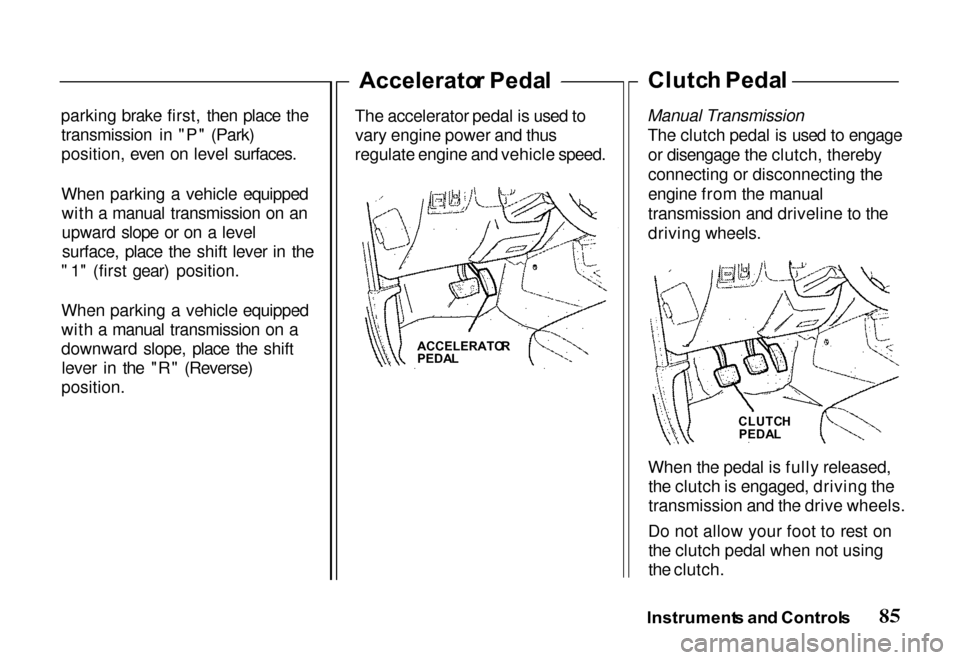
r Peda l
The accelerator pedal is used to vary engine power and thus
regulate engine and vehicle speed. Clutc
h Peda l
Manual Transmission The clutch pedal is used to engageor disengage the clutch, thereby
connecting or disconnecting the
engine from the manual
transmission and driveline to the
driving wheels.
When the pedal is fully released,the clutch is engaged, driving the
transmission and the drive wheels.
Do not allow your foot to rest on the clutch pedal when not using
the clutch.
Instrument s an d Control s
ACCELERATO
R
PEDA L
CLUTCH
PEDA L
Page 101 of 267

The anti-theft steering column
lock is not interconnected with the
parking brake. You must alwaysset the parking brake when
leaving the vehicle.
To prevent discharging the battery, avoid use of electrical accessories
with the engine shut off.
For easier key operation when
unlocking, rotate the steering
wheel slightly to relieve pressure
on the steering lock.
Ke y Remova l
Manual Transmission With the vehicle fully stopped,remove the key from the switch
by turning it to the "LOCK"
position and removing it. Automatic Transmission
With the vehicle fully stopped, place
the automatic transmission shift
lever in "P" (Park) position. Turn
the key to the "LOCK" position.
Ke y Reminde r
The key reminder circuit causes a beeper to sound when the door is
held open with the key left in theignition switch. This is to help
prevent accidentally locking the
key inside the vehicle.
The beeper stops when the door is
closed or when the key is removed.
Guar d Agains t Thef t
Your new Passport has features to
help prevent theft of the vehicle, its equipment, and its contents.
These anti-theft features work
depending on how well you use
them.
Park in a well-lighted areawhenever possible.
Lock the steering column and
take the key with you.
— Turn the ignition switch to "LOCK" and remove the key.
This locks both the ignition switch and steering control.
Interio r Feature s
Removing the key from the
ignition switch while driving
locks the steering. This can
cause you to lose control.
Remove the key from the
ignition switch only when
parked.
Page 148 of 267

Tap Down (While Cruise Control
System Is in Use)
Quickly pressing and releasing the
"SET/COAST" button with the
cruise control engaged allows you
to "tap down" the preset cruising speed. Each depression decreases
the preset cruising speed by one
mile per hour (1.6 km/h). The
preset cruising speed can be decreased to a minimum of 25
miles per hour (40 km/h) in this
manner.
Disengaging
Disengage the cruise control
system by depressing the brake
pedal, or the clutch pedal on manual transmission vehicles.
You can also turn off the system
by turning the knob to "CANCEL,"
then releasing it, or by pressing the
CRUISE ON/OFF button.
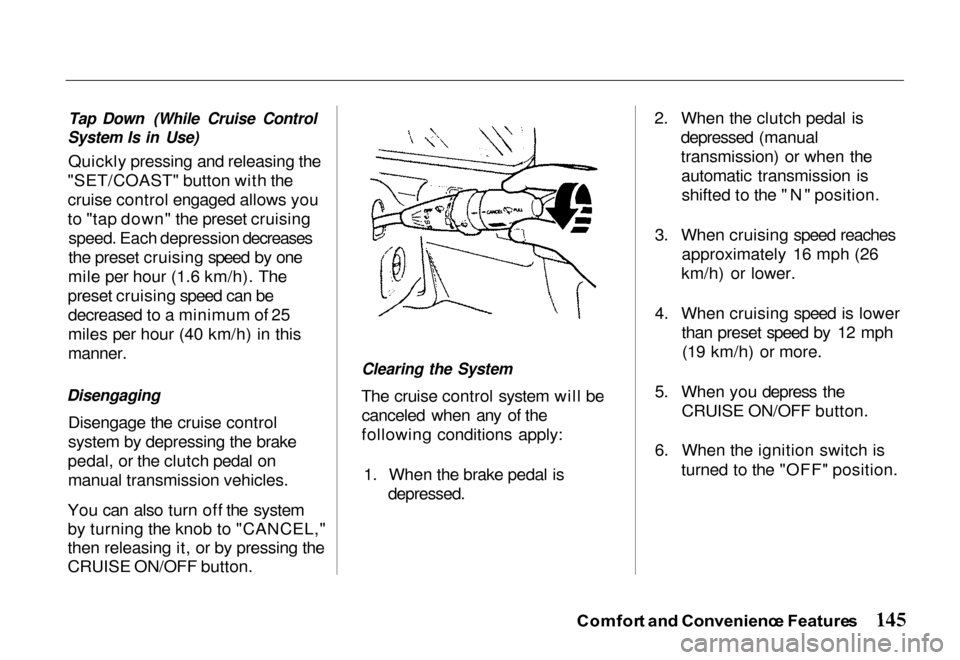
Clearing the System
The cruise control system will be canceled when any of the
following conditions apply:
1. When the brake pedal is
depressed.
2. When the clutch pedal is
depressed (manual
transmission) or when theautomatic transmission isshifted to the "N" position.
3. When cruising speed reaches approximately 16 mph (26
km/h) or lower.
4. When cruising speed is lower than preset speed by 12 mph(19 km/h) or more.
5. When you depress the CRUISE ON/OFF button.
6. When the ignition switch is turned to the "OFF" position.
Comfor t an d Convenienc e Feature s
Page 156 of 267

switch is turned to the "ON"
or "START" position.
5. Check all gauges (including
the fuel gauge).
6. Release the parking brake
(and make sure the "BRAKE"
light turns off).
See related topics in this manual if
you find any problems.
Startin g th e Engin e
1. Apply the parking brake.
2. Manual Transmission: Press
the clutc
h pedal to the floor
and shift the transmission to
the Neutral position. Hold the
clutch pedal to the floor while
you are starting the engine. A starter safety switch keeps the
starter from operating if the
clutch pedal is not fully
depressed.
Automatic Transmission:
Place the shift lever in "P"
or "N" position ("P" is
preferred). A starter safety switch prevents the starter
from operating if the shift lever is in any drive position.
If it is necessary to restart the
engine with the vehicle
moving, place the shift lever in "N" (never in "P").
3. Do not touch the accelerator pedal. Start the engine byturning the ignition switch to
"START."
If the engine does not start in 10 seconds, wait 15 seconds to let
the starter cool down. Then crank
the engine at wide open throttle
for a maximum of 10 seconds. If
the engine still does not start, wait
another 15 seconds and repeat the
entire procedure. Do not crank the engine for more
than 10 seconds at a time. Wait 15
seconds before trying again.
4. Return the ignition switch to
the "ON" position as soon as
the engine starts.
5. Apply the regular brakes and shift into the proper gear.
Release the parking brake and
brake pedal and drive off.
In models with an automatic
transmission, you cannot shift
from "P" (Park) position to any other position unless the
brake pedal is applied.
Driving Tip s