2000 HONDA ODYSSEY Dipstick
[x] Cancel search: DipstickPage 195 of 352

Service Statio n Procedure s
Oil Check
Check the engine oil level every time
you fill the vehicle with fuel. Wait a few minutes after turning the engine off before you check the oil.
1. Remove the dipstick (orange
handle).
2. Wipe the dipstick with a clean cloth or paper towel. 3. Insert it all the way back in its tube.
Befor
e Drivin g
DIPSTIC K
Page 196 of 352

Service Statio n Procedure s
4. Remove the dipstick again and
check the level. It should be
between the upper and lower marks.
If it is near or below the lower mark, see Addin g Oi l on page 239 .
Engine Coolant Check
MA X RESERV E TAN K
Look at the coolant level in the
radiator reserve tank. Make sure it is
between the MAX and MIN lines. If
it is below the MIN line, see Addin g
Engin e Coolan t on page 243 for
information on adding the proper
coolant. Refer to Owne
r Maintenanc e
Check s on page 237 for information
on checking other items in your
Honda.
Befor e Drivin g
MIN
UPPE R MAR K
LOWE R MAR K
Page 245 of 352

Engine Oi l
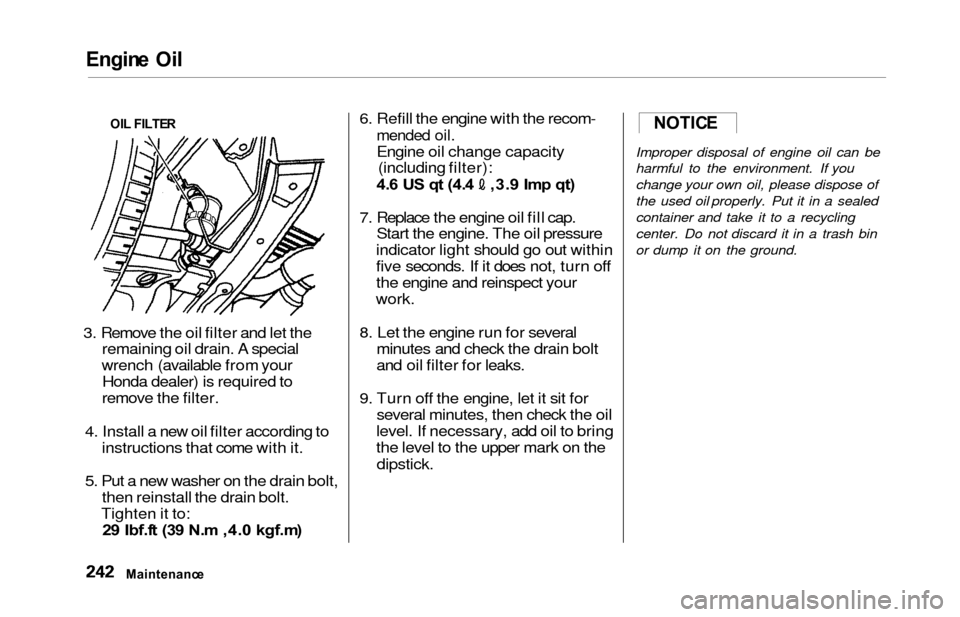
3. Remove the oil filter and let the
remaining oil drain. A special
wrench (available from your Honda dealer) is required to
remove the filter.
4. Install a new oil filter according to instructions that come with it.
5. Put a new washer on the drain bolt, then reinstall the drain bolt.
Tighten it to: 2 9 Ibf.f t (3 9 N. m ,4. 0 kgf.m ) 6. Refill the engine with the recom-
mended oil.
Engine oil change capacity
(including filter):
4. 6 U S q t (4. 4 ,3. 9 Im p qt )
7. Replace the engine oil fill cap. Start the engine. The oil pressure
indicator light should go out within
five seconds. If it does not, turn off
the engine and reinspect your
work.
8. Let the engine run for several minutes and check the drain bolt
and oil filter for leaks.
9. Turn off the engine, let it sit for several minutes, then check the oil
level. If necessary, add oil to bring
the level to the upper mark on the
dipstick.
Improper disposal of engine oil can be
harmful to the environment. If you
change your own oil, please dispose of
the used oil properly. Put it in a sealed
container and take it to a recycling
center. Do not discard it in a trash bin
or dump it on the ground.
Maintenanc e
OI
L FILTE R
NOTIC E
Page 252 of 352

Automatic Transmissio n Flui d
Check the fluid level with the engine
at normal operating temperature.
1. Park the vehicle on level ground. Shut off the engine.
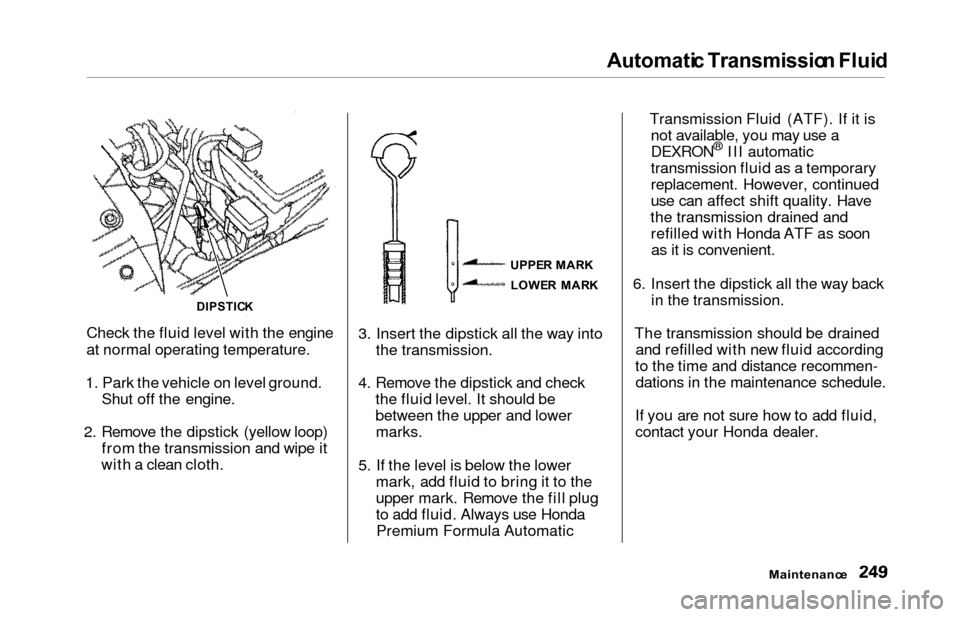
2. Remove the dipstick (yellow loop) from the transmission and wipe it
with a clean cloth. 3. Insert the dipstick all the way into
the transmission.
4. Remove the dipstick and check the fluid level. It should be
between the upper and lowermarks.
5. If the level is below the lower mark, add fluid to bring it to the
upper mark. Remove the fill plug
to add fluid. Always use HondaPremium Formula Automatic Transmission Fluid (ATF). If it is
not available, you may use a
DEXRON
® III automatic
transmission fluid as a temporary
replacement. However, continued
use can affect shift quality. Have
the transmission drained and refilled with Honda ATF as soonas it is convenient.
6. Insert the dipstick all the way back in the transmission.
The transmission should be drained and refilled with new fluid according
to the time and distance recommen- dations in the maintenance schedule.
If you are not sure how to add fluid,
contact your Honda dealer.
Maintenanc e
DIPSTICK
UPPER MAR K
LOWE R MAR K
Page 310 of 352

Low Oi l Pressur e Indicato r
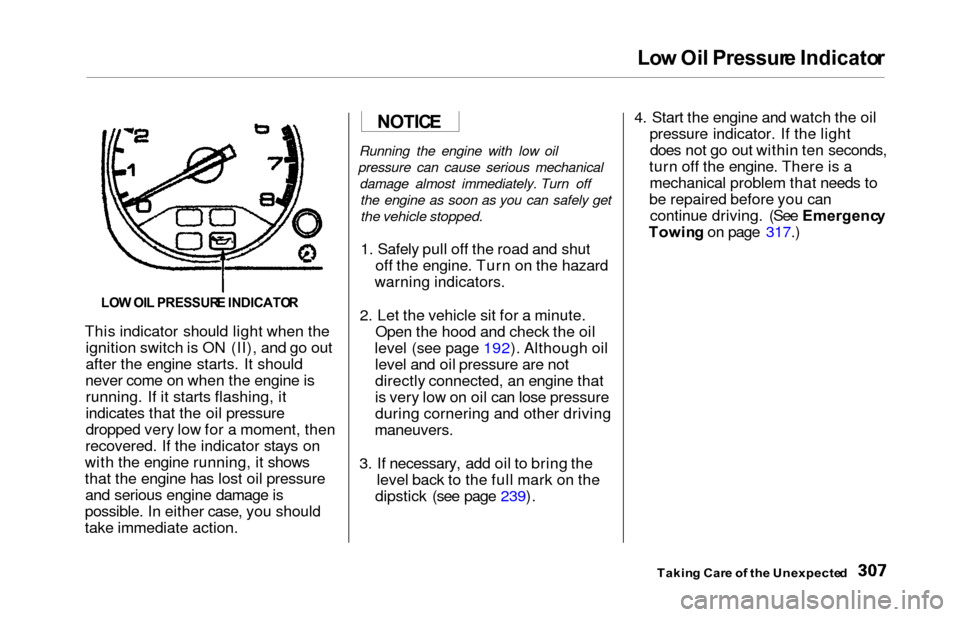
This indicator should light when the
ignition switch is ON (II), and go out
after the engine starts. It should
never come on when the engine is running. If it starts flashing, it
indicates that the oil pressure
dropped very low for a moment, then
recovered. If the indicator stays on
with the engine running, it shows
that the engine has lost oil pressure and serious engine damage is
possible. In either case, you should
take immediate action.
Running the engine with low oil
pressure can cause serious mechanical damage almost immediately. Turn offthe engine as soon as you can safely get
the vehicle stopped.
1. Safely pull off the road and shut off the engine. Turn on the hazard
warning indicators.
2. Let the vehicle sit for a minute. Open the hood and check the oil
level (see page 192). Although oil level and oil pressure are not
directly connected, an engine that
is very low on oil can lose pressure
during cornering and other driving
maneuvers.
3. If necessary, add oil to bring the level back to the full mark on the
dipstick (see page 239). 4. Start the engine and watch the oil
pressure indicator. If the lightdoes not go out within ten seconds,
turn off the engine. There is a mechanical problem that needs to
be repaired before you can continue driving. (See Emergenc y
Towin g on page 317.)
Takin g Car e o f th e Unexpecte d
LOW OI L PRESSUR E INDICATO R
NOTICE
Page 344 of 352

Index
Checklist, Before Driving............. 202
Childproof Door Locks.................. . 85
Child Safety..................................... . 22
Cleaner Element, Air..................... 252
Cleaning
Aluminum Wheels.................... 285
Carpeting................................... . 286
Exterior....................................... 284
Fabric.......................................... 286
Interior........................................ 286
Seat Belts.................................... 286
Vinyl........................................... . 286
Windows.................................... . 287
Climate Control System................ 138
Clock, Setting the.......................... 117 Coat Hook....................................... 123
Code, Audio System ..................... 186
CO in the Exhaust ........................ 328
Coin Holder................................... . 122
Cold Weather, Starting in............. 203
Compact Spare............................... 292
Consumer Information*................ 332
Controls, Instruments and.............. 55
Coolant
Adding ........................................ 243
Checking ....................................
193
Proper Solution.......................... 243
Replacing.................................... 245
Temperature Gauge.................... 63
Corrosion Protection..................... 288
Crankcase Emissions Control
System......................................... 328
Cruise Control Operation .............. 73
Customer Relations Office........... 332
DANGER, Explanation of................. ii
Dashboard.................................... 2, 56
Daytime Running Lights................. 67
Dead Battery, What to Do............ 303
Defects, Reporting Safety............. 336
Defogger, Rear Window................. 71 Defrosting the Windows...... 135, 145
DEXRON
® III Automatic
Transmission Fluid.................... 249
Dimensions..................................... 322
Dimming the Headlights................ 66
Dipstick Automatic Transmission........... 249
Engine Oil................................... 192
Directional Signals........................... 68
Disabled, Towing Your
Vehicle If..................................... 317
Disc Brake Wear Indicators ........ 210
Disposal of Used Oil ................... 242
Doors
Locking and Unlocking ............. 79
Lockout Prevention ................... 80
Manual Sliding Doors.................. 88
Monitor Light .............................. 60
Power Door Locks....................... 79
Power Sliding Doors .................. 90
DOT Tire Quality Grading........... 324
Drive Belts..................................... 262
Driver and Passenger Safety .......... 5
Driving............................................ 201
Economy.................................... 194
In Bad Weather ....................... 216
In Foreign Countries ............... 327
Economy, Fuel............................... 194
Emergencies on the Road............. 291
Battery, Jump Starting.............. 303
CONTINUED