2000 HONDA ODYSSEY check engine light
[x] Cancel search: check engine lightPage 240 of 352
Owner Maintenanc e Check s
You should check the following
items at the specified intervals. If
you are unsure of how to perform
any check, turn to the page given.
Engine oil level — Check every
time you fill the fuel tank. See
page 192.
Engine coolant level — Check the
radiator reserve tank every time
you fill the fuel tank. See page 193.
Windshield washer fluid — Check the level in the reservoir monthly.If weather conditions cause you to
use the washers frequently, check
the reservoir each time you stop
for fuel. See page 248.
Automatic transmission — Check the fluid level monthly. See page
249.
Brakes — Check the fluid level
monthly. See page 250. Tires — Check the tire pressure
monthly. Examine the tread for
wear and foreign objects. See page
263.
Lights — Check the operation of
the headlights, parking lights,
taillights, high-mount brake light,
turn signals, brake lights, and
license plate light monthly. See
page 270.
Maintenanc e
Page 245 of 352
Engine Oi l
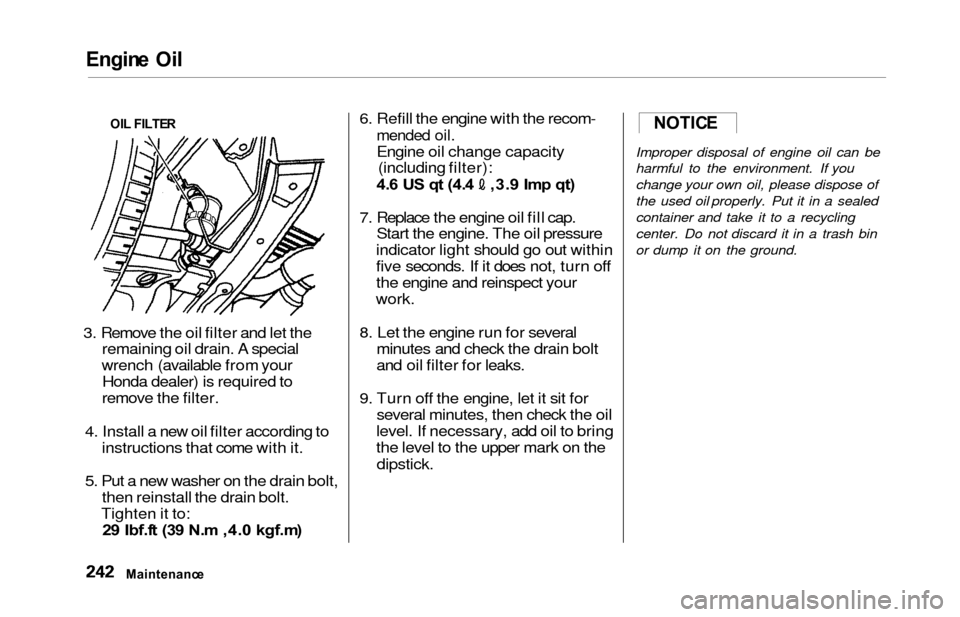
3. Remove the oil filter and let the
remaining oil drain. A special
wrench (available from your Honda dealer) is required to
remove the filter.
4. Install a new oil filter according to instructions that come with it.
5. Put a new washer on the drain bolt, then reinstall the drain bolt.
Tighten it to: 2 9 Ibf.f t (3 9 N. m ,4. 0 kgf.m ) 6. Refill the engine with the recom-
mended oil.
Engine oil change capacity
(including filter):
4. 6 U S q t (4. 4 ,3. 9 Im p qt )
7. Replace the engine oil fill cap. Start the engine. The oil pressure
indicator light should go out within
five seconds. If it does not, turn off
the engine and reinspect your
work.
8. Let the engine run for several minutes and check the drain bolt
and oil filter for leaks.
9. Turn off the engine, let it sit for several minutes, then check the oil
level. If necessary, add oil to bring
the level to the upper mark on the
dipstick.
Improper disposal of engine oil can be
harmful to the environment. If you
change your own oil, please dispose of
the used oil properly. Put it in a sealed
container and take it to a recycling
center. Do not discard it in a trash bin
or dump it on the ground.
Maintenanc e
OI
L FILTE R
NOTIC E
Page 251 of 352
Windshield Washer s
Check the level in the windshield
washer reservoir at least monthly during normal usage. In bad weather,
when you use the washers often, check the level every time you stop
for fuel. This reservoir supplies the
windshield and rear window washers.
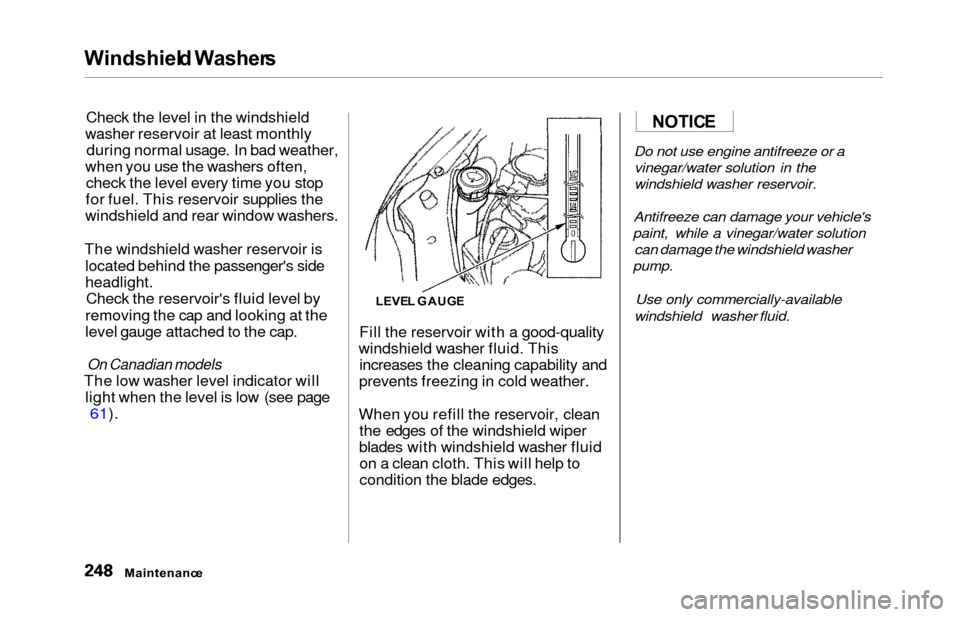
The windshield washer reservoir is located behind the passenger's side
headlight.Check the reservoir's fluid level by
removing the cap and looking at the
level gauge attached to the cap.
On Canadian models
The low washer level indicator will light when the level is low (see page
61).
Fill the reservoir with a good-quality
windshield washer fluid. This increases the cleaning capability and
prevents freezing in cold weather.
When you refill the reservoir, clean the edges of the windshield wiper
blades with windshield washer fluid on a clean cloth. This will help to
condition the blade edges.
Do not use engine antifreeze or a
vinegar/water solution in the
windshield washer reservoir.
Antifreeze can damage your vehicle's
paint, while a vinegar/water solution
can damage the windshield washer
pump.
Use only commercially-available
windshield washer fluid.
Maintenanc e
LEVEL GAUG E
NOTICE
Page 264 of 352
Air Conditionin g Syste m
Your vehicle's air conditioning is a
sealed system. Any major mainte-
nance, such as recharging, should be done by a qualified mechanic. You
can do a couple of things to make sure the air conditioning works
efficiently.
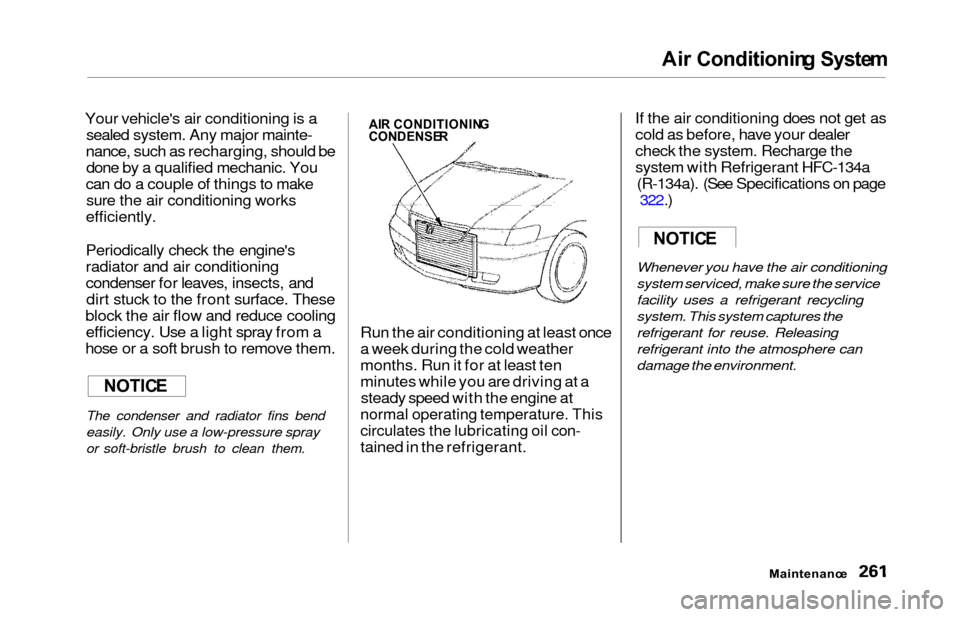
Periodically check the engine's
radiator and air conditioning
condenser for leaves, insects, and dirt stuck to the front surface. These
block the air flow and reduce cooling efficiency. Use a light spray from a
hose or a soft brush to remove them.
The condenser and radiator fins bend
easily. Only use a low-pressure spray
or soft-bristle brush to clean them.
Run the air conditioning at least once
a week during the cold weather
months. Run it for at least ten
minutes while you are driving at a steady speed with the engine at
normal operating temperature. This
circulates the lubricating oil con-
tained in the refrigerant. If the air conditioning does not get as
cold as before, have your dealer
check the system. Recharge the
system with Refrigerant HFC-134a
(R-134a). (See Specifications on page 322.)
Whenever you have the air conditioning
system serviced, make sure the service
facility uses a refrigerant recycling
system. This system captures the
refrigerant for reuse. Releasing
refrigerant into the atmosphere can
damage the environment.
Maintenanc e
NOTICE
AIR CONDITIONIN GCONDENSER
NOTICE
Page 305 of 352
If You r Engin e Won' t Star t
Diagnosing why your engine won't
start falls into two areas, depending
on what you hear when you turn the
key to START (III):
You hear nothing, or almostnothing. The engine's starter
motor does not operate at all, or
operates very slowly.
You can hear the starter motor operating normally, or the starter
motor sounds like it is spinning
faster than normal, but the engine does not start up and run.
Nothin g Happen s o r th e Starte r
Moto r Operate s Ver y Slowl y
When you turn the ignition switch to START (III), you do not hear the
normal noise of the engine trying to
start. You may hear a clicking sound
or series of clicks, or nothing at all.
Check these things:
Your vehicle has the ImmobilizerSystem. You should use a
properly-coded master or valet key
to start the engine (see page 77).
A key that is not properly coded will cause the immobilizer systemindicator in the dash panel to blink
rapidly.
Check the transmission interlock.
The transmission must be in Park or Neutral or the starter will not
operate.
Turn the ignition switch to ON (II).
Turn on the headlights and checktheir brightness. If the headlightsare very dim or don't light at all,the battery is discharged. See
Jum p Startin g on page 303 .
Turn the ignition switch to START
(III). If the headlights do not dim,
check the condition of the fuses. If
the fuses are OK, there is proba-
bly something wrong with the electrical circuit for the ignition
switch or starter motor. You will
need a qualified technician to determine the problem. (See
Emergency Towing on page 317.)
If the headlights dim noticeably or
go out when you try to start the
engine, either the battery is dis-
charged or the connections are
corroded. Check the condition of
the battery and terminal connec-
tions (see page 257). You can then try jump starting the vehicle
from a booster battery (see page 303).
Takin g Car e o f th e Unexpecte d
Page 306 of 352
If You r Engin e Won' t Start , Jum p Startin g
The Starte r Operate s Normall y
In this case, the starter motor's speed sounds normal, or even faster
than normal, when you turn the ignition switch to START (III), but
the engine does not run. Are you using the proper startingprocedure? Refer to Startin g th e
Engin e on page 203 .
Do you have fuel? Turn the
ignition switch to ON (II) for a
minute and watch the fuel gauge.
The low fuel level warning light may not be working, so you were
not reminded to fill the tank.
There may be an electrical problem, such as no power to the
fuel pump. Check all the fuses (see page 311).
If you find nothing wrong, you will
need a qualified technician to find
the problem. See Emergenc y
Towin g on page 317. Jum
p Startin g
If your vehicle's battery has run
down, you may be able to start the
engine by using a booster battery.
Although this seems like a simple
procedure, you should take several
precautions.
You cannot start a Honda by pushing
or pulling it. To jump start your vehicle, follow
these directions closely:
1. Open the hood and check the physical condition of the battery(see page 257). In very cold
weather, check the condition of the electrolyte. If it seems slushyor like ice, do not try jump starting
until it thaws.
If a battery sits in extreme cold, the
electrolyte inside can freeze.
Attempting to jump start with a frozen
battery can cause it to rupture.
2. Turn off all the electrical acces- sories: heater, A/C, climate
control, stereo system, lights, etc. Put the transmission in Neutral or
Park and set the parking brake.
CONTINUED
Takin g Car e o f th e Unexpecte d
A battery can explode if you do
not follow the correct procedure,
seriously injuring anyone nearby.
Keep all sparks, open flames,
and smoking materials away
from the battery.
NOTIC E
Page 310 of 352
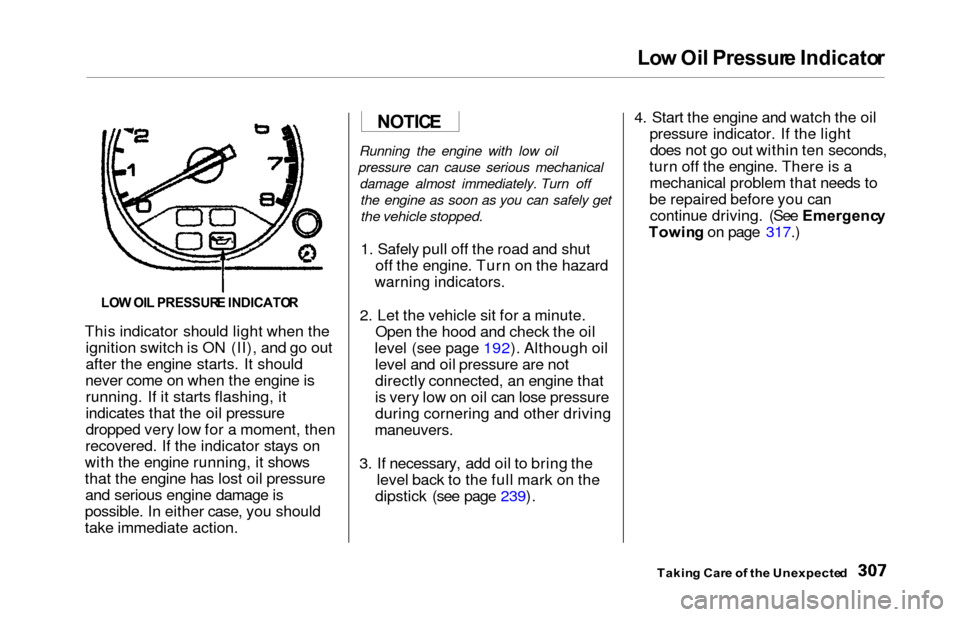
Low Oi l Pressur e Indicato r
This indicator should light when the
ignition switch is ON (II), and go out
after the engine starts. It should
never come on when the engine is running. If it starts flashing, it
indicates that the oil pressure
dropped very low for a moment, then
recovered. If the indicator stays on
with the engine running, it shows
that the engine has lost oil pressure and serious engine damage is
possible. In either case, you should
take immediate action.
Running the engine with low oil
pressure can cause serious mechanical damage almost immediately. Turn offthe engine as soon as you can safely get
the vehicle stopped.
1. Safely pull off the road and shut off the engine. Turn on the hazard
warning indicators.
2. Let the vehicle sit for a minute. Open the hood and check the oil
level (see page 192). Although oil level and oil pressure are not
directly connected, an engine that
is very low on oil can lose pressure
during cornering and other driving
maneuvers.
3. If necessary, add oil to bring the level back to the full mark on the
dipstick (see page 239). 4. Start the engine and watch the oil
pressure indicator. If the lightdoes not go out within ten seconds,
turn off the engine. There is a mechanical problem that needs to
be repaired before you can continue driving. (See Emergenc y
Towin g on page 317.)
Takin g Car e o f th e Unexpecte d
LOW OI L PRESSUR E INDICATO R
NOTICE
Page 313 of 352
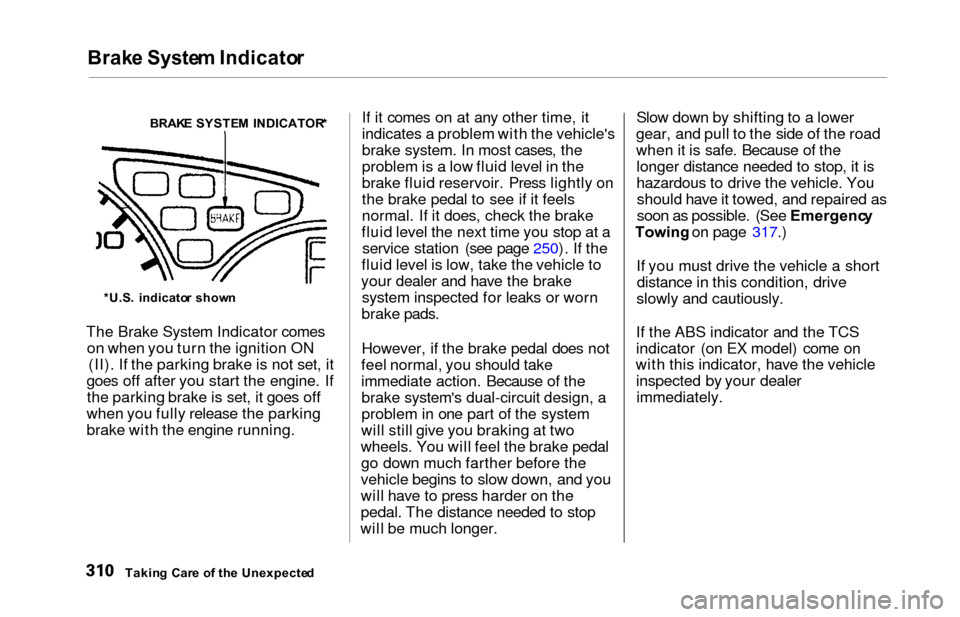
Brake Syste m Indicato r
The Brake System Indicator comes
on when you turn the ignition ON (II). If the parking brake is not set, it
goes off after you start the engine. If the parking brake is set, it goes off
when you fully release the parking
brake with the engine running. If it comes on at any other time, it
indicates a problem with the vehicle's
brake system. In most cases, the
problem is a low fluid level in the
brake fluid reservoir. Press lightly on
the brake pedal to see if it feels
normal. If it does, check the brake
fluid level the next time you stop at a service station (see page 250). If the
fluid level is low, take the vehicle to
your dealer and have the brake system inspected for leaks or worn
brake pads.
However, if the brake pedal does not
feel normal, you should take
immediate action. Because of the brake system's dual-circuit design, a
problem in one part of the system
will still give you braking at two
wheels. You will feel the brake pedal go down much farther before the
vehicle begins to slow down, and you
will have to press harder on the
pedal. The distance needed to stop
will be much longer. Slow down by shifting to a lower
gear, and pull to the side of the road
when it is safe. Because of the longer distance needed to stop, it is
hazardous to drive the vehicle. Youshould have it towed, and repaired as
soon as possible. (See Emergenc y
Towing on page 317.)
If you must drive the vehicle a short distance in this condition, drive
slowly and cautiously.
If the ABS indicator and the TCS
indicator (on EX model) come on
with this indicator, have the vehicle inspected by your dealerimmediately.
Takin g Car e o f th e Unexpecte d
BRAK
E SYSTE M INDICATOR *
*U.S . indicato r show n