Page 53 of 256
sent to the windshield defroster ducts. If the temperature is about
10ÉC (50ÉF) or higher, the air conditioner will automatically
dehumidify the air to reduce fogging.
²DEF
-Distributes outside air through the windshield defroster
ducts. It can be used to clear ice or fog from the windshield. If the
temperature is about 10ÉC (50ÉF) or higher, the air conditioner will
automatically dehumidify the air to reduce fogging.
To aide in defogging and demisting (removing condensation on the inside
of the windshield) in cool weather:
1. Select PANEL & FLOOR
2. Set the temperature control to full heat
3. Select A/C
4. Set the fan speed to HI
5. Direct the outer panel vents towards to side windows
To increase airflow to the outer panel vents, close the central panel
vents.
Operating tips
²In humid weather, select DEFbefore driving. This will reduce
fogging on your windshield. After a few minutes, select any desired
position.
²To reduce humidity buildup inside the vehicle, don't drive with the
climate control system in the OFF or MAX A/C position.
²Don't put objects under the front seat that will interfere with the
airflow to the back seats.
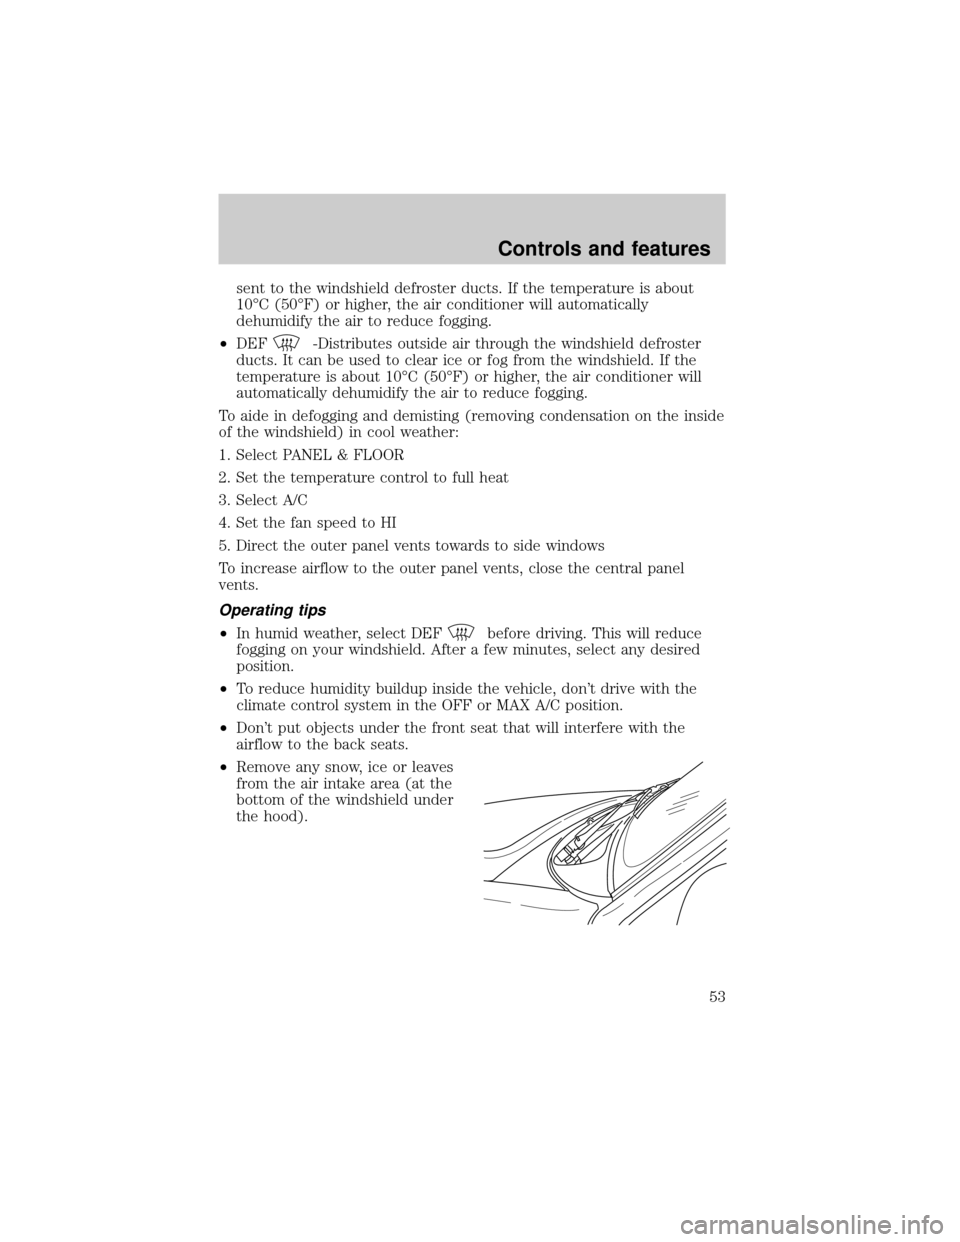
²Remove any snow, ice or leaves
from the air intake area (at the
bottom of the windshield under
the hood).
Controls and features
53
Page 67 of 256
TILT STEERING
Pull the tilt steering control toward
you to move the steering wheel up
or down. Hold the control while
adjusting the wheel to the desired
position, then release the control.
Never adjust the steering wheel when the vehicle is moving.
HAZARD FLASHER
For information on the hazard flasher control, refer toHazard flasherin
theRoadside emergencieschapter.
WINDSHIELD WIPER/WASHER CONTROLS
Rotate the windshield wiper control
to the desired interval, low or high
speed position.
The bars of varying length are for
intermittent wipers. When in this
position rotate the control upward
for fast intervals and downward for
slow intervals.
Controls and features
67
Page 71 of 256
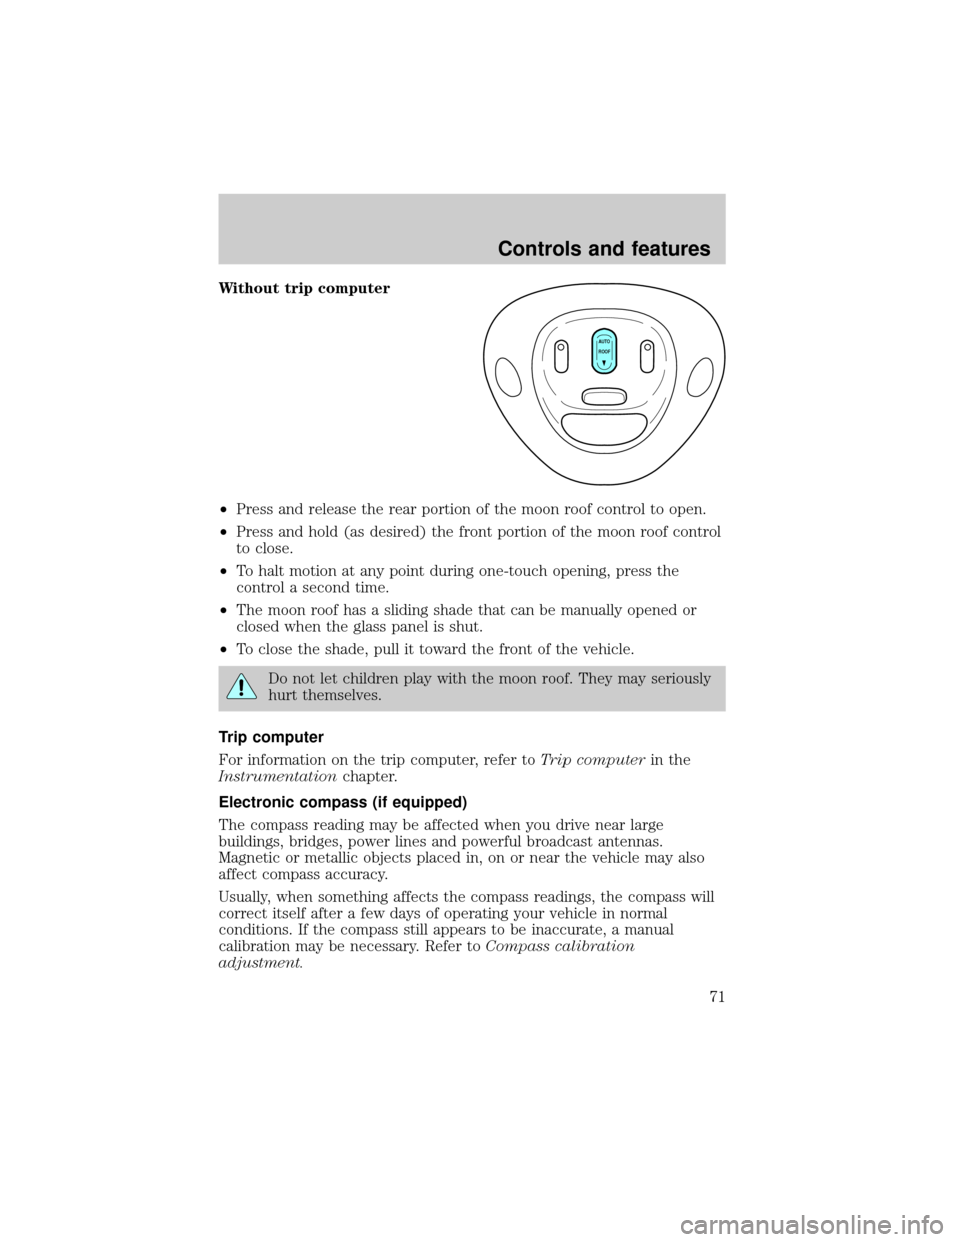
Without trip computer
²Press and release the rear portion of the moon roof control to open.
²Press and hold (as desired) the front portion of the moon roof control
to close.
²To halt motion at any point during one-touch opening, press the
control a second time.
²The moon roof has a sliding shade that can be manually opened or
closed when the glass panel is shut.
²To close the shade, pull it toward the front of the vehicle.
Do not let children play with the moon roof. They may seriously
hurt themselves.
Trip computer
For information on the trip computer, refer toTrip computerin the
Instrumentationchapter.
Electronic compass (if equipped)
The compass reading may be affected when you drive near large
buildings, bridges, power lines and powerful broadcast antennas.
Magnetic or metallic objects placed in, on or near the vehicle may also
affect compass accuracy.
Usually, when something affects the compass readings, the compass will
correct itself after a few days of operating your vehicle in normal
conditions. If the compass still appears to be inaccurate, a manual
calibration may be necessary. Refer toCompass calibration
adjustment.
AUTO
ROOF
Controls and features
71
Page 86 of 256
Changes or modifications not expressly approved by the party
responsible for compliance could void the user's authority to
operate the equipment.
Replacing the battery
The remote transmitter is powered by one coin type three-volt lithium
battery CR2032 or equivalent. Typical operating range will allow you to
be up to 10 meters (33 feet) away from your vehicle. A decrease in
operating range can be caused by:
²weather conditions
²nearby radio towers
²structures around the vehicle
²other vehicles parked next to the vehicle
To replace the battery:
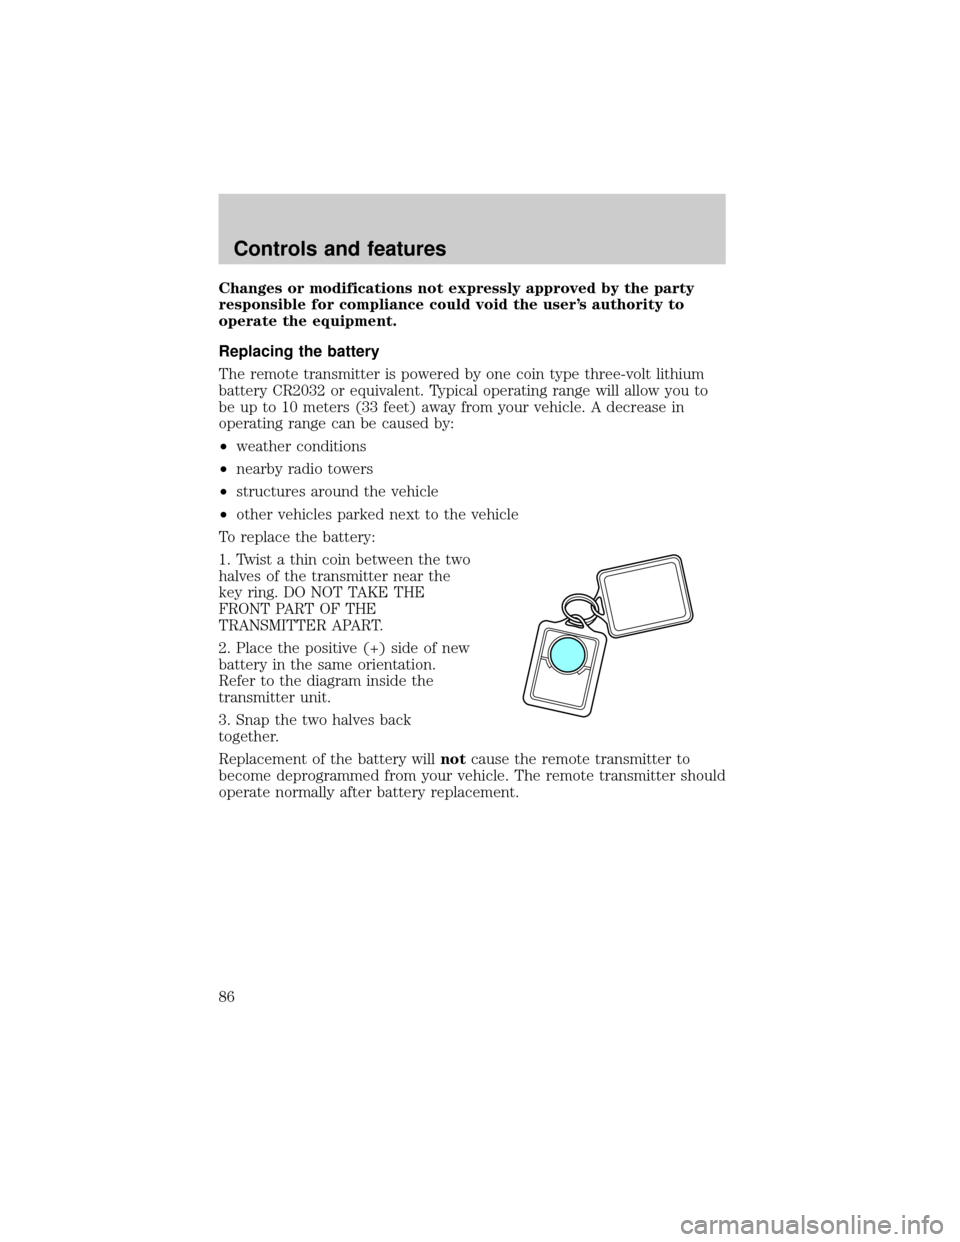
1. Twist a thin coin between the two
halves of the transmitter near the
key ring. DO NOT TAKE THE
FRONT PART OF THE
TRANSMITTER APART.
2. Place the positive (+) side of new
battery in the same orientation.
Refer to the diagram inside the
transmitter unit.
3. Snap the two halves back
together.
Replacement of the battery willnotcause the remote transmitter to
become deprogrammed from your vehicle. The remote transmitter should
operate normally after battery replacement.
Controls and features
86
Page 92 of 256
SEATING
Adjustable head restraints (if equipped)
Your vehicle's seats may be equipped with head restraints which are
vertically adjustable. The purpose of these head restraints is to help limit
head motion in the event of a rear collision. To properly adjust your head
restraints, lift the head restraint so that it is located directly behind your
head or as close to that position as possible. Refer to the following to
raise and lower the head restraints.
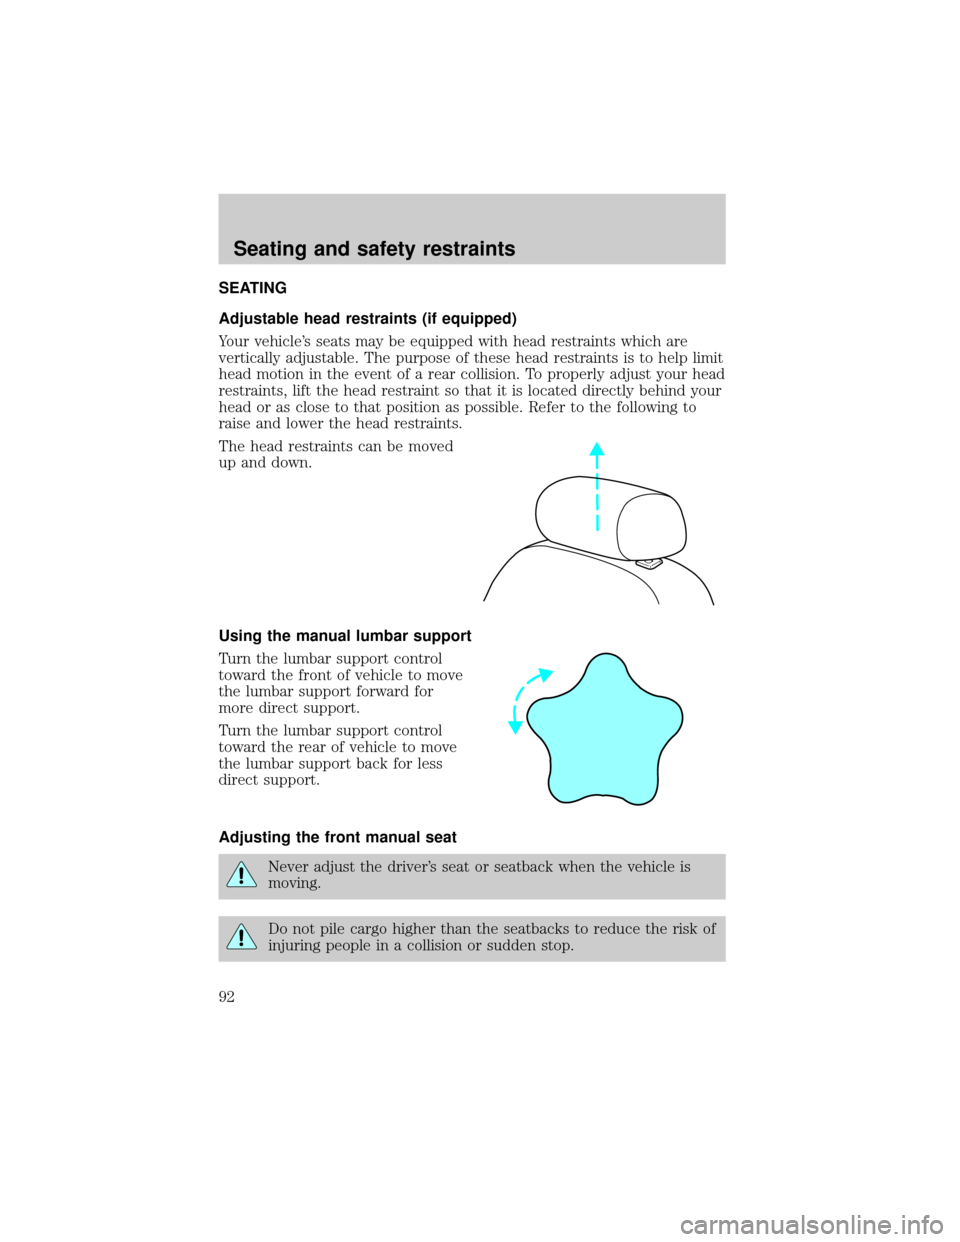
The head restraints can be moved
up and down.
Using the manual lumbar support
Turn the lumbar support control
toward the front of vehicle to move
the lumbar support forward for
more direct support.
Turn the lumbar support control
toward the rear of vehicle to move
the lumbar support back for less
direct support.
Adjusting the front manual seat
Never adjust the driver's seat or seatback when the vehicle is
moving.
Do not pile cargo higher than the seatbacks to reduce the risk of
injuring people in a collision or sudden stop.
Seating and safety restraints
92
Page 97 of 256
REAR SEATS
Head restraints
Your vehicle's seats may be equipped with head restraints which are
vertically adjustable. The purpose of these head restraints is to help limit
head motion in the event of a rear collision. To properly adjust your head
restraints, lift the head restraint so that it is located directly behind your
head or as close to that position as possible. Refer to the following to
raise and lower the head restraints.
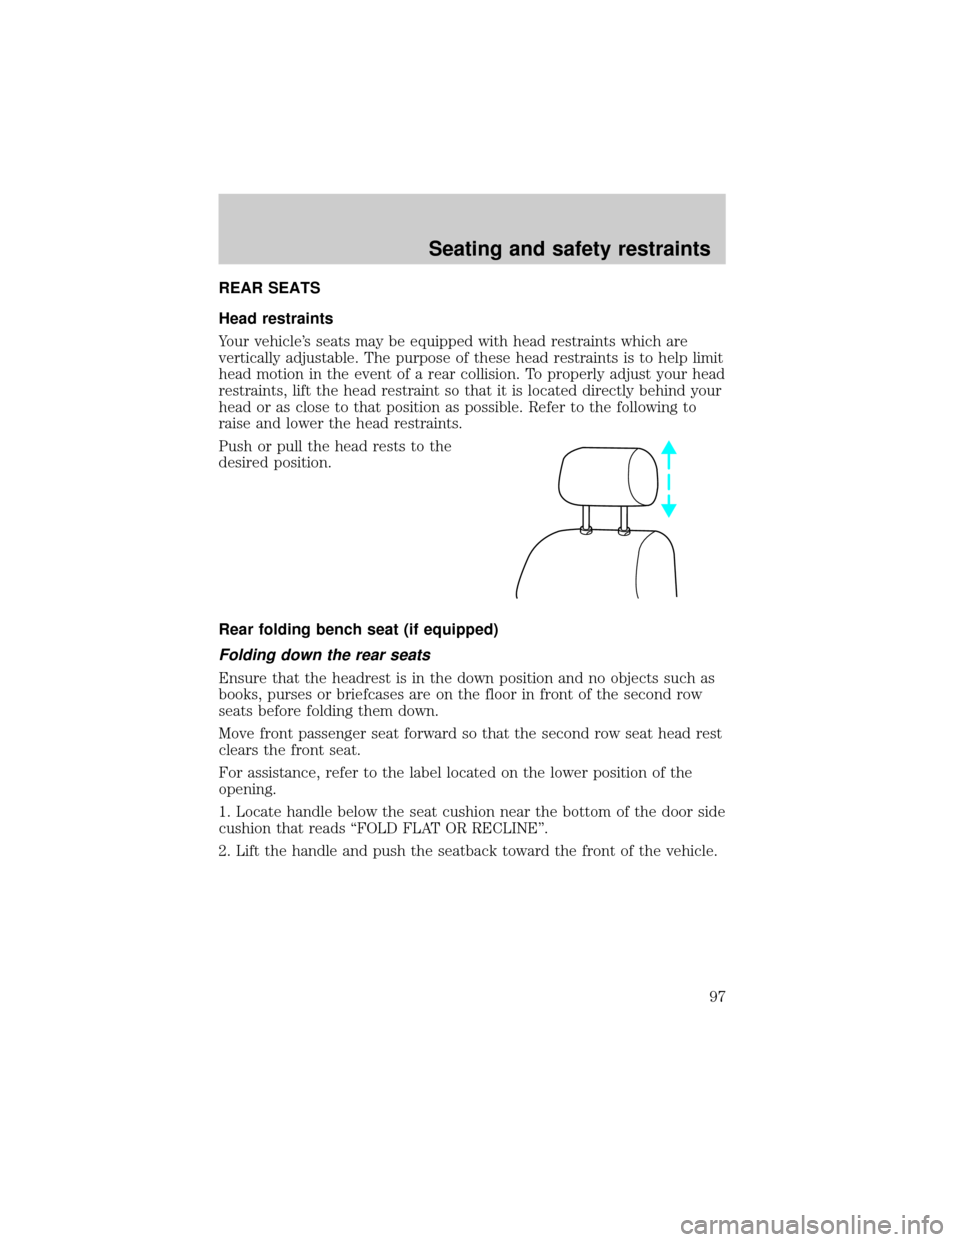
Push or pull the head rests to the
desired position.
Rear folding bench seat (if equipped)
Folding down the rear seats
Ensure that the headrest is in the down position and no objects such as
books, purses or briefcases are on the floor in front of the second row
seats before folding them down.
Move front passenger seat forward so that the second row seat head rest
clears the front seat.
For assistance, refer to the label located on the lower position of the
opening.
1. Locate handle below the seat cushion near the bottom of the door side
cushion that reads ªFOLD FLAT OR RECLINEº.
2. Lift the handle and push the seatback toward the front of the vehicle.
Seating and safety restraints
97
Page 100 of 256
Ensure that the second row seat is in the upright position in order to
achieve optimum access to the third row.
To minimize the risk of personal injury, the third row seat should not be
left in the forward, stowed position while the vehicle is in motion. Please
ensure that the seat is in the upright, fully latched position before
putting the vehicle in motion.
1. Locate and lift seat control ª3RD ROW ENTRYº to release seatback
and cushion to flip toward the front seat.
2. After entering the seat, reverse this procedure; ensure that the latch
tub and surrounding areas are clear.
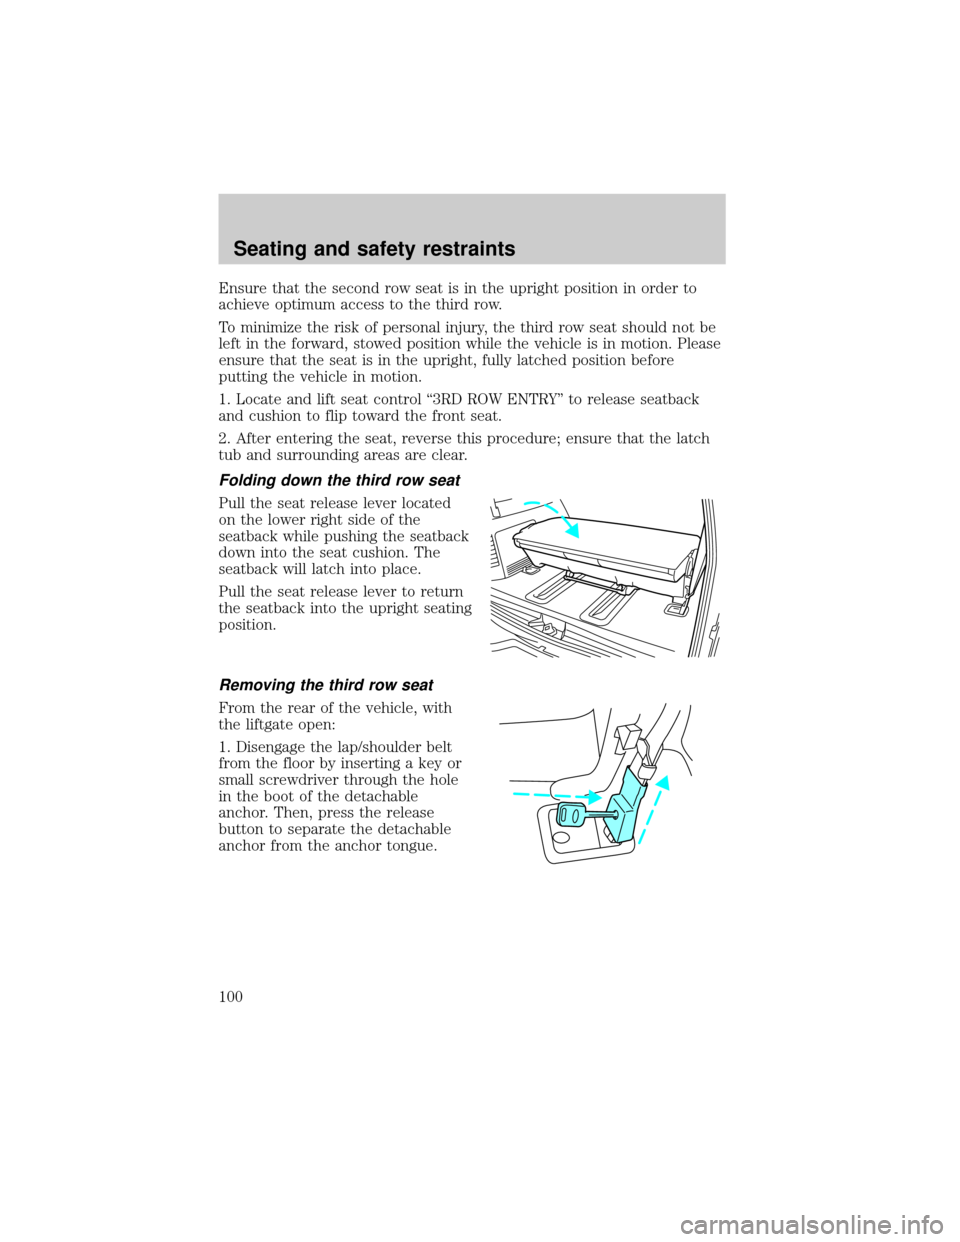
Folding down the third row seat
Pull the seat release lever located
on the lower right side of the
seatback while pushing the seatback
down into the seat cushion. The
seatback will latch into place.
Pull the seat release lever to return
the seatback into the upright seating
position.
Removing the third row seat
From the rear of the vehicle, with
the liftgate open:
1. Disengage the lap/shoulder belt
from the floor by inserting a key or
small screwdriver through the hole
in the boot of the detachable
anchor. Then, press the release
button to separate the detachable
anchor from the anchor tongue.
Seating and safety restraints
100
Page 101 of 256
2. Before removing the seat, be sure
that the detachable anchor tongue is
stowed flat into the vehicle floor.
3. Use the black plastic clip (located
just above the detachable anchor) to
stow the loose seat belt.
²Pull the seat release lever located
on the lower right side of the
seatback while pushing the
seatback down into the seat
cushion.
²The seatback will latch into place.
4. Lift the seat release bar located
at the center of the seat near the
floor to release the floor latches.
5. While pulling up on the release
bar, lift the seat up and out of the floor tubs and roll seat rearward.
6. With assistance, lift the seat out of the vehicle.
Seating and safety restraints
101