Page 30 of 224

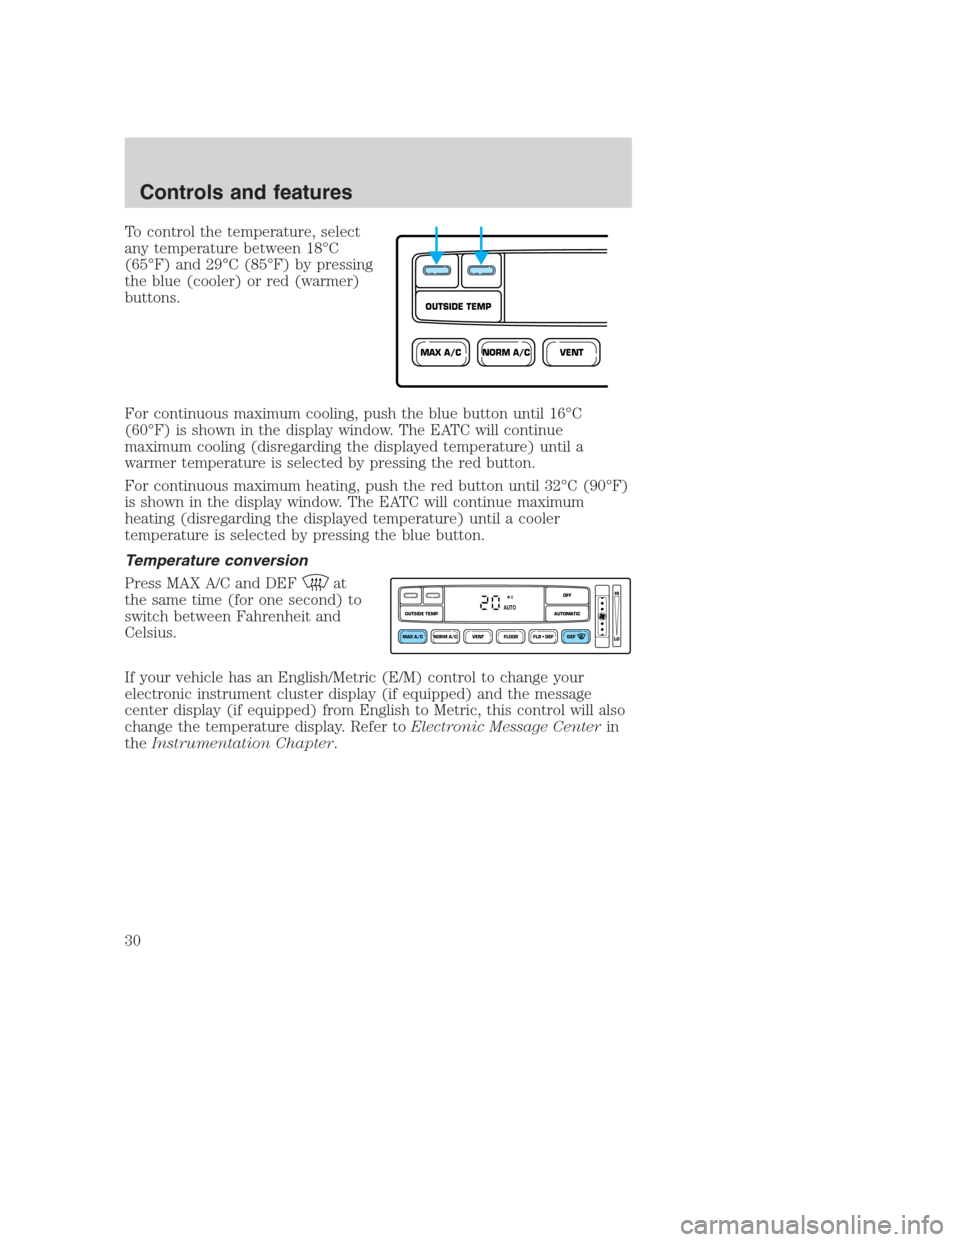
To control the temperature, select
any temperature between 18°C
(65°F) and 29°C (85°F) by pressing
the blue (cooler) or red (warmer)
buttons.
For continuous maximum cooling, push the blue button until 16°C
(60°F) is shown in the display window. The EATC will continue
maximum cooling (disregarding the displayed temperature) until a
warmer temperature is selected by pressing the red button.
For continuous maximum heating, push the red button until 32°C (90°F)
is shown in the display window. The EATC will continue maximum
heating (disregarding the displayed temperature) until a cooler
temperature is selected by pressing the blue button.
Temperature conversion
Press MAX A/C and DEF
at
the same time (for one second) to
switch between Fahrenheit and
Celsius.
If your vehicle has an English/Metric (E/M) control to change your
electronic instrument cluster display (if equipped) and the message
center display (if equipped) from English to Metric, this control will also
change the temperature display. Refer toElectronic Message Centerin
theInstrumentation Chapter.
NORM A/CVENTMAX A/C
OUTSIDE TEMP
NORM A/CVENT FLOOR FLR • DEF DEF
HI
LO
MAX A/C
OUTSIDE TEMP AUTOMATICOFFAUTO
Controls and features
30
Page 71 of 224

Programming
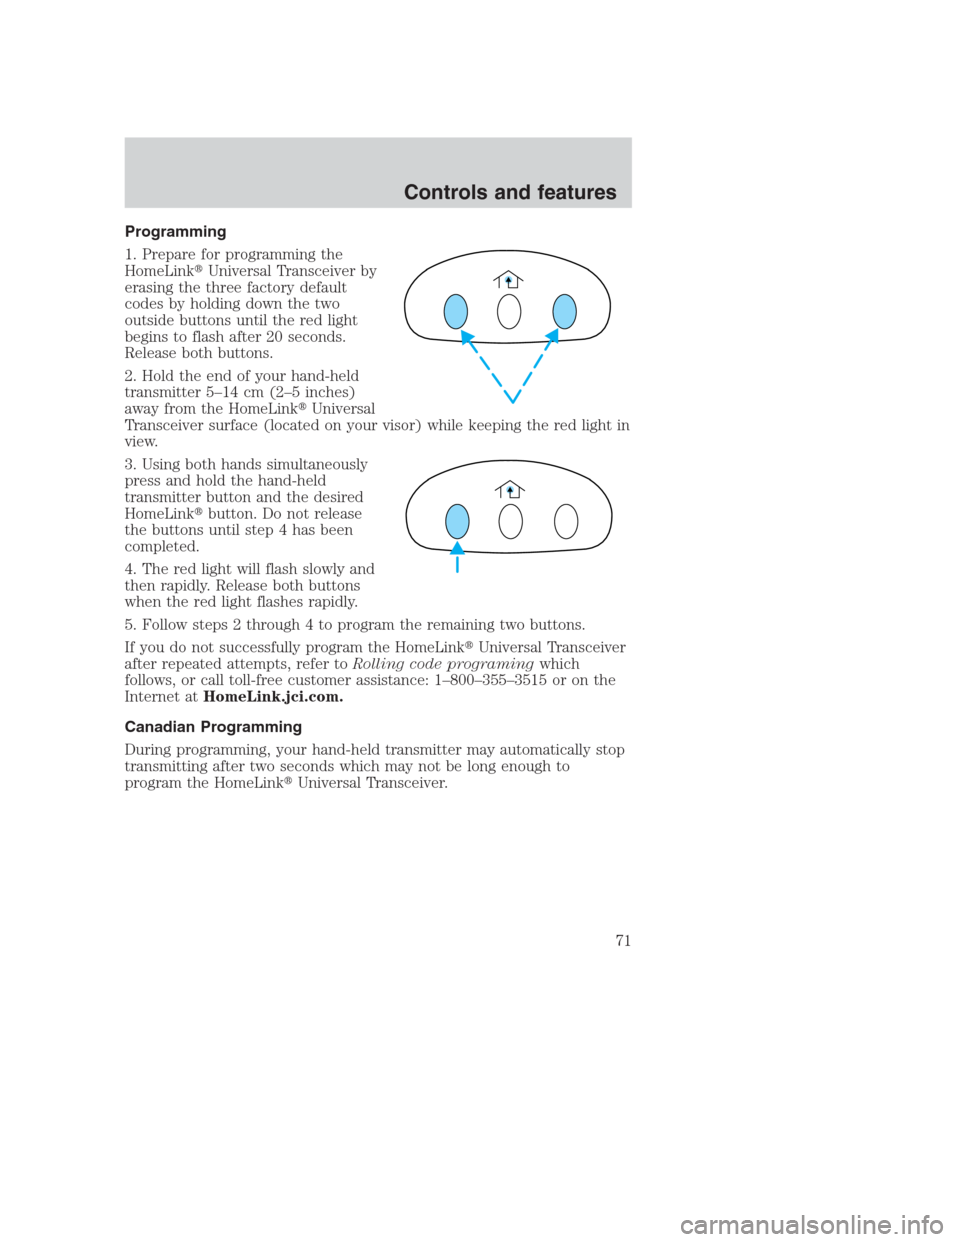
1. Prepare for programming the
HomeLink�Universal Transceiver by
erasing the three factory default
codes by holding down the two
outside buttons until the red light
begins to flash after 20 seconds.
Release both buttons.
2. Hold the end of your hand-held
transmitter 5–14 cm (2–5 inches)
away from the HomeLink�Universal
Transceiver surface (located on your visor) while keeping the red light in
view.
3. Using both hands simultaneously
press and hold the hand-held
transmitter button and the desired
HomeLink�button. Do not release
the buttons until step 4 has been
completed.
4. The red light will flash slowly and
then rapidly. Release both buttons
when the red light flashes rapidly.
5. Follow steps 2 through 4 to program the remaining two buttons.
If you do not successfully program the HomeLink�Universal Transceiver
after repeated attempts, refer toRolling code programingwhich
follows, or call toll-free customer assistance: 1–800–355–3515 or on the
Internet atHomeLink.jci.com.
Canadian Programming
During programming, your hand-held transmitter may automatically stop
transmitting after two seconds which may not be long enough to
program the HomeLink�Universal Transceiver.
Controls and features
71
Page 73 of 224

3. Press and release the
programmed HomeLink�button.
Press and release the HomeLink�
button asecond timeto complete
the training process. (Some garage
door openers may require this
procedure to be done a third time
to complete the training).
The 2nd or 3rd press from step 3 will activate the door. The HomeLink�
Universal Transceiver has now been trained to the receiver. The
remaining two buttons may now be programmed if this has not
previously been done.
Erasing HomeLink�buttons
Individual buttons cannot be erased,
however, to erase the three
programmed buttons:
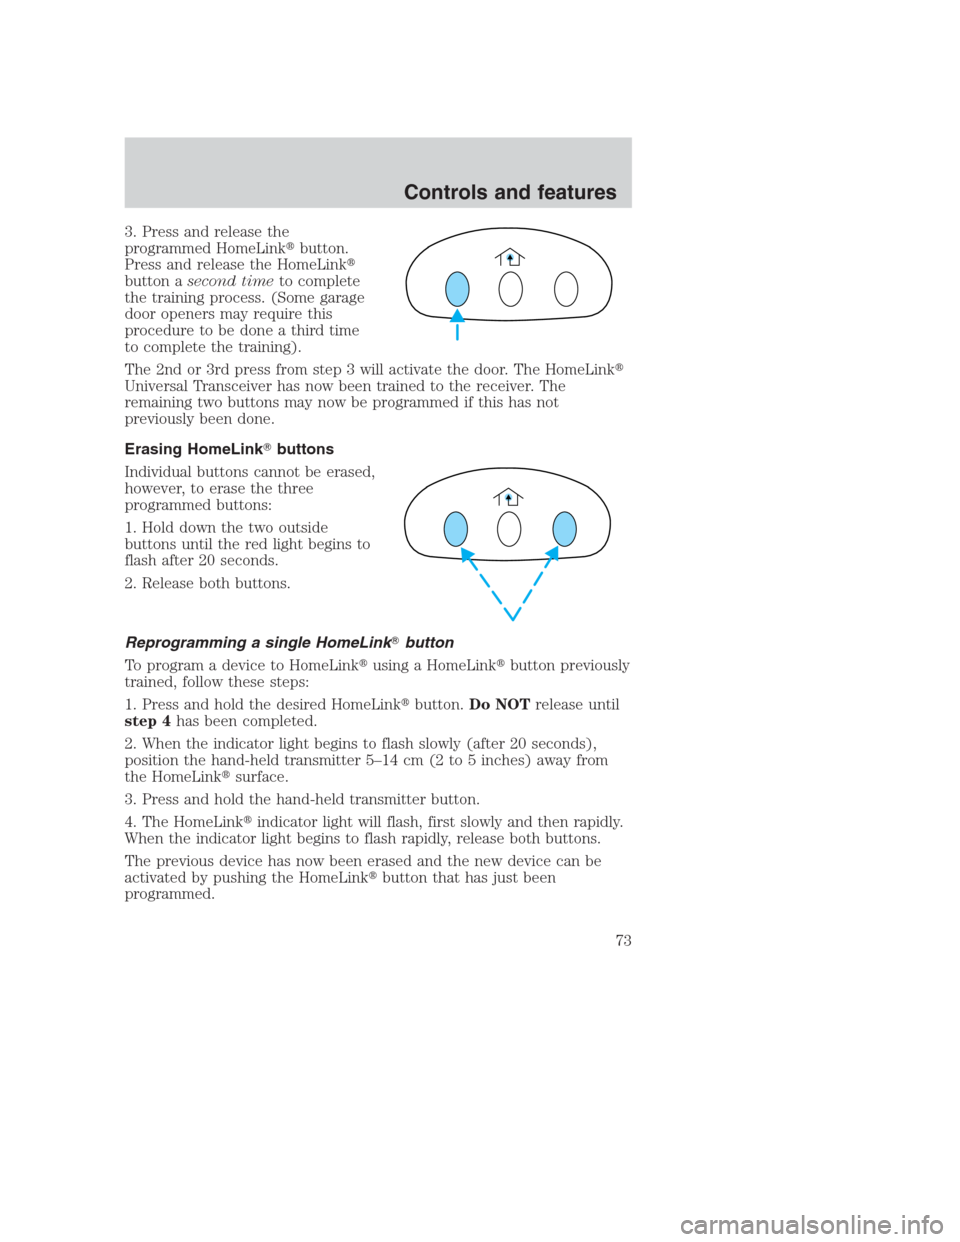
1. Hold down the two outside
buttons until the red light begins to
flash after 20 seconds.
2. Release both buttons.
Reprogramming a single HomeLink�button
To program a device to HomeLink�using a HomeLink�button previously
trained, follow these steps:
1. Press and hold the desired HomeLink�button.Do NOTrelease until
step 4has been completed.
2. When the indicator light begins to flash slowly (after 20 seconds),
position the hand-held transmitter 5–14 cm (2 to 5 inches) away from
the HomeLink�surface.
3. Press and hold the hand-held transmitter button.
4. The HomeLink�indicator light will flash, first slowly and then rapidly.
When the indicator light begins to flash rapidly, release both buttons.
The previous device has now been erased and the new device can be
activated by pushing the HomeLink�button that has just been
programmed.
Controls and features
73