Page 176 of 429

2-72 Storage Bin
At the base of the center instrument panel console,
there is a storage bin. To open the bin, lift the latch
release and the door will fold down.
Inside the bin, you will find a tray that slides out.
Slide the tray all the way toward the rear of the vehicle
until the tray locks onto the plastic tabs at the end of the
guide rails. The tray can hold CDs or cassettes in the
center area. You can also store cassettes in the left side
area. The right side area can hold either the coinholder,
which lifts out, or another cassette. The tray can be
removed for cleaning or when you want to replace the
selection of CDs or cassettes. Slide the tray back into the
storage bin before closing the bin door. The tray can also
be placed in the glove box for locked storage if desired.Removing and Replacing the Tray
To remove the tray, slide it almost all the way out.
Don't let the tray lock over the plastic tabs at the end of
the guide rails (A). Lift the tray out of the guide rails.
The rubber mat under the tray also lifts out for cleaning.
When the rubber mat is put back in, be sure the tabs at
the back of the mat are seated in the slots at the back of
the storage bin.
Page 182 of 429
2-78
Your luggage carrier has
release knobs set in the ends
of each crossrail.
Turn the release knobs counterclockwise to unlock the
crossrails. Slide the crossrails forward or back, as
needed, to accommodate loads of various sizes.
After repositioning the crossrails, be sure to tighten the
release knobs by turning them clockwise. This will lock
the crossrails in place.Use the tie-down loops on
the slider to help secure
large loads.
Ashtray and Cigarette Lighter
The ashtray and cigarette lighter are located below the
instrument panel switchbank in the instrument panel,
below the switchbank. Pull out the drawer to use
the ashtray.
To remove the ashtray for cleaning, grasp the edge of
the ashtray with your fingertips and pull up and out,
in a rocking motion.
To use the lighter, push it in all the way and let go.
When it's ready, it will pop back out by itself.
Page 183 of 429

2-79
NOTICE:
Don't hold a cigarette lighter in with your hand
while it is heating. If you do, it won't be able to
back away from the heating element when it's
ready. That can make it overheat, damaging the
lighter and the heating element.
NOTICE:
Don't put papers and other things that burn into
your ashtrays. If you do, cigarettes or other
smoking materials could set them on fire,
causing damage.
Side Ashtrays
To open the ashtray, press the right side and flip it open.
To remove the ashtray for cleaning, press the snuffer as
you lift up the bottom of the ashtray.
Sun Visors
To block out glare, you can swing down the visors. You
can also remove them from the center mount and swing
them to the side.
Visor Vanity Mirrors
Pull down the sun visor. Flip up the cover to expose the
vanity mirror.
Lighted Visor Vanity Mirrors (If Equipped)
Pull down the sun visor. Flip up the cover to expose the
vanity mirror. The lamps will come on when you open
the cover.
Accessory Inflator System (Option)
Your vehicle may be equipped with an air inflator. With
it, you can inflate things like air mattresses and
basketballs, and you can also use it to bring your tires up
to the proper pressure.
The air inflator is located in the rear compartment on the
driver's side. To remove the cover, pull the tab on the
cover and pull it off.
Page 187 of 429
2-83
OnStar� System (If Equipped)
OnStar is a vehicle communications service. The
following services are available through a subscription
with OnStar and are available 24 hours a day:
Emergency Services
�Automatic Notification of Air Bag Deployment
�Theft Notification and Stolen
-Vehicle Tracking
�Roadside Assistance with Location
�Remote Diagnostics
�OnStar MED
-NET
�Accident AssistConvenience Services
�Remote Door Unlock
�Route Support
�Concierge Services
�Ride Assist
A complete user's guide is provided with the OnStar
System. For more information contact OnStar
at 1
-888-ONSTAR7.
Page 189 of 429
2-85
The main components of the instrument panel are:
A. Side Vents
B. Front Vents
C. Turn Signal/Multifunction Lever
D. Hazard Warning Flashers Switch
E. Instrument Panel Cluster
F. Center Vents
G. Audio System
H. Side Vents
I. Lamp Switch
J. Hood Release
K. HornL. Ignition Switch
M. Climate Controls
N. Rear Fan Controls (Option)
O. Accessory Power Outlet
P. Storage Bin
Q. Instrument Panel Switchbank
R. Ashtray and Cigarette Lighter
S. Glove Box
T. Front Vents
U. Instrument Panel Fuse Block
Page 195 of 429

2-91
If the light comes on while you are driving, pull off the
road and stop carefully. You may notice that the pedal is
harder to push. Or, the pedal may go closer to the floor.
It may take longer to stop. If the light is still on, have the
vehicle towed for service. (See ªAnti
-Lock Brake
System Warning Lightº and ªTowing Your Vehicleº in
the Index.)
CAUTION:
Your brake system may not be working properly
if the brake system warning light is on. Driving
with the brake system warning light on can lead
to an accident. If the light is still on after you've
pulled off the road and stopped carefully,
have the vehicle towed for service.
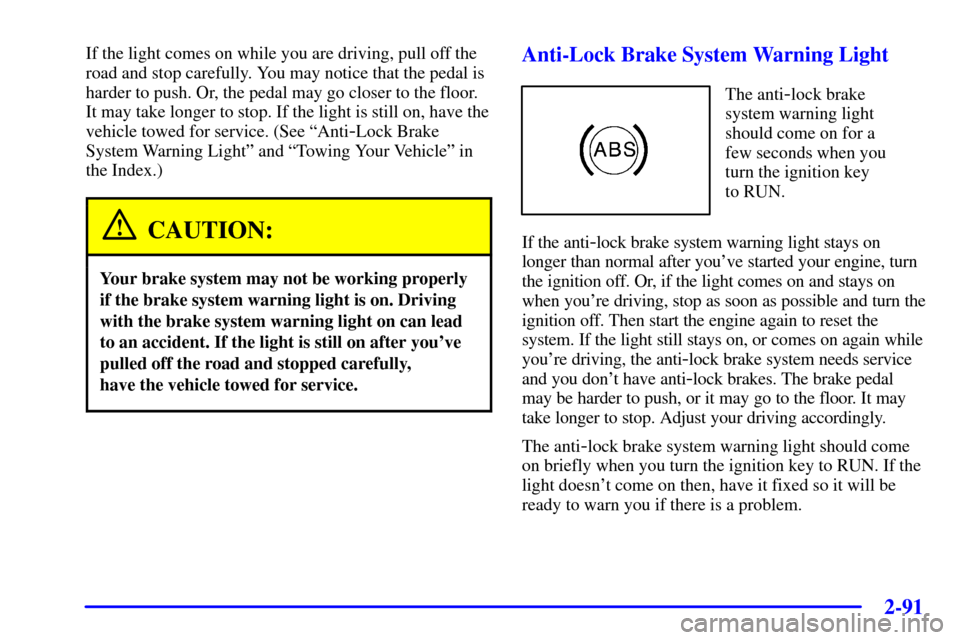
Anti-Lock Brake System Warning Light
The anti-lock brake
system warning light
should come on for a
few seconds when you
turn the ignition key
to RUN.
If the anti
-lock brake system warning light stays on
longer than normal after you've started your engine, turn
the ignition off. Or, if the light comes on and stays on
when you're driving, stop as soon as possible and turn the
ignition off. Then start the engine again to reset the
system. If the light still stays on, or comes on again while
you're driving, the anti
-lock brake system needs service
and you don't have anti
-lock brakes. The brake pedal
may be harder to push, or it may go to the floor. It may
take longer to stop. Adjust your driving accordingly.
The anti
-lock brake system warning light should come
on briefly when you turn the ignition key to RUN. If the
light doesn't come on then, have it fixed so it will be
ready to warn you if there is a problem.
Page 209 of 429

3-
3-1
Section 3 Comfort Controls and Audio Systems
In this section, you'll find out how to operate the comfort control and audio systems offered with your vehicle.
Be sure to read about the particular systems supplied with your vehicle.
3
-2 Comfort Controls
3
-3 Air Conditioning
3
-4 Heating
3
-4 Defogging and Defrosting
3
-5 Rear Window Defogger (If Equipped)
3
-5 Rear Climate Control (Option)
3
-8 Ventilation System
3
-9 Audio Systems
3
-9 Setting the Clock for Systems without
Automatic Tone Control
3
-9 Setting the Clock for Systems with Automatic
Tone Control
3
-10 AM-FM Stereo
3
-13 AM-FM Stereo with Cassette Tape Player
with Radio Data Systems (RDS) and
Automatic Tone Control (If Equipped)3
-20 AM-FM Stereo with Compact Disc Player
with Radio Data Systems (RDS) and
Automatic Tone Control (If Equipped)
3
-27 AM-FM Stereo with Cassette Tape and
Compact Disc Player with Radio Data
Systems (RDS) and Automatic Tone Control
(If Equipped)
3
-37 Rear Seat Audio (If Equipped)
3
-39 Theft-Deterrent Feature RDS Radios
3
-39 Understanding Radio Reception
3
-39 Tips About Your Audio System
3
-40 Care of Your Cassette Tape Player
3
-42 Care of Your Compact Discs
3
-42 Care of Your Compact Disc Player
3
-42 Integrated Windshield Antenna
Page 210 of 429

3-2
Comfort Controls
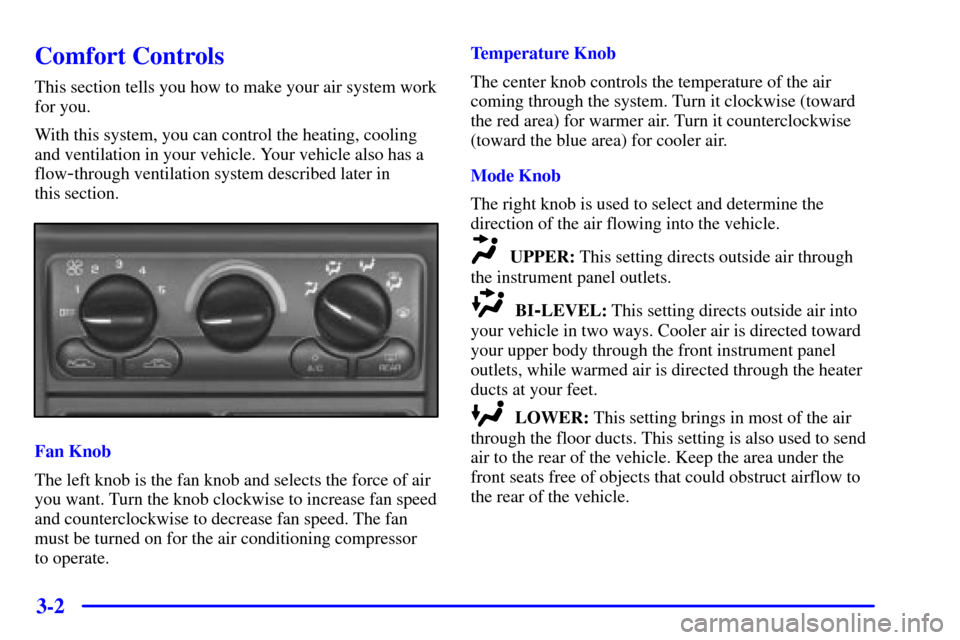
This section tells you how to make your air system work
for you.
With this system, you can control the heating, cooling
and ventilation in your vehicle. Your vehicle also has a
flow
-through ventilation system described later in
this section.
Fan Knob
The left knob is the fan knob and selects the force of air
you want. Turn the knob clockwise to increase fan speed
and counterclockwise to decrease fan speed. The fan
must be turned on for the air conditioning compressor
to operate.Temperature Knob
The center knob controls the temperature of the air
coming through the system. Turn it clockwise (toward
the red area) for warmer air. Turn it counterclockwise
(toward the blue area) for cooler air.
Mode Knob
The right knob is used to select and determine the
direction of the air flowing into the vehicle.
UPPER: This setting directs outside air through
the instrument panel outlets.
BI-LEVEL: This setting directs outside air into
your vehicle in two ways. Cooler air is directed toward
your upper body through the front instrument panel
outlets, while warmed air is directed through the heater
ducts at your feet.
LOWER: This setting brings in most of the air
through the floor ducts. This setting is also used to send
air to the rear of the vehicle. Keep the area under the
front seats free of objects that could obstruct airflow to
the rear of the vehicle.