Page 18 of 429

1-6
Floor Seat Pin Diagram
When you put the seats back in the vehicle, be sure to
follow the label on the back of the seat for proper
location. Follow the diagram above when the text in
this manual tells you what sets of floor cups to use for
each seat.
Second Row Safety Belt Stowage
If your vehicle has seats in the third row, there is a
sleeve on the second row outside safety belt to store the
safety belt while entering and exiting the third row of
the vehicle.
If your vehicle has a split bench seat in the second row,
follow this procedure:
1. Pull the belt out and slide the sleeve along the belt
until it reaches the patch of Velcro
� on the headliner.
2. Press the sleeve against the Velcro patch to secure it
in place.
3. Use the clip on the safety belt to secure the belt after
it is disconnected from the mini
-buckle. When
removing the split second row bench seat, secure the
loose end of the safety belt in this clip. This will
keep the safety belt from dangling and possibly
striking something.
Do not have the second row outside safety belt stored if
someone is sitting in the second row outside position.
To release the second row outside safety belt, just pull
the sleeve away from the Velcro patch and use the safety
belt as usual. The sleeve should slide freely when not
in use.
Page 23 of 429

1-11
Replacing the Split Bench Sections
Make sure the seatback is in the upright position and the
safety belts are on the correct section of the seat.
Don't put the sections of the bench seat in so they face
rearward because they won't latch that way. If you want
more storage room behind the seat, adjust each section
by sliding it forward.
The split benches have seat position labels, located on
the back of each seat, showing where the seat must go.
Follow that diagram.
�The left (40) section of the 40/60 split bench uses the
A and B sets of floor cups.
�The right (60) section of the 40/60 split bench uses
the C and D sets of floor cups.
�The left section of the 50/50 split bench uses the
G and H sets of floor cups.
�The right section of the 50/50 split bench uses the
I and J sets of floor cups.
See ªSeat Controlsº in the beginning of this section for
more details. The seat must be placed in the proper
location for the legs to attach correctly.Make sure the seat is in the full rear position before
beginning this procedure.
1. Squeeze the angled bar toward the solid crossbar
while placing the front hooks of the bench seat onto
the front two floor pins.
Page 30 of 429

1-18
Replacing the Bucket Seats
Don't put the seats in so they face rearward because they
won't latch that way. If you want more storage room
behind the seat, adjust the seat by sliding it forward.
The bucket seats have seat position labels, located on the
back of the seat, showing where the seat must go.
Follow that diagram. See ªSeat Controlsº in the
beginning of this section for more details. The seat
must be placed in the proper location for the legs to
attach correctly.
RIGHT ONLY seats that don't have the built
-in child
restraint option fit only in the right location of either
row, the E and F or I and J sets of floor cups.
The CENTER OR LEFT seat fits in the center location
or in either left location, the A and B, C and D or
G and H sets of floor cups.
RIGHT ONLY seats that have the built
-in child restraint
option fit only in the right location of the second row,
the E and F sets of floor cups.Make sure the seat is in the full rear position before
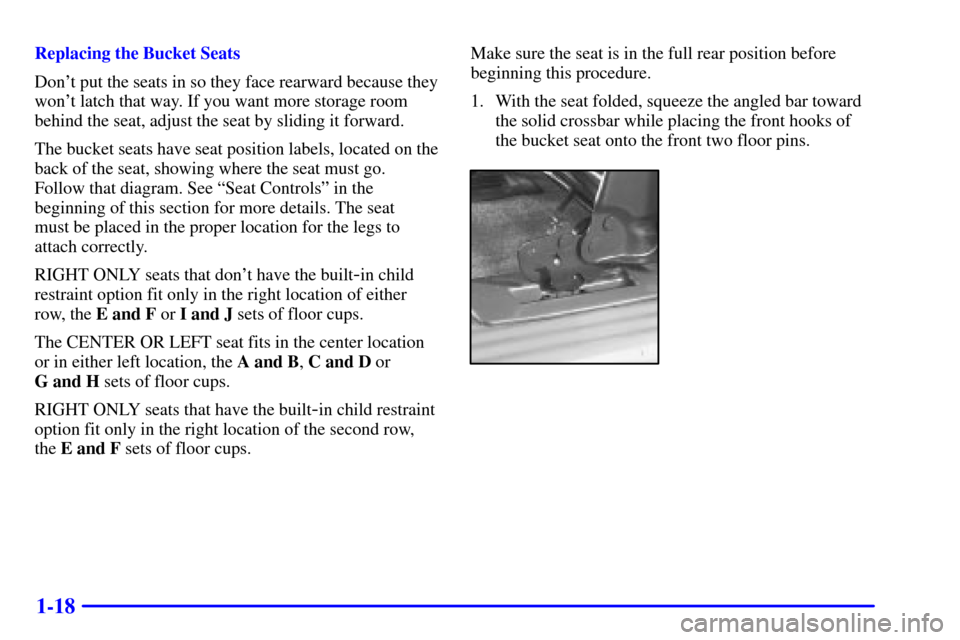
beginning this procedure.
1. With the seat folded, squeeze the angled bar toward
the solid crossbar while placing the front hooks of
the bucket seat onto the front two floor pins.