Page 78 of 359

2-18
New Vehicle ªBreak-Inº
NOTICE:
Your vehicle doesn't need an elaborate ªbreak-in.º
But it will perform better in the long run if you
follow these guidelines:
�Don't drive at any one speed -- fast or
slow
-- for the first 500 miles (805 km).
Don't make full
-throttle starts.
�Avoid making hard stops for the first 200 miles
(322 km) or so. During this time your new
brake linings aren't yet broken in. Hard
stops with new linings can mean premature
wear and earlier replacement. Follow this
breaking
-in guideline every time you get new
brake linings.
�Don't tow a trailer during break
-in.
See ªTowing a Trailerº in the Index for
more information.
Ignition Positions
With the key in the ignition switch, you can turn the key
to four different positions:
OFF: This position lets
you turn off the engine
and remove the key.
This position also locks
the steering wheel
and transaxle.
NOTICE:
If your key seems stuck in OFF and you can't
turn it, be sure you are using the correct key;
if so, is it all the way in? Turn the key only with
your hand. Using a tool to force it could break
the key or the ignition switch. If none of this
works, then your vehicle needs service.
Page 79 of 359

2-19
ACC: This position lets you use things like the radio,
windshield wipers, power windows and sunroof (option)
when the engine is off. Use ACC if you must have your
vehicle in motion while the engine is off (for example,
if your vehicle is being pushed).
ON: This is the position for driving.
START: This position starts the engine.
Retained Accessory Power (RAP)
The following accessories on your vehicle may be used
for up to 10 minutes after the ignition key is turned from
ON to OFF:
�Cellular Phone (If Equipped)
�Radio
�Power Windows
�Audio Steering Wheel Controls
�Sunroof (Option)Power to these accessories stops after 10 minutes or
if any door is opened. If you want power for another
10 minutes, close all the doors and turn the ignition key
to ON and then back to OFF. If the cellular phone is
being used while Retained Accessory Power is in effect,
the timer is suspended (to avoid interruption of the call).
The timer resets to 10 minutes at the end of the call.
Starting Your Engine
Move your shift lever to PARK (P) or NEUTRAL (N).
Your engine won't start in any other position
-- that's
a safety feature. To restart when you're already moving,
use NEUTRAL (N) only.
NOTICE:
Don't try to shift to PARK (P) if your vehicle
is moving. If you do, you could damage the
transaxle. Shift to PARK (P) only when your
vehicle is stopped.
Page 94 of 359
2-34
Express-Down Window
This feature is on all power windows. Press the down
arrow to the second position to activate the express
-down
feature. If you want to stop the window as it is lowering,
press the control again.
Rear Window Lockout
Press the LOCK button
down to disable the rear
passenger's window
controls. A light on
the button will display
to indicate that the
rear window controls
are disabled.
When this feature is active, the driver will still have
control of all windows. Press the LOCK button again to
allow the passengers to use their window controls. After
pressing the button, the light will go out to indicate that
the rear window controls are again enabled.
Horn
The horn can be sounded by pressing on the center of
the steering wheel pad.
Tilt Wheel
The tilt wheel control is located on the outboard side of
the steering column.
Page 95 of 359

2-35
Tilt steering allows you to adjust the steering wheel
before you drive. Raising the steering wheel to the
highest level gives your legs more room when you enter
and exit the vehicle.
Hold the steering wheel and pull the lever toward you to
bring the steering wheel close to you. Adjust the steering
wheel to a comfortable position and then release the
lever to lock it into place.
Power Tilt and Telescopic Wheel (Option)
The power tilt wheel control
is located on the outboard
side of the steering column.To operate the power tilt feature, push the control up
and the steering wheel will tilt up. Push the control
down and the steering wheel will go down.
If the power tilt control is pressed up or down and held
in that position, there will be a slight movement and a
slight pause followed by a continuous movement in the
direction the control is being pressed. This allows very
fine control of the steering wheel position. If the control
is bumped, the steering wheel moves approximately one
degree in the direction commanded.
Push the control forward and the steering wheel
moves toward the front of the vehicle. Push the control
rearward and the steering wheel moves toward the
rear of the vehicle. To set the memory position, see
ªVehicle Programming and Personalization Featuresº
and ªMemory Seat, Mirrors and Steering Wheelºin
the Index.
Page 96 of 359

2-36
Turn Signal/Multifunction Lever
Turn and Lane Change Signals
To signal a turn, move the lever on the left side of the
steering wheel all the way up or down. The lever returns
automatically when the turn is complete.
An arrow located on the
instrument panel cluster
will flash in the direction
of the turn or lane change.
Raise or lower the lever until the arrow starts to flash to
signal a lane change. Hold it there until the lane change
is complete. The lever returns when it is released.
If the turn signal is left on, a warning chime will sound
and the Driver Information Center (DIC) will display
TURN SIGNAL ON (after driving about a mile) to
remind you to turn it off.Arrows that flash rapidly when signaling for a turn or
lane change may be caused by a burned
-out signal bulb.
Other drivers won't see the turn signal.
Replace burned
-out bulbs to help avoid possible
accidents. Check the fuse (see ªFuses and Circuit
Breakersº in the Index) and check for burned
-out
bulbs if the arrow fails to work when signaling a turn.
Headlamp High/Low Beam
When the low-beam headlamps are on, push the turn
signal lever away from you to change the headlamps to
high beam.
This light on the
instrument panel cluster
will be on, indicating
high
-beam usage.
Pull the turn signal lever toward you to return to
low
-beam headlamps.
Page 97 of 359
2-37 Flash-To-Pass
This feature lets you use the high-beam headlamps to
signal the driver in front of you that you want to pass.
Pull the turn signal lever toward you briefly to
flash
-to-pass. When you do:
�If the headlamps are either off or in the Daytime
Running Lamps (DRL) mode, the high
-beam
headlamps will turn on. They'll stay on as long as
you hold the lever there. Release the lever to turn
them off.
�If the headlamps are on low beam, they will remain
active and the high beam will also illuminate until
you release the lever.
Windshield Wipers
You can control the windshield wipers by moving
the lever with the wiper symbol on it. This lever is
located on the right side of your steering column.
For information on wiper
-activated headlamp operation,
refer to ªWiper
-Activated Headlampsº in the Index.
Page 100 of 359

2-40 Cruise Control
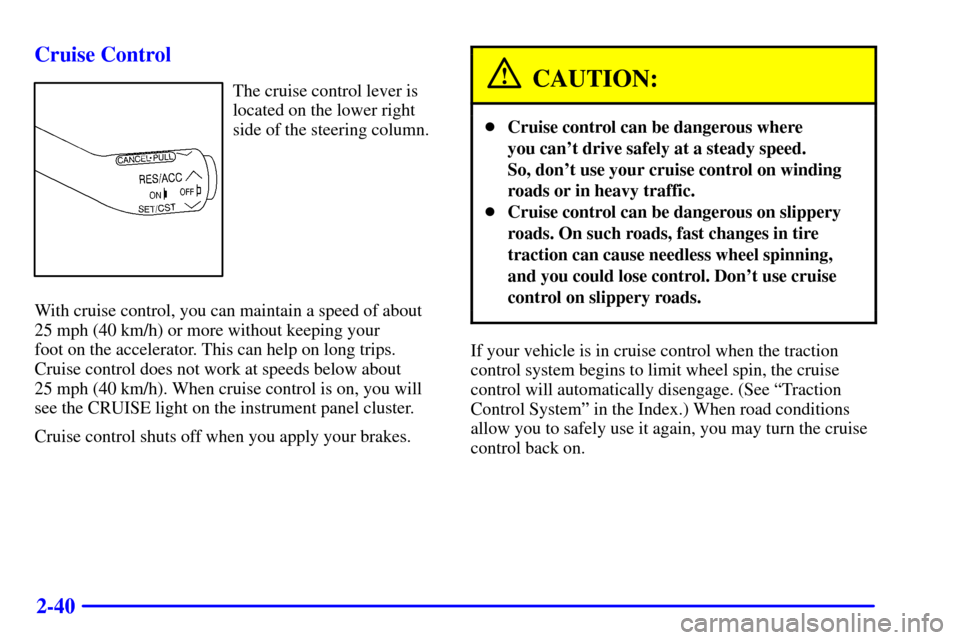
The cruise control lever is
located on the lower right
side of the steering column.
With cruise control, you can maintain a speed of about
25 mph (40 km/h) or more without keeping your
foot on the accelerator. This can help on long trips.
Cruise control does not work at speeds below about
25 mph (40 km/h). When cruise control is on, you will
see the CRUISE light on the instrument panel cluster.
Cruise control shuts off when you apply your brakes.CAUTION:
�Cruise control can be dangerous where
you can't drive safely at a steady speed.
So, don't use your cruise control on winding
roads or in heavy traffic.
�Cruise control can be dangerous on slippery
roads. On such roads, fast changes in tire
traction can cause needless wheel spinning,
and you could lose control. Don't use cruise
control on slippery roads.
If your vehicle is in cruise control when the traction
control system begins to limit wheel spin, the cruise
control will automatically disengage. (See ªTraction
Control Systemº in the Index.) When road conditions
allow you to safely use it again, you may turn the cruise
control back on.
Page 113 of 359

2-53 Power Remote Control Mirror (Heated)
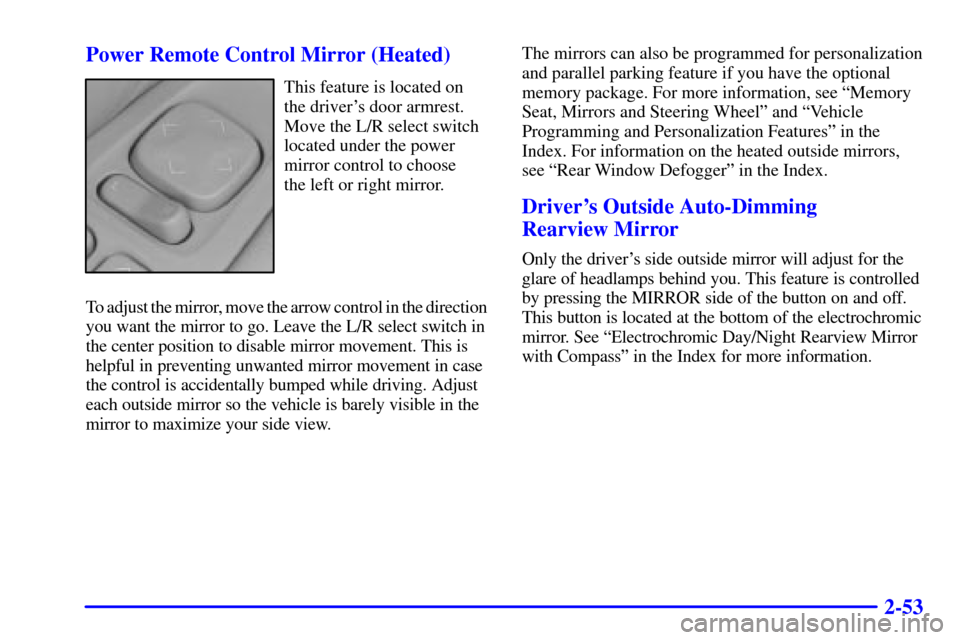
This feature is located on
the driver's door armrest.
Move the L/R select switch
located under the power
mirror control to choose
the left or right mirror.
To adjust the mirror, move the arrow control in the direction
you want the mirror to go. Leave the L/R select switch in
the center position to disable mirror movement. This is
helpful in preventing unwanted mirror movement in case
the control is accidentally bumped while driving. Adjust
each outside mirror so the vehicle is barely visible in the
mirror to maximize your side view.The mirrors can also be programmed for personalization
and parallel parking feature if you have the optional
memory package. For more information, see ªMemory
Seat, Mirrors and Steering Wheelº and ªVehicle
Programming and Personalization Featuresº in the
Index. For information on the heated outside mirrors,
see ªRear Window Defoggerº in the Index.
Driver's Outside Auto-Dimming
Rearview Mirror
Only the driver's side outside mirror will adjust for the
glare of headlamps behind you. This feature is controlled
by pressing the MIRROR side of the button on and off.
This button is located at the bottom of the electrochromic
mirror. See ªElectrochromic Day/Night Rearview Mirror
with Compassº in the Index for more information.