Page 283 of 359

6-7
CAUTION:
If you get gasoline on yourself and then
something ignites it, you could be badly burned.
Gasoline can spray out on you if you open the
fuel filler cap too quickly. This spray can happen
if your tank is nearly full, and is more likely in
hot weather. Open the fuel filler cap slowly and
wait for any ªhissº noise to stop. Then unscrew
the cap all the way.
Be careful not to spill gasoline. Clean gasoline from
painted surfaces as soon as possible. See ªCleaning the
Outside of Your Vehicleº in the Index.When you put the cap back on, turn it to the right
(clockwise) until you hear a clicking sound. Make sure
you fully install the cap. The diagnostic system can
determine if the fuel cap has been left off or improperly
installed. This would allow fuel to evaporate into the
atmosphere. See ªMalfunction Indicator Lampº in
the Index.
The CHECK GAS CAP message in the Driver
Information Center will come on if the fuel cap is not
properly reinstalled.
NOTICE:
If you need a new cap, be sure to get the right
type. Your dealer can get one for you. If you get
the wrong type, it may not fit properly. This may
cause your malfunction indicator lamp to light
and your fuel tank and emissions system may be
damaged. See ªMalfunction Indicator Lampº in
the Index.
Page 288 of 359
6-12
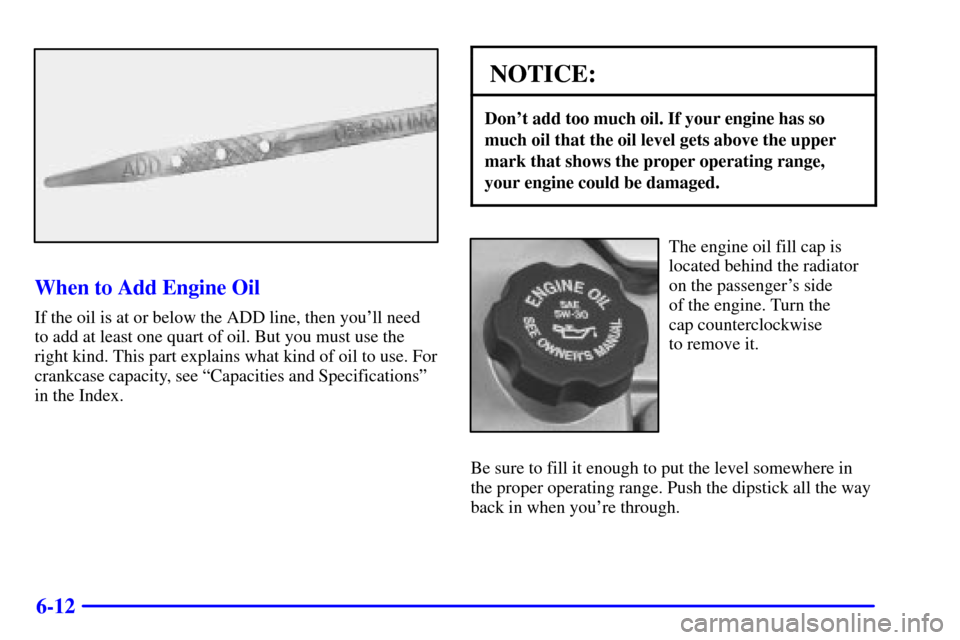
When to Add Engine Oil
If the oil is at or below the ADD line, then you'll need
to add at least one quart of oil. But you must use the
right kind. This part explains what kind of oil to use. For
crankcase capacity, see ªCapacities and Specificationsº
in the Index.
NOTICE:
Don't add too much oil. If your engine has so
much oil that the oil level gets above the upper
mark that shows the proper operating range,
your engine could be damaged.
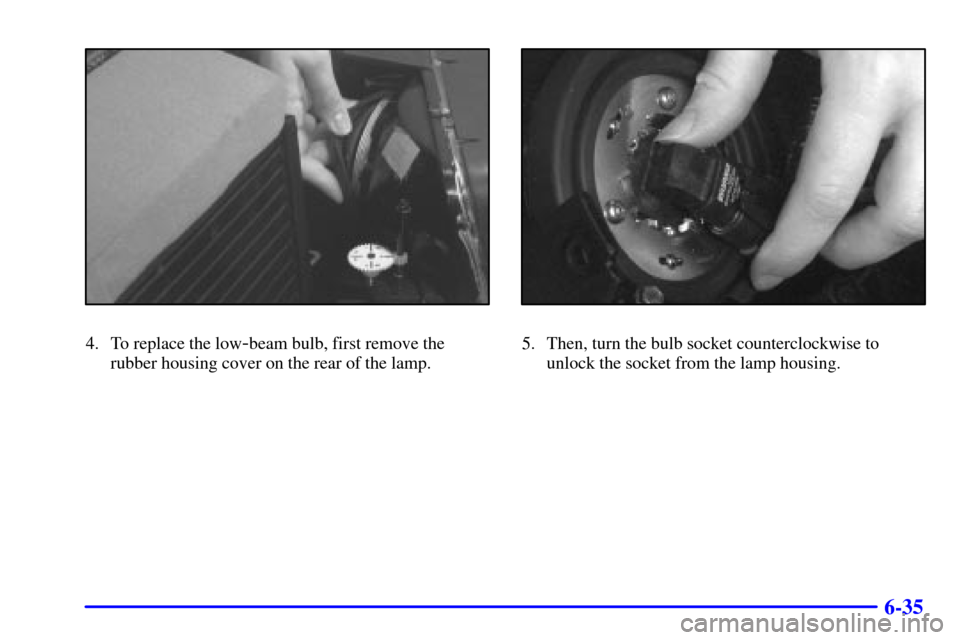
The engine oil fill cap is
located behind the radiator
on the passenger's side
of the engine. Turn the
cap counterclockwise
to remove it.
Be sure to fill it enough to put the level somewhere in
the proper operating range. Push the dipstick all the way
back in when you're through.
Page 296 of 359
6-20
To get the right reading, the fluid should be at normal
operating temperature, which is 180�F to 200�F
(82�C to 93�C).
Get the vehicle warmed up by driving about 15 miles
(24 km) when outside temperatures are above 50�F
(10�C). If it's colder than 50�F (10�C), you may
have to drive longer.
Checking the Fluid Level
Prepare your vehicle as follows:
�Park your vehicle on a level place. Keep the
engine running.
�With the parking brake applied, place the shift
lever in PARK (P).
�With your foot on the brake pedal, move the shift
lever through each gear range, pausing for about
three seconds in each range. Then, position the
shift lever in PARK (P).
�Let the engine run at idle for three to five minutes.Then, without shutting off the engine, follow these steps:
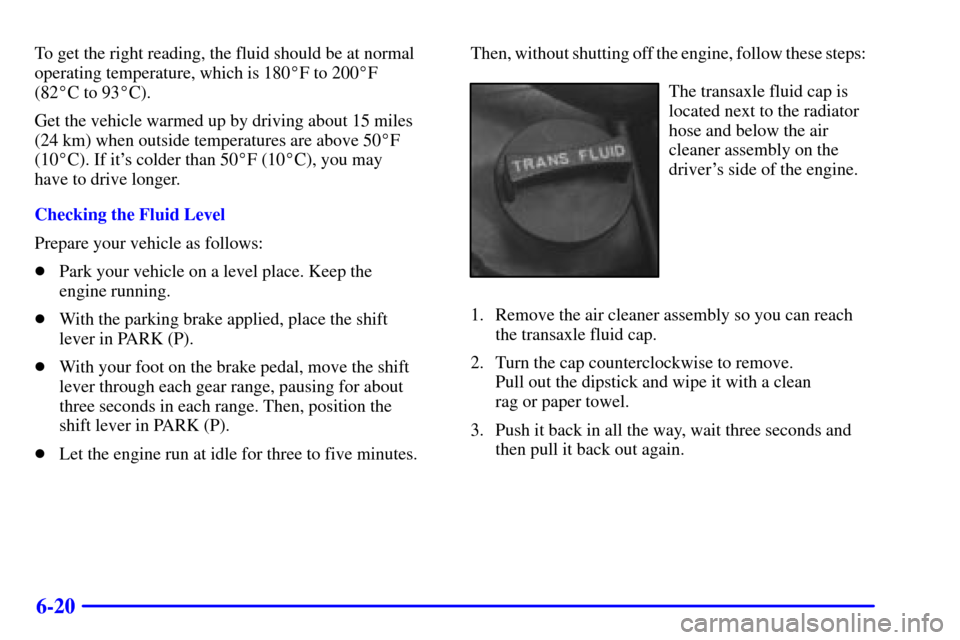
The transaxle fluid cap is
located next to the radiator
hose and below the air
cleaner assembly on the
driver's side of the engine.
1. Remove the air cleaner assembly so you can reach
the transaxle fluid cap.
2. Turn the cap counterclockwise to remove.
Pull out the dipstick and wipe it with a clean
rag or paper towel.
3. Push it back in all the way, wait three seconds and
then pull it back out again.
Page 311 of 359
6-35
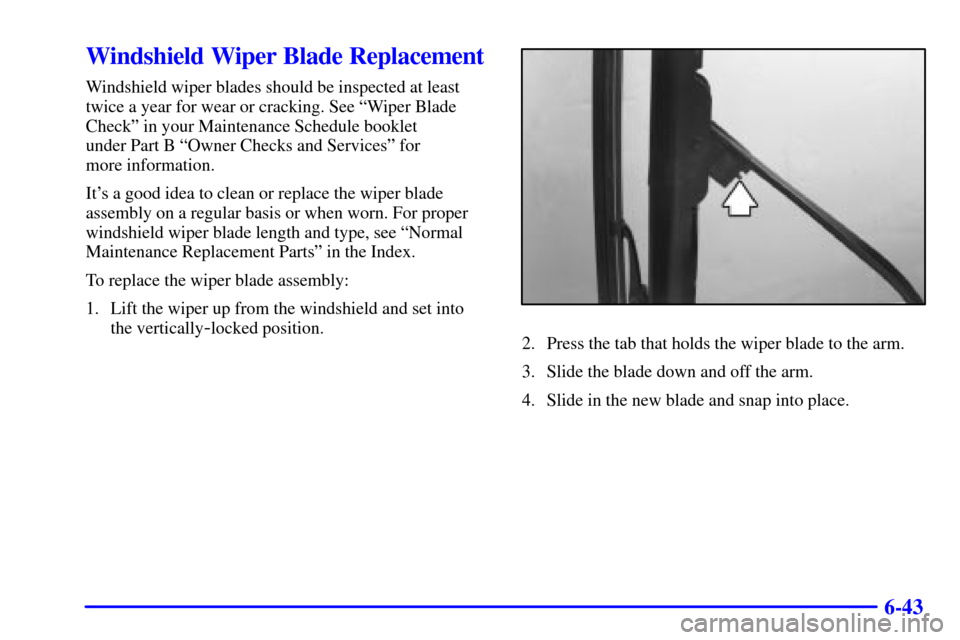
4. To replace the low-beam bulb, first remove the
rubber housing cover on the rear of the lamp.5. Then, turn the bulb socket counterclockwise to
unlock the socket from the lamp housing.
Page 312 of 359
6-36
6. Remove the headlamp bulb socket.7. After removing the wiring harness connector from
the headlamp bulb socket, replace the bulb assembly.
Reconnect it to the wiring harness and reinstall
the headlamp bulb assembly back into the
headlamp housing.
8. After reinstalling the bulb and socket, reinstall
the rubber cover. Make sure it fully covers the
headlamp socket.
9. To replace the high
-beam bulb, turn the bulb socket
counterclockwise to unlock the socket from the lamp
housing. Follow the instructions in Step 6 through 8
to install the new bulb.
Page 317 of 359
6-41 Front Turn Signal Lamps
1. The turn signal lamps are located on the outboard side
of the headlamps. To access, remove the headlamp,
(see Steps 1, 2 and 3 under ªHeadlampsº).
2. Press the bulb socket tab and turn the bulb socket
counterclockwise to unlock the socket from the
lamp housing.
3. To remove the bulb, grasp the socket firmly and
pull the bulb out. Install the new bulb and reverse
the steps to replace.
Rear Turn Signal Lamps and Taillamps
1. Open the trunk to gain access to the lamp housing.
2. Remove the rear
compartment sill plate
by removing the upper
convenience net
retainers, located at
each end, as shown.
3. Move the spare tire cover out of the way.
4. Pull the trunk trim away to access the wing nuts.
Page 318 of 359
6-42
5. Remove the three wing nuts that fasten the taillamp
to the body.
6. Gently remove the taillamp from the body. The
taillamp is on the bottom of the housing and the rear
turn signal lamp is on the upper part of the housing.7. Press the bulb socket tab and turn the socket
counterclockwise to remove it. To remove the bulb,
grasp the socket firmly and pull the bulb out.
Once you have replaced the burned
-out bulb, reverse the
steps to reassemble the lamp assembly.
Page 319 of 359
6-43
Windshield Wiper Blade Replacement
Windshield wiper blades should be inspected at least
twice a year for wear or cracking. See ªWiper Blade
Checkº in your Maintenance Schedule booklet
under Part B ªOwner Checks and Servicesº for
more information.
It's a good idea to clean or replace the wiper blade
assembly on a regular basis or when worn. For proper
windshield wiper blade length and type, see ªNormal
Maintenance Replacement Partsº in the Index.
To replace the wiper blade assembly:
1. Lift the wiper up from the windshield and set into
the vertically
-locked position.2. Press the tab that holds the wiper blade to the arm.
3. Slide the blade down and off the arm.
4. Slide in the new blade and snap into place.