2000 BMW 328Ci COUPE ignition
[x] Cancel search: ignitionPage 12 of 189

Contents
Overview
Controls and features
Cockpit 16
Instrument cluster 18
Indicator and warning lamps 20
Multi-function steering wheel 24
Hazard warning system 25
Warning triangle 25
First-aid kit 25
Refueling 26
Fuel specifications 26
Tire inflation pressure 27
Locks and security systems:
Keys32
Electronic vehicle immobilizer 33
Central locking system 34
Door locks – from outside 34
Using the key 34
Using the remote control 35
Door locks – from inside 38
Luggage compartment lid 39
Luggage compartment 41
Alarm system 42
Electric power windows 44
Sliding/tilt sunroof 45
Adjustments:
Seats47
Seat and mirror memory 50
Steering wheel 51
Mirrors 52
Car Memory, Key Memory 54
Passenger safety systems:
Safety belts55
Child restraint systems 56
Airbags 57
Driving:
Steering/ignition lock 62
Starting the engine 62
Switching off the engine 63
Parking brake 64 Manual transmission
65
Automatic transmission with Steptronic 66
Turn signal/Headlamp flasher 69
Wiper/washer system/Rain sensor 69
Rear window defroster 71
Cruise control 72
Everything under control:
Odometer74
Tachometer 74
Energy control 74
Fuel gauge 75
Temperature gauge 75
Service Interval Display 76
Check Control 77
Clock 77
Onboard computer 77
Technology for safety and
convenience:
Park Distance Control (PDC) 80
Dynamic Stability Control (DSC) 81
Tire Pressure Control (RDC) 82
Page 32 of 189

30n
Locks and security systems:
Keys32
Electronic vehicle
immobilizer33
Central locking system34
Door locks – from outside34
Using the key34
Using the remote control35
Door locks – from inside38
Luggage compartment lid39
Luggage compartment41
Alarm system42
Electric power windows44
Sliding/tilt sunroof45
Adjustments:
Seats47
Seat and mirror memory50
Steering wheel51
Mirrors52
Car Memory, Key Memory54
Passenger safety systems:
Safety belts55
Child restraint systems56
Airbags57
Driving:
Steering/ignition lock62
Starting the engine62
Switching off the engine63
Parking brake64
Page 34 of 189
32n
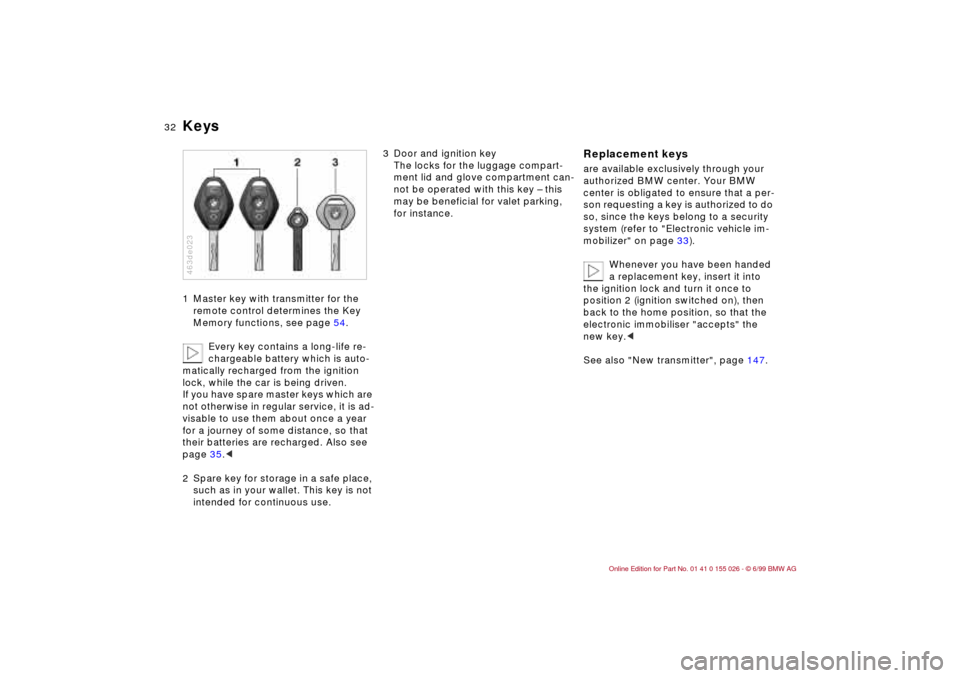
Keys1 Master key with transmitter for the
remote control determines the Key
Memory functions, see page 54.
Every key contains a long-life re-
chargeable battery which is auto-
matically recharged from the ignition
lock, while the car is being driven.
If you have spare master keys which are
not otherwise in regular service, it is ad-
visable to use them about once a year
for a journey of some distance, so that
their batteries are recharged. Also see
page 35.<
2 Spare key for storage in a safe place,
such as in your wallet. This key is not
intended for continuous use.463de023
3 Door and ignition key
The locks for the luggage compart-
ment lid and glove compartment can-
not be operated with this key – this
may be beneficial for valet parking,
for instance.
Replacement keysare available exclusively through your
authorized BMW center. Your BMW
center is obligated to ensure that a per-
son requesting a key is authorized to do
so, since the keys belong to a security
system (refer to "Electronic vehicle im-
mobilizer" on page 33).
Whenever you have been handed
a replacement key, insert it into
the ignition lock and turn it once to
position 2 (ignition switched on), then
back to the home position, so that the
electronic immobiliser "accepts" the
new key.<
See also "New transmitter", page 147.
Page 35 of 189
33n
RepairsIndexOverview Controls Car care Technology Data
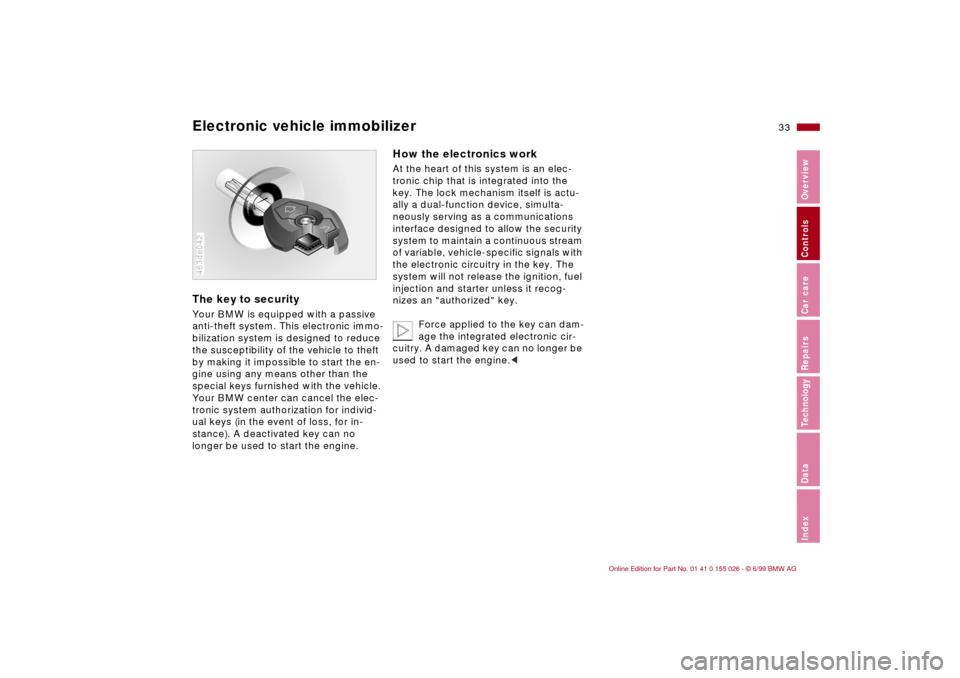
Electronic vehicle immobilizer The key to securityYour BMW is equipped with a passive
anti-theft system. This electronic immo-
bilization system is designed to reduce
the susceptibility of the vehicle to theft
by making it impossible to start the en-
gine using any means other than the
special keys furnished with the vehicle.
Your BMW center can cancel the elec-
tronic system authorization for individ-
ual keys (in the event of loss, for in-
stance). A deactivated key can no
longer be used to start the engine.
BMW
LOCK
463de042
How the electronics workAt the heart of this system is an elec-
tronic chip that is integrated into the
key. The lock mechanism itself is actu-
ally a dual-function device, simulta-
neously serving as a communications
interface designed to allow the security
system to maintain a continuous stream
of variable, vehicle-specific signals with
the electronic circuitry in the key. The
system will not release the ignition, fuel
injection and starter unless it recog-
nizes an "authorized" key.
Force applied to the key can dam-
age the integrated electronic cir-
cuitry. A damaged key can no longer be
used to start the engine.<
Page 37 of 189
35n
RepairsIndexOverview Controls Car care Technology Data
Door locks – from outsideUsing the remote control The remote control makes opening and
locking the doors of your vehicle very
convenient. Furthermore, it provides
two additional functions that can only
be executed by means of the remote
control:
>To switch on interior lamps
With this function, you can also
"search for" your vehicle, when
parked in an underground garage,
for instance.
>To open luggage compartment
The luggage compartment lid will
open slightly, regardless of whether
the lid was previously locked or un-
locked.
The anti-theft system is also deacti-
vated/activated simultaneously with
the unlocking or locking of the vehicle,
and the alarm system
* is disarmed/
armed, and the interior lamps are
turned on/off.
You can have a confirmation mes-
sage set to inform you that the car
has been properly locked.<
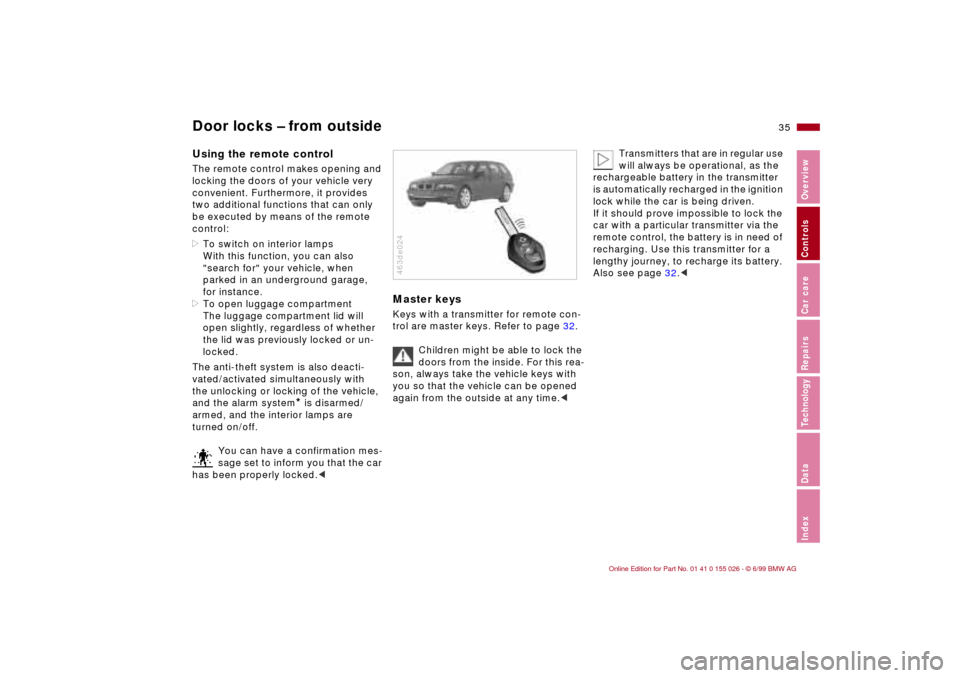
Master keysKeys with a transmitter for remote con-
trol are master keys. Refer to page 32.
Children might be able to lock the
doors from the inside. For this rea-
son, always take the vehicle keys with
you so that the vehicle can be opened
again from the outside at any time.<463de024
Transmitters that are in regular use
will always be operational, as the
rechargeable battery in the transmitter
is automatically recharged in the ignition
lock while the car is being driven.
If it should prove impossible to lock the
car with a particular transmitter via the
remote control, the battery is in need of
recharging. Use this transmitter for a
lengthy journey, to recharge its battery.
Also see page 32.<
Page 41 of 189
39n
RepairsIndexOverview Controls Car care Technology Data
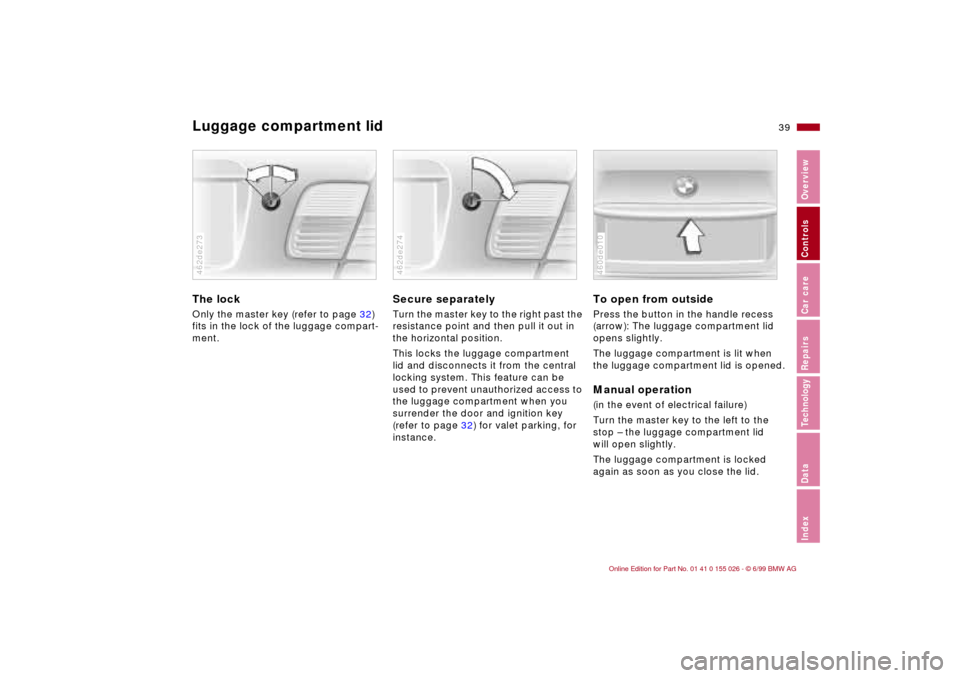
Luggage compartment lid The lock Only the master key (refer to page 32)
fits in the lock of the luggage compart-
ment.462de273
Secure separatelyTurn the master key to the right past the
resistance point and then pull it out in
the horizontal position.
This locks the luggage compartment
lid and disconnects it from the central
locking system. This feature can be
used to prevent unauthorized access to
the luggage compartment when you
surrender the door and ignition key
(refer to page 32) for valet parking, for
instance.462de274
To open from outsidePress the button in the handle recess
(arrow): The luggage compartment lid
opens slightly.
The luggage compartment is lit when
the luggage compartment lid is opened.Manual operation(in the event of electrical failure)
Turn the master key to the left to the
stop – the luggage compartment lid
will open slightly.
The luggage compartment is locked
again as soon as you close the lid.460de010
Page 46 of 189
44n
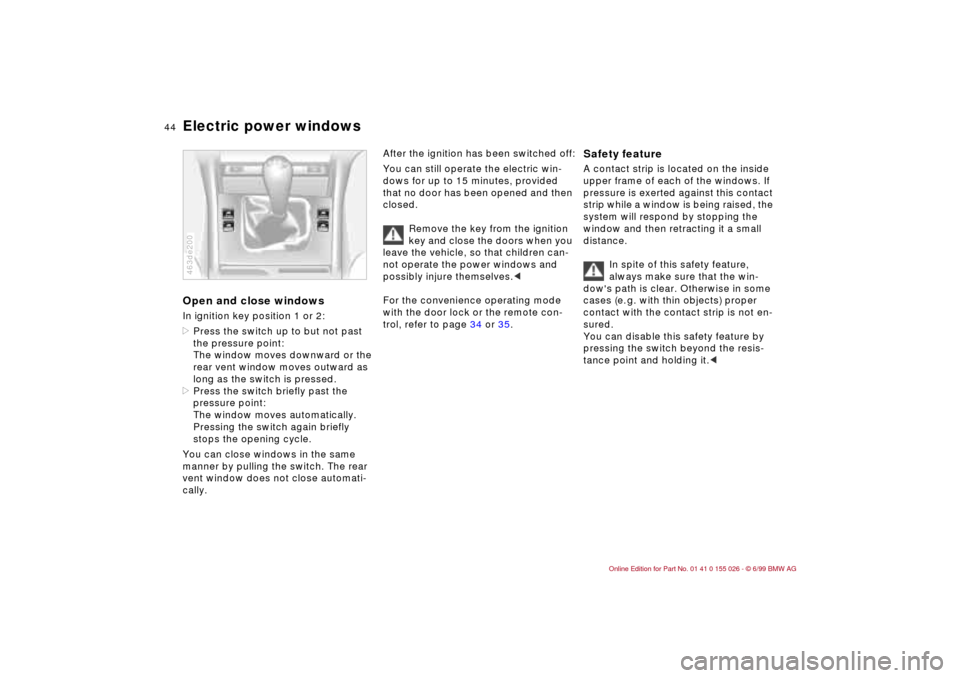
Electric power windowsOpen and close windowsIn ignition key position 1 or 2:
>Press the switch up to but not past
the pressure point:
The window moves downward or the
rear vent window moves outward as
long as the switch is pressed.
>Press the switch briefly past the
pressure point:
The window moves automatically.
Pressing the switch again briefly
stops the opening cycle.
You can close windows in the same
manner by pulling the switch. The rear
vent window does not close automati-
cally.463de200
After the ignition has been switched off:
You can still operate the electric win-
dows for up to 15 minutes, provided
that no door has been opened and then
closed.
Remove the key from the ignition
key and close the doors when you
leave the vehicle, so that children can-
not operate the power windows and
possibly injure themselves.<
For the convenience operating mode
with the door lock or the remote con-
trol, refer to page 34 or 35.
Safety feature A contact strip is located on the inside
upper frame of each of the windows. If
pressure is exerted against this contact
strip while a window is being raised, the
system will respond by stopping the
window and then retracting it a small
distance.
In spite of this safety feature,
always make sure that the win-
dow's path is clear. Otherwise in some
cases (e. g. with thin objects) proper
contact with the contact strip is not en-
sured.
You can disable this safety feature by
pressing the switch beyond the resis-
tance point and holding it.<
Page 47 of 189
45n
RepairsIndexOverview Controls Car care Technology Data
Sliding/tilt sunroof
*
To prevent injuries, exercise care
when closing the sliding/tilt sun-
roof and keep it in your field of vision
until it is completely closed.
Remove the key from the ignition and
close the doors when you leave the
vehicle, so that children cannot operate
the sunroof and possibly injure them-
selves.<
To avoid pressure or drafts in the pas-
senger compartment when the sunroof
is open or raised, keep the air vents in
the dashboard open and increase the air
supply if necessary. Refer to page 91.
When competely opened, the sunroof
may cause unpleasant vibrations in the
vehicle interior. To eliminate these
vibrations, close the sunroof until this
natural effect disappears.
For the convenience operating mode
with the door lock or the remote con-
trol, refer to page 34 or 35.
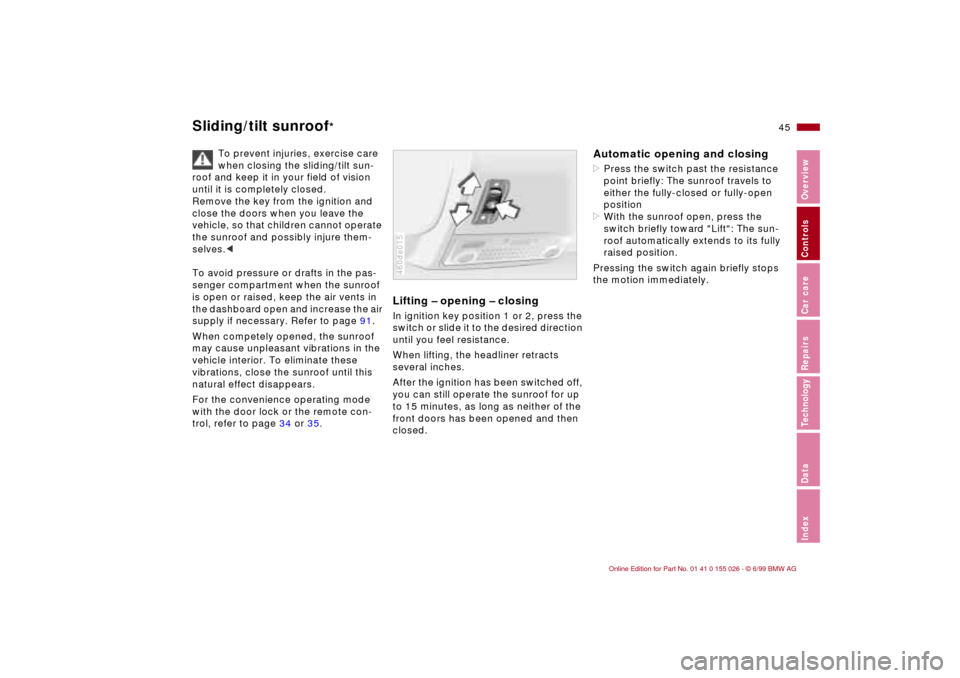
Lifting – opening – closingIn ignition key position 1 or 2, press the
switch or slide it to the desired direction
until you feel resistance.
When lifting, the headliner retracts
several inches.
After the ignition has been switched off,
you can still operate the sunroof for up
to 15 minutes, as long as neither of the
front doors has been opened and then
closed.460de015
Automatic opening and closing>Press the switch past the resistance
point briefly: The sunroof travels to
either the fully-closed or fully-open
position
>With the sunroof open, press the
switch briefly toward "Lift": The sun-
roof automatically extends to its fully
raised position.
Pressing the switch again briefly stops
the motion immediately.