2000 BMW 328Ci COUPE engine
[x] Cancel search: enginePage 139 of 189
137n
RepairsIndexOverview Controls Car care Technology Data
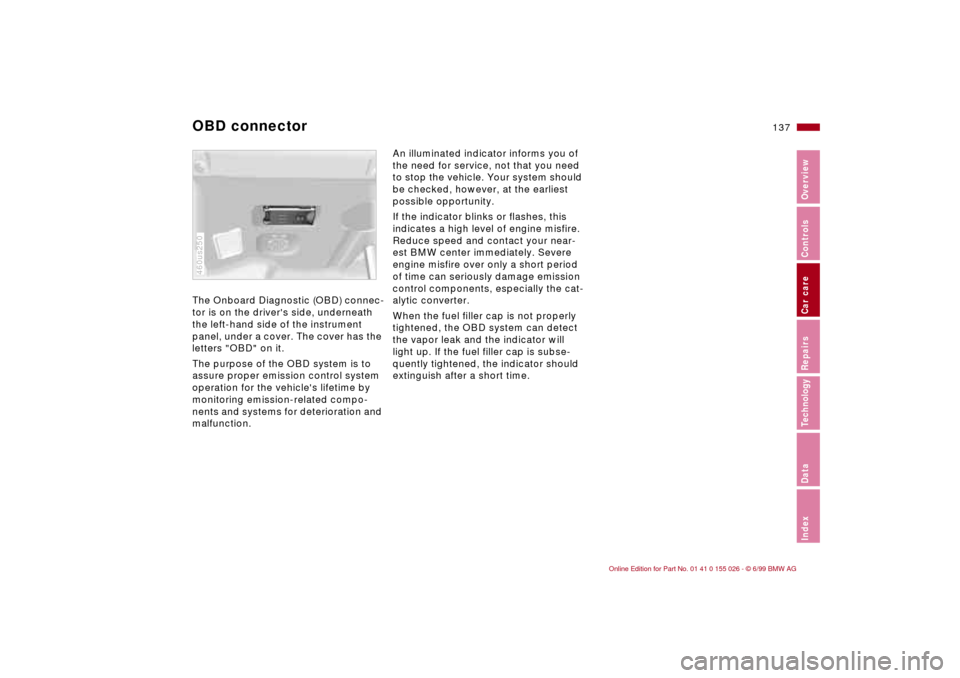
OBD connector The Onboard Diagnostic (OBD) connec-
tor is on the driver's side, underneath
the left-hand side of the instrument
panel, under a cover. The cover has the
letters "OBD" on it.
The purpose of the OBD system is to
assure proper emission control system
operation for the vehicle's lifetime by
monitoring emission-related compo-
nents and systems for deterioration and
malfunction.460us250
An illuminated indicator informs you of
the need for service, not that you need
to stop the vehicle. Your system should
be checked, however, at the earliest
possible opportunity.
If the indicator blinks or flashes, this
indicates a high level of engine misfire.
Reduce speed and contact your near-
est BMW center immediately. Severe
engine misfire over only a short period
of time can seriously damage emission
control components, especially the cat-
alytic converter.
When the fuel filler cap is not properly
tightened, the OBD system can detect
the vapor leak and the indicator will
light up. If the fuel filler cap is subse-
quently tightened, the indicator should
extinguish after a short time.
Page 143 of 189
141n
RepairsIndexOverview Controls Car care Technology Data
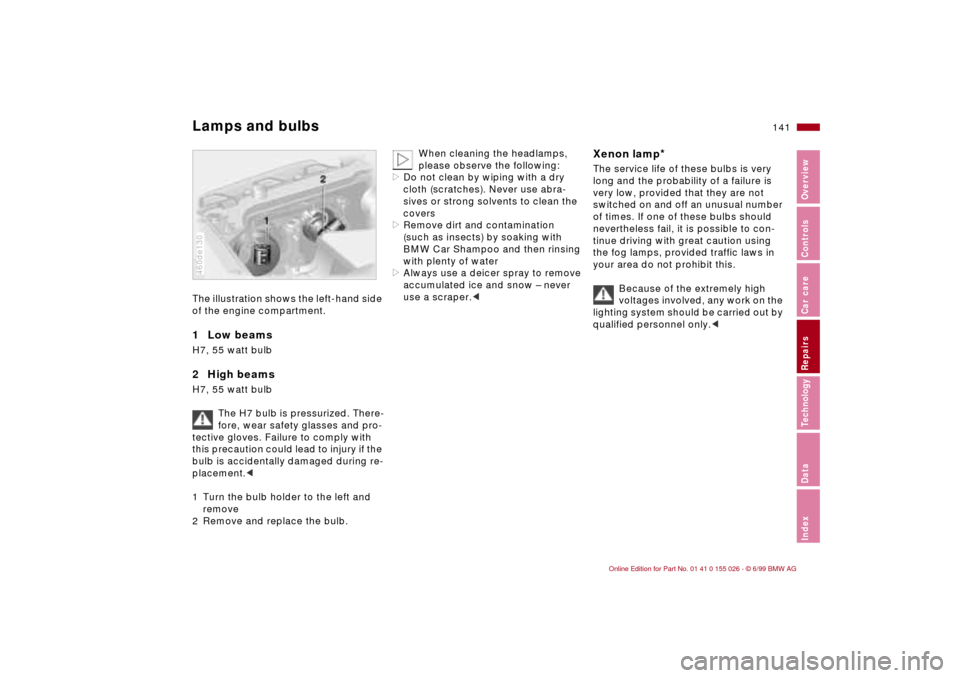
Lamps and bulbsThe illustration shows the left-hand side
of the engine compartment.1 Low beams H7, 55 watt bulb2 High beamsH7, 55 watt bulb
The H7 bulb is pressurized. There-
fore, wear safety glasses and pro-
tective gloves. Failure to comply with
this precaution could lead to injury if the
bulb is accidentally damaged during re-
placement.<
1 Turn the bulb holder to the left and
remove
2 Remove and replace the bulb.460de130
When cleaning the headlamps,
please observe the following:
>Do not clean by wiping with a dry
cloth (scratches). Never use abra-
sives or strong solvents to clean the
covers
>Remove dirt and contamination
(such as insects) by soaking with
BMW Car Shampoo and then rinsing
with plenty of water
>Always use a deicer spray to remove
accumulated ice and snow – never
use a scraper.<
Xenon lamp
*
The service life of these bulbs is very
long and the probability of a failure is
very low, provided that they are not
switched on and off an unusual number
of times. If one of these bulbs should
nevertheless fail, it is possible to con-
tinue driving with great caution using
the fog lamps, provided traffic laws in
your area do not prohibit this.
Because of the extremely high
voltages involved, any work on the
lighting system should be carried out by
qualified personnel only.<
Page 144 of 189
142n
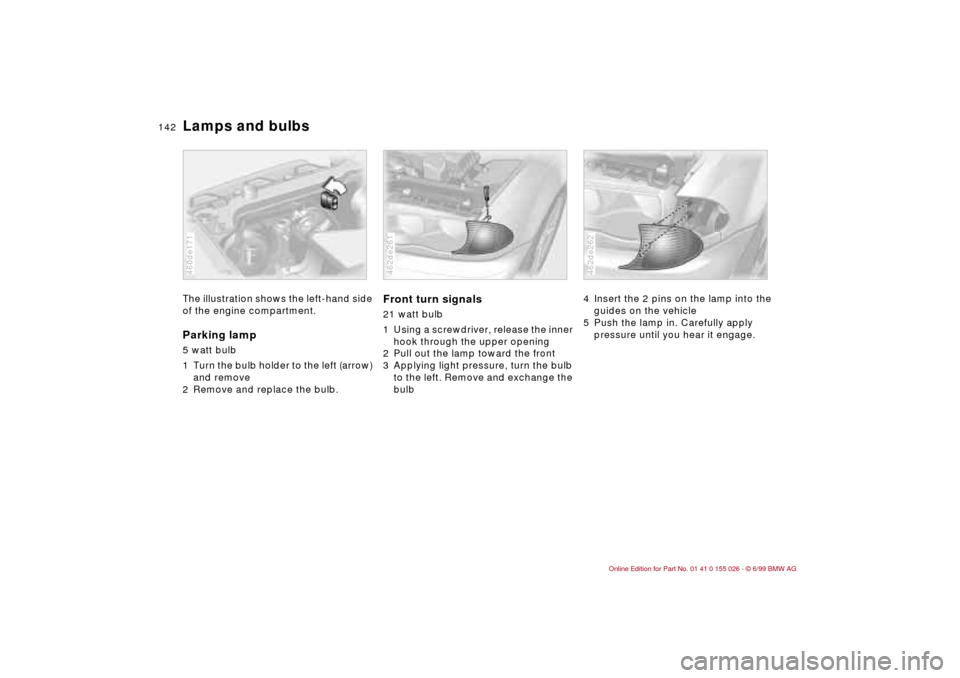
Lamps and bulbsThe illustration shows the left-hand side
of the engine compartment.Parking lamp5 watt bulb
1 Turn the bulb holder to the left (arrow)
and remove
2 Remove and replace the bulb.460de171
Front turn signals 21 watt bulb
1 Using a screwdriver, release the inner
hook through the upper opening
2 Pull out the lamp toward the front
3 Applying light pressure, turn the bulb
to the left. Remove and exchange the
bulb462de261
4 Insert the 2 pins on the lamp into the
guides on the vehicle
5 Push the lamp in. Carefully apply
pressure until you hear it engage.462de262
Page 150 of 189
148n
Changing tires
Take these precautionary mea-
sures if you have either a flat tire
or are changing the tire:
Park the vehicle as far from the flow of
traffic as possible and on firm ground.
Switch on the hazard flashers. Turn the
steering wheel to the straight-ahead
position, remove the key and engage
the steering lock. Shift into 1st or re-
verse (selector lever in "Park" with auto-
matic) and engage the parking brake.
All passengers should be outside the
car and well away from your immediate
working area (behind the guardrail, for
instance).
If a warning triangle or portable hazard
warning lamp is available, set it up on
the roadside at an appropriate distance
from the rear of the vehicle. Comply
with all safety guidelines and regula-
tions.
Change the wheel only on a level, firm
surface that is not slippery. Avoid jack-
ing the car on a soft or slippery support
surface (snow, ice, loose gravel, etc.),
as it could slide sideways.
Ensure that the jack is positioned on a
solid support surface.
Do not place wooden blocks or similar
objects under the jack. If this done, the
jack might not be able to reach its full
support capacity because of the limited
height.
Do not lie under the vehicle or start the
engine when the vehicle is supported
by the jack – risk of fatal injury.<
Your BMW has either a spare
* or
space-saver tire
* for temporary use and
to ensure your mobility.
Take the luggage compartment
floor panel completely out to
remove the spare tire
* (refer to
page 41).<
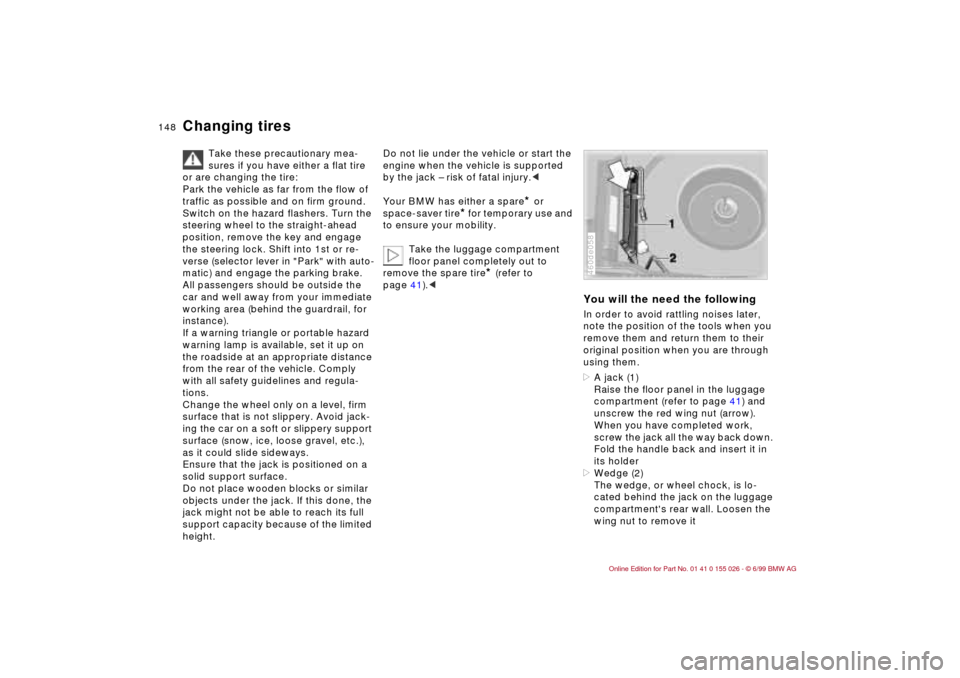
You will the need the followingIn order to avoid rattling noises later,
note the position of the tools when you
remove them and return them to their
original position when you are through
using them.
>A jack (1)
Raise the floor panel in the luggage
compartment (refer to page 41) and
unscrew the red wing nut (arrow).
When you have completed work,
screw the jack all the way back down.
Fold the handle back and insert it in
its holder
>Wedge (2)
The wedge, or wheel chock, is lo-
cated behind the jack on the luggage
compartment's rear wall. Loosen the
wing nut to remove it460de058
Page 154 of 189
152n
Battery
A highly-explosive gas is gener-
ated when the battery is
charged.
If you happen to get acid in your
eyes, rinse thoroughly for 15 min-
utes with clear water. Consult a
physician immediately. Rinse your skin
or clothing with plenty of water if you get
acid spray on them. If electrolyte is acci-
dentally ingested, consult a physician
immediately.
In order to protect the battery
case from ultraviolet radiation,
do not place it in direct sunlight.
A discharged battery can freeze. Store
the battery in areas where temperature
remains above freezing.
Battery careThe battery is completely maintenance-
free, as per DIN 43 539/2; that is, the
amount of acid put in the battery origi-
nally will normally last for the service life
of the battery.
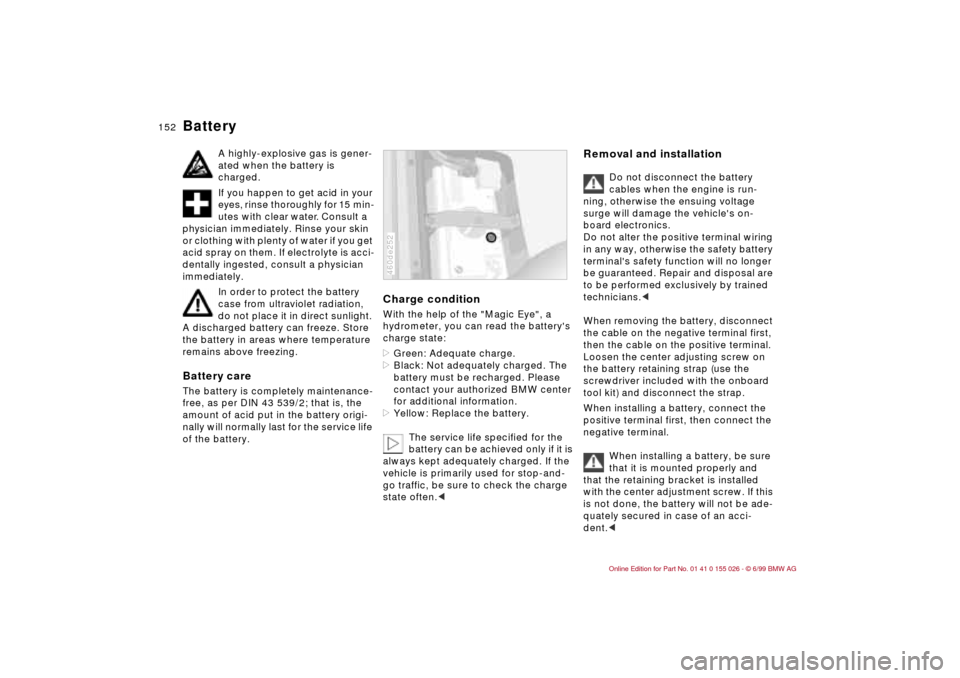
Charge conditionWith the help of the "Magic Eye", a
hydrometer, you can read the battery's
charge state:
>Green: Adequate charge.
>Black: Not adequately charged. The
battery must be recharged. Please
contact your authorized BMW center
for additional information.
>Yellow: Replace the battery.
The service life specified for the
battery can be achieved only if it is
always kept adequately charged. If the
vehicle is primarily used for stop-and-
go traffic, be sure to check the charge
state often.<460de252
Removal and installation
Do not disconnect the battery
cables when the engine is run-
ning, otherwise the ensuing voltage
surge will damage the vehicle's on-
board electronics.
Do not alter the positive terminal wiring
in any way, otherwise the safety battery
terminal's safety function will no longer
be guaranteed. Repair and disposal are
to be performed exclusively by trained
technicians.<
When removing the battery, disconnect
the cable on the negative terminal first,
then the cable on the positive terminal.
Loosen the center adjusting screw on
the battery retaining strap (use the
screwdriver included with the onboard
tool kit) and disconnect the strap.
When installing a battery, connect the
positive terminal first, then connect the
negative terminal.
When installing a battery, be sure
that it is mounted properly and
that the retaining bracket is installed
with the center adjustment screw. If this
is not done, the battery will not be ade-
quately secured in case of an acci-
dent.<
Page 155 of 189
153n
RepairsIndexOverview Controls Car care Technology Data
Battery FusesCharging the battery Charge the battery in the vehicle only
when the engine is not running.
Before doing any work on the
electrical system, be sure to
unclamp the cable from the battery's
negative terminal, or it could cause
short-circuiting, a fire or personal
injury.<
If the vehicle is to be parked longer than
4 weeks, disconnect the battery from
the vehicle's electrical system by dis-
connecting the negative terminal cable.
If you intend to store your car for longer
than six weeks: Remove the battery,
charge it and store it in a cool (but frost-
free) room. Recharge the battery every
6 months at the latest, at the very least
before each installation, or else it will be
unusable. Every time the battery is dis-
charged, especially over extended peri-
ods, its service life is reduced.
Return used batteries to a recy-
cling point or your authorized
BMW center. Maintain the battery in an
upright position for transport and stor-
age. Secure the battery against tilting in
transit.<
Storage periods during which the
battery is disconnected are not
taken into consideration by the Service
Interval Display for changing the brake
fluid.
Therefore, make sure that the brake
fluid is changed every two years at the
latest, regardless of the display. Com-
ply with the information provided on
page 127.<
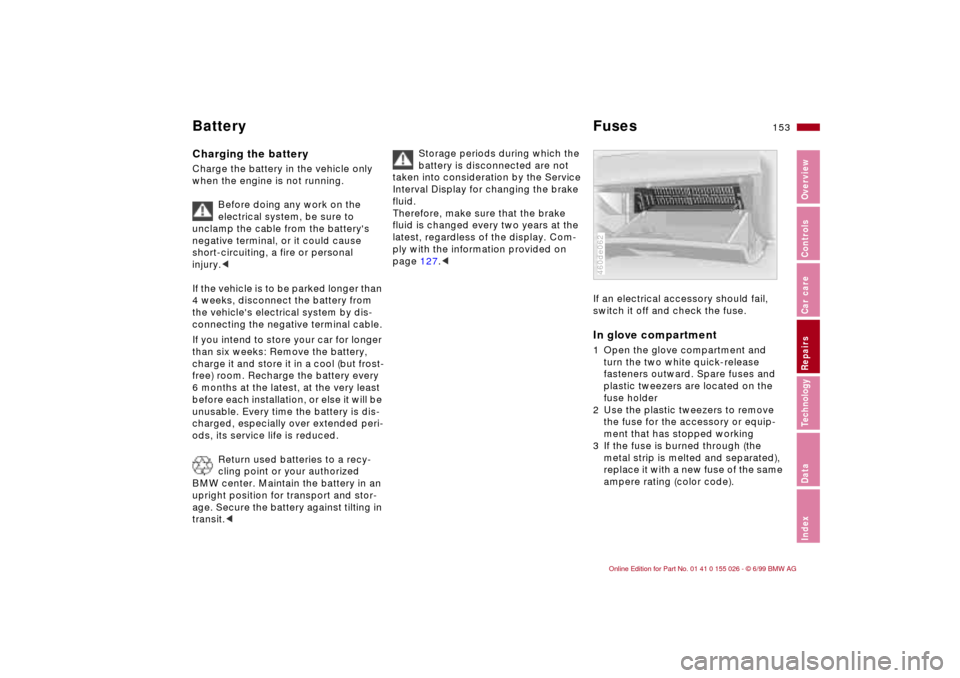
If an electrical accessory should fail,
switch it off and check the fuse. In glove compartment1 Open the glove compartment and
turn the two white quick-release
fasteners outward. Spare fuses and
plastic tweezers are located on the
fuse holder
2 Use the plastic tweezers to remove
the fuse for the accessory or equip-
ment that has stopped working
3 If the fuse is burned through (the
metal strip is melted and separated),
replace it with a new fuse of the same
ampere rating (color code).460de062
Page 158 of 189
156n
Never use spray starter fluids.
If the battery is discharged the engine
can be started with the use of two
jumper cables and the battery of an-
other vehicle. Always use jumper ca-
bles with fully insulated handles on the
terminal clamps.
Contact with parts conducting
electrical current on a running
engine can be harmful or fatal.<
Carefully comply with the following in-
structions to avoid personal injury and
damage to one or both vehicles:
1 Ensure that the battery on the sup-
port vehicle is also rated at 12 volts,
and that the capacities of the two
batteries (Ah) are roughly comparable
(printed on casing)
2 Leave your battery connected to the
car electrical system
3 Make sure that there is no contact
between the bodywork of the two
vehicles – short circuit risk!
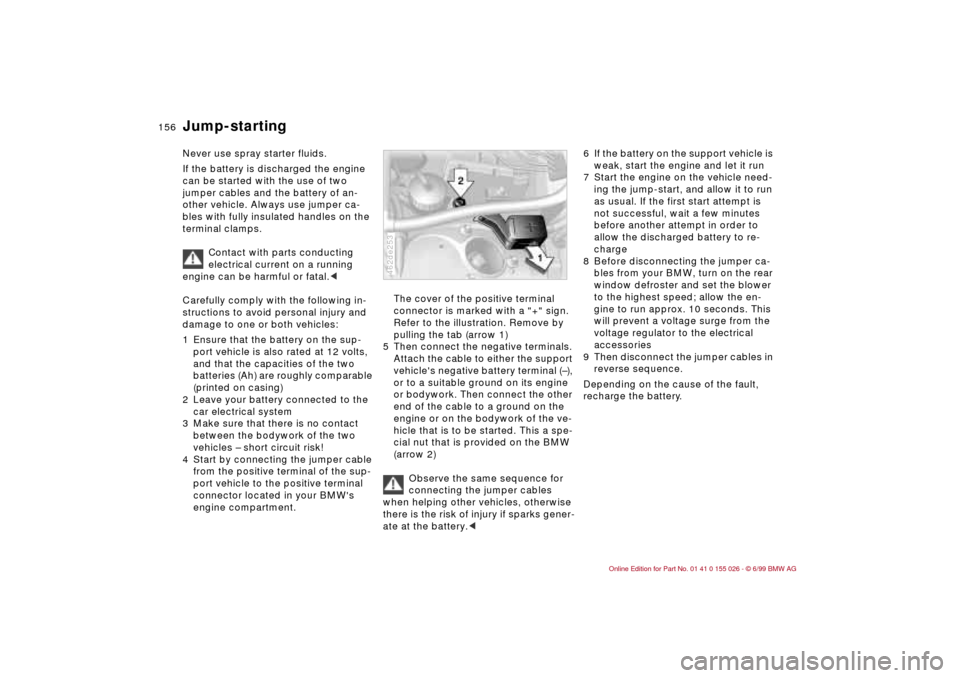
4 Start by connecting the jumper cable
from the positive terminal of the sup-
port vehicle to the positive terminal
connector located in your BMW's
engine compartment.
The cover of the positive terminal
connector is marked with a "+" sign.
Refer to the illustration. Remove by
pulling the tab (arrow 1)
5 Then connect the negative terminals.
Attach the cable to either the support
vehicle's negative battery terminal (–),
or to a suitable ground on its engine
or bodywork. Then connect the other
end of the cable to a ground on the
engine or on the bodywork of the ve-
hicle that is to be started. This a spe-
cial nut that is provided on the BMW
(arrow 2)
Observe the same sequence for
connecting the jumper cables
when helping other vehicles, otherwise
there is the risk of injury if sparks gener-
ate at the battery.<462de253
6 If the battery on the support vehicle is
weak, start the engine and let it run
7 Start the engine on the vehicle need-
ing the jump-start, and allow it to run
as usual. If the first start attempt is
not successful, wait a few minutes
before another attempt in order to
allow the discharged battery to re-
charge
8 Before disconnecting the jumper ca-
bles from your BMW, turn on the rear
window defroster and set the blower
to the highest speed; allow the en-
gine to run approx. 10 seconds. This
will prevent a voltage surge from the
voltage regulator to the electrical
accessories
9 Then disconnect the jumper cables in
reverse sequence.
Depending on the cause of the fault,
recharge the battery.
Jump-starting
Page 162 of 189
160n
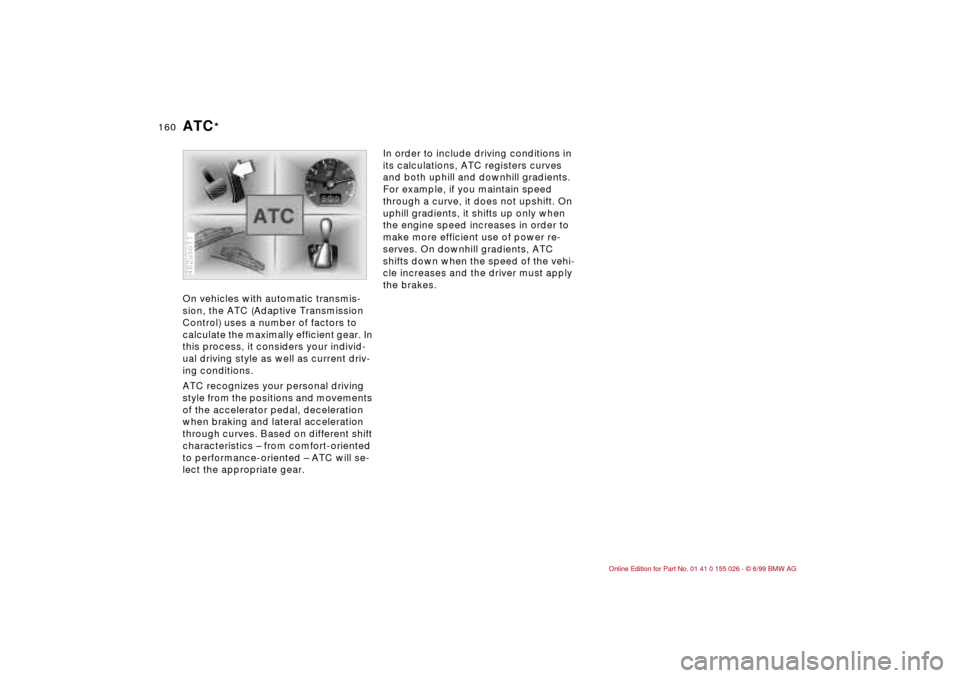
On vehicles with automatic transmis-
sion, the ATC (Adaptive Transmission
Control) uses a number of factors to
calculate the maximally efficient gear. In
this process, it considers your individ-
ual driving style as well as current driv-
ing conditions.
ATC recognizes your personal driving
style from the positions and movements
of the accelerator pedal, deceleration
when braking and lateral acceleration
through curves. Based on different shift
characteristics – from comfort-oriented
to performance-oriented – ATC will se-
lect the appropriate gear.
462uso11
In order to include driving conditions in
its calculations, ATC registers curves
and both uphill and downhill gradients.
For example, if you maintain speed
through a curve, it does not upshift. On
uphill gradients, it shifts up only when
the engine speed increases in order to
make more efficient use of power re-
serves. On downhill gradients, ATC
shifts down when the speed of the vehi-
cle increases and the driver must apply
the brakes.
ATC
*