Page 76 of 189
74n
1 Odometer You can activate the displays shown in
the illustration with the ignition key in
position 0 by pressing the button in the
instrument cluster (arrow).2 Trip odometerTo reset the trip odometer to zero,
press the button (arrow) with the igni-
tion key in position 1 or 2.462us005
Avoid engine speeds in the red warning
zone of the gauge.
To protect the engine, the engine man-
agement system automatically inter-
rupts the fuel supply in this range; the
resulting effect resembles that associ-
ated with a sudden loss of power.462us017
Indicates the current fuel consumption in
mpg (on Canadian models in l/100 km).
This instrument clearly shows whether
your current driving style is conducive to
economy and minimum exhaust emis-
sions.
The needle goes back to zero when the
car is stationary. 462us018
Odometer Tachometer Energy control
Page 78 of 189
76n
Service Interval Display Remaining distance for serviceThe displays shown in the diagram
appear for a few seconds with the
ignition key in position 1 and 2 or for
a few seconds after starting the engine.
The next service due appears with the
message OILSERVICE or INSPECTION,
together with the remaining distance
before scheduled service.
The computer bases its calculations of
the remaining distance on the rate of
fuel consumption in the period immedi-
ately preceding your data request.
A flashing message and a "–" in front of
the number mean that the service inter-
val has already been exceeded by the
distance shown on the display. Please
contact your authorized BMW center for
an appointment.462us022
Page 79 of 189

77n
RepairsIndexOverview Controls Car care Technology Data
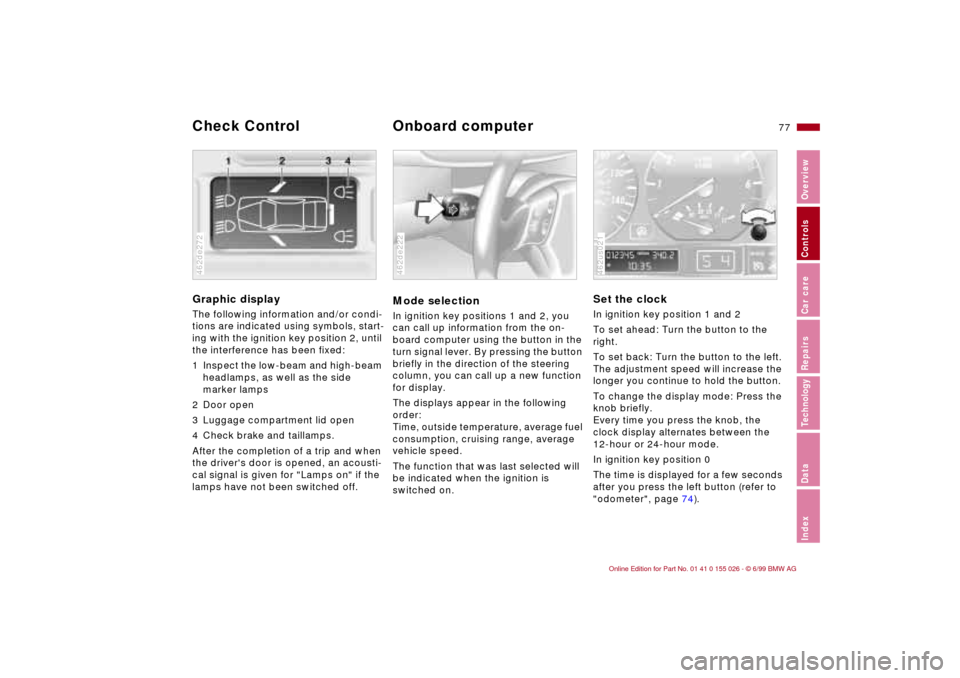
Graphic display
The following information and/or condi-
tions are indicated using symbols, start-
ing with the ignition key position 2, until
the interference has been fixed:
1 Inspect the low-beam and high-beam
headlamps, as well as the side
marker lamps
2 Door open
3 Luggage compartment lid open
4 Check brake and taillamps.
After the completion of a trip and when
the driver's door is opened, an acousti-
cal signal is given for "Lamps on" if the
lamps have not been switched off.462de272
Mode selectionIn ignition key positions 1 and 2, you
can call up information from the on-
board computer using the button in the
turn signal lever. By pressing the button
briefly in the direction of the steering
column, you can call up a new function
for display.
The displays appear in the following
order:
Time, outside temperature, average fuel
consumption, cruising range, average
vehicle speed.
The function that was last selected will
be indicated when the ignition is
switched on.462de222
Set the clockIn ignition key position 1 and 2
To set ahead: Turn the button to the
right.
To set back: Turn the button to the left.
The adjustment speed will increase the
longer you continue to hold the button.
To change the display mode: Press the
knob briefly.
Every time you press the knob, the
clock display alternates between the
12-hour or 24-hour mode.
In ignition key position 0
The time is displayed for a few seconds
after you press the left button (refer to
"odometer", page 74).462us021
Check Control
Onboard computer
Page 82 of 189

80n
The PDC assists you when you back
into a parking space. A signal warns
you of the distance to an obstacle. To
do this, four ultrasonic sensors in the
rear bumper measure the distance to
the nearest object. The monitoring
range of the two corner sensors ex-
tends to approx. 2 feet (60 cm) behind
the bumper. The two center sensors
cover a distance of approx. 4.9 feet
(1.50 meters).
The system starts to operate automati-
cally about one second after you se-
lect reverse with the ignition key in po-
sition 2. PDC is deactivated when you
shift back out of reverse.
Acoustical signalsThe distance to the nearest object is in-
dicated by a tone sounding at various
intervals. As the distance between vehi-
cle and object decreases, the intervals
between the tones become shorter. A
continuous warning tone sounds if the
distance to a recognized object is less
than 1 foot (30 cm).
The warning signal is canceled after
approx. three seconds if the distance to
the obstacle remains constant during
this time (if you are moving parallel to
a wall, for instance).
System malfunctions will be indicated
by a continuous high-pitched tone
when the system is activated the first
time. Please have your BMW center
resolve the problem.The PDC does not remove the
driver's personal responsibility for
evaluating the distance between the
vehicle and any obstacles. Even when
sensors are involved, there is a blind
spot in which objects cannot be de-
tected. This applies especially in those
cases where the system approaches
the physical limits of ultrasonic mea-
surement, as occurs with tow bars and
trailer couplings, and in the vicinity of
thin and painted objects.
Certain sources of sound, such as a
loud radio, could drown out the PDC
signal tone.<
Keep the sensors clean and free
of ice or snow in order to ensure
that they continue to operate effec-
tively.
Do not apply high-pressure spray to the
sensors for a prolonged period of time.
Maintain an adequate distance of more
than approx. 4 inches (10 cm).<
Park Distance Control (PDC)
*
Page 84 of 189

82n
Tire Pressure Control (RDC)
*
The conceptThe RDC monitors the tire pressures at
all four wheels, even when the vehicle is
moving. The system provides an alert
whenever the inflation pressure drops
significantly below the specified pres-
sure in one or more tires.
In order for the RDC to "learn" the cor-
rect tire inflation pressure, first check
the tire inflation pressure in all tires.
Then compare these pressures with the
tire inflation pressure chart (page 28)
and adjust if necessary. Then activate
the system.
This indicator lamp in the instru-
ment cluster informs you when-
ever the tire pressure is not nor-
mal.
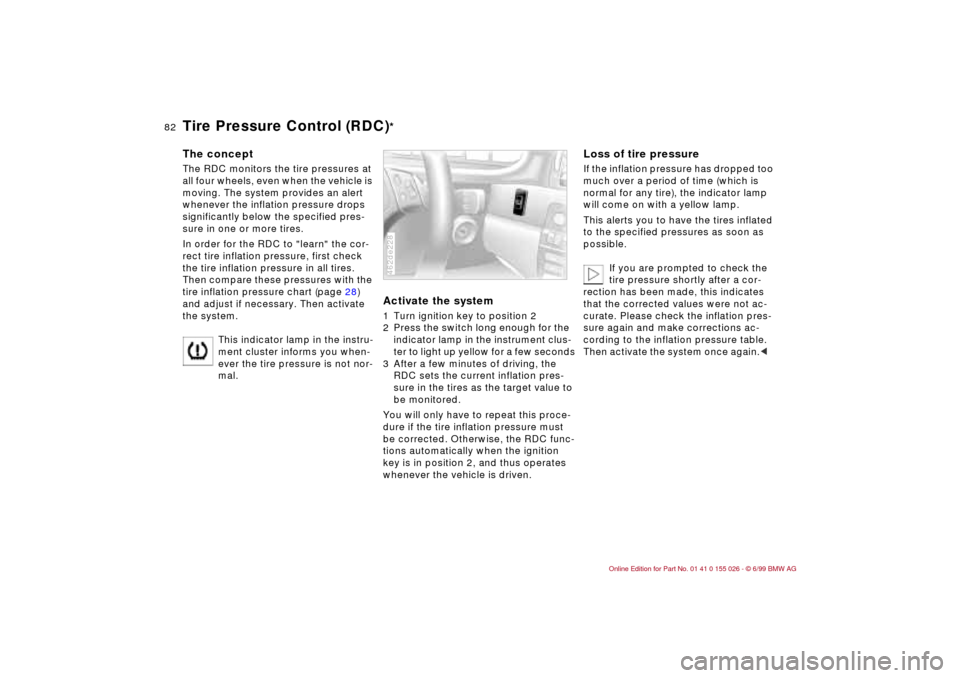
Activate the system1 Turn ignition key to position 2
2 Press the switch long enough for the
indicator lamp in the instrument clus-
ter to light up yellow for a few seconds
3 After a few minutes of driving, the
RDC sets the current inflation pres-
sure in the tires as the target value to
be monitored.
You will only have to repeat this proce-
dure if the tire inflation pressure must
be corrected. Otherwise, the RDC func-
tions automatically when the ignition
key is in position 2, and thus operates
whenever the vehicle is driven.462de228
Loss of tire pressureIf the inflation pressure has dropped too
much over a period of time (which is
normal for any tire), the indicator lamp
will come on with a yellow lamp.
This alerts you to have the tires inflated
to the specified pressures as soon as
possible.
If you are prompted to check the
tire pressure shortly after a cor-
rection has been made, this indicates
that the corrected values were not ac-
curate. Please check the inflation pres-
sure again and make corrections ac-
cording to the inflation pressure table.
Then activate the system once again.<
Page 86 of 189
84n
Parking lamps
With the switch in this position,
vehicle lighting is illuminated on
both sides. For lighting on one
side for parking, see page 85.
Low beam headlamps
When you switch the ignition off
with the low beam headlamps
on, only the parking lamps will
remain on.
"Follow-Me-Home" lamps:
If you activate the headlamp
flasher after parking the car, then the
low-beam headlamps will come on for a
short time. You can also have this func-
tion deactivated.<
460us035
LAMPS ON warningWhen you open the driver's door after
turning the ignition key to position 0, a
warning signal sounds for a few sec-
onds to remind you that the headlamps
have not been switched off
.
Daytime-driving lamps
*
If desired, the lamp switch can be left in
the second position: When the ignition
is switched off, the external lighting is
also switched off.
Turn the rotary dial to adjust the illumi-
nation intensity.
460us036
Parking lamps/Headlamps Instrument panel rheostat
Page 87 of 189
85n
RepairsIndexOverview Controls Car care Technology Data
High beams/Parking lamp Fog lamps
* Interior lamps
1 High beam (blue indicator lamp)
2 Headlamp flasher (blue indicator
lamp)
3 Parking lampParking lamp, left or rightWith the ignition key in position 0, en-
gage the lever in the appropriate turn-
signal position.462de212
A green indicator lamp appears in
the instrument cluster to indicate
that the front fog lamps are on.
460us038
The interior lamps operate
automatically.Switching interior lamps on
and offPress the button briefly.
If you want the interior lamps to remain
off continuously, maintain pressure on
the button for approximately 3 seconds.
To revert to normal operation, press the
button briefly.Footwell lamps
*
The footwell lamps operate in the same
way as the interior lamp.460de039
Page 88 of 189
86n
Reading lamps
The reading lamps are located in the
front near the interior lamp and in the
rear of the vehicle (illustration). They
can be switched on and off with the
switch adjacent to each lamp.
In order to keep the battery from
draining, all of the lamps in the
vehicle are switched off automatically
approx. 15 minutes after the ignition
key is turned to position 0.< 460de155