Page 142 of 189

140n
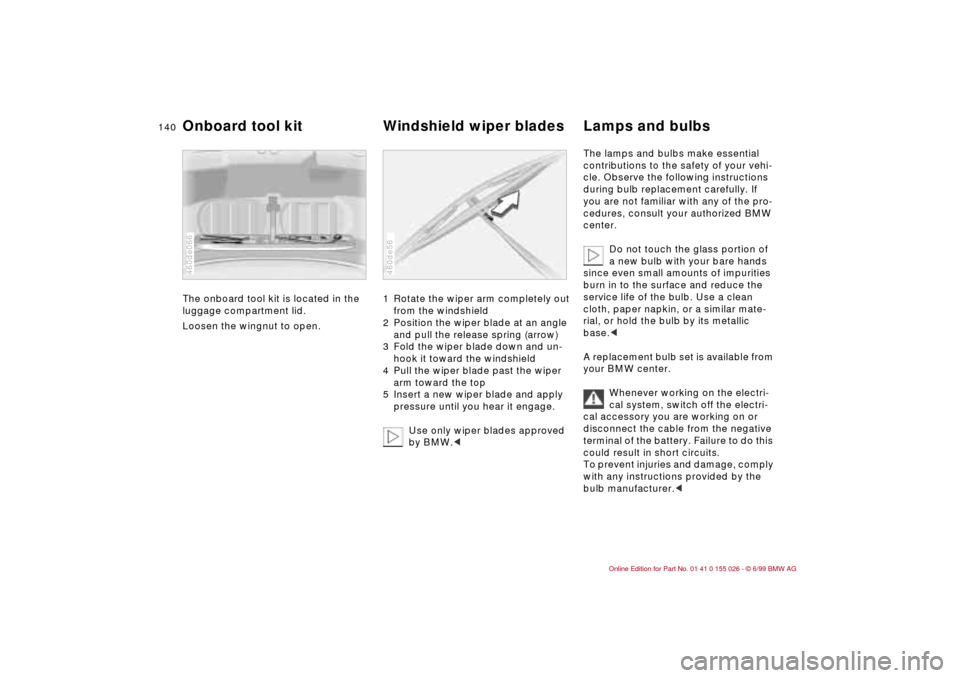
The onboard tool kit is located in the
luggage compartment lid.
Loosen the wingnut to open.
460de066
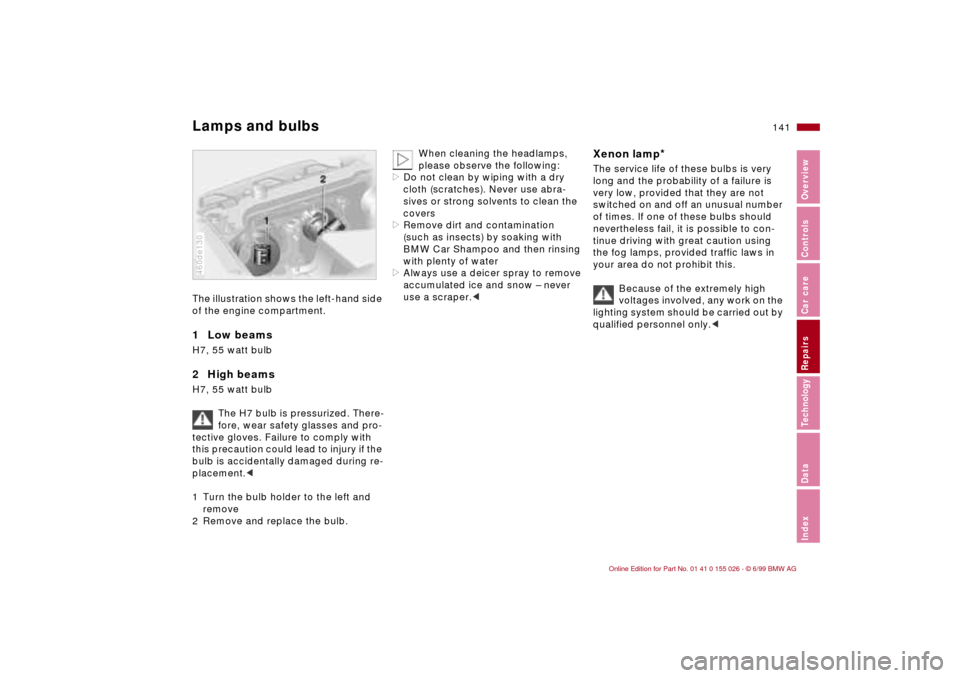
1 Rotate the wiper arm completely out
from the windshield
2 Position the wiper blade at an angle
and pull the release spring (arrow)
3 Fold the wiper blade down and un-
hook it toward the windshield
4 Pull the wiper blade past the wiper
arm toward the top
5 Insert a new wiper blade and apply
pressure until you hear it engage.
Use only wiper blades approved
by BMW.<460de56
The lamps and bulbs make essential
contributions to the safety of your vehi-
cle. Observe the following instructions
during bulb replacement carefully. If
you are not familiar with any of the pro-
cedures, consult your authorized BMW
center.
Do not touch the glass portion of
a new bulb with your bare hands
since even small amounts of impurities
burn in to the surface and reduce the
service life of the bulb. Use a clean
cloth, paper napkin, or a similar mate-
rial, or hold the bulb by its metallic
base.<
A replacement bulb set is available from
your BMW center.
Whenever working on the electri-
cal system, switch off the electri-
cal accessory you are working on or
disconnect the cable from the negative
terminal of the battery. Failure to do this
could result in short circuits.
To prevent injuries and damage, comply
with any instructions provided by the
bulb manufacturer.<
Onboard tool kit Windshield wiper blades Lamps and bulbs
Page 143 of 189

141n
RepairsIndexOverview Controls Car care Technology Data
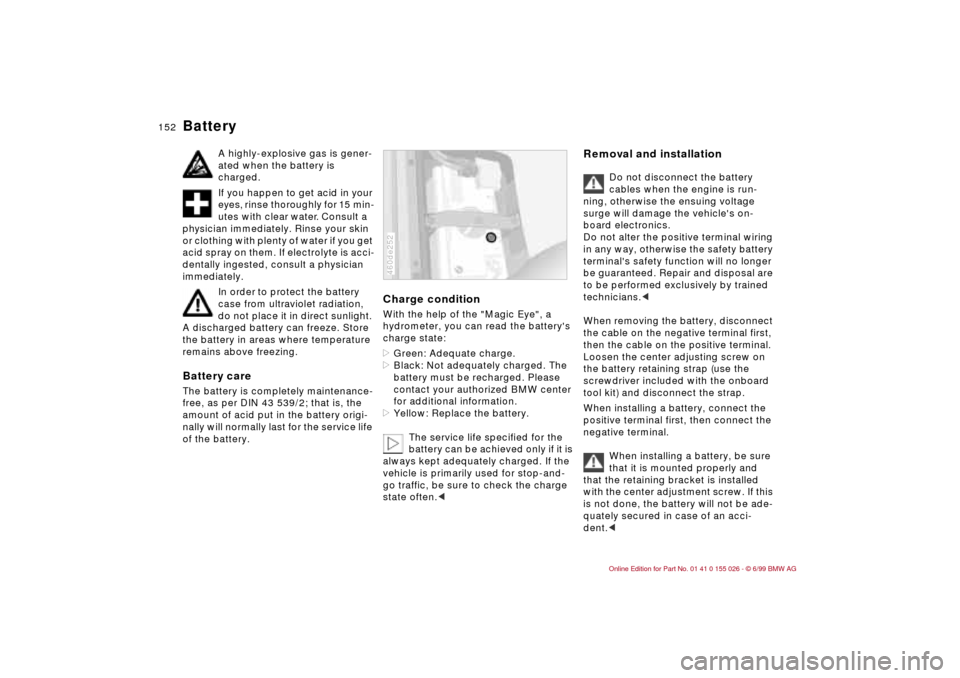
Lamps and bulbsThe illustration shows the left-hand side
of the engine compartment.1 Low beams H7, 55 watt bulb2 High beamsH7, 55 watt bulb
The H7 bulb is pressurized. There-
fore, wear safety glasses and pro-
tective gloves. Failure to comply with
this precaution could lead to injury if the
bulb is accidentally damaged during re-
placement.<
1 Turn the bulb holder to the left and
remove
2 Remove and replace the bulb.460de130
When cleaning the headlamps,
please observe the following:
>Do not clean by wiping with a dry
cloth (scratches). Never use abra-
sives or strong solvents to clean the
covers
>Remove dirt and contamination
(such as insects) by soaking with
BMW Car Shampoo and then rinsing
with plenty of water
>Always use a deicer spray to remove
accumulated ice and snow – never
use a scraper.<
Xenon lamp
*
The service life of these bulbs is very
long and the probability of a failure is
very low, provided that they are not
switched on and off an unusual number
of times. If one of these bulbs should
nevertheless fail, it is possible to con-
tinue driving with great caution using
the fog lamps, provided traffic laws in
your area do not prohibit this.
Because of the extremely high
voltages involved, any work on the
lighting system should be carried out by
qualified personnel only.<
Page 154 of 189

152n
Battery
A highly-explosive gas is gener-
ated when the battery is
charged.
If you happen to get acid in your
eyes, rinse thoroughly for 15 min-
utes with clear water. Consult a
physician immediately. Rinse your skin
or clothing with plenty of water if you get
acid spray on them. If electrolyte is acci-
dentally ingested, consult a physician
immediately.
In order to protect the battery
case from ultraviolet radiation,
do not place it in direct sunlight.
A discharged battery can freeze. Store
the battery in areas where temperature
remains above freezing.
Battery careThe battery is completely maintenance-
free, as per DIN 43 539/2; that is, the
amount of acid put in the battery origi-
nally will normally last for the service life
of the battery.
Charge conditionWith the help of the "Magic Eye", a
hydrometer, you can read the battery's
charge state:
>Green: Adequate charge.
>Black: Not adequately charged. The
battery must be recharged. Please
contact your authorized BMW center
for additional information.
>Yellow: Replace the battery.
The service life specified for the
battery can be achieved only if it is
always kept adequately charged. If the
vehicle is primarily used for stop-and-
go traffic, be sure to check the charge
state often.<460de252
Removal and installation
Do not disconnect the battery
cables when the engine is run-
ning, otherwise the ensuing voltage
surge will damage the vehicle's on-
board electronics.
Do not alter the positive terminal wiring
in any way, otherwise the safety battery
terminal's safety function will no longer
be guaranteed. Repair and disposal are
to be performed exclusively by trained
technicians.<
When removing the battery, disconnect
the cable on the negative terminal first,
then the cable on the positive terminal.
Loosen the center adjusting screw on
the battery retaining strap (use the
screwdriver included with the onboard
tool kit) and disconnect the strap.
When installing a battery, connect the
positive terminal first, then connect the
negative terminal.
When installing a battery, be sure
that it is mounted properly and
that the retaining bracket is installed
with the center adjustment screw. If this
is not done, the battery will not be ade-
quately secured in case of an acci-
dent.<
Page 155 of 189

153n
RepairsIndexOverview Controls Car care Technology Data
Battery FusesCharging the battery Charge the battery in the vehicle only
when the engine is not running.
Before doing any work on the
electrical system, be sure to
unclamp the cable from the battery's
negative terminal, or it could cause
short-circuiting, a fire or personal
injury.<
If the vehicle is to be parked longer than
4 weeks, disconnect the battery from
the vehicle's electrical system by dis-
connecting the negative terminal cable.
If you intend to store your car for longer
than six weeks: Remove the battery,
charge it and store it in a cool (but frost-
free) room. Recharge the battery every
6 months at the latest, at the very least
before each installation, or else it will be
unusable. Every time the battery is dis-
charged, especially over extended peri-
ods, its service life is reduced.
Return used batteries to a recy-
cling point or your authorized
BMW center. Maintain the battery in an
upright position for transport and stor-
age. Secure the battery against tilting in
transit.<
Storage periods during which the
battery is disconnected are not
taken into consideration by the Service
Interval Display for changing the brake
fluid.
Therefore, make sure that the brake
fluid is changed every two years at the
latest, regardless of the display. Com-
ply with the information provided on
page 127.<
If an electrical accessory should fail,
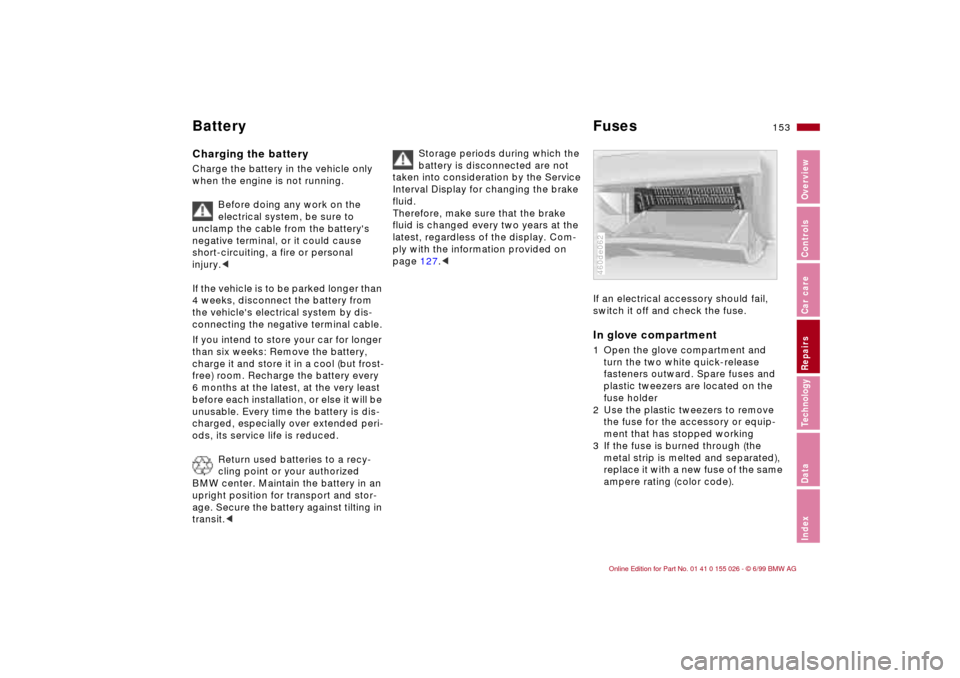
switch it off and check the fuse. In glove compartment1 Open the glove compartment and
turn the two white quick-release
fasteners outward. Spare fuses and
plastic tweezers are located on the
fuse holder
2 Use the plastic tweezers to remove
the fuse for the accessory or equip-
ment that has stopped working
3 If the fuse is burned through (the
metal strip is melted and separated),
replace it with a new fuse of the same
ampere rating (color code).460de062
Page 161 of 189
Overview
Controls and features
Operation, care
and maintenance
Owner service procedures
Technical data
Index Advanced technology
159n
RepairsIndexOverview Controls Car care Technology Data
Adaptive Transmission Control
(ATC)160
Airbags161
Dynamic Stability Control
(DSC)161
Radio reception162
Safety belt tensioner162
Rearview mirror with automatic
dimmer163
Tire Pressure Control (RDC)164
Rain sensor165
Self-diagnostics166
Xenon lamp167
Page 171 of 189
Overview
Controls and features
Operation, care
and maintenance
Owner service procedures
Technical data
Index Advanced technology
169n
RepairsIndexOverview Controls Car care Technology Data
Engine data170
Dimensions171
Weights172
Capacities173
Electrical system174
Ribbed V-belt174
Page 179 of 189
Overview
Controls and features
Operation, care
and maintenance
Owner service procedures
Technical data
Index Advanced technology
177n
RepairsIndexOverview Controls Car care Technology Data
Everything from A to Z178
Owner service procedures
from A to Z184
Page 183 of 189

Everything from A to Z
181n
RepairsIndexOverview Controls Car care Technology Data
NNavigation system, refer to
the radio operating
instructions
Neckrest 48
New transmitter, radio
remote control 147
Non-smokers package 96
Nozzles 122OOBD connector 137
Obstruction protection 44
Odometer 74
Oil
filling capacity 173
quality 124
viscosity 124
Oil additives 123
Oil change intervals, see the
Service and Warranty
Information Booklet
Oil consumption 123
Oil dipstick 123
Oil filter change 173
Oil level
check 123
indicator lamp 21
Oil pressure, indicator
lamp 20
Oil specifications 124
OILSERVICE 76Onboard computer 77
Onboard computer, refer to
the radio operating
instructions
Onboard tool kit 140
Opening and closing
from inside 38
from outside 34
Outlets, ventilation 88
Outside temperature
display 78
PPaint blemishes 131
Paint, care 131
Paintwork
minor repairs 132
waxing 132
Park Distance Control
(PDC) 80
Parking brake 64
Parking help 80
Parking lamps 84, 85
bulb replacement 142
Parking, winter 111
PDC (Park Distance
Control) 80
Performance 170
Pocket lamp 94
Pollen 93
Power steering 112
Power windows 44Preheat 62
Pressure monitoring,
tires 82, 164
Pressure, tires 27, 113
RRadiator 173
Radio Data System
(RDS) 162
Radio reception 112, 162
Radio remote control, new
transmitter 147
Radio, refer also to the radio
operating instructions
Rain sensor 70, 165
RDC (Tire Pressure
Control) 82, 164
RDS (Radio Data
System) 162
Reading lamps 86
Rear backrest, folding 98
Rear lamps 143
Rear window
defroster 71, 92
Rear-view mirror 52
Reclining seat 47
Refueling 26
Remote control 35
Removal of the vehicle from
service 136
Remove condensation,
windows 91Replenish washer fluid 122
Reporting safety defects 7
Reserve control lamp 75
Restraint system 56, 60
Reverse 17, 65
Roller blind, sun
protection 93
Roof load 172
Roof luggage rack 101
Rubber parts 110
SSafety belt height
adjustment 55
Safety belt tensioner 162
Safety belts 55
safety belt height
adjustment 55
Safety buttons 38
Safety feature 44
Seat
electric power 50
mechanical 47
Seat adjustment 47
Seat heating 93
Seat memory 51
Securing cargo 100
Securing loads 100
Selector lever, automatic
transmission 66
Self-diagnostics 166