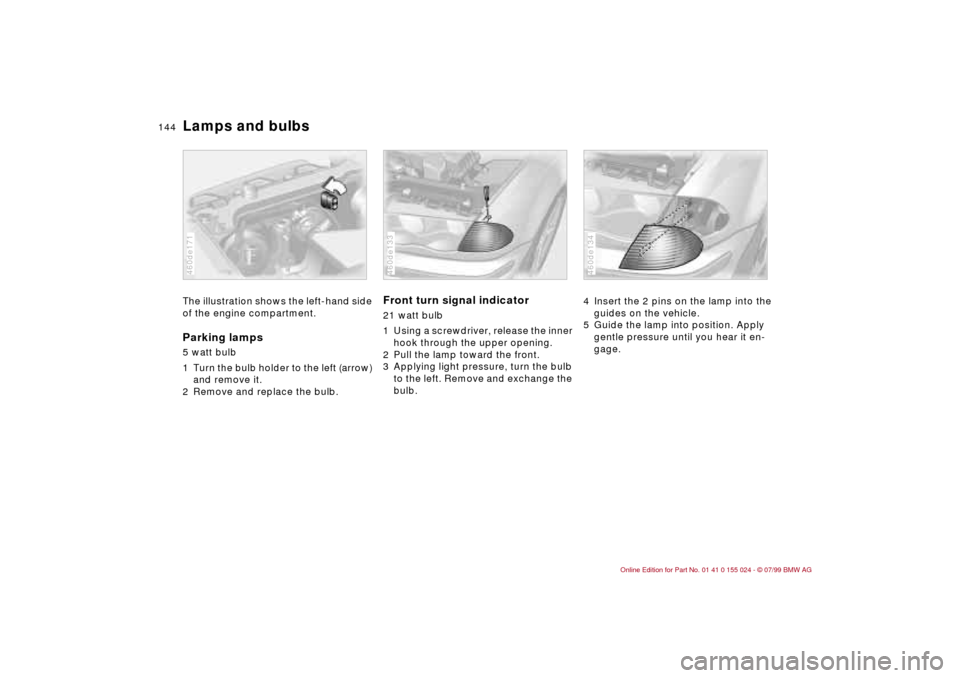
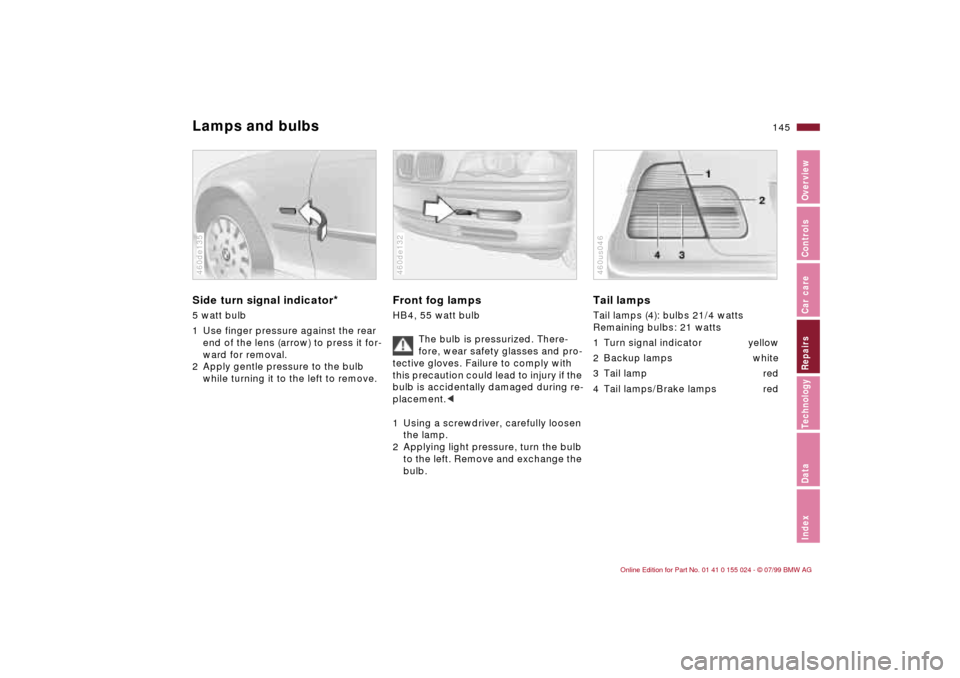
2000 BMW 323i SEDAN light
[x] Cancel search: lightPage 134 of 189

134n
Caring for your carWaxing your car Protect the finish using carnauba or
synthetic-based waxes only.
The best way to determine when the
finish needs to be waxed is by noting
when water stops beading on the sur-
face.
You can use a glass cleaner to remove
any wax or silicone that may have been
left on the windows during waxing.
Use cleaning and car-care
products that you can obtain at
your BMW center.<
Paint damageYou can touch up small areas of paint
damage with a BMW spray paint or a
BMW touchup stick.
The paint color code for your car is pro-
vided on a sticker located next to the
type plate and on the first page of your
Service and Warranty Information
Booklet (US models) or Warranty and
Service Guide Booklet (Canadian mod-
els).
Damage caused by flying stones,
scratches, etc., must be touched up
without delay to prevent rust from form-
ing.
If corrosion has started to form in an
area with paint damage, remove all rust
and clean the area. Then prime the area
with a BMW Primer Stick. Finally, apply
the finish coat. Wait a few days, then
polish the repaired area. Finish by
applying a wax preservative.
More extensive paint damage should
be professionally repaired in accor-
dance with the manufacturer's instruc-
tions. Your BMW center uses original
BMW finish materials in accordance
with official repair procedures.
Caring for other vehicle
components and materials Light-alloy wheels should be treated
with alloy wheel cleaner, especially dur-
ing the winter months. However, do not
use aggressive products containing
acids, strong alkalis or abrasives. Do
not use steam cleaners operating at
temperatures above 140 7 (60 6).
Follow the manufacturer's instructions.
If your vehicle has chrome parts
* such
as the window frames and door handles,
clean these parts carefully with ample
clean water and a shampoo supplement
if desired, especially if they have an
accumulation of road salt. Use chrome
polish as an additional treatment.
You can use window and glass cleaner
to clean inside window surfaces and
mirrors without smearing and streaking.
Never use polishing pastes or abrasive
(quartz) cleansers on mirror lenses.
Page 135 of 189

135n
IndexDataTechnologyRepairsCar careControlsOverview
Caring for your carPlastic components, vinyl upholstery,
headliners, lamp lenses, the clear cover
of the instrument panel and compo-
nents with a sprayed dull black surface
can be cleaned with water (add plastic
shampoo as required). Do not allow
moisture to soak through the seats or
headliner. Never use solvents such as
lacquer thinner, heavy-duty grease re-
mover, fuels, or similar substances.
Rubber components should be cleaned
with water only; a rubber treatment or
silicone spray may also be applied.
Clean the wiper blades with soapy
water. The wiper blades should be re-
placed twice a year Ð before and after
the cold season. This is especially im-
portant for vehicles with a rain sensor
*.
Use only wiper blades approved
by BMW.<
Do not remove safety belts to clean
them. Clean them with mild soapy
water only. Do not use chemicals or dry
cleaners to clean safety belts, since this
could damage the belt fabric.
After cleaning, never allow the inertia
reel to retract the belts until they are
completely dry. Dirty safety belts pre-
vent the inertia reel mechanism from
retracting the strap properly, and thus
constitute a safety hazard.
Heavily soiled floor carpets and mats
*
can be cleaned with an interior cleaner.
The floor mats can be removed from
the vehicle for cleaning.
Use only a damp cloth to clean trim
panels made of real wood
* and other
parts constructed of real wood
*. Follow
up by drying with a soft cloth.
Use cleaning and car-care
products that you can obtain at
your BMW center.<
Care of upholstery materials Depressions in the upholstery that re-
sult from everyday use can be brushed
smooth by brushing against the nap
with a lightly dampened brush.
The tendency of the pile to lie in a par-
ticular direction on velour upholstery is
not a quality defect. Just as with home
textiles or clothing, this cannot be
avoided.
Lint on upholstery materials, rubbed-in
fabric or suede residues can be re-
moved with a lint brush or Velcro¨
brush. A cleaning glove is available for
especially "stubborn" lint. Stains and
fairly large areas of dirt should be
cleaned off without delay, using luke-
warm water and an interior cleaner,
stain remover or appropriate cleaning
fluid. Brush the fabric afterwards to re-
store its appearance.
If the vehicle will be stored for an ex-
tended period or if it is exposed to in-
tense sunlight, cover all the seats or the
windows to prevent fading.
Use cleaning and car-care
products that you can obtain at
your BMW center.<
Page 136 of 189

136n
Caring for your carThe buildup of an electrostatic charge
on the seat covers, particularly if atmo-
spheric humidity is low, can give the
occupants an unpleasant electric shock
if they touch metal body parts after leav-
ing the vehicle. Although this not dan-
gerous in any way, it can be avoided by
touching a bare or polished metal part
of the car while getting out.Leather care The leather upholstery
* used by BMW
is a natural product of the highest qual-
ity, processed using state-of-the-art
methods to ensure that it will maintain
its high quality for years to come, pro-
vided that it is properly cared for.
Because this product is manufactured
using natural materials, you must make
allowance for its special characteristics
and for the peculiarities of its use and
care.
Regular periodic cleaning and care are
essential, as dust and road dirt act as
abrasives in the pores and creases of
the material. This leads to wear spots
and premature brittleness on the sur-
face of the leather. We therefore sug-
gest that you clean the leather with a
vacuum cleaner or cloth at frequent
intervals.For cleaning, use BMW leather cleaning
foam.
Since dirt and grease gradually attack
the protective layer of the leather, the
cleaned surfaces should be treated
with BMW leather care agent. This also
acts as an antistatic agent.
For protection against dampness or
moisture, treat the leather with a BMW
impregnating agent.
We recommend that you perform this
procedure twice a year on leather ex-
posed to normal use.
Spills should be wiped up immediately.
Remove grease and oil stains without
rubbing, but rather by dabbing with
spot remover.
If the upholstery will be exposed to in-
tense sunlight, or if the vehicle is to be
stored for an extended period, cover all
leather surfaces to prevent fading (or
better yet, cover the windows).
Use cleaning and car-care
products that you can obtain at
your BMW center.<
Cleaning agents can contain sub-
stances that are dangerous or that
pose health risks. For this reason, al-
ways comply with the warnings and
danger notices on the packaging.
Open the doors or windows on your ve-
hicle when cleaning the interior. Never
clean your vehicle with solvents or other
materials not specifically intended for
this purpose.<
Page 138 of 189

138n
Technical modifications to the vehicleAny BMW center will be glad to inform
you of the advisability, legal require-
ments and factory recommendations
regarding technical modifications on
your vehicle. For this purpose, the
BMW center will require the Vehicle
Identification Number and, in some
cases, also the engine number.
Light-Emitting Diodes (LEDs)Light-emitting diodes installed behind
translucent lenses serve as the light
source for many of the controls and dis-
plays in your vehicle. These LEDs re-
semble conventional lasers and are
classified by law as "Class 1 light-emit-
ting diodes."
Do not remove the protective lens
and avoid staring directly at the
unfiltered beam for extended periods
(several hours). To do so could result in
inflammation of the iris.<
Page 139 of 189

139n
IndexDataTechnologyRepairsCar careControlsOverview
OBD interface socket The OBD interface socket for onboard
diagnostics is located on the driver's
side at the left-hand bottom of the in-
strument panel and under a cover. The
cover has the letters "OBD" on it.
The purpose of the OBD system is to
assure proper emission control system
operation for the vehicle's lifetime by
monitoring emission-related compo-
nents and systems for deterioration and
malfunction.460us250
An illuminated indicator informs you of
the need for service, not that you need
to stop the vehicle. Your system should
be checked, however, at the earliest
possible opportunity.
If the indicator blinks or flashes, this
indicates a high level of engine misfire.
Reduce speed and contact your near-
est BMW center immediately. Severe
engine misfire over even a short period
of time can seriously damage emission
control components, especially the cat-
alytic converter.
If the fuel filler cap is not on tight
enough, the OBD system can detect
leaking vapor and the indicator will light
up. If the fuel filler cap is then tightened,
the indicator will usually go out after a
short period of time.
Page 143 of 189

143n
IndexDataTechnologyRepairsCar careControlsOverview
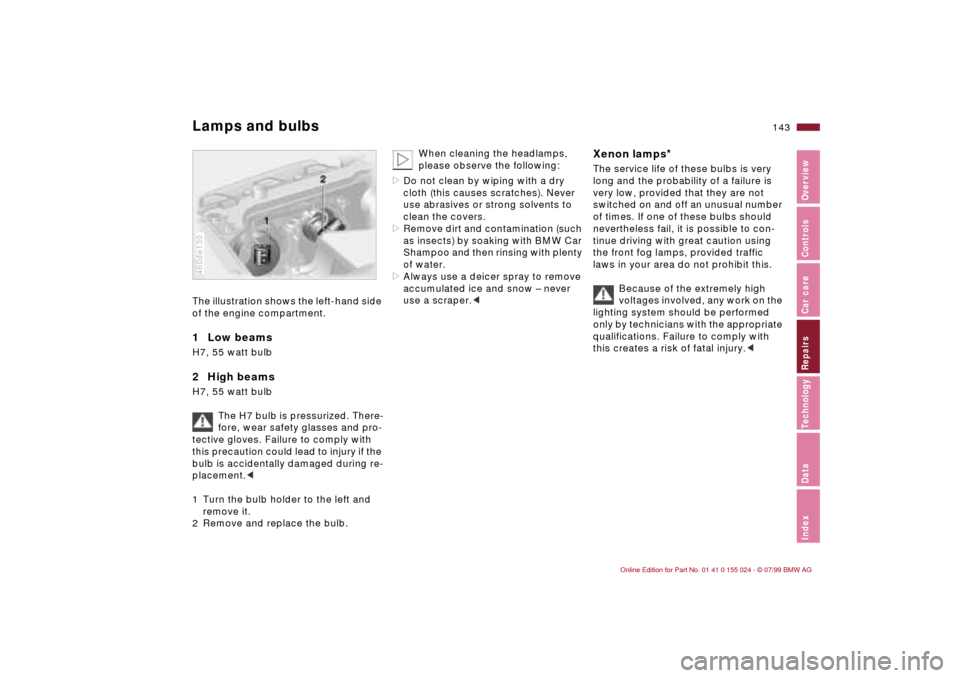
Lamps and bulbsThe illustration shows the left-hand side
of the engine compartment.1 Low beams H7, 55 watt bulb2 High beamsH7, 55 watt bulb
The H7 bulb is pressurized. There-
fore, wear safety glasses and pro-
tective gloves. Failure to comply with
this precaution could lead to injury if the
bulb is accidentally damaged during re-
placement.<
1 Turn the bulb holder to the left and
remove it.
2 Remove and replace the bulb.460de130
When cleaning the headlamps,
please observe the following:
>Do not clean by wiping with a dry
cloth (this causes scratches). Never
use abrasives or strong solvents to
clean the covers.
>Remove dirt and contamination (such
as insects) by soaking with BMW Car
Shampoo and then rinsing with plenty
of water.
>Always use a deicer spray to remove
accumulated ice and snow Ð never
use a scraper.<
Xenon lamps
*
The service life of these bulbs is very
long and the probability of a failure is
very low, provided that they are not
switched on and off an unusual number
of times. If one of these bulbs should
nevertheless fail, it is possible to con-
tinue driving with great caution using
the front fog lamps, provided traffic
laws in your area do not prohibit this.
Because of the extremely high
voltages involved, any work on the
lighting system should be performed
only by technicians with the appropriate
qualifications. Failure to comply with
this creates a risk of fatal injury.<
Page 144 of 189

144n
Lamps and bulbsThe illustration shows the left-hand side
of the engine compartment.Parking lamps 5 watt bulb
1 Turn the bulb holder to the left (arrow)
and remove it.
2 Remove and replace the bulb.460de171
Front turn signal indicator 21 watt bulb
1 Using a screwdriver, release the inner
hook through the upper opening.
2 Pull the lamp toward the front.
3 Applying light pressure, turn the bulb
to the left. Remove and exchange the
bulb.460de133
4 Insert the 2 pins on the lamp into the
guides on the vehicle.
5 Guide the lamp into position. Apply
gentle pressure until you hear it en-
gage.460de134
Page 145 of 189

145n
IndexDataTechnologyRepairsCar careControlsOverview
Lamps and bulbsSide turn signal indicator
*
5 watt bulb
1 Use finger pressure against the rear
end of the lens (arrow) to press it for-
ward for removal.
2 Apply gentle pressure to the bulb
while turning it to the left to remove.460de135
Front fog lamps HB4, 55 watt bulb
The bulb is pressurized. There-
fore, wear safety glasses and pro-
tective gloves. Failure to comply with
this precaution could lead to injury if the
bulb is accidentally damaged during re-
placement.<
1 Using a screwdriver, carefully loosen
the lamp.
2 Applying light pressure, turn the bulb
to the left. Remove and exchange the
bulb.460de132
Tail lamps Tail lamps (4): bulbs 21/4 watts
Remaining bulbs: 21 watts
1 Turn signal indicator yellow
2 Backup lamps white
3 Tail lamp red
4 Tail lamps/Brake lamps red460us046