Page 61 of 189

61n
IndexDataTechnologyRepairsCar careControlsOverview
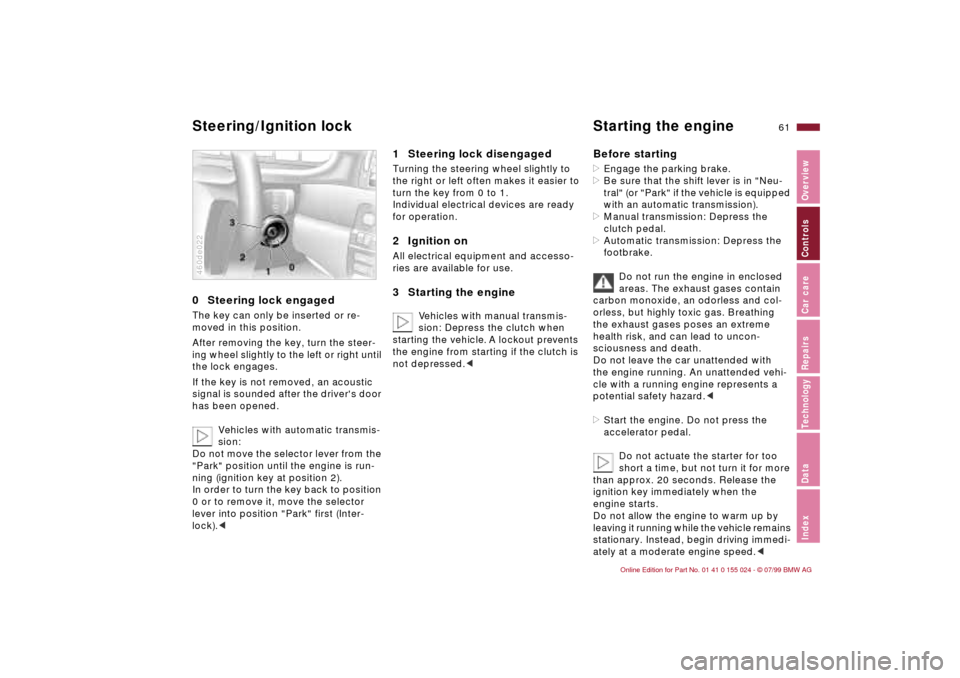
0 Steering lock engaged The key can only be inserted or re-
moved in this position.
After removing the key, turn the steer-
ing wheel slightly to the left or right until
the lock engages.
If the key is not removed, an acoustic
signal is sounded after the driver's door
has been opened.
Vehicles with automatic transmis-
sion:
Do not move the selector lever from the
"Park" position until the engine is run-
ning (ignition key at position 2).
In order to turn the key back to position
0 or to remove it, move the selector
lever into position "Park" first (Inter-
lock).<460de022
1 Steering lock disengaged Turning the steering wheel slightly to
the right or left often makes it easier to
turn the key from 0 to 1.
Individual electrical devices are ready
for operation.2 Ignition onAll electrical equipment and accesso-
ries are available for use.3 Starting the engine
Vehicles with manual transmis-
sion: Depress the clutch when
starting the vehicle. A lockout prevents
the engine from starting if the clutch is
not depressed.c
Before starting>Engage the parking brake.
>Be sure that the shift lever is in "Neu-
tral" (or "Park" if the vehicle is equipped
with an automatic transmission).
>Manual transmission: Depress the
clutch pedal.
>Automatic transmission: Depress the
footbrake.
Do not run the engine in enclosed
areas. The exhaust gases contain
carbon monoxide, an odorless and col-
orless, but highly toxic gas. Breathing
the exhaust gases poses an extreme
health risk, and can lead to uncon-
sciousness and death.
Do not leave the car unattended with
the engine running. An unattended vehi-
cle with a running engine represents a
potential safety hazard.<
>Start the engine. Do not press the
accelerator pedal.
Do not actuate the starter for too
short a time, but not turn it for more
than approx. 20 seconds. Release the
ignition key immediately when the
engine starts.
Do not allow the engine to warm up by
leaving it running while the vehicle remains
stationary. Instead, begin driving immedi-
ately at a moderate engine speed.<
Steering/Ignition lock Starting the engine
Page 63 of 189

63n
IndexDataTechnologyRepairsCar careControlsOverview
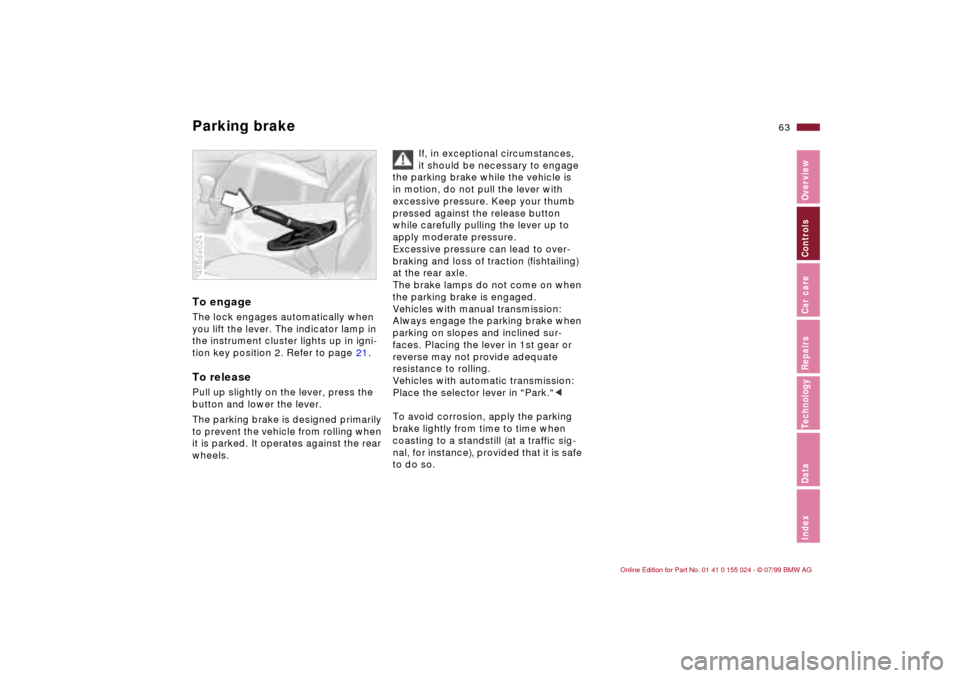
Parking brake To engageThe lock engages automatically when
you lift the lever. The indicator lamp in
the instrument cluster lights up in igni-
tion key position 2. Refer to page 21.To releasePull up slightly on the lever, press the
button and lower the lever.
The parking brake is designed primarily
to prevent the vehicle from rolling when
it is parked. It operates against the rear
wheels.460de024
If, in exceptional circumstances,
it should be necessary to engage
the parking brake while the vehicle is
in motion, do not pull the lever with
excessive pressure. Keep your thumb
pressed against the release button
while carefully pulling the lever up to
apply moderate pressure.
Excessive pressure can lead to over-
braking and loss of traction (fishtailing)
at the rear axle.
The brake lamps do not come on when
the parking brake is engaged.
Vehicles with manual transmission:
Always engage the parking brake when
parking on slopes and inclined sur-
faces. Placing the lever in 1st gear or
reverse may not provide adequate
resistance to rolling.
Vehicles with automatic transmission:
Place the selector lever in "Park."<
To avoid corrosion, apply the parking
brake lightly from time to time when
coasting to a standstill (at a traffic sig-
nal, for instance), provided that it is safe
to do so.
Page 64 of 189
64n
Manual transmission The shift lever's neutral plane (dot in the
illustration) is located between 3rd and
4th gears.
When shifting from each gear into
"Neutral," the shift lever returns auto-
matically to this neutral position be-
cause of its spring loading.360de044
Reverse Select "Reverse" only when the vehicle
is at a complete stop. Press the shift
lever to the left to overcome the slight
resistance.
As you do this, the backup lamps will
turn on automatically when the ignition
key is in position 2.
Do not hold the vehicle in place on
slopes by slipping or "riding" the
clutch. Use the parking brake instead.
A slipping clutch increases clutch
wear.<
Page 70 of 189
70n
Wiper/Washer system Rear window defroster Headlamp washers
*
When the vehicle's lighting system is
switched on, the headlamps will also be
cleaned every fifth time the automatic
windshield washer is activated.
Do not use the washers if there
is any danger that the fluid will
freeze on the windshield. If you do so,
your vision could be obscured. Use an
antifreeze agent. Refer to page 124.
Do not use the washers when the reser-
voir is empty. If you do so, the washer
pump could be damaged.
*
automatically when the ignition key is in
position 2.To activatePress the button: As long as the indica-
tor lamp remains on, the rear window
defroster continues at high-output
(rapid thaw).
After the indicator lamp goes out, the
defroster continues operating at re-
duced power for a limited period before
deactivating automatically. 460de026
To deactivatePress the button if the indicator lamp is
on.
Page 74 of 189

74n
Fuel gauge Temperature gauge Service Interval Display When you switch on the ignition, the in-
dicator lamp comes on briefly to con-
firm that the system is stationary.
Once the indicator lamp begins to light
up continuously, there are still approx.
2.1 gallons (8 liters) of fuel in the fuel
tank.
Tank capacity: page 175.
If the tilt of the vehicle varies (extended
driving in mountainous areas, for exam-
ple), there may be slight fluctuations of
the needle.
Fill the fuel tank well before it is
empty. Driving to the last drop of
fuel can result in damage to the engine
and/or the catalytic converter.<460us081
BlueThe engine is still cold. Drive at moder-
ate engine and vehicle speeds.RedWhen you switch on the ignition, the
indicator lamp comes on briefly to con-
firm that the system is operational.
If the lamp comes on while operating
the vehicle: The engine is overheated.
Stop and switch the engine off immedi-
ately and allow it to cool down.Between the blue and red zonesNormal operating range. It is not un-
usual for the needle to rise as far as the
edge of the red zone in response to
high outside temperatures or severe
operating conditions.
Checking coolant level: page 128.460de082
Remaining distance for serviceThe displays shown in the illustration
appear for a few seconds when the
ignition key is in positions 1 and 2 or
after the engine is started.
The next service due appears with the
message OILSERVICE or INSPECTION,
together with the remaining distance
before scheduled service.
The computer bases its calculations of
the remaining distance on the rate of
fuel consumption in the period immedi-
ately preceding your data request.
A flashing message and a "Ð" in front of
the number mean that the service inter-
val has already been exceeded by the
distance shown on the display. Please
contact your BMW center for an
appointment.460de112
Page 80 of 189

80n
Tire Pressure Control (RDC)
*
The conceptRDC monitors the tire pressures at all
four wheels, even when the vehicle is
moving. The system provides an alert
whenever the inflation pressure drops
significantly below the specified pres-
sure in one or more tires.
In order for the system to "learn" the
correct tire inflation pressure, check the
inflation pressure in all tires. Refer to
the table of "Tire inflation pressures"
(page 28) and correct the pressures if
necessary. Then activate the system.
This indicator lamp in the instru-
ment cluster will inform you if
the tire pressure is not correct.
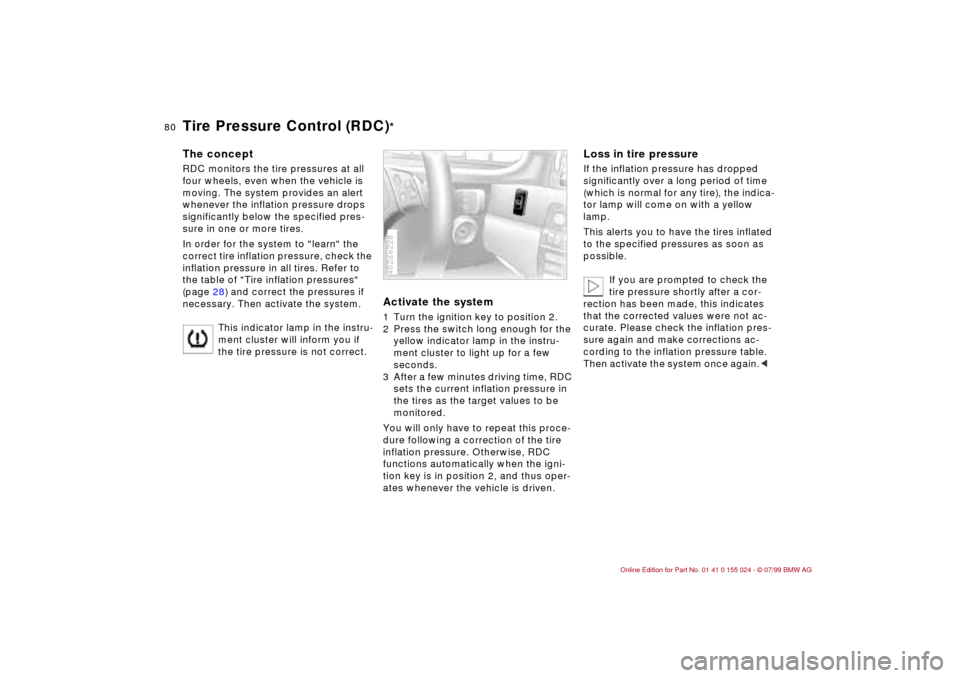
Activate the system1 Turn the ignition key to position 2.
2 Press the switch long enough for the
yellow indicator lamp in the instru-
ment cluster to light up for a few
seconds.
3 After a few minutes driving time, RDC
sets the current inflation pressure in
the tires as the target values to be
monitored.
You will only have to repeat this proce-
dure following a correction of the tire
inflation pressure. Otherwise, RDC
functions automatically when the igni-
tion key is in position 2, and thus oper-
ates whenever the vehicle is driven.462de228
Loss in tire pressureIf the inflation pressure has dropped
significantly over a long period of time
(which is normal for any tire), the indica-
tor lamp will come on with a yellow
lamp.
This alerts you to have the tires inflated
to the specified pressures as soon as
possible.
If you are prompted to check the
tire pressure shortly after a cor-
rection has been made, this indicates
that the corrected values were not ac-
curate. Please check the inflation pres-
sure again and make corrections ac-
cording to the inflation pressure table.
Then activate the system once again.<
Page 82 of 189

82n
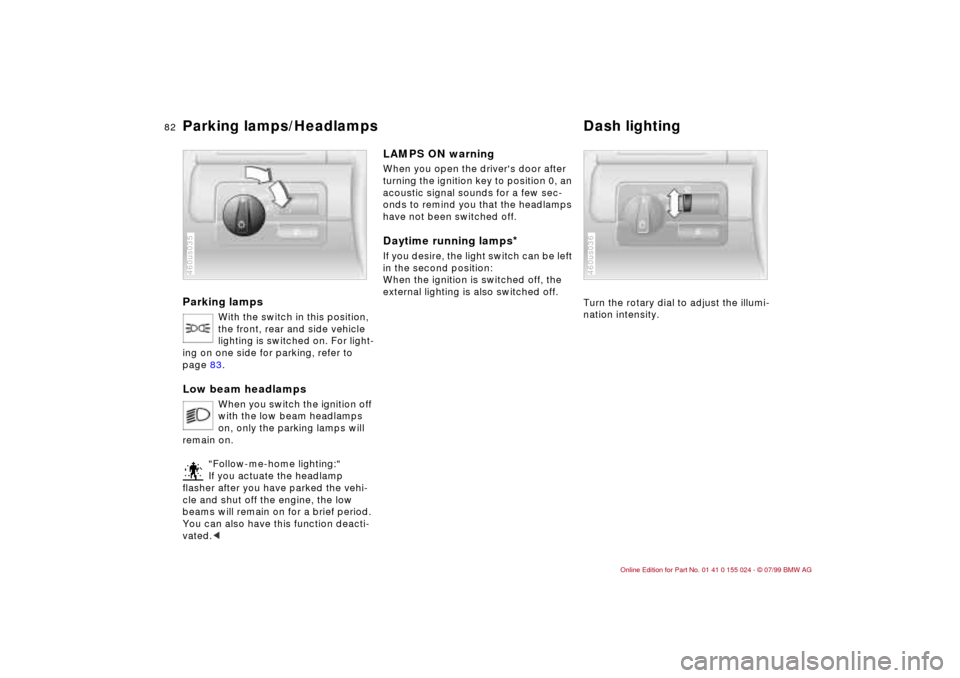
Parking lamps
With the switch in this position,
the front, rear and side vehicle
lighting is switched on. For light-
ing on one side for parking, refer to
page 83.
Low beam headlamps
When you switch the ignition off
with the low beam headlamps
on, only the parking lamps will
remain on.
"Follow-me-home lighting:"
If you actuate the headlamp
flasher after you have parked the vehi-
cle and shut off the engine, the low
beams will remain on for a brief period.
You can also have this function deacti-
vated.<
460us035
LAMPS ON warningWhen you open the driver's door after
turning the ignition key to position 0, an
acoustic signal sounds for a few sec-
onds to remind you that the headlamps
have not been switched off.Daytime running lamps
*
If you desire, the light switch can be left
in the second position:
When the ignition is switched off, the
external lighting is also switched off.
Turn the rotary dial to adjust the illumi-
nation intensity.
460us036
Parking lamps/Headlamps Dash lighting
Page 91 of 189
91n
IndexDataTechnologyRepairsCar careControlsOverview
Seat heating
*
Roller sun blind
*
The seat cushion and backrest can
be heated with the ignition key in posi-
tion 2.
You can call up different heating modes
by repeatedly pressing the keys.
When the three indicator lamps are illu-
minated, the highest heating mode is
activated. One lamp indicates the low-
est heating mode. The temperature is
regulated with a thermostat in each
mode.
You can also switch the higher heating
modes off directly:
Press and hold the button slightly
longer.460us285
To actuate, press the button briefly with
the ignition key in position 2.
The illustration depicts the arrangement
of the buttons if the vehicle is fully
equipped. This may vary, depending on
the equipment actually installed.460us286