2000 BMW 323i SEDAN light
[x] Cancel search: lightPage 39 of 189
39n
IndexDataTechnologyRepairsCar careControlsOverview
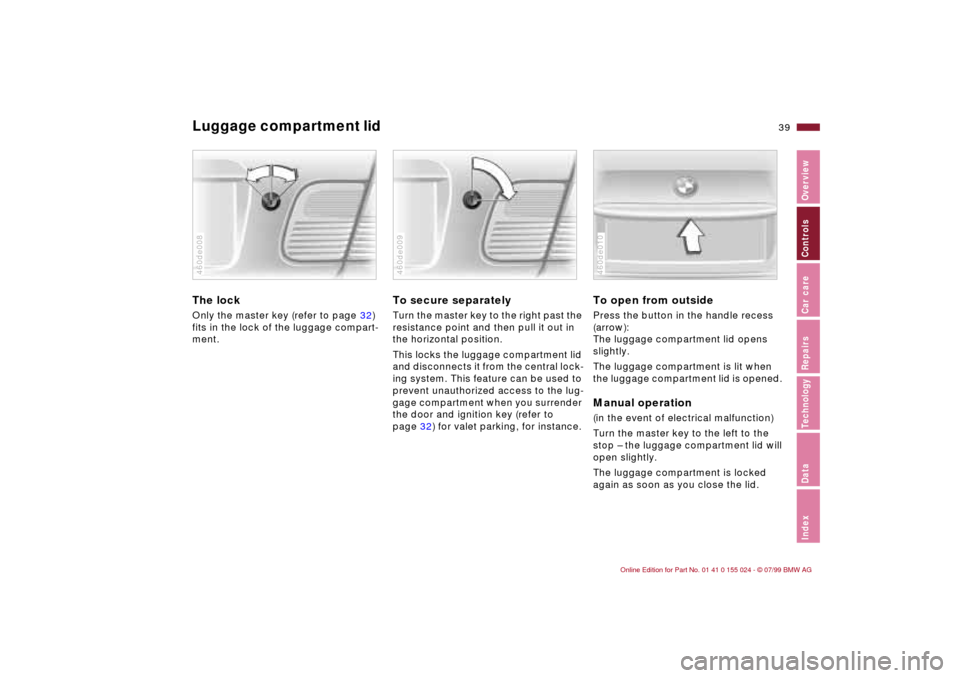
Luggage compartment lid The lockOnly the master key (refer to page 32)
fits in the lock of the luggage compart-
ment.460de008
To secure separatelyTurn the master key to the right past the
resistance point and then pull it out in
the horizontal position.
This locks the luggage compartment lid
and disconnects it from the central lock-
ing system. This feature can be used to
prevent unauthorized access to the lug-
gage compartment when you surrender
the door and ignition key (refer to
page 32) for valet parking, for instance.460de009
To open from outsidePress the button in the handle recess
(arrow):
The luggage compartment lid opens
slightly.
The luggage compartment is lit when
the luggage compartment lid is opened. Manual operation(in the event of electrical malfunction)
Turn the master key to the left to the
stop Ð the luggage compartment lid will
open slightly.
The luggage compartment is locked
again as soon as you close the lid.460de010
Page 43 of 189

43n
IndexDataTechnologyRepairsCar careControlsOverview
Alarm system
*
>If the indicator lamp flashes for
10 seconds when the system is dis-
armed: An attempted entry has been
detected in the period since the sys-
tem was armed.
Following triggering of an alarm, the in-
dicator lamp will flash continuously.Avoiding an unintentional alarmThe tilt alarm sensor and interior motion
sensor may be switched off at the same
time. You can do this to prevent a false
alarm from being triggered (in garages
with elevator ramps, for instance), or
when the vehicle is transported by
trailer or train:
Lock the vehicle twice (= arm the sys-
tem). Press button 2 on the remote con-
trol twice in succession or lock the
vehicle twice with the key (refer to
page 36).
The indicator lamp lights up briefly and
then flashes continuously. The tilt alarm
sensor and the interior motion sensor
are deactivated as long as the system is
armed.
Interior motion sensorThe transmitter and receiver of the inte-
rior motion sensor are located in a trim
panel in the vehicle's roof.
In order for the interior motion sensor to
function properly, the windows and
sliding/tilt sunroof must be completely
closed.
However, you should switch off the inte-
rior motion sensor (see previous column
under the heading "Avoiding an unin-
tentional alarm") if you wish to leave the
windows or sliding/tilt sunroof open.460de159
The tilt sensor and interior motion
sensor are deactivated if the con-
venience closing mode for the windows
and the sliding/tilt sunroof is interrupted
within the first 10 seconds and then
reinitiated. If this happens, you must
disarm the system and then re-arm it.<
Page 46 of 189

46n
Sliding/Tilt sunroof
*
>With the sunroof open, press the
switch briefly toward "Lift:" The sun-
roof automatically extends to its fully
raised position.
Pressing the switch again briefly stops
the motion immediately.
Safety featureIf the sliding/tilt sunroof encounters
resistance at a point roughly past the
middle of its travel when it is closing,
the closing cycle is interrupted and the
sunroof will open again slightly.
Despite this safety feature, always
be careful to ensure that the clos-
ing path of the roof is not obstructed.
Otherwise, an object might not touch
the contact strip in some situations
(very thin objects, for instance).
You can disable this safety feature by
pressing the switch beyond the resis-
tance point and holding it.<
Power loss or malfunctionIn the event of an electrical system mal-
function, the sliding/tilt sunroof can be
manually operated. Refer to page 156.
Page 48 of 189
48n
Mechanical seat Head restraints Correct sitting postureTo reduce strain on the spinal column,
sit all the way back in the seat and rest
your back fully against the backrest.
In the ideal sitting posture, your head is
positioned along a straight line in rela-
tionship to your spinal column.
For long-distance driving, you may wish
to increase the backrest angle slightly
to reduce muscular tension. You should
be able to grasp the steering wheel at
its highest point with your arms slightly
bent.
After a seat adjustment, adjust the
height of the safety belt also. Refer to
page 54.
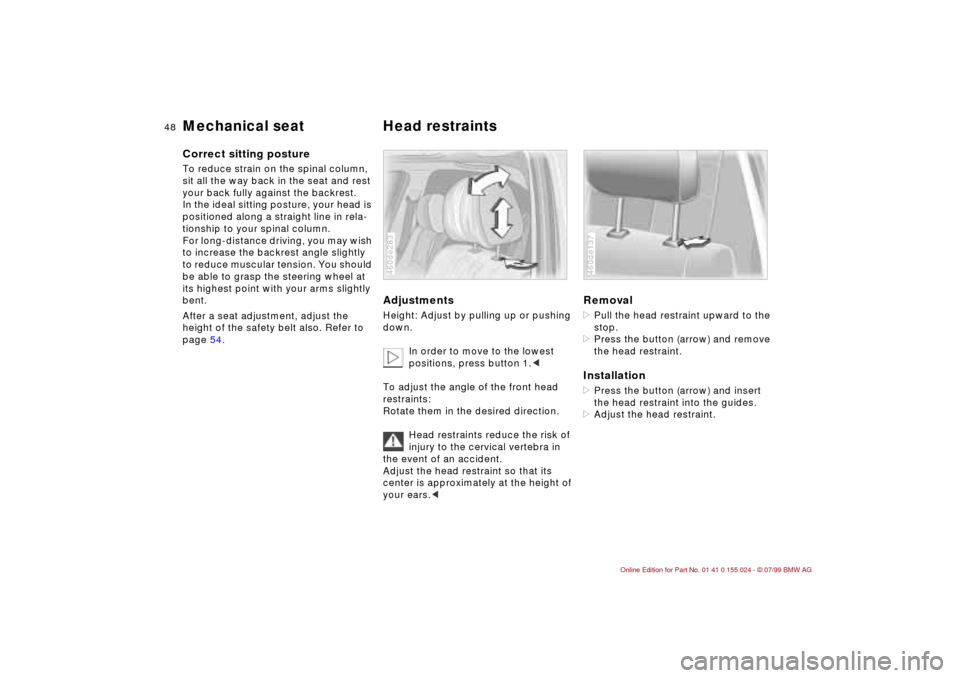
Adjustments Height: Adjust by pulling up or pushing
down.
In order to move to the lowest
positions, press button 1.<
To adjust the angle of the front head
restraints:
Rotate them in the desired direction.
Head restraints reduce the risk of
injury to the cervical vertebra in
the event of an accident.
Adjust the head restraint so that its
center is approximately at the height of
your ears.<460de283
Removal>Pull the head restraint upward to the
stop.
>Press the button (arrow) and remove
the head restraint.Installation>Press the button (arrow) and insert
the head restraint into the guides.
>Adjust the head restraint.460de137
Page 50 of 189
50n
Power seat
*
Seat and mirror memory
*
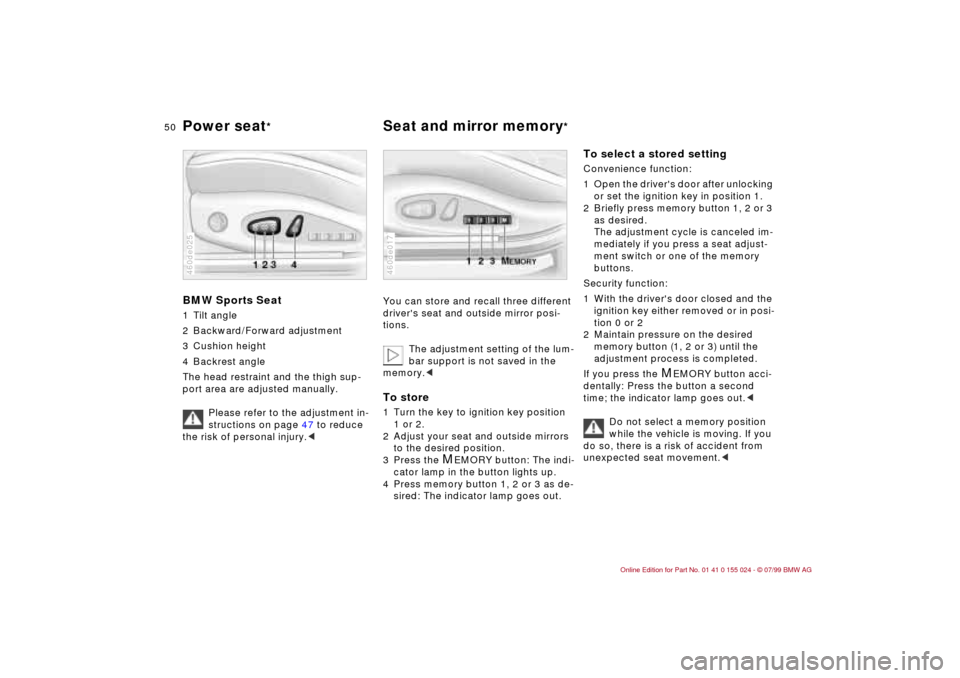
BMW Sports Seat1 Tilt angle
2 Backward/Forward adjustment
3 Cushion height
4 Backrest angle
The head restraint and the thigh sup-
port area are adjusted manually.
Please refer to the adjustment in-
structions on page 47 to reduce
the risk of personal injury.<460de025
You can store and recall three different
driver's seat and outside mirror posi-
tions.
The adjustment setting of the lum-
bar support is not saved in the
memory.
2 Adjust your seat and outside mirrors
to the desired position.
3 Press the
M
EMORY button: The indi-
cator lamp in the button lights up.
4 Press memory button 1, 2 or 3 as de-
sired: The indicator lamp goes out.
460de017
To select a stored setting Convenience function:
1 Open the driver's door after unlocking
or set the ignition key in position 1.
2 Briefly press memory button 1, 2 or 3
as desired.
The adjustment cycle is canceled im-
mediately if you press a seat adjust-
ment switch or one of the memory
buttons.
Security function:
1 With the driver's door closed and the
ignition key either removed or in posi-
tion 0 or 2
2 Maintain pressure on the desired
memory button (1, 2 or 3) until the
adjustment process is completed.
If you press the
M
EMORY button acci-
dentally: Press the button a second
time; the indicator lamp goes out.<
Do not select a memory position
while the vehicle is moving. If you
do so, there is a risk of accident from
unexpected seat movement.<
Page 52 of 189
52n
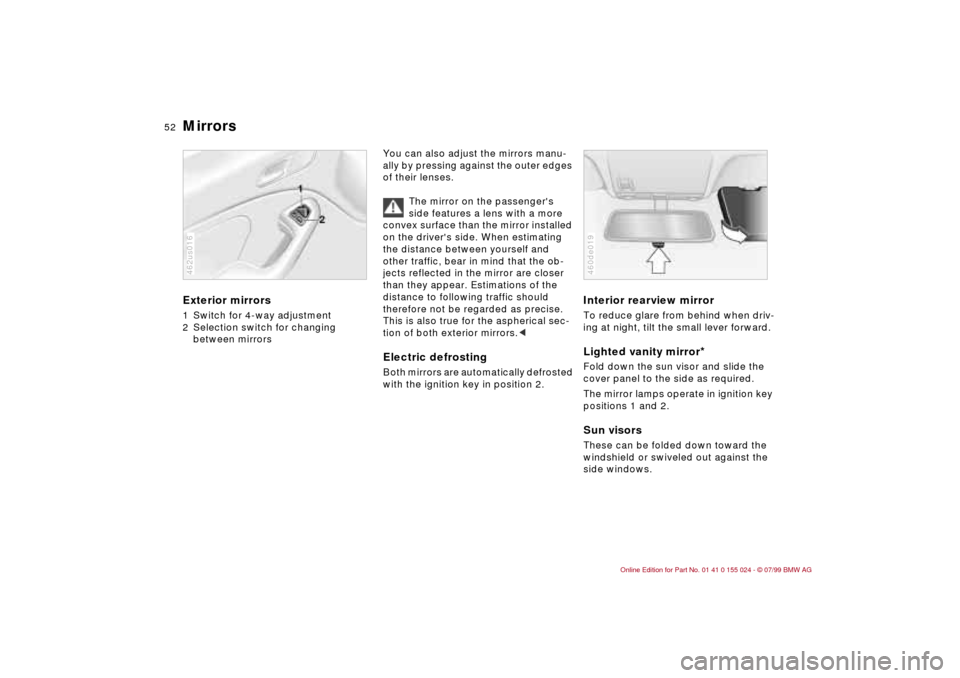
Mirrors Exterior mirrors1 Switch for 4-way adjustment
2 Selection switch for changing
between mirrors462us016
You can also adjust the mirrors manu-
ally by pressing against the outer edges
of their lenses.
The mirror on the passenger's
side features a lens with a more
convex surface than the mirror installed
on the driver's side. When estimating
the distance between yourself and
other traffic, bear in mind that the ob-
jects reflected in the mirror are closer
than they appear. Estimations of the
distance to following traffic should
therefore not be regarded as precise.
This is also true for the aspherical sec-
tion of both exterior mirrors.
Interior rearview mirror To reduce glare from behind when driv-
ing at night, tilt the small lever forward.Lighted vanity mirror
*
Fold down the sun visor and slide the
cover panel to the side as required.
The mirror lamps operate in ignition key
positions 1 and 2.Sun visorsThese can be folded down toward the
windshield or swiveled out against the
side windows.460de019
Page 53 of 189
53n
IndexDataTechnologyRepairsCar careControlsOverview
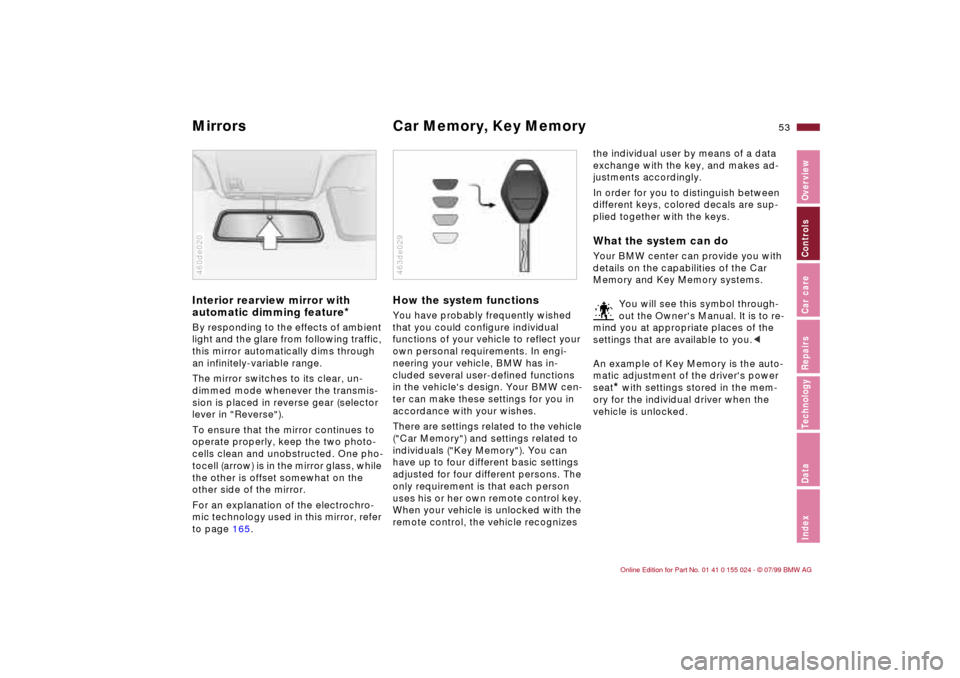
Mirrors Car Memory, Key Memory Interior rearview mirror with
automatic dimming feature
*
By responding to the effects of ambient
light and the glare from following traffic,
this mirror automatically dims through
an infinitely-variable range.
The mirror switches to its clear, un-
dimmed mode whenever the transmis-
sion is placed in reverse gear (selector
lever in "Reverse").
To ensure that the mirror continues to
operate properly, keep the two photo-
cells clean and unobstructed. One pho-
tocell (arrow) is in the mirror glass, while
the other is offset somewhat on the
other side of the mirror.
For an explanation of the electrochro-
mic technology used in this mirror, refer
to page 165.460de020
How the system functionsYou have probably frequently wished
that you could configure individual
functions of your vehicle to reflect your
own personal requirements. In engi-
neering your vehicle, BMW has in-
cluded several user-defined functions
in the vehicle's design. Your BMW cen-
ter can make these settings for you in
accordance with your wishes.
There are settings related to the vehicle
("Car Memory") and settings related to
individuals ("Key Memory"). You can
have up to four different basic settings
adjusted for four different persons. The
only requirement is that each person
uses his or her own remote control key.
When your vehicle is unlocked with the
remote control, the vehicle recognizes 463de029
the individual user by means of a data
exchange with the key, and makes ad-
justments accordingly.
In order for you to distinguish between
different keys, colored decals are sup-
plied together with the keys.What the system can doYour BMW center can provide you with
details on the capabilities of the Car
Memory and Key Memory systems.
You will see this symbol through-
out the Owner's Manual. It is to re-
mind you at appropriate places of the
settings that are available to you.<
An example of Key Memory is the auto-
matic adjustment of the driver's power
seat
* with settings stored in the mem-
ory for the individual driver when the
vehicle is unlocked.
Page 57 of 189

57n
IndexDataTechnologyRepairsCar careControlsOverview
AirbagsIndicator lamp
The indicator lamp displays the
operational status of the airbag
system when the ignition key is
in position 1 and higher.
System operational:
>The indicator lamp comes on briefly
then goes out.
System malfunction:
>The indicator lamp fails to come on.
>The indicator lamp comes on briefly
before going out, and then lights up
again.
If there is a system malfunction, there is
a risk that the airbags will not be trig-
gered within their normal response
range, even if the level of impact would
normally have triggered them.
Have your BMW center inspect and
repair the system immediately.
The airbag indicator lamp also
comes on if the safety belt ten-
sioners have been triggered.<
For your own safety, please com-
ply with the following precautions
concerning airbags. If you do not, their
protective function may be impaired
and your personal safety endangered.
The following information pertains to all
occupants:
The airbags are supplemental restraint
devices designed to provide extra pro-
tection; they are not a substitute for
safety belts. Wear your safety belt at all
times. The airbags will not be triggered
in the event of a minor accident, a vehi-
cle roll-over, or collisions from the rear.
In these instances, the safety belt offers
the best protection.
Airbags are located under the cover
panels in the steering wheel, in the in-
strument panel, in the side trim panels
in the front and rear
*, in the roof panels,
and in the sides of the inside roof lining.
Select a seat position that is comfort-
able and allows the greatest possible
distance from each of the applicable air-
bags. Hold the steering wheel at the rim
(hands at the "9 o'clock and 3 o'clock"
positions) in order to avoid injuries to
your hands or arms if the airbag is trig-
gered.
Never allow any objects to obstruct the
area between the airbag and an occu-
pant.
Do not use the cover panel above the
front passenger airbag as a storage
area.
Never tape the airbag cover panels,
cover them over or alter them in any
other way.
Never install a rear-facing child restraint
device on the front passenger seat. Chil-
dren under 13 years of age and children
who are smaller than 5 feet (150 cm),
should only travel in the rear seat.
If your vehicle is equipped with side air-
bags in the rear, be sure that child seats
are installed correctly and with the
greatest possible distance from the side
trim panels. Do not allow children to
lean out of the child's seat in the direc-
tion of the side trim panels. Otherwise,
serious injuries could occur if the airbag
is triggered.
At all times, occupants should sit up-
right and be properly restrained (infants
and small children in appropriate child
restraint systems; larger children and
adults using the safety belts). Never let
an occupant's head rest near or on a
side airbag because the inflating airbag
could cause a serious or fatal injury.
Please note that the word "Airbag" im-
printed on the door trim panel indicates
the airbag's location.