2000 BMW 323i SEDAN window
[x] Cancel search: windowPage 45 of 189
45n
IndexDataTechnologyRepairsCar careControlsOverview
Electric power windows Sliding/Tilt sunroof
*
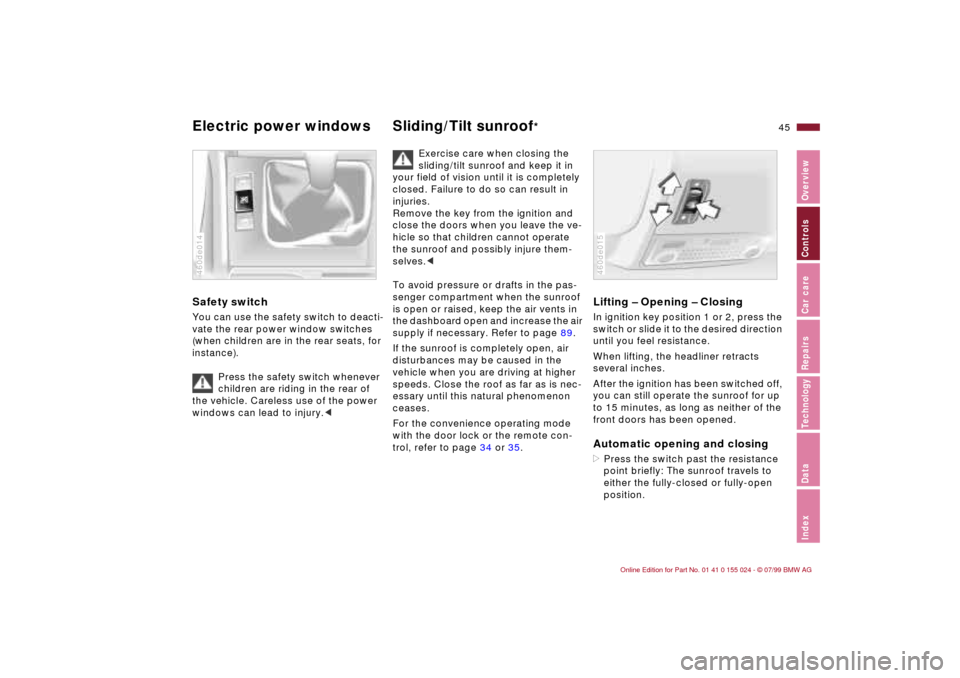
Safety switch You can use the safety switch to deacti-
vate the rear power window switches
(when children are in the rear seats, for
instance).
Press the safety switch whenever
children are riding in the rear of
the vehicle. Careless use of the power
windows can lead to injury.<460de014
Exercise care when closing the
sliding/tilt sunroof and keep it in
your field of vision until it is completely
closed. Failure to do so can result in
injuries.
Remove the key from the ignition and
close the doors when you leave the ve-
hicle so that children cannot operate
the sunroof and possibly injure them-
selves.<
To avoid pressure or drafts in the pas-
senger compartment when the sunroof
is open or raised, keep the air vents in
the dashboard open and increase the air
supply if necessary. Refer to page 89.
If the sunroof is completely open, air
disturbances may be caused in the
vehicle when you are driving at higher
speeds. Close the roof as far as is nec-
essary until this natural phenomenon
ceases.
For the convenience operating mode
with the door lock or the remote con-
trol, refer to page 34 or 35.
Lifting Ð Opening Ð ClosingIn ignition key position 1 or 2, press the
switch or slide it to the desired direction
until you feel resistance.
When lifting, the headliner retracts
several inches.
After the ignition has been switched off,
you can still operate the sunroof for up
to 15 minutes, as long as neither of the
front doors has been opened.Automatic opening and closing>Press the switch past the resistance
point briefly: The sunroof travels to
either the fully-closed or fully-open
position.460de015
Page 52 of 189
52n
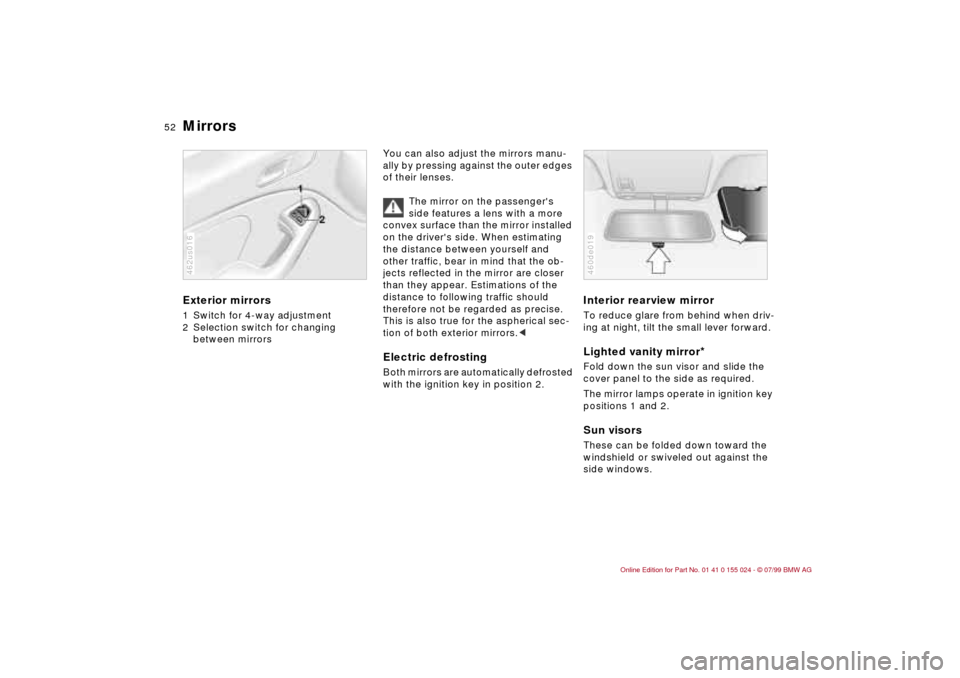
Mirrors Exterior mirrors1 Switch for 4-way adjustment
2 Selection switch for changing
between mirrors462us016
You can also adjust the mirrors manu-
ally by pressing against the outer edges
of their lenses.
The mirror on the passenger's
side features a lens with a more
convex surface than the mirror installed
on the driver's side. When estimating
the distance between yourself and
other traffic, bear in mind that the ob-
jects reflected in the mirror are closer
than they appear. Estimations of the
distance to following traffic should
therefore not be regarded as precise.
This is also true for the aspherical sec-
tion of both exterior mirrors.
Interior rearview mirror To reduce glare from behind when driv-
ing at night, tilt the small lever forward.Lighted vanity mirror
*
Fold down the sun visor and slide the
cover panel to the side as required.
The mirror lamps operate in ignition key
positions 1 and 2.Sun visorsThese can be folded down toward the
windshield or swiveled out against the
side windows.460de019
Page 70 of 189
70n
Wiper/Washer system Rear window defroster Headlamp washers
*
When the vehicle's lighting system is
switched on, the headlamps will also be
cleaned every fifth time the automatic
windshield washer is activated.
Do not use the washers if there
is any danger that the fluid will
freeze on the windshield. If you do so,
your vision could be obscured. Use an
antifreeze agent. Refer to page 124.
Do not use the washers when the reser-
voir is empty. If you do so, the washer
pump could be damaged.
automatically when the ignition key is in
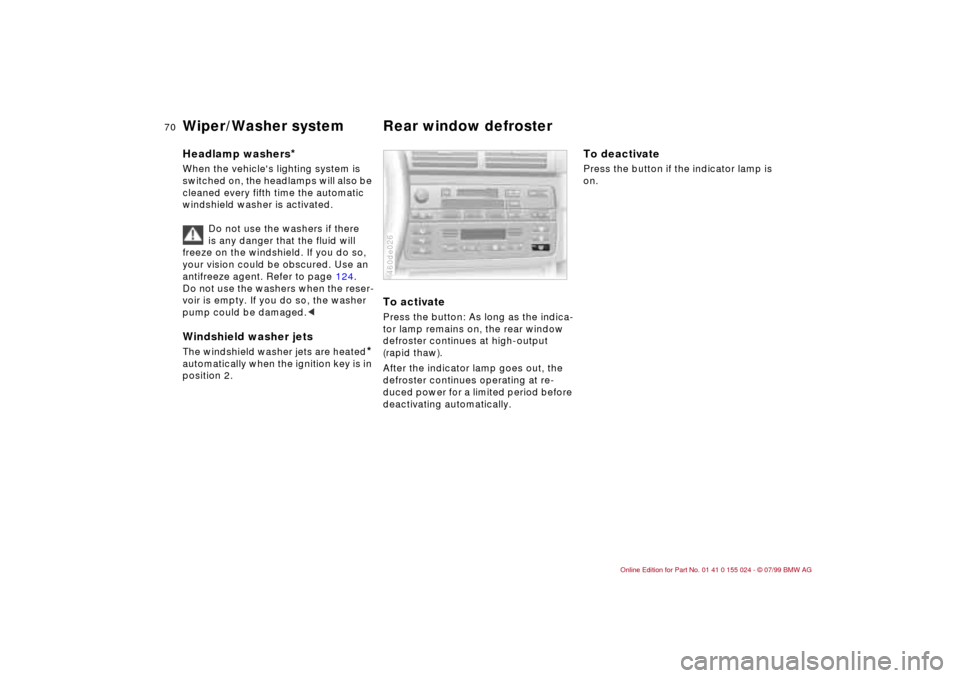
position 2.To activatePress the button: As long as the indica-
tor lamp remains on, the rear window
defroster continues at high-output
(rapid thaw).
After the indicator lamp goes out, the
defroster continues operating at re-
duced power for a limited period before
deactivating automatically. 460de026
To deactivatePress the button if the indicator lamp is
on.
Page 87 of 189

87n
IndexDataTechnologyRepairsCar careControlsOverview
Automatic climate control 1 Air on the windshield and on the
side windows
2 Air flow toward the upper body
The side rotary dials allow you to
open and close the air supply
through an infinitely-variable range,
while the levers change the airflow
direction. The center rotary dial
controls the temperature of the air
as it flows out. Refer to page 90
3 Front footwell ventilation
There are corresponding air vents in
the rear footwell as well.
4 Recirculated air mode/Automatic
recirculated air control (AUC)89
5 Air supply89
6 Temperature88
7 Automatic air distribution88
8 Individual air distribution88
9 Air grill for interior temperature sen-
sor Ð please keep clear and unob-
structed
10 Display for temperature and air
supply88
11 Defrost the windshield and side
windows89
12 Air conditioner89
13 Rear window defroster70, 90
Page 89 of 189

89n
IndexDataTechnologyRepairsCar careControlsOverview
Automatic climate control Air supply
By pressing the left or right half
of the button, you can vary the
air supply. By doing this, you switch off
the automatic control of the air supply.
Nevertheless, the automatic air distri-
bution remains unchanged.
When you set the lowest blower speed
by pressing the left half of the button,
all of the displays are canceled: The
blower, heating and air conditioner are
switched off, and the air supply is
stopped. You can reactivate the system
by pressing any button of the automatic
climate control.
To defrost the windshield and
side windows
This program quickly removes
ice and condensation from the
windshield and side windows.
Air conditioner
The air is cooled and dehumidi-
fied and Ð depending on the
temperature setting Ð rewarmed when
the air conditioner system is switched
on.
Depending on the weather, the wind-
shield may fog over briefly when the
engine is started.
Switch off the air conditioner at outside
temperatures below approx. 42 7
(5 6). This will help to prevent the win-
dows from fogging up.
If the windows fog over after switching
the air conditioner off, switch it back
on.
Condensation forms in the air
conditioner system during opera-
tion, which then exits under the vehicle.
Traces of condensed water of this kind
are thus normal.<
Automatic recirculated air control
(AUC)
You can respond to unpleasant
external odors by temporarily
blocking the outside air. The system
then recirculates the air already within
the vehicle. By repeated actuation of
the button, you can select one of three
different operation modes.
>Indicator lamps off: Fresh air flows
into the vehicle
>Left-hand indicator lamp on Ð AUC
mode: The system detects pollutants
in the outside air and responds by
deactivating the outside air flow as
required. The system then recircu-
lates the air already within the
vehicle.
Depending on air quality require-
ments, the system automatically
switches between outside air supply
and recirculation of the air already
within the vehicle.
>Right-hand indicator lamp on: The
flow of outside air is permanently
blocked. The system recirculates the
air already within the vehicle.
If the windows fog over in the
recirculated air mode, switch this
mode off and increase the air supply as
required.<
Page 90 of 189

90n
Automatic climate controlRear window defroster
When the rear window defroster
is activated, the indicator lamp
comes on. The rear window defroster
switches off automatically. Refer to
page 70.
Draft-free ventilation Set the ventilation outlets for your upper
body area so that it is comfortable for
you:
Use rotary dials (1) to open and close
the air outlets through an infinitely-vari-
able range. You can adjust the direction
of the airflow with the levers (2).
Set the outlets so that the air flows past
you and is not directed straight at you.
The rotary dial (3) allows you to mix the
air from the outlets for your upper body
by warming or cooling the air as de-
sired.460de040
Microfilter, activated-charcoal
filterA microfilter removes dust and pollen
from the incoming outside air. The acti-
vated-charcoal filter provides additional
protection by filtering gaseous pollut-
ants from the outside air. Your BMW
center replaces the combined filter as a
standard part of your scheduled main-
tenance. A substantial reduction in air
supply indicates that the filter must be
replaced before normal maintenance.
For additional details on the filter
change, refer to page 155.
Page 104 of 189
104n
To ensure that your vehicle provides
maximum economy throughout a long
service life, we request that you comply
with the following recommendations:
Engine and differentialUp to 1,200 miles (2,000 km):
Drive at varying engine speeds and
road speeds, but do not exceed
4,500 RPM or a road speed of 100 mph
(160 km/h) during this initial period.
Do not apply full throttle and avoid
pressing the accelerator beyond the
kickdown point.
After 1,200 miles (2,000 km), you can
gradually increase the engine speed or
road speed.
Follow the same break-in procedure if
either the engine or the differential is
replaced in the future.
TiresDue to technical factors associated
with their manufacture, tires do not
achieve their full traction potential until
an initial break-in period has elapsed.
For this reason, drive cautiously during
the first 200 miles (300 km).Brake systemBrake pads and disks do not attain their
optimal wear patterns until after approx.
300 miles (500 km).
To break-in the separate parking brake
drums, apply the parking brake lightly
when coasting to a standstill (at a traffic
signal, for instance), provided that traf-
fic conditions allow you to do so.
To avoid corrosion, repeat this proce-
dure from time to time.
The brake lamps do not come on
when the parking brake is set.
Vacuum for the brake system servo unit
on your BMW is available only when the
engine is running. When you move the
car with the engine off Ð when towing,
for example Ð substantially higher levels
of pedal force will be required to brake
the vehicle.<
Brakes:
Do not drive with your foot resting
on the brake pedal. Even light but con-
sistent pedal pressure can lead to high
temperatures, brake wear, and possibly
to brake failure.
Aquaplaning:
Reduce your speed when you drive on
wet or slushy roads. If you do not, a
wedge of water can form between the
tires and the road surface. This phe-
nomenon is referred to as aquaplaning
or hydroplaning. It is characterized by a
partial or complete loss of contact be-
tween the tires and the road surface.
The ultimate results are loss of steering
and braking control.
Driving through water:
Do not drive through water that is
deeper than 1 foot (30 cm). If you must
drive through water accumulations up
to that depth, drive only at walking
speed. Driving at a faster speed could
cause damage to the engine, the elec-
trical systems and the transmission.
Package tray:
Never use the rear window shelf to
store heavy or bulky objects. If you do
so, such objects could pose the risk of
injury to vehicle occupants during brak-
ing or evasive maneuvers or in a crash.
Break-in procedures Driving notes
Page 134 of 189
134n
Caring for your carWaxing your car Protect the finish using carnauba or
synthetic-based waxes only.
The best way to determine when the
finish needs to be waxed is by noting
when water stops beading on the sur-
face.
You can use a glass cleaner to remove
any wax or silicone that may have been
left on the windows during waxing.
Use cleaning and car-care
products that you can obtain at
your BMW center.<
Paint damageYou can touch up small areas of paint
damage with a BMW spray paint or a
BMW touchup stick.
The paint color code for your car is pro-
vided on a sticker located next to the
type plate and on the first page of your
Service and Warranty Information
Booklet (US models) or Warranty and
Service Guide Booklet (Canadian mod-
els).
Damage caused by flying stones,
scratches, etc., must be touched up
without delay to prevent rust from form-
ing.
If corrosion has started to form in an
area with paint damage, remove all rust
and clean the area. Then prime the area
with a BMW Primer Stick. Finally, apply
the finish coat. Wait a few days, then
polish the repaired area. Finish by
applying a wax preservative.
More extensive paint damage should
be professionally repaired in accor-
dance with the manufacturer's instruc-
tions. Your BMW center uses original
BMW finish materials in accordance
with official repair procedures.
Caring for other vehicle
components and materials Light-alloy wheels should be treated
with alloy wheel cleaner, especially dur-
ing the winter months. However, do not
use aggressive products containing
acids, strong alkalis or abrasives. Do
not use steam cleaners operating at
temperatures above 140 7 (60 6).
Follow the manufacturer's instructions.
If your vehicle has chrome parts
* such
as the window frames and door handles,
clean these parts carefully with ample
clean water and a shampoo supplement
if desired, especially if they have an
accumulation of road salt. Use chrome
polish as an additional treatment.
You can use window and glass cleaner
to clean inside window surfaces and
mirrors without smearing and streaking.
Never use polishing pastes or abrasive
(quartz) cleansers on mirror lenses.