2000 BMW 323Ci CONVERTIBLE lock
[x] Cancel search: lockPage 50 of 199
50n
The fully automatic convertible top
*
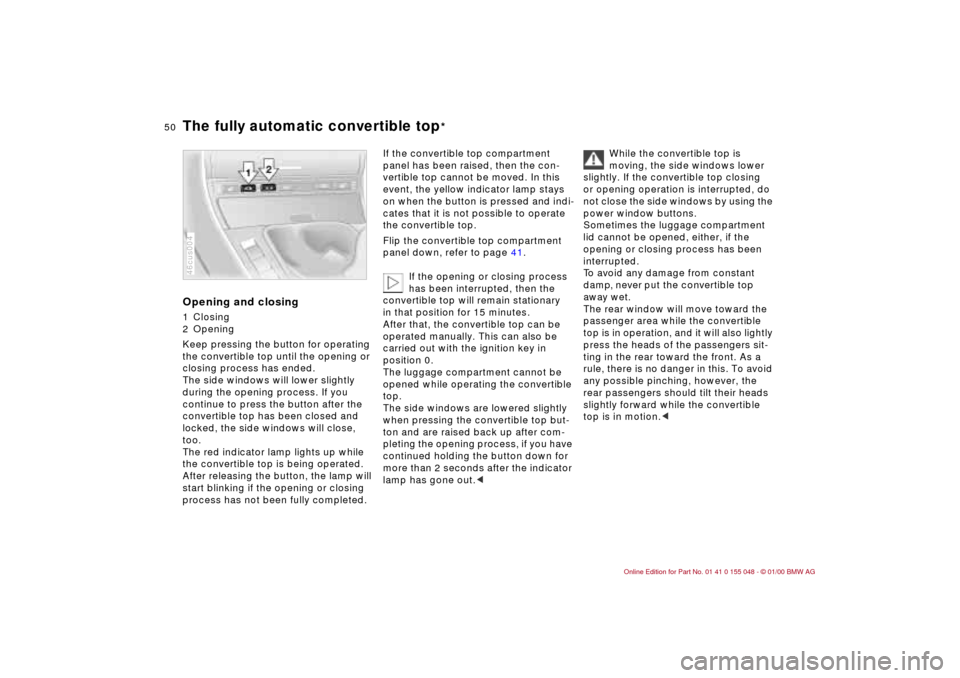
Opening and closing1 Closing
2 Opening
Keep pressing the button for operating
the convertible top until the opening or
closing process has ended.
The side windows will lower slightly
during the opening process. If you
continue to press the button after the
convertible top has been closed and
locked, the side windows will close,
too.
The red indicator lamp lights up while
the convertible top is being operated.
After releasing the button, the lamp will
start blinking if the opening or closing
process has not been fully completed.46cus004
If the convertible top compartment
panel has been raised, then the con-
vertible top cannot be moved. In this
event, the yellow indicator lamp stays
on when the button is pressed and indi-
cates that it is not possible to operate
the convertible top.
Flip the convertible top compartment
panel down, refer to page 41.
If the opening or closing process
has been interrupted, then the
convertible top will remain stationary
in that position for 15 minutes.
After that, the convertible top can be
operated manually. This can also be
carried out with the ignition key in
position 0.
The luggage compartment cannot be
opened while operating the convertible
top.
The side windows are lowered slightly
when pressing the convertible top but-
ton and are raised back up after com-
pleting the opening process, if you have
continued holding the button down for
more than 2 seconds after the indicator
lamp has gone out.c
While the convertible top is
moving, the side windows lower
slightly. If the convertible top closing
or opening operation is interrupted, do
not close the side windows by using the
power window buttons.
Sometimes the luggage compartment
lid cannot be opened, either, if the
opening or closing process has been
interrupted.
To avoid any damage from constant
damp, never put the convertible top
away wet.
The rear window will move toward the
passenger area while the convertible
top is in operation, and it will also lightly
press the heads of the passengers sit-
ting in the rear toward the front. As a
rule, there is no danger in this. To avoid
any possible pinching, however, the
rear passengers should tilt their heads
slightly forward while the convertible
top is in motion.c
Page 51 of 199

51n
IndexDataTechnologyRepairsCar careControlsOverview
The fully automatic convertible top
*
Wind deflector
*
Convenience operation from the
driver's door lock>To open: with the door closed, turn
the key to the "Unlock" position and
hold it
>To close: with the door closed, turn
the key to the "Lock" position and
hold it.
Releasing the key stops the movement.
For safety reasons, to keep the closing
process in view, you cannot use the re-
mote control for convenience operation.
At higher speeds, the lower air
pressure in the passenger com-
partment may create a vacuum and
cause the convertible top to start flut-
tering. Increase the air supply via the
ventilation controls so that a vacuum
does not occur in the vehicle.c
The wind deflector cuts down air turbu-
lence within the passenger area, thus
affording a pleasant ride, even at higher
speeds. It is delivered in a protective
casing, and because of its minimal size,
can easily be stowed in the luggage
compartment.Installation1 Take the wind deflector out of its
protective casing
Page 52 of 199
52n
Wind deflector
*
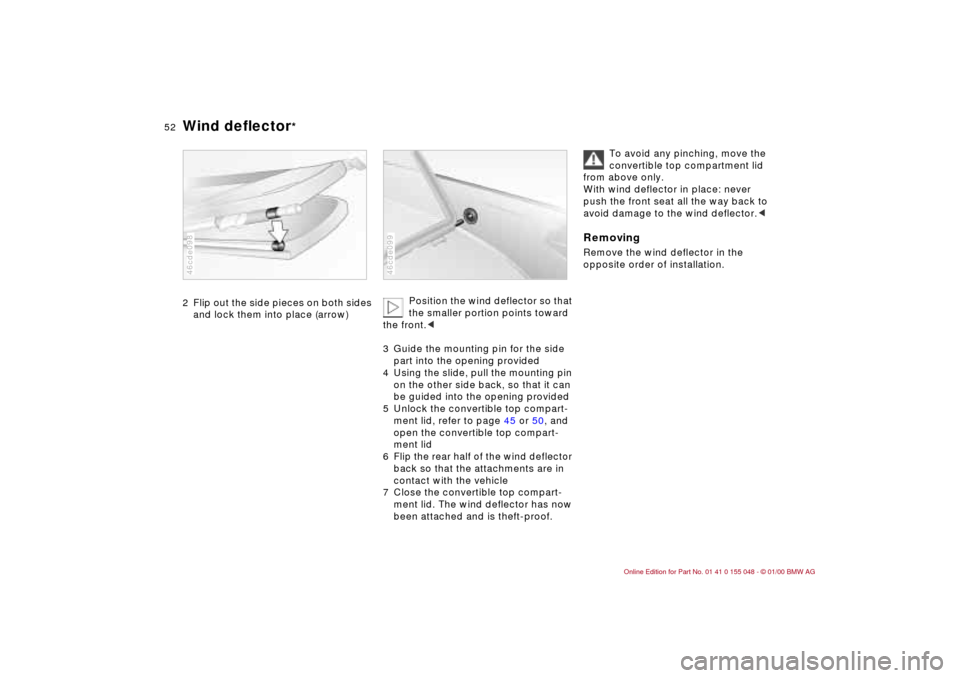
2 Flip out the side pieces on both sides
and lock them into place (arrow)46cde098
Position the wind deflector so that
the smaller portion points toward
the front.c
3 Guide the mounting pin for the side
part into the opening provided
4 Using the slide, pull the mounting pin
on the other side back, so that it can
be guided into the opening provided
5 Unlock the convertible top compart-
ment lid, refer to page 45 or 50, and
open the convertible top compart-
ment lid
6 Flip the rear half of the wind deflector
back so that the attachments are in
contact with the vehicle
7 Close the convertible top compart-
ment lid. The wind deflector has now
been attached and is theft-proof.
46cde099
To avoid any pinching, move the
convertible top compartment lid
from above only.
With wind deflector in place: never
push the front seat all the way back to
avoid damage to the wind deflector.c
RemovingRemove the wind deflector in the
opposite order of installation.
Page 56 of 199
56n
Entering the rear Lumbar support
*
The seat-integrated safety belt system
ensures easier access to the back seat.
It is not necessary to adjust anything on
the safety belt system. It automatically
adjusts to different body sizes.
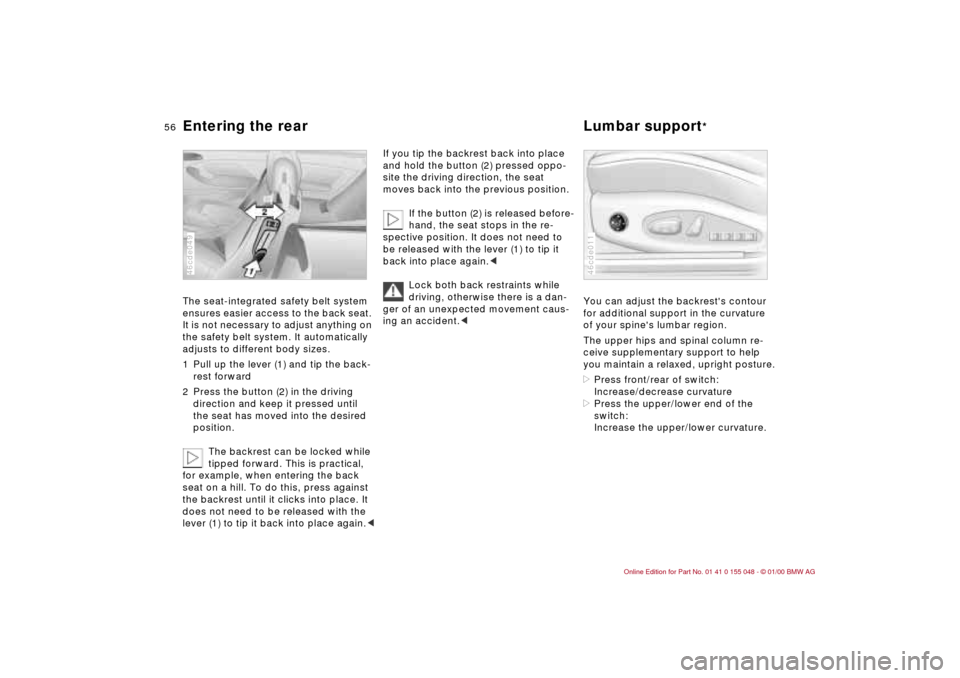
1 Pull up the lever (1) and tip the back-
rest forward
2 Press the button (2) in the driving
direction and keep it pressed until
the seat has moved into the desired
position.
The backrest can be locked while
tipped forward. This is practical,
for example, when entering the back
seat on a hill. To do this, press against
the backrest until it clicks into place. It
does not need to be released with the
lever (1) to tip it back into place again.<46cde049
If you tip the backrest back into place
and hold the button (2) pressed oppo-
site the driving direction, the seat
moves back into the previous position.
If the button (2) is released before-
hand, the seat stops in the re-
spective position. It does not need to
be released with the lever (1) to tip it
back into place again.<
Lock both back restraints while
driving, otherwise there is a dan-
ger of an unexpected movement caus-
ing an accident.<
You can adjust the backrest's contour
for additional support in the curvature
of your spine's lumbar region.
The upper hips and spinal column re-
ceive supplementary support to help
you maintain a relaxed, upright posture.
>Press front/rear of switch:
Increase/decrease curvature
>Press the upper/lower end of the
switch:
Increase the upper/lower curvature.46cde011
Page 57 of 199
57n
IndexDataTechnologyRepairsCar careControlsOverview
Seat and mirror memory
*
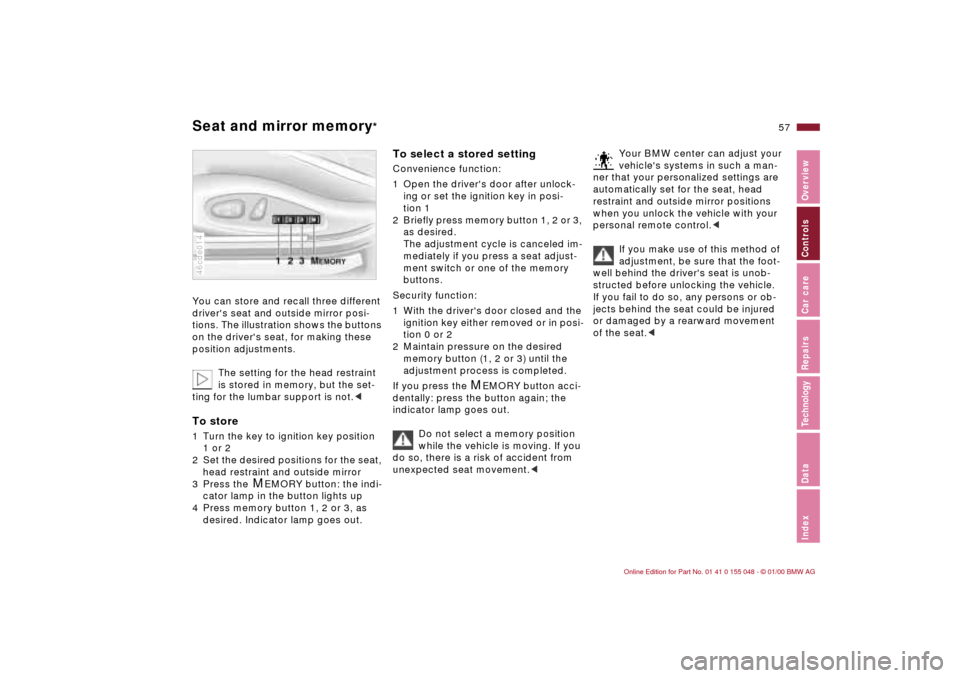
You can store and recall three different
driver's seat and outside mirror posi-
tions. The illustration shows the buttons
on the driver's seat, for making these
position adjustments.
The setting for the head restraint
is stored in memory, but the set-
ting for the lumbar support is not.
2 Set the desired positions for the seat,
head restraint and outside mirror
3 Press the
M
EMORY button: the indi-
cator lamp in the button lights up
4 Press memory button 1, 2 or 3, as
desired. Indicator lamp goes out.
46cde014
To select a stored setting Convenience function:
1 Open the driver's door after unlock-
ing or set the ignition key in posi-
tion 1
2 Briefly press memory button 1, 2 or 3,
as desired.
The adjustment cycle is canceled im-
mediately if you press a seat adjust-
ment switch or one of the memory
buttons.
Security function:
1 With the driver's door closed and the
ignition key either removed or in posi-
tion 0 or 2
2 Maintain pressure on the desired
memory button (1, 2 or 3) until the
adjustment process is completed.
If you press the
M
EMORY button acci-
dentally: press the button again; the
indicator lamp goes out.
Do not select a memory position
while the vehicle is moving. If you
do so, there is a risk of accident from
unexpected seat movement.<
Your BMW center can adjust your
vehicle's systems in such a man-
ner that your personalized settings are
automatically set for the seat, head
restraint and outside mirror positions
when you unlock the vehicle with your
personal remote control.<
If you make use of this method of
adjustment, be sure that the foot-
well behind the driver's seat is unob-
structed before unlocking the vehicle.
If you fail to do so, any persons or ob-
jects behind the seat could be injured
or damaged by a rearward movement
of the seat.<
Page 58 of 199
58n
Seat and mirror memory
*
Adjusting steering wheel Mirrors
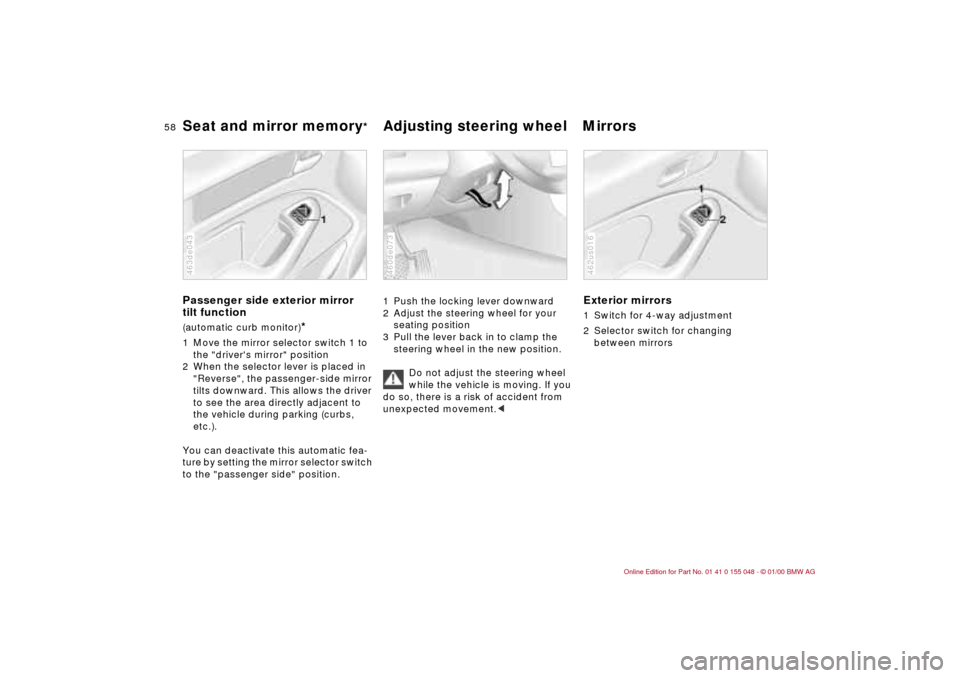
Passenger side exterior mirror
tilt function(automatic curb monitor)
*
1 Move the mirror selector switch 1 to
the "driver's mirror" position
2 When the selector lever is placed in
"Reverse", the passenger-side mirror
tilts downward. This allows the driver
to see the area directly adjacent to
the vehicle during parking (curbs,
etc.).
You can deactivate this automatic fea-
ture by setting the mirror selector switch
to the "passenger side" position.463de043
1 Push the locking lever downward
2 Adjust the steering wheel for your
seating position
3 Pull the lever back in to clamp the
steering wheel in the new position.
Do not adjust the steering wheel
while the vehicle is moving. If you
do so, there is a risk of accident from
unexpected movement.<460de073
Exterior mirrors1 Switch for 4-way adjustment
2 Selector switch for changing
between mirrors462us016
Page 60 of 199
60n
Car Memory, Key Memory How the system functionsYou have probably frequently wished
that you could configure individual
functions of your vehicles to reflect
your own personal requirements. In
engineering your vehicle, BMW has in-
cluded several user-defined functions
in the vehicle's design. Your BMW cen-
ter can make these settings for you in
accordance with your wishes.
There are settings related to the vehicle
("Car Memory") and settings related to
individuals ("Key Memory"). You can
have up to four different basic settings
adjusted for four different persons. The
only requirement is that each person
uses his or her own remote control key. 463de029
When your vehicle is unlocked with the
remote control, the vehicle recognizes
the individual user by means of a data
exchange with the key, and makes ad-
justments accordingly.
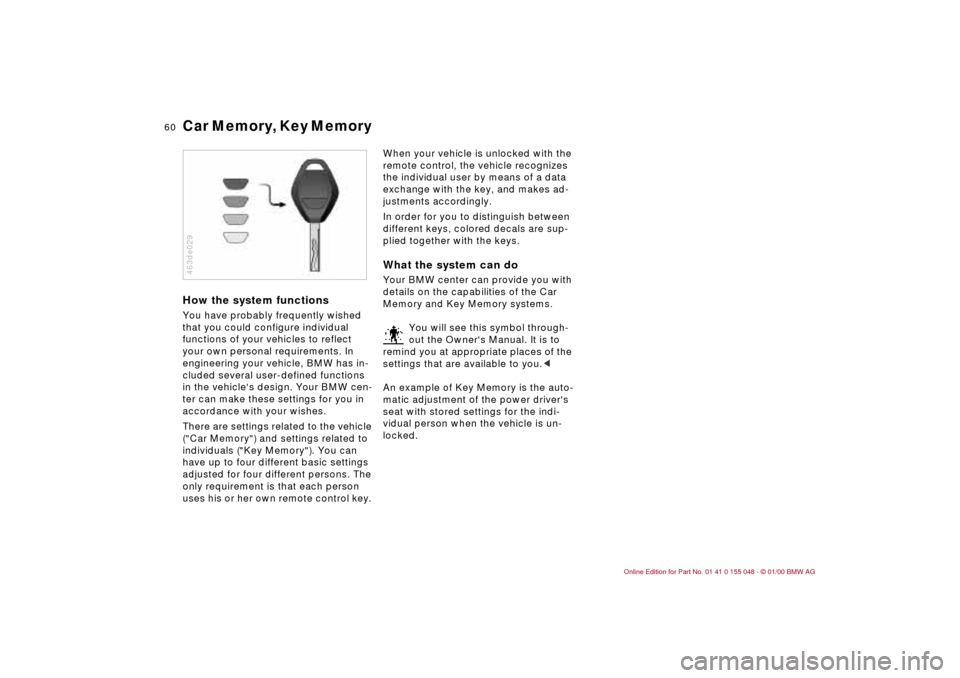
In order for you to distinguish between
different keys, colored decals are sup-
plied together with the keys.What the system can doYour BMW center can provide you with
details on the capabilities of the Car
Memory and Key Memory systems.
You will see this symbol through-
out the Owner's Manual. It is to
remind you at appropriate places of the
settings that are available to you.<
An example of Key Memory is the auto-
matic adjustment of the power driver's
seat with stored settings for the indi-
vidual person when the vehicle is un-
locked.
Page 61 of 199
61n
IndexDataTechnologyRepairsCar careControlsOverview
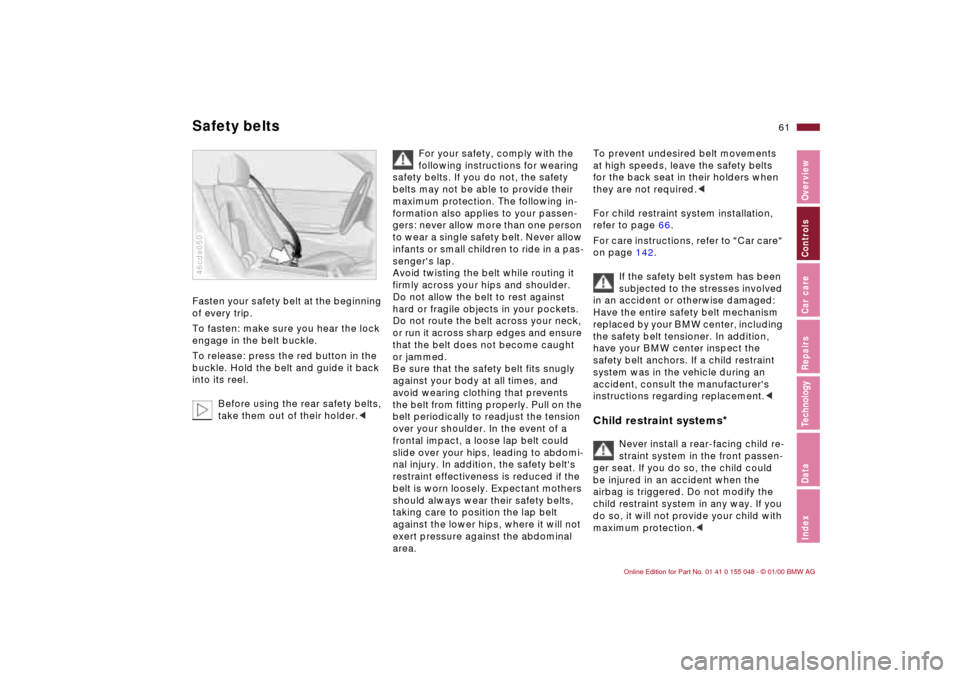
Fasten your safety belt at the beginning
of every trip.
To fasten: make sure you hear the lock
engage in the belt buckle.
To release: press the red button in the
buckle. Hold the belt and guide it back
into its reel.
Before using the rear safety belts,
take them out of their holder.<46cde050
For your safety, comply with the
following instructions for wearing
safety belts. If you do not, the safety
belts may not be able to provide their
maximum protection. The following in-
formation also applies to your passen-
gers: never allow more than one person
to wear a single safety belt. Never allow
infants or small children to ride in a pas-
senger's lap.
Avoid twisting the belt while routing it
firmly across your hips and shoulder.
Do not allow the belt to rest against
hard or fragile objects in your pockets.
Do not route the belt across your neck,
or run it across sharp edges and ensure
that the belt does not become caught
or jammed.
Be sure that the safety belt fits snugly
against your body at all times, and
avoid wearing clothing that prevents
the belt from fitting properly. Pull on the
belt periodically to readjust the tension
over your shoulder. In the event of a
frontal impact, a loose lap belt could
slide over your hips, leading to abdomi-
nal injury. In addition, the safety belt's
restraint effectiveness is reduced if the
belt is worn loosely. Expectant mothers
should always wear their safety belts,
taking care to position the lap belt
against the lower hips, where it will not
exert pressure against the abdominal
area.
To prevent undesired belt movements
at high speeds, leave the safety belts
for the back seat in their holders when
they are not required.<
For child restraint system installation,
refer to page 66.
For care instructions, refer to "Car care"
on page 142.
If the safety belt system has been
subjected to the stresses involved
in an accident or otherwise damaged:
Have the entire safety belt mechanism
replaced by your BMW center, including
the safety belt tensioner. In addition,
have your BMW center inspect the
safety belt anchors. If a child restraint
system was in the vehicle during an
accident, consult the manufacturer's
instructions regarding replacement.cChild restraint systems
*
Never install a rear-facing child re-
straint system in the front passen-
ger seat. If you do so, the child could
be injured in an accident when the
airbag is triggered. Do not modify the
child restraint system in any way. If you
do so, it will not provide your child with
maximum protection.<
Safety belts