Page 187 of 345

2. Fuel Flap
A: REMOVAL AND INSTALLATION
1. FUEL FLAP
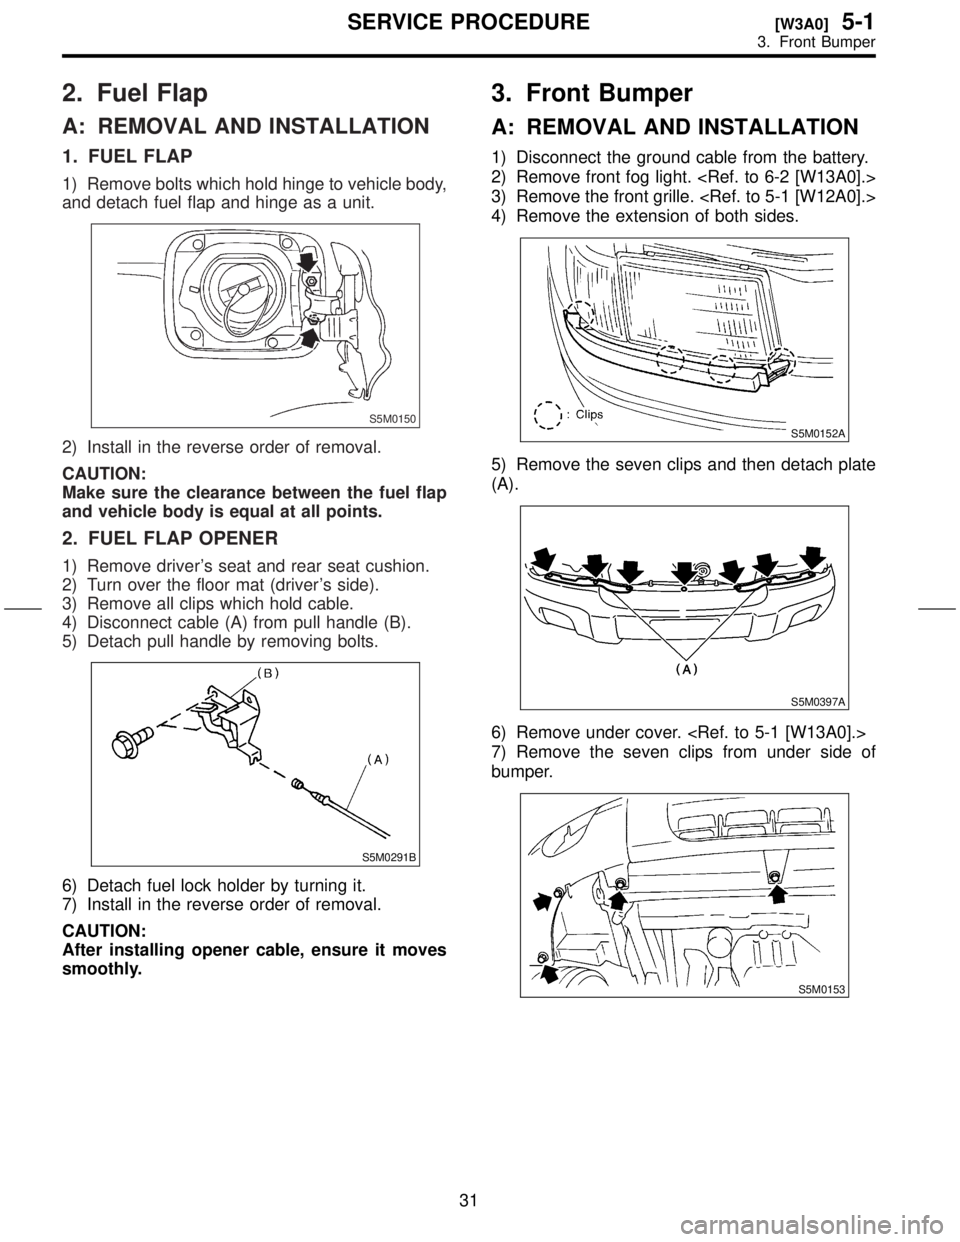
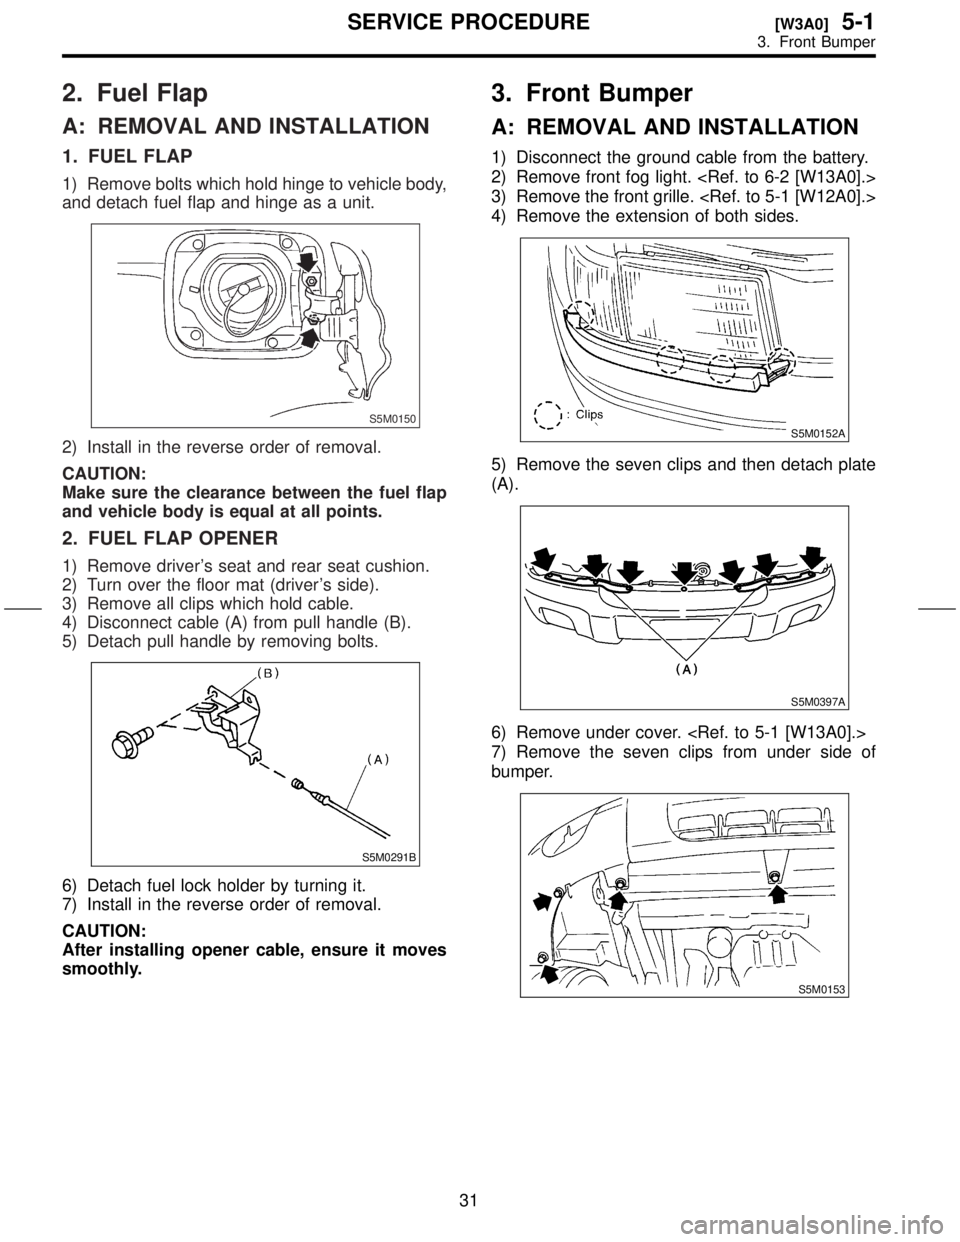
1) Remove bolts which hold hinge to vehicle body,
and detach fuel flap and hinge as a unit.
S5M0150
2) Install in the reverse order of removal.
CAUTION:
Make sure the clearance between the fuel flap
and vehicle body is equal at all points.
2. FUEL FLAP OPENER
1) Remove driver's seat and rear seat cushion.
2) Turn over the floor mat (driver's side).
3) Remove all clips which hold cable.
4) Disconnect cable (A) from pull handle (B).
5) Detach pull handle by removing bolts.
S5M0291B
6) Detach fuel lock holder by turning it.
7) Install in the reverse order of removal.
CAUTION:
After installing opener cable, ensure it moves
smoothly.
3. Front Bumper
A: REMOVAL AND INSTALLATION
1) Disconnect the ground cable from the battery.
2) Remove front fog light.
3) Remove the front grille.
4) Remove the extension of both sides.
S5M0152A
5) Remove the seven clips and then detach plate
(A).
S5M0397A
6) Remove under cover.
7) Remove the seven clips from under side of
bumper.
S5M0153
31
[W3A0]5-1SERVICE PROCEDURE
3. Front Bumper
Page 188 of 345

2. Fuel Flap
A: REMOVAL AND INSTALLATION
1. FUEL FLAP
1) Remove bolts which hold hinge to vehicle body,
and detach fuel flap and hinge as a unit.
S5M0150
2) Install in the reverse order of removal.
CAUTION:
Make sure the clearance between the fuel flap
and vehicle body is equal at all points.
2. FUEL FLAP OPENER
1) Remove driver's seat and rear seat cushion.
2) Turn over the floor mat (driver's side).
3) Remove all clips which hold cable.
4) Disconnect cable (A) from pull handle (B).
5) Detach pull handle by removing bolts.
S5M0291B
6) Detach fuel lock holder by turning it.
7) Install in the reverse order of removal.
CAUTION:
After installing opener cable, ensure it moves
smoothly.
3. Front Bumper
A: REMOVAL AND INSTALLATION
1) Disconnect the ground cable from the battery.
2) Remove front fog light.
3) Remove the front grille.
4) Remove the extension of both sides.
S5M0152A
5) Remove the seven clips and then detach plate
(A).
S5M0397A
6) Remove under cover.
7) Remove the seven clips from under side of
bumper.
S5M0153
31
[W3A0]5-1SERVICE PROCEDURE
3. Front Bumper
Page 317 of 345
1.
BatteryT
Capacity
Reverse
Cold
Combination Speedometer
T
Fuel
T
T
2
Charge 2
Oil 2
ABS 2
CHECK
\(Malfunction 12
HI-beam 2
Door
Seat 2
Brake 2
FWD 2
AIRBAG 2
Meter 2V\3203W
A 2
Security
Low 2
Headlight 12
Front 2V\3202
Front 1
Rear T
2
T 2V\3202
Back-up 2V\3202
License 1
High-mounted 2V\3201
Room 1
Spot 1
Luggage 1
Front 2V\3205less
Rear 2V\3204less
Front Pump
Input
2V\3203less
Rear Pump
Input
2V\3203less
Horn 12
Accessory 2
Rear
defogger Input
2
Indicator 2V\3205
Cargo 2
2
6-2[S100]SPECIFICA
1.
Page 342 of 345
2) Remove front pillar lower trim.
S6M0097
3) Disconnect connector from cruise control mod-
ule.
4) Remove bolt, then remove cruise control mod-
ule.
S6M0098
5) Install in the reverse order of removal.
5. STOP AND BRAKE SWITCH
1) Disconnect ground cable from battery.
2) Disconnect connector from switch, then remove
the switch.
3) Install in the reverse order of removal.
6. CLUTCH SWITCH
1) Disconnect ground cable from battery.
2) Disconnect connector from switch, then remove
the switch.
3) Install in the reverse order of removal.
13. Front Fog Light
A: REMOVAL AND INSTALLATION
1) Disconnect ground cable from battery.
2) Remove the two screws, then draw out the front
fog light from front bumper.
S6M0085
3) Disconnect the connector.
4) Install in the reverse order of removal.
22
6-2[W12B5]SERVICE PROCEDURE
13. Front Fog Light