1999 NISSAN FRONTIER stop start
[x] Cancel search: stop startPage 2 of 247
Welcome To The World Of NISSAN
Your new NISSAN is the result of our dedication
to produce the finest in safe, reliable and eco-
nomical transportation. Your vehicle is the prod-
uct of a successful worldwide company that
manufactures cars and trucks in over 17 coun-
tries and distributes them in 170 nations.
NISSAN vehicles are designed and manufac-
tured by Nissan Motor Co., Ltd. which was
founded in Tokyo, Japan in 1933, and NISSAN
affiliates world wide, collectively growing to be-
come the fifth largest automaker in the world. In
addition to cars and trucks, NISSAN also makes
textile machinery, fork-lift trucks, marine engines,
boats and other products.
NISSAN has made a substantial and growing
investment in North America, starting with the
opening of Nissan Motor Corporation U.S.A. in
1960, and continuing with the production of somecars and trucks at one of the world's most
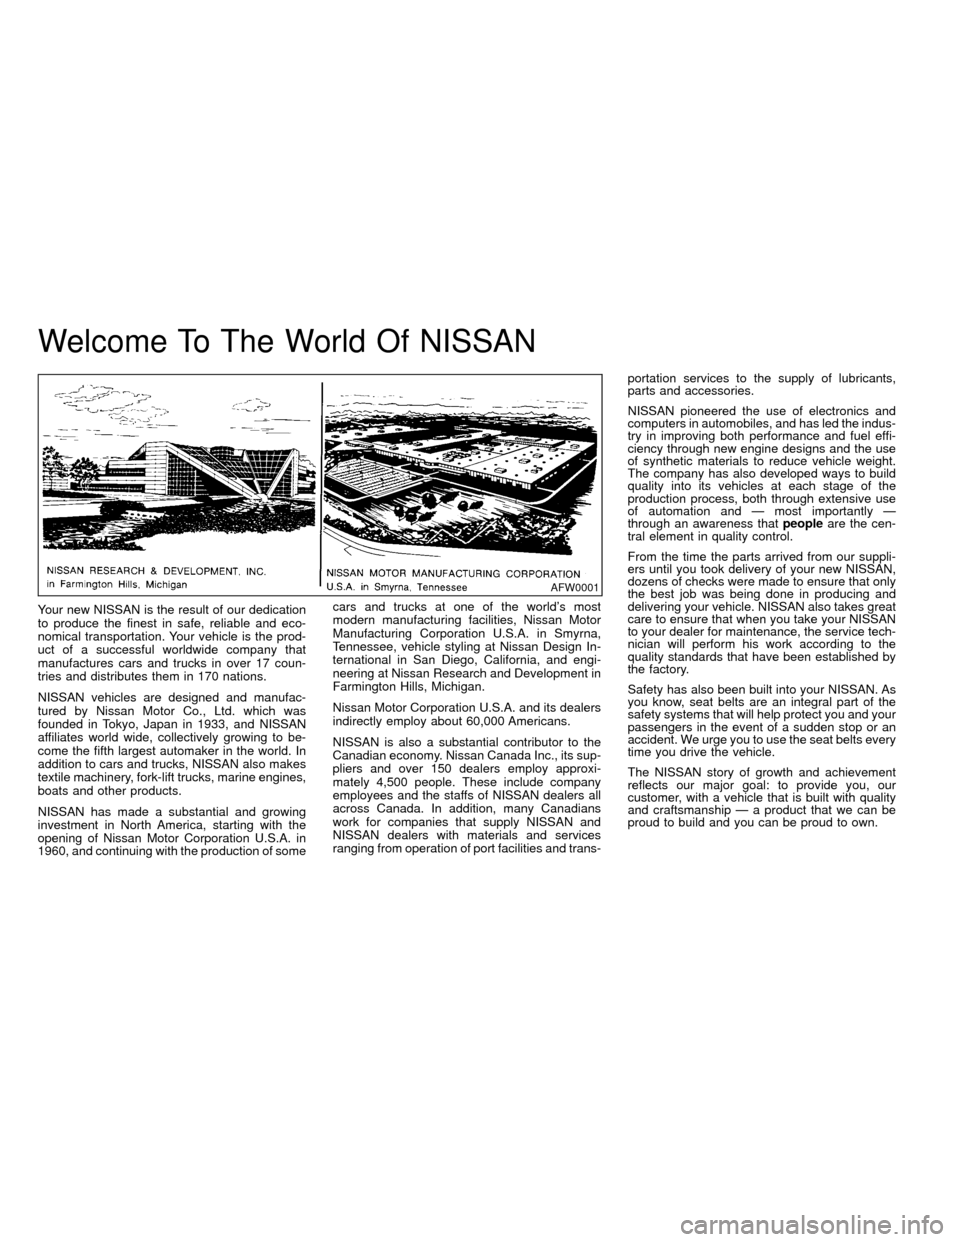
modern manufacturing facilities, Nissan Motor
Manufacturing Corporation U.S.A. in Smyrna,
Tennessee, vehicle styling at Nissan Design In-
ternational in San Diego, California, and engi-
neering at Nissan Research and Development in
Farmington Hills, Michigan.
Nissan Motor Corporation U.S.A. and its dealers
indirectly employ about 60,000 Americans.
NISSAN is also a substantial contributor to the
Canadian economy. Nissan Canada Inc., its sup-
pliers and over 150 dealers employ approxi-
mately 4,500 people. These include company
employees and the staffs of NISSAN dealers all
across Canada. In addition, many Canadians
work for companies that supply NISSAN and
NISSAN dealers with materials and services
ranging from operation of port facilities and trans-portation services to the supply of lubricants,
parts and accessories.
NISSAN pioneered the use of electronics and
computers in automobiles, and has led the indus-
try in improving both performance and fuel effi-
ciency through new engine designs and the use
of synthetic materials to reduce vehicle weight.
The company has also developed ways to build
quality into its vehicles at each stage of the
production process, both through extensive use
of automation and Ð most importantly Ð
through an awareness thatpeopleare the cen-
tral element in quality control.
From the time the parts arrived from our suppli-
ers until you took delivery of your new NISSAN,
dozens of checks were made to ensure that only
the best job was being done in producing and
delivering your vehicle. NISSAN also takes great
care to ensure that when you take your NISSAN
to your dealer for maintenance, the service tech-
nician will perform his work according to the
quality standards that have been established by
the factory.
Safety has also been built into your NISSAN. As
you know, seat belts are an integral part of the
safety systems that will help protect you and your
passengers in the event of a sudden stop or an
accident. We urge you to use the seat belts every
time you drive the vehicle.
The NISSAN story of growth and achievement
reflects our major goal: to provide you, our
customer, with a vehicle that is built with quality
and craftsmanship Ð a product that we can be
proud to build and you can be proud to own.
AFW0001
ZX
Page 50 of 247
Turn signal/hazard indicator
lights
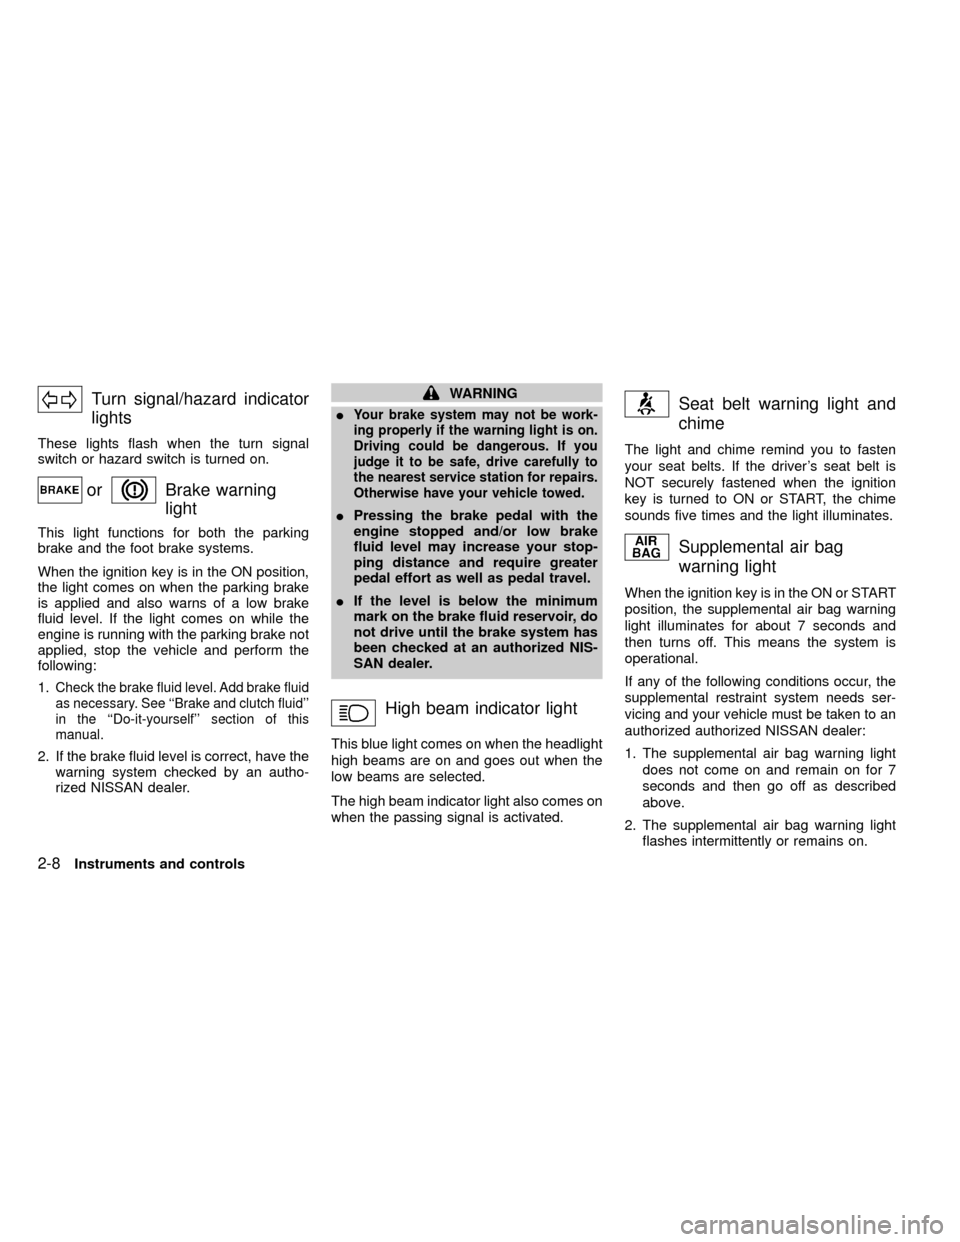
These lights flash when the turn signal
switch or hazard switch is turned on.
orBrake warning
light
This light functions for both the parking
brake and the foot brake systems.
When the ignition key is in the ON position,
the light comes on when the parking brake
is applied and also warns of a low brake
fluid level. If the light comes on while the
engine is running with the parking brake not
applied, stop the vehicle and perform the
following:
1.
Check the brake fluid level. Add brake fluid
as necessary. See ``Brake and clutch fluid''
in the ``Do-it-yourself'' section of this
manual.
2. If the brake fluid level is correct, have the
warning system checked by an autho-
rized NISSAN dealer.
WARNING
I
Your brake system may not be work-
ing properly if the warning light is on.
Driving could be dangerous. If you
judge it to be safe, drive carefully to
the nearest service station for repairs.
Otherwise have your vehicle towed.
IPressing the brake pedal with the
engine stopped and/or low brake
fluid level may increase your stop-
ping distance and require greater
pedal effort as well as pedal travel.
IIf the level is below the minimum
mark on the brake fluid reservoir, do
not drive until the brake system has
been checked at an authorized NIS-
SAN dealer.
High beam indicator light
This blue light comes on when the headlight
high beams are on and goes out when the
low beams are selected.
The high beam indicator light also comes on
when the passing signal is activated.
Seat belt warning light and
chime
The light and chime remind you to fasten
your seat belts. If the driver's seat belt is
NOT securely fastened when the ignition
key is turned to ON or START, the chime
sounds five times and the light illuminates.
Supplemental air bag
warning light
When the ignition key is in the ON or START
position, the supplemental air bag warning
light illuminates for about 7 seconds and
then turns off. This means the system is
operational.
If any of the following conditions occur, the
supplemental restraint system needs ser-
vicing and your vehicle must be taken to an
authorized authorized NISSAN dealer:
1. The supplemental air bag warning light
does not come on and remain on for 7
seconds and then go off as described
above.
2. The supplemental air bag warning light
flashes intermittently or remains on.
2-8Instruments and controls
ZX
Page 77 of 247
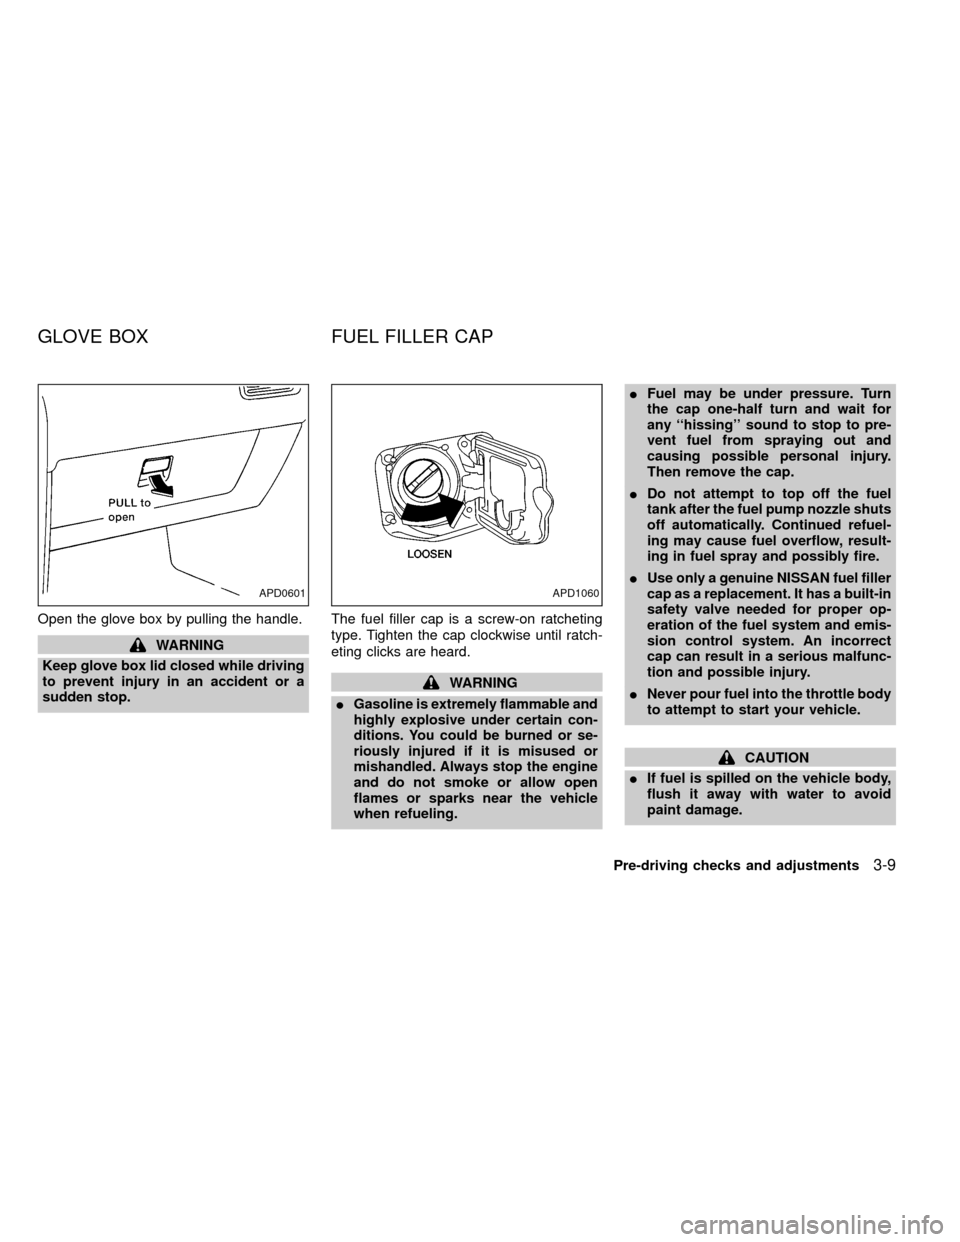
Open the glove box by pulling the handle.
WARNING
Keep glove box lid closed while driving
to prevent injury in an accident or a
sudden stop.The fuel filler cap is a screw-on ratcheting
type. Tighten the cap clockwise until ratch-
eting clicks are heard.
WARNING
IGasoline is extremely flammable and
highly explosive under certain con-
ditions. You could be burned or se-
riously injured if it is misused or
mishandled. Always stop the engine
and do not smoke or allow open
flames or sparks near the vehicle
when refueling.IFuel may be under pressure. Turn
the cap one-half turn and wait for
any ``hissing'' sound to stop to pre-
vent fuel from spraying out and
causing possible personal injury.
Then remove the cap.
IDo not attempt to top off the fuel
tank after the fuel pump nozzle shuts
off automatically. Continued refuel-
ing may cause fuel overflow, result-
ing in fuel spray and possibly fire.
IUse only a genuine NISSAN fuel filler
cap as a replacement. It has a built-in
safety valve needed for proper op-
eration of the fuel system and emis-
sion control system. An incorrect
cap can result in a serious malfunc-
tion and possible injury.
INever pour fuel into the throttle body
to attempt to start your vehicle.
CAUTION
IIf fuel is spilled on the vehicle body,
flush it away with water to avoid
paint damage.
APD0601APD1060
GLOVE BOX FUEL FILLER CAP
Pre-driving checks and adjustments3-9
ZX
Page 88 of 247

Ð Interior air is recirculated inside the
vehicle.
Move the air intake lever to the
position:
Iwhen driving on a dusty road.
Ito prevent traffic fumes from entering the
passenger compartment.
Ifor maximum cooling when using the air
conditioner.
Air conditioner switch
(if so equipped)
This switch is present only in vehicles
equipped with an air conditioner.
Start the engine, push the air conditioner
switch and move the fan control lever to the
desired speed. The indicator light comes on
when the air conditioner is operating.
HEATER OPERATION
Heating
This mode directs heated air from the foot
outlets. A small amount of air is also di-
rected from the defrost outlets.
1. Move the air intake lever to the
position for normal heating.
2. Turn the air control dial to theposition.
3. Move the fan control lever to the desired
speed.
4. Turn the temperature control dial clock-
wise until it stops or to the desired posi-
tion.
Ventilation
This mode directs outside air from the side
and center ventilators.
1. Move the air intake lever to the
position.
2. Turn the air control dial to the
position.
3. Move the fan control lever to the desired
speed.
4. Turn the temperature control dial to the
desired position.
Defrosting/defogging
This mode directs heated air from the
defrosting/defogging outlets.
1. Move the air intake lever to the
position.2. Turn the air control dial to the
position.
3. Move the fan control lever to the desired
speed.
4. Turn the temperature control dial clock-
wise until it stops or to the desired posi-
tion.
If it is difficult to defog the windshield,
push the air conditioner switch (if so
equipped) on. This dehumidifies the air,
which helps defog the windshield.
To quickly remove ice or fog from the
windows, move the fan control lever to 4
and the temperature control dial to the
full clockwise position.
Bi-level heating/cooling
This mode directs air from the side and
center ventilators and from the foot outlets.
1. Move the air intake lever to the
position.
2. Turn the air control dial to the
position.
3. Move the fan control lever to the desired
speed.
4-4Heater, air conditioner and audio systems
ZX
Page 89 of 247

4. Turn the temperature control dial to the
desired position.
Heating and defrosting/defogging
This mode directs heated air from the foot
outlets and defrosts/defogs the windshield.
1. Move the air intake lever to the
position.
2. Turn the air control dial to the
position.
3. Move the fan control lever to the desired
speed.
4. Turn the temperature control dial clock-
wise until it stops or to the desired posi-
tion.
If it is difficult to defog the windshield,
push the air conditioner switch (if so
equipped) on. This dehumidifies the air,
which helps defog the windshield.
Operating tips
Clear snow and ice from the wiper blades
and air inlet in front of the windshield. This
improves heater and defroster operation.
AIR CONDITIONER OPERATION
(if so equipped)
Start the engine, move the fan control lever
to the desired (one to four) position, and
push in the air conditioner switch to activate
the air conditioner. When the air conditioner
is on, cooling and dehumidifying functions
are added to the heater operation.
The air conditioner cooling function op-
erates only when the engine is running.
Cooling
This mode directs cool, dehumudified air
from the side and center ventilators.
1. Move the air intake lever to the
position.
2. Turn the air control dial to the
position.
3. Move the fan control lever to the desired
position.
4. Push in the air conditioner switch. The
indicator light comes on.
5. Turn the temperature control dial to the
desired position.
IFor quick cooling when the outside tem-
perature is high, move the air intake leverto the
position. Be sure to return
the air intake lever to theposition
for normal cooling.
Dehumidified heating
This mode directs heated, dehumidfied air
from the defrosting/defogging outlets.
1. Move the air intake lever to the
position.
2. Turn the air control dial to the
position.
3. Move the fan control lever to the desired
position.
4. Push in the air conditioner switch. The
indicator light comes on.
5. Turn the temperature control dial clock-
wise until it stops or to the desired posi-
tion.
Dehumidified defrosting/defogging
This mode directs heated, dehumidified air
from the defrosting/ defogging outlets.
1. Turn the air intake lever to the
po-
sition.
Heater, air conditioner and audio systems
4-5
ZX
Page 104 of 247
CASSETTE TAPE OPERATION
Turn the ignition key to the ACC or ON
position, and carefully insert a cassette tape
into the tape door. The cassette tape auto-
matically pulls into the player. The word
TAPE illuminates in the display.
CAUTION
Do not force the cassette tape into the
tape door. This could cause player
damage.
ITo maintain good quality sound,
NISSAN recommends using cassette
tapes of 60 minutes or shorter in
length.
ICassette tapes should be removed
from the player when not in use. Store
cassettes in their protective cases
and away from direct sunlight, heat,
dust, moisture or magnetic sources.
IDirect sunlight can cause the cassette
to become deformed. The use of de-
formed cassettes may cause the cas-
sette to jam in the player.
IDo not use cassettes that have peel-
ing or loose labels. If used, the labelcould jam in the player.
IIf a cassette has loose tape, insert a
pencil through one of the cassette
hubs and rewind the tape firmly.
Loose tape may cause jamming and
wavering sound quality.
IOver a period of time, the playback
head, capstan and pinch roller may
gather a tape coating residue as the
tape is played. This residue accumu-
lation can cause a weak or wavering
sound and should be removed peri-
odically with a head cleaning tape. If
the residue is not removed periodi-
cally, the player may need to be disas-
sembled for cleaning.
PLAY/STOP TAPE button
When thebutton is pushed with the
system turned off and a tape loaded, the
system comes on and the tape plays.
The word tape illuminates.
When the
button is pushed with either
the radio or compact disc turned on and a
tape loaded, the compact disc or the radio
turns off and the tape plays.
While the tape is playing, pushing the
button stops tape play. Pushing thebutton again resumes tape play.
FF (fast forward) and REW (rewind)
buttons
Push thebutton to fast forward the
tape. Push thebutton to rewind the
tape. Either REW or FF illuminates in the
display. To stop the FF or REW function,
press the
,,orbuttons.
Automatic Program Search (APS)
FF and REW buttons
When thebutton is pushed while the
tape is being played, the tape runs quickly,
stops, then plays the next selection from the
beginning. Push the
button several
times to skip several selections. Each time
the button is pushed, the tape fast forwards
one additional selection. This number ap-
pears in the display window. The tape can
be fast forwarded through up to nine selec-
tions. (for example: 7 in the display indi-
cates that the
button has been
pushed seven times to skip forward through
seven selections).
When the
button is pushed, the se-
lection being played starts again from the
4-20Heater, air conditioner and audio systems
ZX
Page 105 of 247
beginning. Push thebutton several
times to rewind several selections. Each
time the
button is pushed, the tape
rewinds back one additional selection. The
number of selections skipped appears in the
display window as a negative number (for
example: -7 in the display indicates that the
button has been pushed seven times
to rewind back through seven selections).
Either the FF or REW illuminates in the
display when the
orbutton is
pushed.
The system searches for the blank intervals
between selections. If there is a blank inter-
val within one selection or there is no inter-
val between selections, the system may not
stop in the desired or expected location.
PROG (Program) button
Push thebutton to change the tape
side while the tape is being played.
The cassette tape automatically changes
directions to play the other side when the
first side is complete.
Dolby NR (noise reduction)
Push thebutton for Dolby NR en-
coded tapes to reduce high frequency tapenoise. The
indicator illuminates in the
display.
Dolby NR is manufactured under license
from Dolby Laboratories Licensing Corpora-
tion. DOLBY NR and the double-D symbol
are trademarks of Dolby Laboratories Li-
censing Corporation.
Metal or chrome tape usage
The cassette player is automatically set to
high performance play when playing a metal
or chrome cassette tape.
TAPE EJECT button
Push thebutton to eject the cassette
an inserted tape.
Precautions on cassette player op-
eration
COMPACT DISC (CD) PLAYER
OPERATION
Turn the ignition key to the ACC or ON
position and carefully insert the compact
disc into the slot with the label side up. The
compact disc is automatically pulled into the
slot and starts to play.
If the radio or cassette tape is alreadyoperating, it automatically turns off and the
compact disc begins to play.
CAUTION
Do not force the compact disc into the
slot. This could damage the player.
CD button
When thebutton is pushed with the
compact disc loaded and the tape or the
radio playing, the tape or radio turns off and
compact disc starts to play.
FF (fast forward) REW (rewind)
buttons
When theorbutton is pushed
while the compact disc is playing, the com-
pact disc plays at an increased speed while
fast forwarding or rewinding. When the but-
ton is released, the compact disc returns to
normal play speed.
Automatic Program Search (APS)
APS FF, APS REW buttons
When thebutton is pushed while the
compact disc is playing, the selection fol-
Heater, air conditioner and audio systems
4-21
ZX
Page 110 of 247
WARNING
Do not leave children, unreliable
adults, or pets alone in your vehicle.
They could accidentally injure them-
selves or others through inadvertent
operation of the vehicle. Also, on hot,
sunny days, temperatures in a closed
vehicle could quickly become high
enough to cause severe or possibly
fatal injuries to people or animals.
EXHAUST GAS (carbon monoxide)
WARNING
Do not breathe exhaust gases; they
contain colorless and odorless carbon
monoxide. Carbon monoxide is a dan-
gerous gas, and can cause uncon-
sciousness or death.
IIf you suspect that exhaust fumes
are entering the vehicle, drive with
all windows fully open, and have the
vehicle inspected immediately.
IDo not run the engine in closed
spaces such as a garage.IDo not park the vehicle with the
engine running for any extended
length of time.
I
If a special body, camper, or other
equipment is added for recreational
or other usage, follow the manufac-
turer's recommendation to prevent
carbon monoxide entry into the ve-
hicle. Do not occupy these areas
while the engine is running even if the
vehicle is parked. (Some recreational
vehicle appliances such as stoves,
refrigerators, heaters, etc. may also
generate carbon monoxide.)
IThe exhaust system and body
should be inspected by a qualified
mechanic whenever:
a. The vehicle is raised for service.
b. You suspect that exhaust fumes
are entering into the passenger
compartment.
c. You notice a change in the sound
of the exhaust system.
d.
You have had an accident involv-
ing damage to the exhaust system,
underbody, or rear of the vehicle.
THREE-WAY CATALYST
The three-way catalyst is an emission control
device installed in the exhaust system. Ex-
haust gases in the converter are burned at
high temperatures to help reduce pollutants.
WARNING
IThe exhaust gas and the exhaust
system are very hot. Keep people or
flammable materials away from the
exhaust pipe.
IDo not stop or park the vehicle over
flammable materials such as dry
grass, waste paper or rags. They
may ignite and cause a fire.
CAUTION
IDo not use leaded gasoline. Depos-
its from leaded gasoline will seri-
ously reduce the three-way cata-
lyst's ability to help reduce exhaust
pollutants.
IKeep your engine tuned up. Malfunc-
tions in the ignition, fuel injection, or
electrical systems can cause over-
rich fuel flow into the converter,
causing it to overheat.
PRECAUTIONS WHEN
STARTING AND DRIVING
5-2Starting and driving
ZX