Page 54 of 343

Carbon Monoxide Hazard
Your vehicle's exhaust contains carbon monoxide gas. You should
have no problem with carbon
monoxide entering the vehicle in
normal driving if you maintain your
vehicle properly.
Have the exhaust system inspected
for leaks whenever:
The vehicle is raised for an oil
change.
You notice a change in the sound of the exhaust.
The vehicle was in an accident that may have damaged the under-
side.
High levels of carbon monoxide can
collect rapidly in enclosed areas,
such as a garage. Do not run the
engine with the garage door closed.
Even with the door open, run the
engine only long enough to move the
vehicle out of the garage. With the tailgate open, air flow can
pull exhaust gas into your vehicle's
interior and create a hazardous
condition. If you must drive with the
tailgate open, open all the windowsand set the heating and coolingsystem/climate control system as
shown below.
If you must sit in your parked vehicle,
even in an unconfined area, with the engine running, adjust the heating
and cooling system/climate control
system as follows:
1. Select the Fresh Air mode. 2. Select the mode.
3. Turn the fan on high speed.
4. Set the temperature control to a
comfortable setting.
Driver and Passenger Safety
Carbon monoxide gas is toxic.
Breathing it can cause
unconsciousness and even kill
you.
Avoid any enclosed areas or activities that expose you to
carbon monoxide.ProCarManuals.comMain Menu Table of Contents s t
Page 59 of 343

Indicator Lights
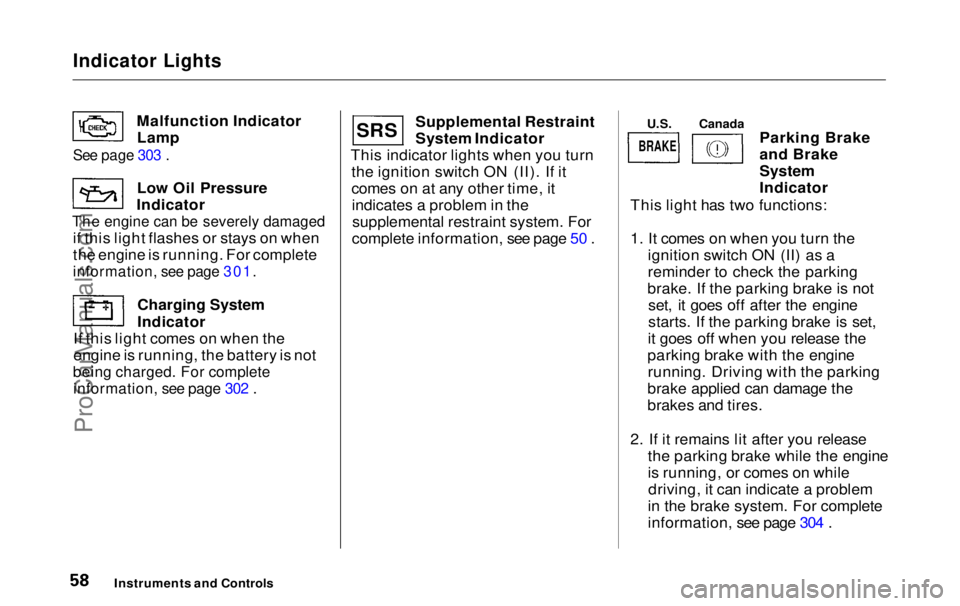
Malfunction IndicatorLamp
Low Oil Pressure
Indicator
The engine can be severely damaged
if this light flashes or stays on when
the engine is running. For complete
information, see page 301.
Charging System
Indicator
If this light comes on when the
engine is running, the battery is not
being charged. For complete
information, see page 302 .
Supplemental Restraint
System Indicator
This indicator lights when you turn the ignition switch ON (II). If it
comes on at any other time, itindicates a problem in thesupplemental restraint system. For
complete information, see page 50 . Parking Brake
and Brake
System
Indicator
This light has two functions:
1. It comes on when you turn the ignition switch ON (II) as a
reminder to check the parking
brake. If the parking brake is not set, it goes off after the engine
starts. If the parking brake is set,
it goes off when you release the
parking brake with the engine running. Driving with the parking
brake applied can damage the
brakes and tires.
2. If it remains lit after you release the parking brake while the engine
is running, or comes on whiledriving, it can indicate a problem
in the brake system. For complete
information, see page 304 .
Instruments and Controls
See page 303 .
S R S
U.S.
Canada
BRAKEProCarManuals.comMain Menu Table of Contents s t
Page 182 of 343
Before Driving
Before you begin driving your Honda,
you should know what gasoline to use, and how to check the levels of
important fluids. You also need to
know how to properly store luggageor packages. The information in thissection will help you. If you plan to
add any accessories to your vehicle,
please read the information in this section first. Break-in Period.............................. 182
Gasoline.......................................... 182
Service Station Procedures .......... 183 Filling the Fuel Tank................. 183Opening the Hood..................... 184 Oil Check................................ 186
Engine Coolant Check.......... 187
Fuel Economy................................ 188
Vehicle Condition...................... 188Driving Habits............................ 188
Accessories and Modifications.... 189 Carrying Cargo.............................. 191
Before DrivingProCarManuals.comMain Menu s t
Page 187 of 343
Service Station Procedures
Oil Check
Check the engine oil level every time
you fill the vehicle with fuel. Wait a few minutes after turning the engineoff before you check the oil.
1. Remove the dipstick (orange
handle).
2. Wipe the dipstick with a clean
cloth or paper towel. 3. Insert it all the way back in its tube.
Before Driving
DIPSTICKProCarManuals.comMain Menu Table of Contents s t
Page 188 of 343
Service Station Procedures
4. Remove the dipstick again and check the level. It should be
between the upper and lower marks.
If it is near or below the lower mark, see Adding Oil on page 233 . Engine Coolant Check
Look at the coolant level in the
radiator reserve tank. Make sure it is
between the MAX and MIN lines. If
it is below the MIN line, see Adding
Engine Coolant on page 237 for
information on adding the proper coolant. Refer to Owner Maintenance
Checks on page 231 for information
on checking other items in your
Honda.
Before Driving
UPPER MARK
LOWER MARK
MAX
MIN
RESERVE TANKProCarManuals.comMain Menu Table of Contents s t
Page 220 of 343

Maintenance
This section explains why it is important to keep your vehicle well
maintained and to follow basic
maintenance safety precautions.
This section also includes Maintenance Schedules for normaldriving and severe driving conditions,
a Maintenance Record, and instruc-
tions for simple maintenance tasks
you may want to take care of yourself.
If you have the skills and tools to per-
form more complex maintenance tasks on your Honda, you may want
to purchase the Service Manual. See page 333 for information on how toobtain a copy, or see your Honda
dealer.
Maintenance Safety.......................
220
Important Safet
y
Precautions ..
221
Maintenance Schedule.................
.
222
Required Maintenance Record.... 229
Owner Maintenance Checks........ 231
Fluid Locations............................... 232
Engine Oil....................................... 233
Adding Oil................................... 233
Recommended Oil..................... 233
Synthetic Oil............................... 234
Additives..................................... 235
Changing the Oil and Filter...... 235
Cooling System.............................. 237
Adding Engine Coolant............. 237Replacing Engine Coolant........ 239
Windshield Washers..................... 242
Automatic Transmission Fluid..... 243
Brake Fluid..................................... 244
Brake System............................. 244
Power Steering............................... 245
Air Cleaner Element...................... 246
Hood Latch..................................... 248
Spark Plugs..................................... 248
Replacement............................... 248
Specifications............................. 250
Battery............................................ 251
Wiper Blades.................................. 253
Air Conditioning System............... 255
Air Conditioning Filter.................. 256
Drive Belts...................................... 256
Timing Belt..................................... 257
Tires................................................ 257 Inflation....................................... 257
Inspection................................... 259Maintenance............................... 260
Tire Rotation.............................. 260
Replacing Tires and Wheels.... 261
Wheels and Tires....................... 262 Winter Driving........................... 262
Snow Tires.............................. 263
Tire Chains............................. 263
Lights..............................................264
Headlight Aiming...................... 266
Replacing Bulbs......................... 266
Storing Your Vehicle..................... 275
MaintenanceProCarManuals.comMain Menu s t
Page 226 of 343
Maintenance Schedule for Normal Conditions (listed by distance/time)
Service at the indicated distance or time, whichever comes first. Do the items in A, B, C as required for each distance/time interval. Follow this
schedule if the severe driving conditions described in the Severe Conditions Schedule on the next page do not apply.
Canadian owners: Follow the schedule for Severe Conditions.
Note:
Check engine oil and coolant at each fuel stop.
Check and adjust valve clearance, cold engine, if noisy.
Maintenance
# : See information on maintenance and emissions warranty, last
column, page 223.
page 260ProCarManuals.comMain Menu Table of Contents s t
Page 229 of 343
Maintenance Schedule for Severe Conditions (listed by distance/time)
Maintenance
*
: See information on maintenance and emissions warranty, last
column, page 223.
*
1: See Timing Belt on page 257 to determine need for replacement.
*
2: See Air Conditioning Filter on page 256 for replacement
information under special conditions.
NOTE:
Check engine oil and coolant at each fuel stop. Check and adjust valve clearance, cold engine, if noisy.
ProCarManuals.comMain Menu Table of Contents s t