1999 FORD TAURUS remove seats
[x] Cancel search: remove seatsPage 21 of 224

Operating tips
²In humid weather, selectbefore driving. This
will prevent your windshield from fogging. After a
few minutes, select any desired position.
²To prevent humidity buildup inside the vehicle,
don't drive with the climate control system in the
OFF position.
²Don't put objects under the front seat that will
interfere with the airflow to the back seats.
²Remove any snow,
ice or leaves from
the air intake area
(at the bottom of
the windshield
under the hood).
²If the air conditioner works well in MAX A/C, but
not in A/C, this may indicate that the cabin air
filter (if equipped) needs to be replaced.
²If your vehicle has been parked with the windows
closed during hot weather, the air conditioner will
do a much faster job of cooling if you drive for
two or three minutes with the windows open. This
will force most of the hot, stale air out of the
vehicle. Then operate your air conditioner as you
would normally.
²When placing objects on top of your instrument
panel, be careful to not place them over the
defroster outlets. These objects can block airflow
and reduce your ability to see through your
windshield. Also, avoid placing small objects on
top of your instrument panel. These objects can
fall down into the defroster outlets and block
airflow and possibly damage your climate control
system.
Controls and features
21
Page 28 of 224

Operating tips
²In humid weather, select Fbefore driving.
This will reduce your windshield from fogging.
After a few minutes, select any desired position.
²To prevent humidity buildup inside the vehicle,
don't drive with the climate control system in the
OFF position.
²Don't put objects under the front seat that will
interfere with the airflow to the back seats.
²Remove any snow,
ice or leaves from
the air intake area
(at the bottom of
the windshield).
²If your vehicle has been parked with the windows
closed during hot weather, the air conditioner will
do a much faster job of cooling if you drive for
two or three minutes with the windows open. This
will force most of the hot, stale air out of the
vehicle. Then operate the air conditioner as you
would normally.
²If the air conditioner works well in MAX A/C but
not in normal A/C, this may indicate that the
cabin air filter (if equipped) needs to be replaced.
²When placing objects on top of your instrument
panel, be careful to not place them over the
defroster outlets. These objects can block airflow
and reduce your ability to see through your
windshield. Also, avoid placing small objects on
top of your instrument panel. These objects can
fall down into the defroster outlets and block
airflow and possibly damage your climate control
system.
Controls and features
28
Page 81 of 224

receives an impact of 8 km/h (5 mph) or more, the
combination safety belts will lock to help reduce
forward movement of the driver and passengers.
Automatic locking mode
In this mode, the shoulder belt is automatically
pre-locked. The belt will still retract to remove any
slack in the shoulder belt.
The automatic locking mode is not available on the
driver safety belt.
When to use the automatic locking mode
²When a tight lap/shoulder fit is desired.
²Anytimea child safety seat is installed in the
vehicle. Refer toSafety Restraints for Children
orSafety Seats for Childrenlater in this chapter.
How to use the automatic locking mode
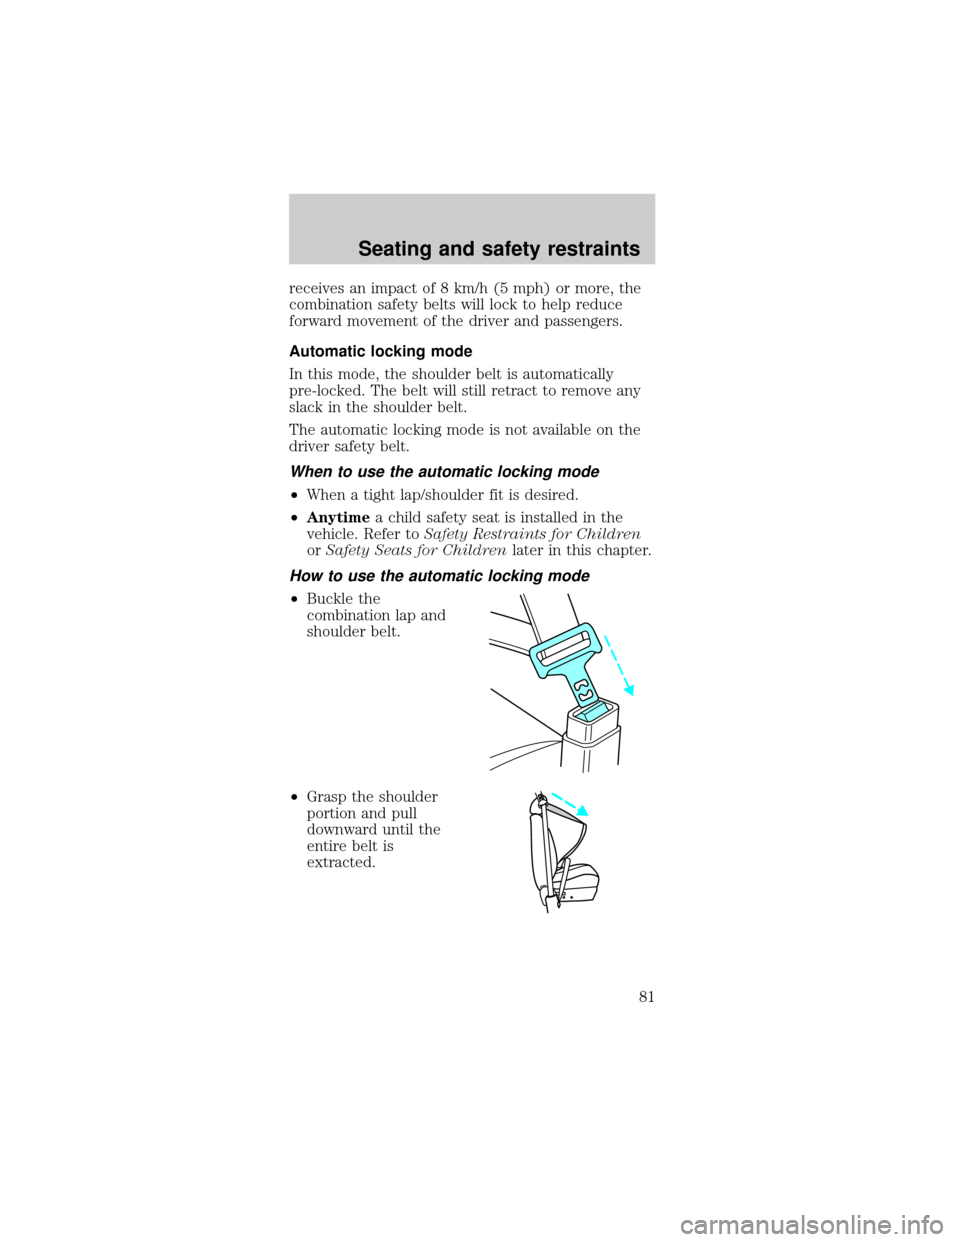
²Buckle the
combination lap and
shoulder belt.
²Grasp the shoulder
portion and pull
downward until the
entire belt is
extracted.
Seating and safety restraints
81
Page 85 of 224

Shorten and fasten the
belt when not in use.
Safety belts for rear-facing occupants
(wagon only)
Never use child safety seats in the third seat
of a wagon.
Your vehicle is equipped with safety belts containing
an adjust tongue at the rear-facing seating positions.
When the adjust tongue of the lap/shoulder
combination seat belt is latched into the buckle, the
tongue will allow the lap portion to become shorter,
but locks the webbing in place to restrict it from
becoming longer.
Before you reach and latch a combination lap and
shoulder belt having an adjust tongue into the
buckle, you may have to lengthen the lap belt
portion of it. To lengthen the lap belt, pull some
webbing out of the shoulder belt retractor. While
holding the webbing below the tongue, grasp the
tongue so that it is parallel to the webbing and slide
the tongue upward. Provide enough length so that
the tongue can reach the buckle.
To fasten the belt, pull the combination lap and
shoulder belt from the retractor so that the shoulder
belt portion of the safety belt crosses your shoulder
and chest. Be sure the belt is not twisted. If the belt
is twisted, remove the twist. Insert the tongue into
the proper buckle for your seating position until you
hear a snap and feel it latch. Make sure the tongue
is securely fastened to the buckle by pulling on the
tongue.
Seating and safety restraints
85
Page 99 of 224

8. Allow the safety belt
to retract to remove
any slack in the belt.
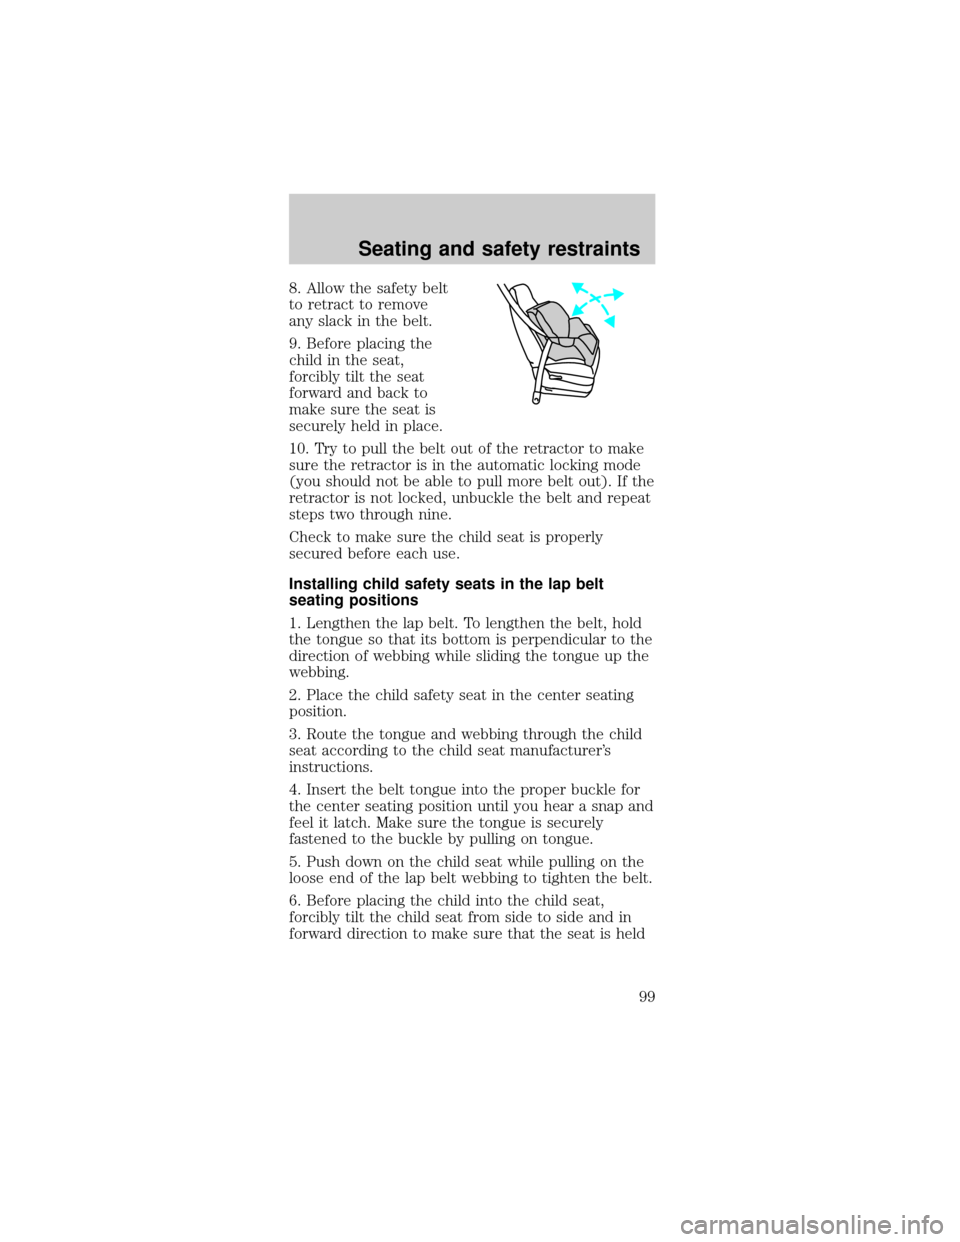
9. Before placing the
child in the seat,
forcibly tilt the seat
forward and back to
make sure the seat is
securely held in place.
10. Try to pull the belt out of the retractor to make
sure the retractor is in the automatic locking mode
(you should not be able to pull more belt out). If the
retractor is not locked, unbuckle the belt and repeat
steps two through nine.
Check to make sure the child seat is properly
secured before each use.
Installing child safety seats in the lap belt
seating positions
1. Lengthen the lap belt. To lengthen the belt, hold
the tongue so that its bottom is perpendicular to the
direction of webbing while sliding the tongue up the
webbing.
2. Place the child safety seat in the center seating
position.
3. Route the tongue and webbing through the child
seat according to the child seat manufacturer's
instructions.
4. Insert the belt tongue into the proper buckle for
the center seating position until you hear a snap and
feel it latch. Make sure the tongue is securely
fastened to the buckle by pulling on tongue.
5. Push down on the child seat while pulling on the
loose end of the lap belt webbing to tighten the belt.
6. Before placing the child into the child seat,
forcibly tilt the child seat from side to side and in
forward direction to make sure that the seat is held
Seating and safety restraints
99
Page 188 of 224

windshield with a non-abrasive cleanser such as the
non-abrasive Bon-Amitpowder. Rinse thoroughly
with clean water.Do notuse abrasive cleansers on
glass as they may cause scratches. The windshield is
clean if beads do not form when you rinse it with
water. The windshield and wiper blades should be
cleaned on a regular basis, and blades or rubber
elements replaced when worn.
Cleaning the instrument panel
Clean with a damp cloth, then dry with a dry cloth.
Avoid cleaner or polish that increases the gloss of
the upper portion of the instrument panel. The dull
finish in this area helps protect the driver from
undesirable windshield reflection.
Cleaning the interior fabric
Remove dust and loose dirt with a whisk broom or a
vacuum cleaner. Remove fresh spots immediately. Do
not use household or glass cleaners. These agents
can stain and discolor the fabric. Use a mild soap
and water solution if necessary.
Cleaning leather seats (if equipped)
To clean, simply use a soft cloth dampened with
water and a mild soap. Wipe the leather again with a
damp cloth to remove soap residue. Dry with a soft
cloth. For tougher soiling concerns, Ford
recommends using the Deluxe Leather Care Kit
F8AZ-19G253±AA, which is available from your Ford
Dealer. This mild cleaner and special pad, cleans the
leather and maintains its natural beauty. Follow the
instructions on the cleaner label. Regular cleaning of
your leather upholstery helps maintain its resiliency
and color.
Do not use household cleaning products,
alcohol solutions, solvents or cleaners intended
for rubber, vinyl or plastics.
Maintenance and care
188