1999 FORD EXPEDITION remove seats
[x] Cancel search: remove seatsPage 40 of 216
Operating tips
²In humid weather, select DEFbefore driving. This will prevent
your windshield from fogging. After a few minutes, select any desired
position.
²To prevent humidity buildup inside the vehicle, don't drive with the
climate control system in the OFF position.
²Don't put objects under the front seat that will interfere with the
airflow to the back seats (if equipped).
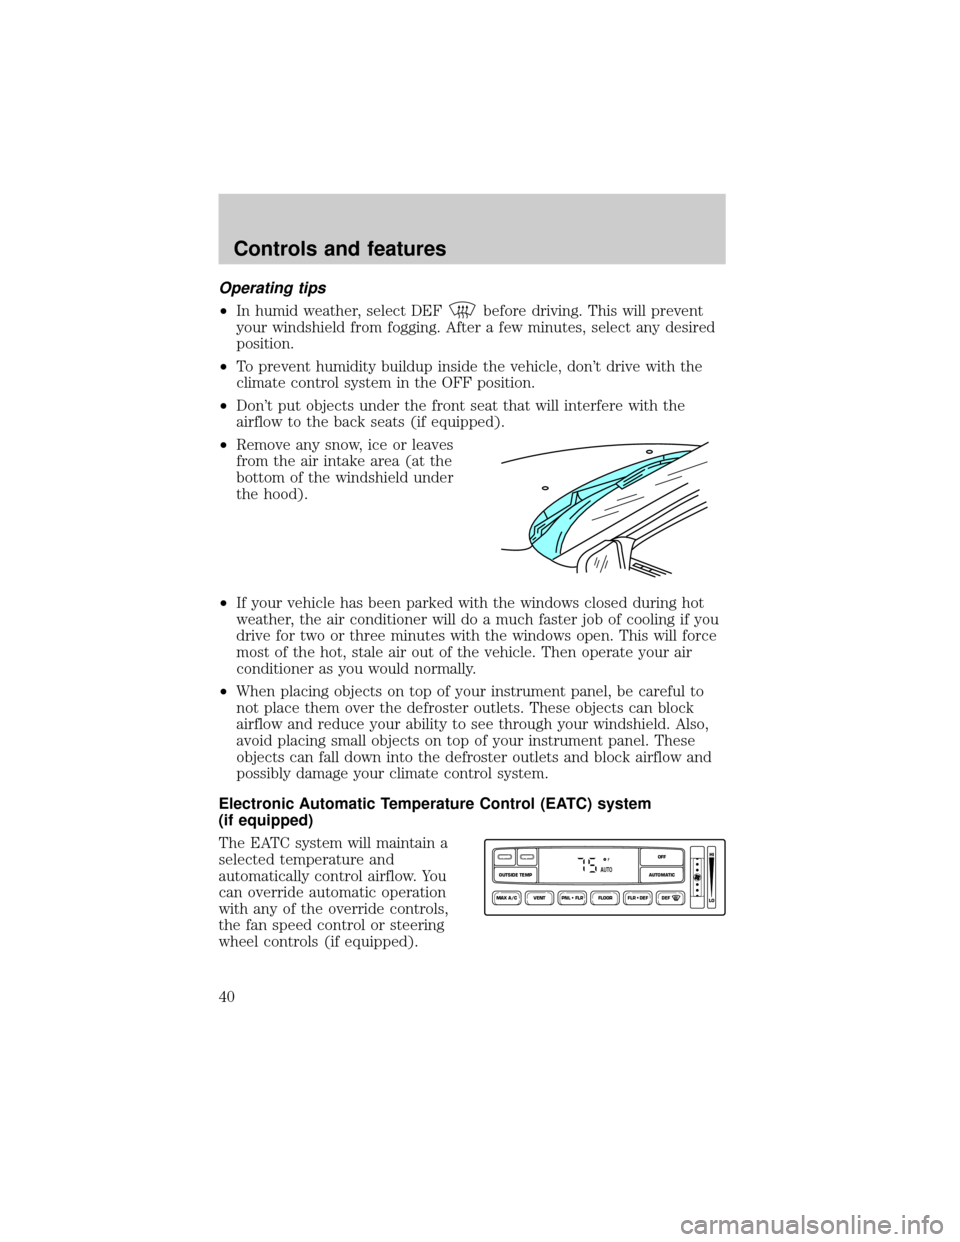
²Remove any snow, ice or leaves
from the air intake area (at the
bottom of the windshield under
the hood).
²If your vehicle has been parked with the windows closed during hot
weather, the air conditioner will do a much faster job of cooling if you
drive for two or three minutes with the windows open. This will force
most of the hot, stale air out of the vehicle. Then operate your air
conditioner as you would normally.
²When placing objects on top of your instrument panel, be careful to
not place them over the defroster outlets. These objects can block
airflow and reduce your ability to see through your windshield. Also,
avoid placing small objects on top of your instrument panel. These
objects can fall down into the defroster outlets and block airflow and
possibly damage your climate control system.
Electronic Automatic Temperature Control (EATC) system
(if equipped)
The EATC system will maintain a
selected temperature and
automatically control airflow. You
can override automatic operation
with any of the override controls,
the fan speed control or steering
wheel controls (if equipped).
VENT PNL • FLR FLOOR FLR • DEF DEF
HI
LO
MAX A/C
OUTSIDE TEMP AUTOMATICOFFFAUTO
Controls and features
40
Page 80 of 216
Third row seat
The third row seat is equipped with combination lap and shoulder belts
in the outboard seating positions and a manual adjust tongue lap belt in
the center seating position. For information on the proper operation of
the safety restraints, refer toSafety Restraintsin this chapter.
The third row seat may be removed from the vehicle for additional cargo
space.
Accessing the third row seat
Your vehicle is equipped with an
easy entry second row seat feature
which allows ready access to the
third row seat. You may enter the
third row seat:
²through the passenger side rear
door if your vehicle has a second
row bench seat
²through either rear door if your
vehicle has second row bucket
seats
Ensure that the second row seat is in the upright position in order to
achieve optimum access to the third row.
To minimize the risk of personal injury, the third row seat should not be
left in the forward, stowed position while the vehicle is in motion. Please
ensure that the seat is in the upright, fully latched position before
putting the vehicle in motion.
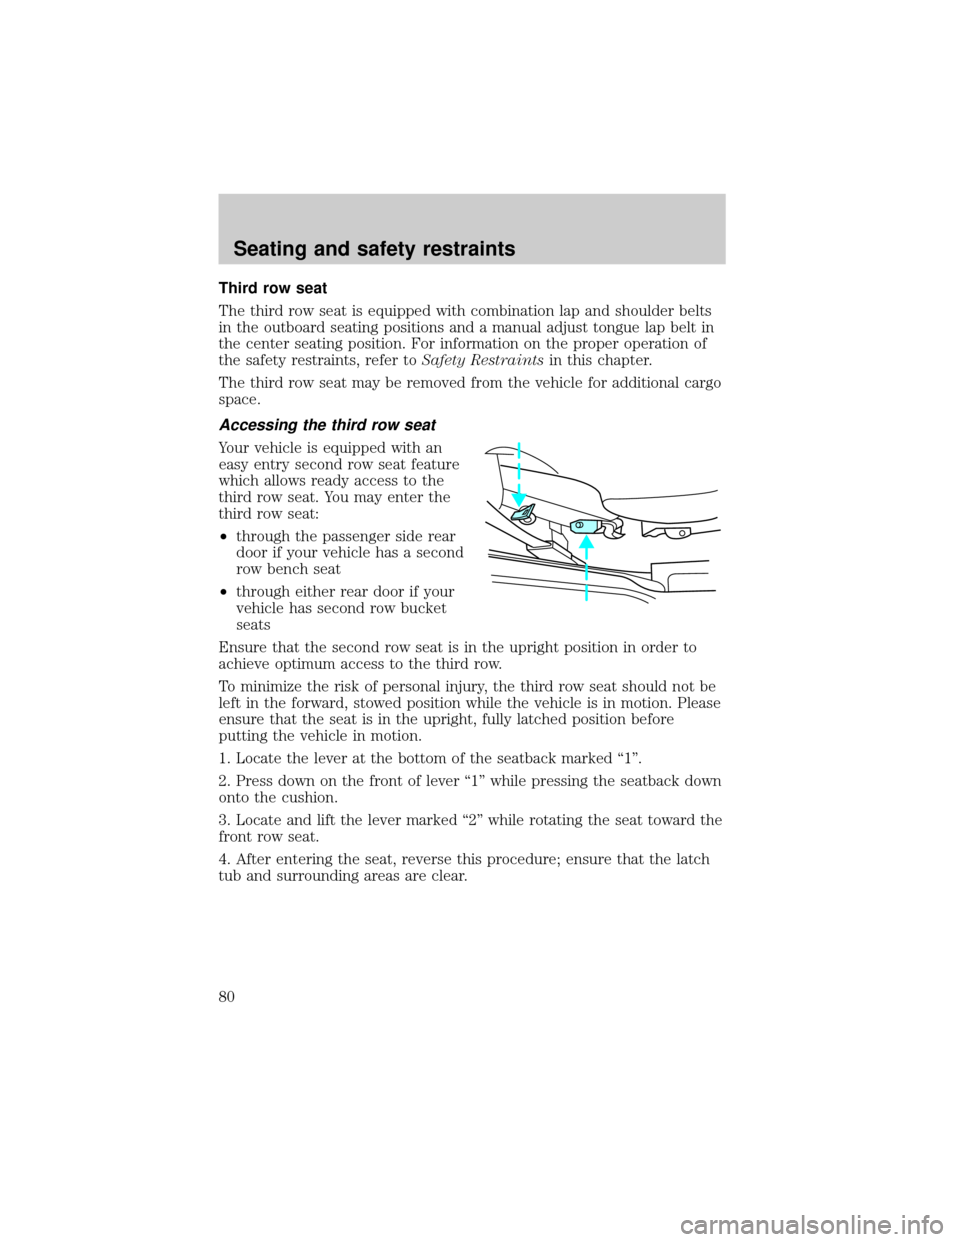
1. Locate the lever at the bottom of the seatback marked ª1º.
2. Press down on the front of lever ª1º while pressing the seatback down
onto the cushion.
3. Locate and lift the lever marked ª2º while rotating the seat toward the
front row seat.
4. After entering the seat, reverse this procedure; ensure that the latch
tub and surrounding areas are clear.
Seating and safety restraints
80
Page 84 of 216
It is extremely dangerous to ride in a cargo area, inside or
outside of a vehicle. In a collision, people riding in these areas
are more likely to be seriously injured or killed. Do not allow people to
ride in any area of your vehicle that is not equipped with seats and
safety belts. Be sure everyone in your vehicle is in a seat and using a
safety belt properly.
Each seating position in your vehicle has a specific safety belt
assembly which is made up of one buckle and one tongue that
are designed to be used as a pair. 1) Use the shoulder belt on the
outside shoulder only. Never wear the shoulder belt under the arm. 2)
Never swing the safety belt around your neck over the inside shoulder.
3) Never use a single belt for more than one person.
Combination lap and shoulder belts
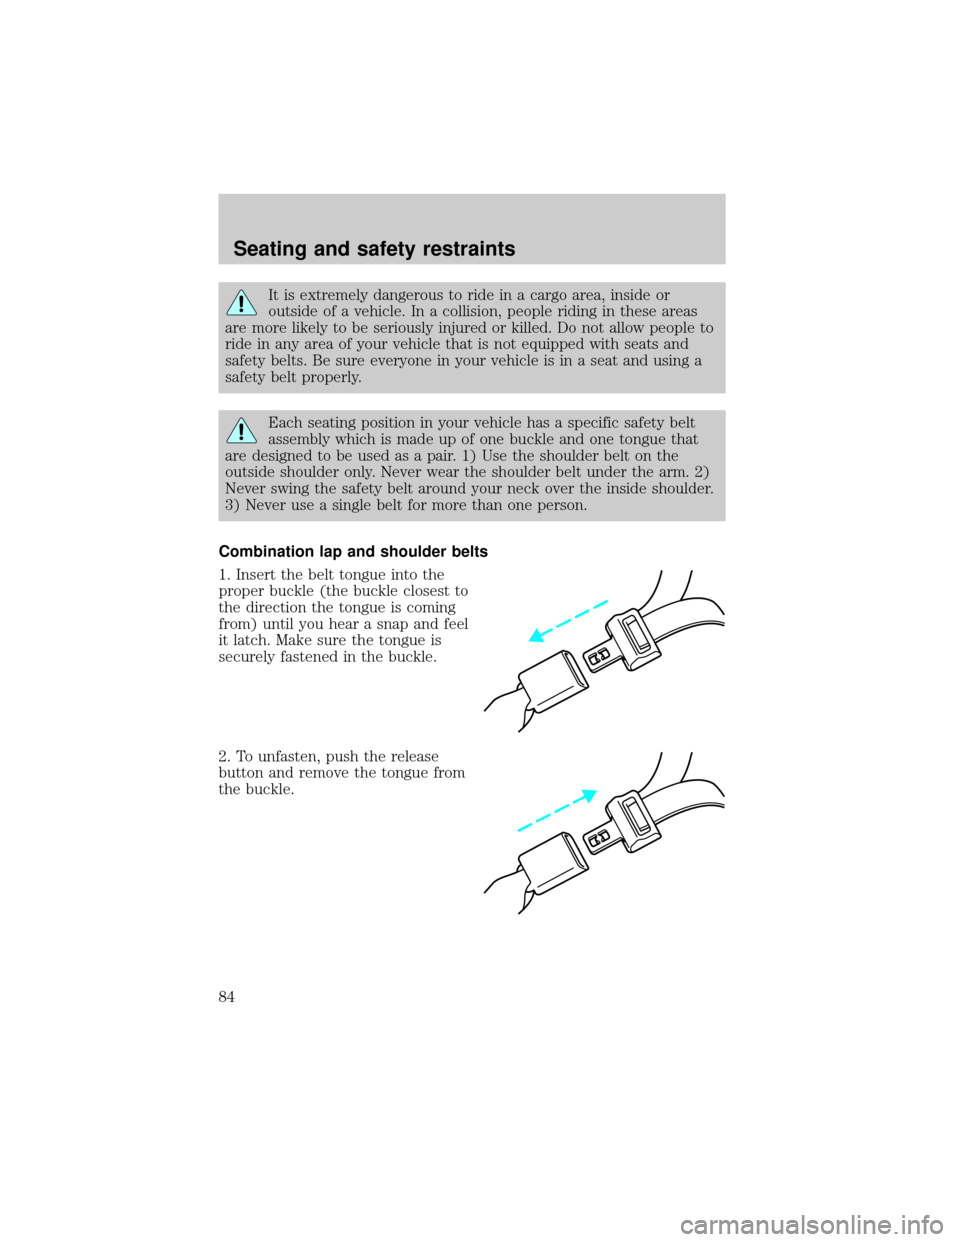
1. Insert the belt tongue into the
proper buckle (the buckle closest to
the direction the tongue is coming
from) until you hear a snap and feel
it latch. Make sure the tongue is
securely fastened in the buckle.
2. To unfasten, push the release
button and remove the tongue from
the buckle.
Seating and safety restraints
84
Page 85 of 216

The front and rear outboard safety restraints in the vehicle are
combination lap and shoulder belts. The front and rear seat passenger
outboard safety belts have two types of locking modes described below:
Vehicle sensitive mode
The vehicle sensitive mode is the normal retractor mode, allowing free
shoulder belt length adjustment to your movements and locking in
response to vehicle movement. For example, if the driver brakes
suddenly or turns a corner sharply, or the vehicle receives an impact of
8 km/h (5 mph) or more, the combination safety belts will lock to help
reduce forward movement of the driver and passengers.
Automatic locking mode
In this mode, the shoulder belt is automatically pre-locked. The belt will
still retract to remove any slack in the shoulder belt.
The automatic locking mode is not available on the driver safety belt.
When to use the automatic locking mode
²When a tight lap/shoulder fit is desired.
²Anytimea child safety seat is installed in a passenger front or
outboard rear seating position (if equipped). Refer toSafety
Restraints for ChildrenorSafety Seats for Childrenlater in this
chapter.
How to use the automatic locking mode
²Buckle the combination lap and
shoulder belt.
Seating and safety restraints
85
Page 98 of 216
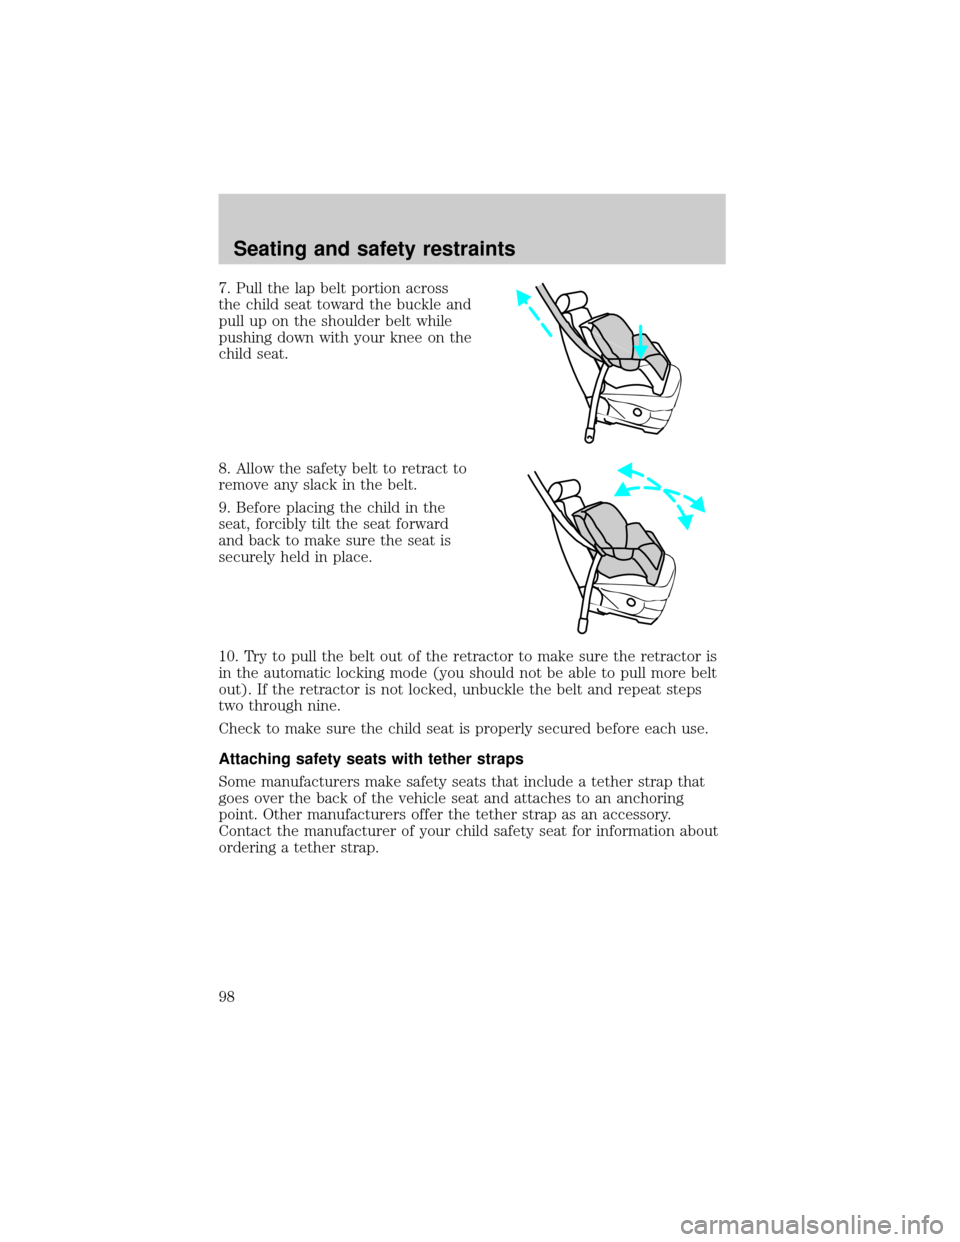
7. Pull the lap belt portion across
the child seat toward the buckle and
pull up on the shoulder belt while
pushing down with your knee on the
child seat.
8. Allow the safety belt to retract to
remove any slack in the belt.
9. Before placing the child in the
seat, forcibly tilt the seat forward
and back to make sure the seat is
securely held in place.
10. Try to pull the belt out of the retractor to make sure the retractor is
in the automatic locking mode (you should not be able to pull more belt
out). If the retractor is not locked, unbuckle the belt and repeat steps
two through nine.
Check to make sure the child seat is properly secured before each use.
Attaching safety seats with tether straps
Some manufacturers make safety seats that include a tether strap that
goes over the back of the vehicle seat and attaches to an anchoring
point. Other manufacturers offer the tether strap as an accessory.
Contact the manufacturer of your child safety seat for information about
ordering a tether strap.
Seating and safety restraints
98
Page 181 of 216
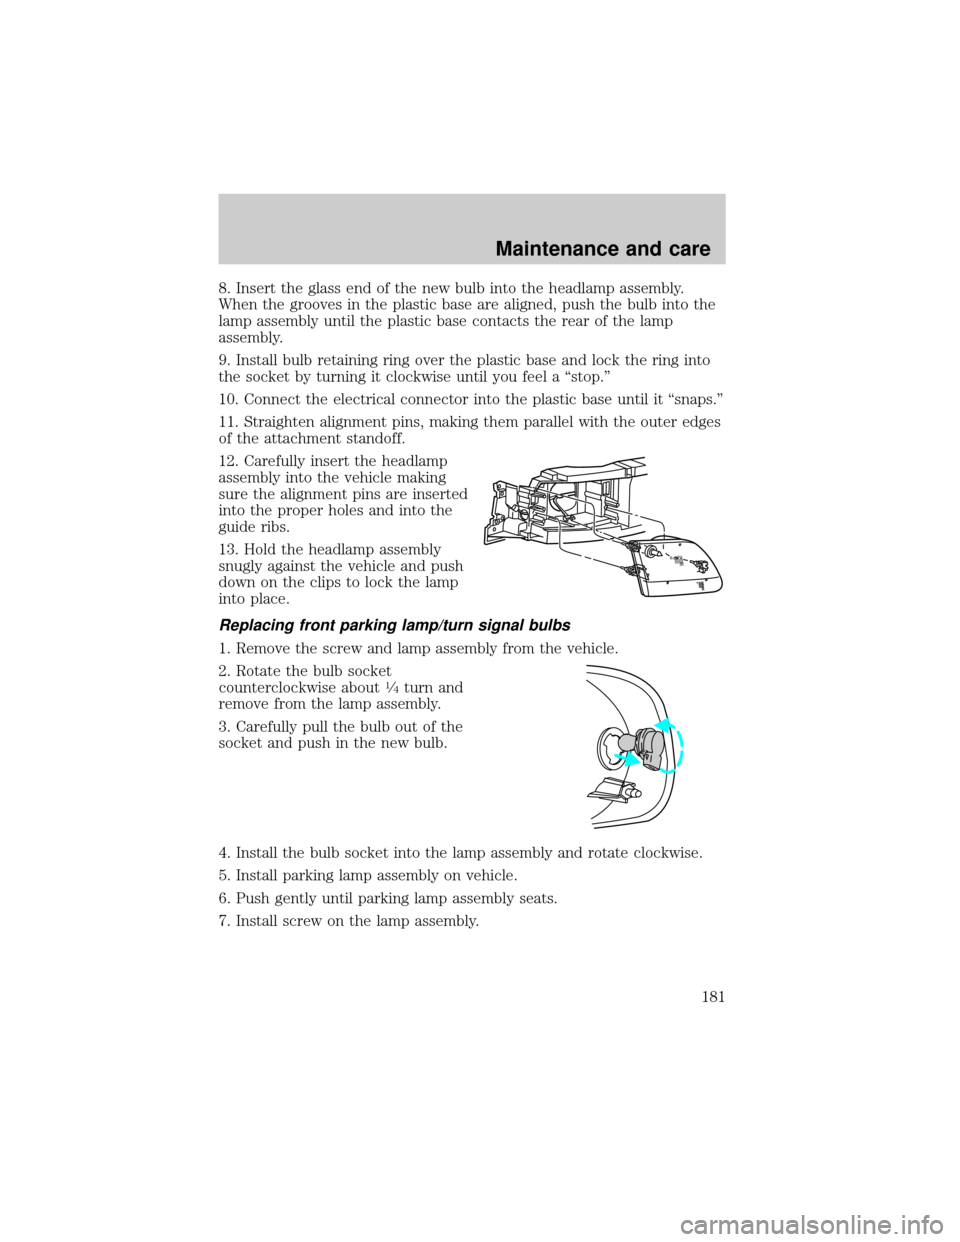
8. Insert the glass end of the new bulb into the headlamp assembly.
When the grooves in the plastic base are aligned, push the bulb into the
lamp assembly until the plastic base contacts the rear of the lamp
assembly.
9. Install bulb retaining ring over the plastic base and lock the ring into
the socket by turning it clockwise until you feel a ªstop.º
10. Connect the electrical connector into the plastic base until it ªsnaps.º
11. Straighten alignment pins, making them parallel with the outer edges
of the attachment standoff.
12. Carefully insert the headlamp
assembly into the vehicle making
sure the alignment pins are inserted
into the proper holes and into the
guide ribs.
13. Hold the headlamp assembly
snugly against the vehicle and push
down on the clips to lock the lamp
into place.
Replacing front parking lamp/turn signal bulbs
1. Remove the screw and lamp assembly from the vehicle.
2. Rotate the bulb socket
counterclockwise about
1¤4turn and
remove from the lamp assembly.
3. Carefully pull the bulb out of the
socket and push in the new bulb.
4. Install the bulb socket into the lamp assembly and rotate clockwise.
5. Install parking lamp assembly on vehicle.
6. Push gently until parking lamp assembly seats.
7. Install screw on the lamp assembly.
Maintenance and care
181
Page 189 of 216

Cleaning and maintaining the safety belts
Clean the safety belts with a mild soap solution recommended for
cleaning upholstery or carpets. Do not bleach or dye the belts, because
these actions may weaken the belt webbing.
Check the safety belt system periodically to make sure there are no
nicks, wear or cuts. If your vehicle has been involved in an accident,
refer to theSafety belt maintenancesection in theSeating and safety
restraintschapter.
Cleaning leather seats (if equipped)
To clean, simply use a soft cloth dampened with water and a mild soap.
Wipe the leather again with a damp cloth to remove soap residue. Dry
with a soft cloth. For tougher soiling concerns, Ford recommends using
the leather cleaning kit F8AZ-19G253±AA, which is available from your
Ford Dealer. This mild cleaner and special pad, cleans the leather and
maintains its natural beauty. Follow the instructions on the cleaner label.
Regular cleaning of your leather upholstery helps maintain its resiliency
and color.
Do not use household cleaning products, alcohol solutions,
solvents or cleaners intended for rubber, vinyl or plastics.
Maintenance and care
189