1999 FORD EXPEDITION wiring
[x] Cancel search: wiringPage 92 of 216

Several air bag system components get hot after inflation. Do not
touch them after inflation.
If the air bag is deployed,the air bag will not function again
and must be replaced immediately.If the air bag is not
replaced, the unrepaired area will increase the risk of injury in a
collision.
The SRS consists of:
²driver and passenger air bag modules (which include the inflators and
air bags),
²one or more impact and safing sensors,
²a readiness light and tone
²and the electrical wiring which connects the components.
The diagnostic module monitors its own internal circuits and the
supplemental air bag electrical system warning (including the impact
sensors), the system wiring, the air bag system readiness light, the air
bag back up power and the air bag ignitors.
Determining if the system is operational
The SRS uses a readiness light in the instrument cluster or a tone to
indicate the condition of the system. Refer to theAir bag readiness
section in theInstrumentationchapter. Routine maintenance of the air
bag is not required.
A difficulty with the system is indicated by one or more of the following:
²The readiness light will either
flash or stay lit.
²The readiness light will not
illuminate immediately after ignition is turned on.
²A series of five beeps will be heard. The tone pattern will repeat
periodically until the problem and light are repaired.
If any of these things happen, even intermittently, have the SRS serviced
at your dealership or by a qualified technician immediately. Unless
serviced, the system may not function properly in the event of a
collision.
Seating and safety restraints
92
Page 122 of 216

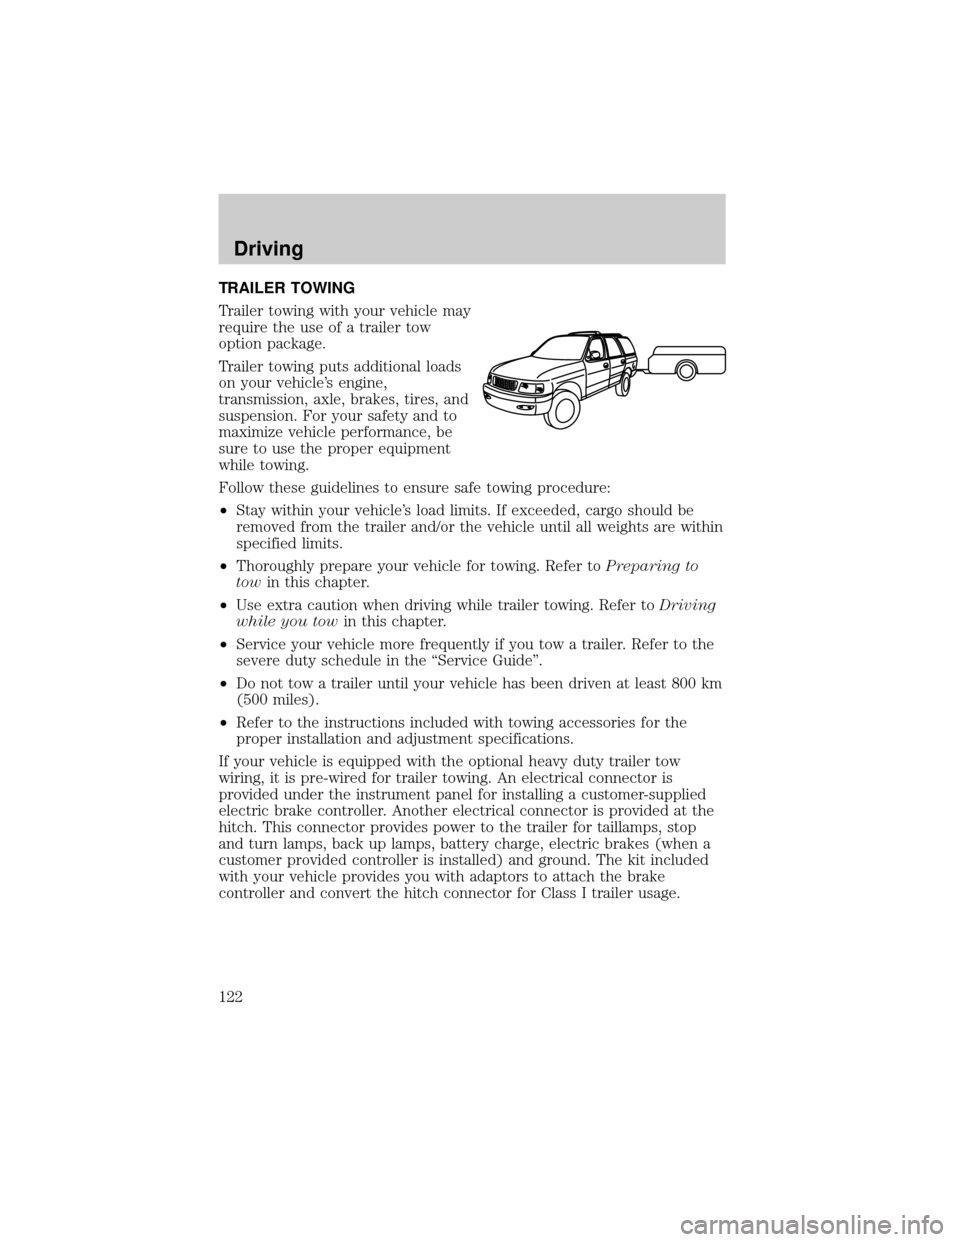
TRAILER TOWING
Trailer towing with your vehicle may
require the use of a trailer tow
option package.
Trailer towing puts additional loads
on your vehicle's engine,
transmission, axle, brakes, tires, and
suspension. For your safety and to
maximize vehicle performance, be
sure to use the proper equipment
while towing.
Follow these guidelines to ensure safe towing procedure:
²Stay within your vehicle's load limits. If exceeded, cargo should be
removed from the trailer and/or the vehicle until all weights are within
specified limits.
²Thoroughly prepare your vehicle for towing. Refer toPreparing to
towin this chapter.
²Use extra caution when driving while trailer towing. Refer toDriving
while you towin this chapter.
²Service your vehicle more frequently if you tow a trailer. Refer to the
severe duty schedule in the ªService Guideº.
²Do not tow a trailer until your vehicle has been driven at least 800 km
(500 miles).
²Refer to the instructions included with towing accessories for the
proper installation and adjustment specifications.
If your vehicle is equipped with the optional heavy duty trailer tow
wiring, it is pre-wired for trailer towing. An electrical connector is
provided under the instrument panel for installing a customer-supplied
electric brake controller. Another electrical connector is provided at the
hitch. This connector provides power to the trailer for taillamps, stop
and turn lamps, back up lamps, battery charge, electric brakes (when a
customer provided controller is installed) and ground. The kit included
with your vehicle provides you with adaptors to attach the brake
controller and convert the hitch connector for Class I trailer usage.
Driving
122
Page 127 of 216

Launching or retrieving a boat
When backing down a ramp during boat launching or retrieval,
²Do not allow the static water level to rise above the bottom edge of
the rear bumper and
²Do not allow waves to break higher than 15 cm (six inches) above the
bottom edge of the rear bumper.
Exceeding these limits may allow water to enter critical vehicle
components, adversely affecting driveability, emissions, reliability and
causing internal transmission damage.
Replace the rear axle lubricant anytime the axle has been submerged in
water. Rear axle lubricant quantities are not to be checked or changed
unless a leak is suspected or repair required.
Disconnect the wiring to the trailer before backing the trailer into the
water. Reconnect the wiring to the trailer after the trailer is removed
from the water.
LUGGAGE RACK (IF EQUIPPED)
The rear crossbar can be adjusted to fit the item being carried. The front
crossbar does not move.
To adjust the luggage rack, push the
adjustment lever forward (toward
the front of the vehicle), then slide
the crossbar forward and lock the
adjusting levers by pushing them
down (toward the back of the
vehicle). Pull the crossbar rearward
to ensure that it is locked in place.
Load luggage at the front crossbar and adjust the rear crossbar as
necessary.
²Do not exceed 90.7 kg (200 lb) of luggage if the weight is placed
directly on the crossbars.
²Do not exceed 68 kg (150 lb) if the weight is resting directly on the
roof.
Use adjustable tie down loops to secure the load.
Driving
127
Page 170 of 216

The tires on your vehicle have all weather treads to provide traction in
rain and snow. However, in some climates, you may need to use snow
tires and chains.
Follow these guidelines when using snow tires and chains:
²Use only cable type chains offered by Ford as an accessory or
equivalent. SAE class ªSº or other conventional link type chains may
contact and cause damage to the vehicle's wheel house and/or body.
²Install chains securely, verifying that the chains do not touch any
wiring, brake lines or fuel lines.
²Drive cautiously. If you hear the chains rub or bang against your
vehicle, stop and re-tighten the chains. If this does not work, remove
the chains to prevent damage to your vehicle.
²If possible, avoid fully loading your vehicle.
²Remove the tire chains when they are no longer needed. Do not use
tire chains on dry roads.
²The suspension insulation and bumpers will help prevent vehicle
damage. Do not remove these components from your vehicle when
using snow tires and chains.
²Do not exceed 48 km/h (30 mph) with tire chains on your vehicle.
WHAT YOU SHOULD KNOW ABOUT AUTOMOTIVE FUELS
Important safety precautions
Do not overfill the fuel tank. The pressure in an overfilled tank
may cause leakage and lead to fuel spray and fire.
If you do not use the proper fuel cap, the pressure in the fuel
tank can damage the fuel system or cause it to work improperly
in a collision.
The fuel system may be under pressure. If the fuel cap is venting
vapor or if you hear a hissing sound, wait until it stops before
completely removing the cap.
Maintenance and care
170
Page 180 of 216

Do not remove lamp bulbs unless they can be replaced immediately with
new ones. If a bulb is removed for an extended period of time,
contaminants may enter the lamp housings and affect lamp performance.
Replacing headlamp bulbs
Handle a halogen headlamp bulb carefully and keep out of
children's reach. Grasp the bulb only by its plastic base and do
not touch the glass. The oil from your hand could cause the bulb to
break the next time the headlamps are operated.
1. Make sure that the headlamp control is in the OFF position.
2. Open the hood.
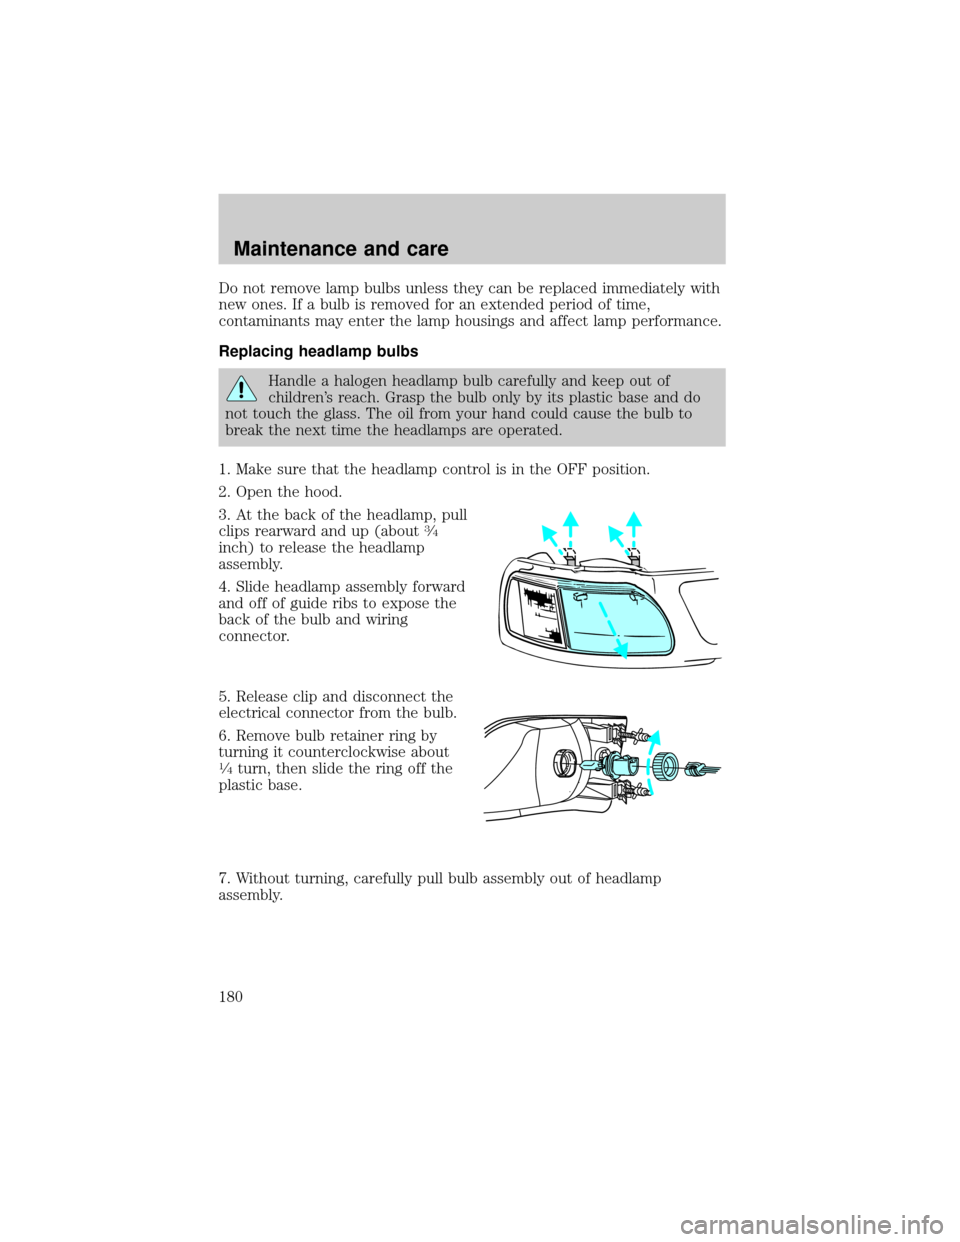
3. At the back of the headlamp, pull
clips rearward and up (about
3¤4
inch) to release the headlamp
assembly.
4. Slide headlamp assembly forward
and off of guide ribs to expose the
back of the bulb and wiring
connector.
5. Release clip and disconnect the
electrical connector from the bulb.
6. Remove bulb retainer ring by
turning it counterclockwise about
1¤4turn, then slide the ring off the
plastic base.
7. Without turning, carefully pull bulb assembly out of headlamp
assembly.
Maintenance and care
180
Page 208 of 216

Travel equipment
Console
Console armrest
Daytime running lights
Factory luggage rack
Factory luggage rack adaptors
Fog lights
Framed luggage covers
Heavy-duty battery
Neutral towing transfer case kit (Explorer 4.0L only)
Off road lights
Pickup box rails
Removable luggage rack
Removable luggage rack adapters
Retractable bed hooks and loops
Running boards
Snow traction cables
Soft luggage cover
Speed control
Towing mirrors
Trailer hitch
Trailer hitch bars and balls
Trailer hitch wiring adaptor
Protection and appearance equipment
Air bag anti-theft locks
Bed mat/bedliner tailgate covers
Bed mats
Bedliners
Car/truck covers
Cargo liners, interior
Customer assistance
208