Page 8 of 216

Safety belt
Momentarily illuminates when the
ignition is turned to the ON position
to remind you to fasten your safety
belts. For more information, refer to
theSeating and safety restraints
chapter.
Brake system warning
Momentarily illuminates when the
ignition is turned to the ON
position, the engine is off and the
parking brake is engaged. If the
brake warning lamp does not
illuminate at this time, seek service immediately. Illumination after
releasing the parking brake indicates low brake fluid level and the brake
system should be inspected immediately.
Anti-lock brake system (ABS)
Momentarily illuminates when the
ignition is turned to the ON position
and the engine is off. If the light
remains on, continues to flash or
fails to illuminate, have the system
serviced immediately. With the ABS light on, the anti-lock brake system
is disabled and normal braking is still effective unless the brake warning
light also remains illuminated with parking brake released.
Turn signal
Illuminates when the left or right
turn signal or the hazard lights are
turned on. If one or both of the
indicators stay on continuously or
flash faster, check for a burned-out
turn signal bulb. Refer toExterior bulbsin theMaintenance and care
chapter.
!
BRAKE
ABS
Instrumentation
8
Page 9 of 216

High beams
Illuminates when the high beam
headlamps are turned on.
SecuriLockYanti-theft system
This light indicates the anti-theft
alarm system is armed. Momentarily
illuminates when the ignition is
turned to ON/START. If the light
fails to illuminate, continues to flash
or remains on, have the system serviced. Refer toSecuriLockypassive
anti-theft systemin theControls and featureschapter.
Charging system
Illuminates when the ignition is
turned to the ON position and the
engine is off. The light also
illuminates when the battery is not
charging properly, requiring
electrical system service.
Oil pressure/Engine coolant
This light will come on when the
key is in the ON position and the:
²engine coolant temperature is
very high
²engine oil pressure is low
The light serves as a notice that a system needs your attention and to
check the engine coolant temperature gauge and the engine oil pressure
gauge.
Refer toEngine coolant temperature gaugeandEngine oil pressure
gaugein this chapter for more information.
THEFT
Instrumentation
9
Page 11 of 216

Fuel reset
Illuminates when the ignition is
turned to the ON position and the
fuel pump shut-off switch has been
triggered. For more information,
refer toFuel pump shut-off switch
in theRoadside emergencieschapter.
Safety belt warning chime
Chimes to remind you to fasten your safety belts.
For information on the safety belt warning chime, refer to theSeating
and safety restraintschapter.
Supplemental restraint system (SRS) warning chime
For information on the SRS warning chime, refer to theSeating and
safety restraintschapter.
Key-in-ignition warning chime
Sounds when the key is left in the ignition in the OFF/LOCK or ACC
position and the driver's door is opened.
Headlamps on warning chime
Sounds when the headlamps or parking lamps are on, the ignition is off
(and the key is not in the ignition) and the driver's door is opened.
GAUGES
FUEL
RESET
D
L
H
L
H
E
F
C
H
BRAKEPRND2FUEL
RESET DOOR
AJAR
SELECT/RESET
4X4
LOW
RANGE
CK
SUSP THEFT
FUEL DOOR SERVICE
ENGINE
SOONLOW
FUEL
0MPHRPMX1000km/h
20406080
00
20
40
60
Instrumentation
11
Page 29 of 216
²Oldies
²R&B
²Religious
²Rock
²Soft
²To p 4 0
Show
²With RDS activated, press the
RDS control until SHOW is
displayed.
²Use the SEL control to select
TYPE, NAME or NONE.
RDS clock feature
Refer toSetting the clockfor information.
Mute mode
Press the control to mute the
playing media. Press the control
again to return to the playing media.
Digital signal processing
(if equipped)
The digital signal processing (DSP)
feature allows you to change the
signal mode to suit your listening
tastes.
These effects will change the sound quality and may need to be adjusted
based upon the program material to suit your listening needs.
Press the control to turn the feature on or off.
RDSDSP
SEL
MUTE
RDSDSP
Controls and features
29
Page 30 of 216
Use the SEL control to select the
desired signal mode (the selected
mode will appear in the display).
The following signal modes can be
selected:
²JAZZ CLUBÐjazz club with
clearly reflected sounds.
²HALLÐrectangular concert hall capacity of about 2 000
²CHURCHÐchurch with a high vault.
²STADIUMÐoutdoor stadium with a capacity of about 30 000.
²NEWSЪvoice-onlyº type of sound with a limited audio band.
Press the DSP control until one of
the following appears:
²ALL SEATS
²DRIVER SEAT
²REAR SEATS
Use the SELECT control to change
the equalization to the desired
mode.
Setting the clock with radio data system (RDS) feature
Press the RDS control until CLOCK
HOUR or CLOCK MINUTE is
displayed.
Use the SEL control to manually set
the time.
²Press
to increase
hours/minutes.
²Press
to decrease
hours/minutes.
SEL
RDSDSP
SEL
RDSDSP
SEL
Controls and features
30
Page 35 of 216

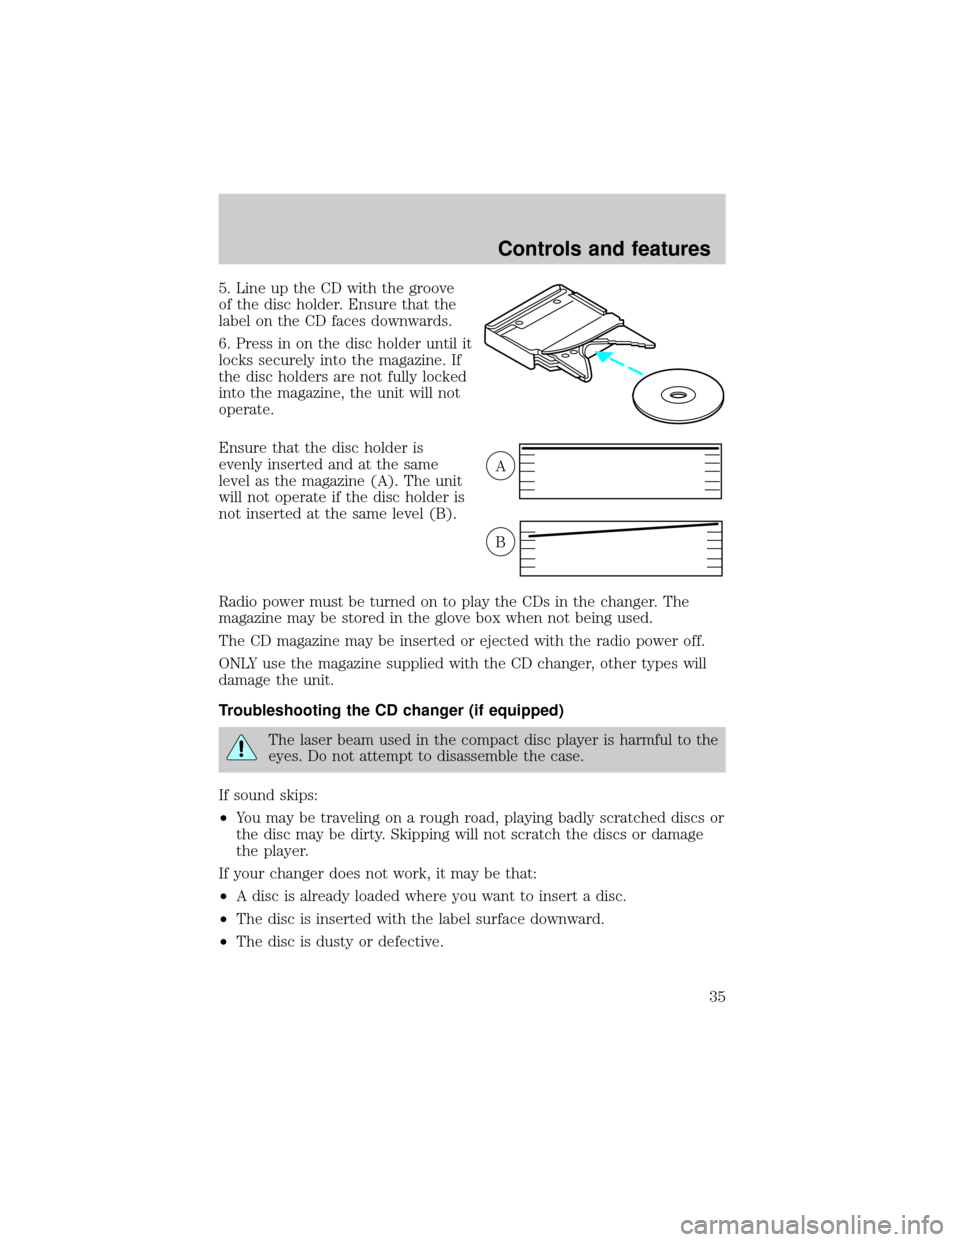
5. Line up the CD with the groove
of the disc holder. Ensure that the
label on the CD faces downwards.
6. Press in on the disc holder until it
locks securely into the magazine. If
the disc holders are not fully locked
into the magazine, the unit will not
operate.
Ensure that the disc holder is
evenly inserted and at the same
level as the magazine (A). The unit
will not operate if the disc holder is
not inserted at the same level (B).
Radio power must be turned on to play the CDs in the changer. The
magazine may be stored in the glove box when not being used.
The CD magazine may be inserted or ejected with the radio power off.
ONLY use the magazine supplied with the CD changer, other types will
damage the unit.
Troubleshooting the CD changer (if equipped)
The laser beam used in the compact disc player is harmful to the
eyes. Do not attempt to disassemble the case.
If sound skips:
²You may be traveling on a rough road, playing badly scratched discs or
the disc may be dirty. Skipping will not scratch the discs or damage
the player.
If your changer does not work, it may be that:
²A disc is already loaded where you want to insert a disc.
²The disc is inserted with the label surface downward.
²The disc is dusty or defective.
A
B
Controls and features
35
Page 40 of 216

Operating tips
²In humid weather, select DEFbefore driving. This will prevent
your windshield from fogging. After a few minutes, select any desired
position.
²To prevent humidity buildup inside the vehicle, don't drive with the
climate control system in the OFF position.
²Don't put objects under the front seat that will interfere with the
airflow to the back seats (if equipped).
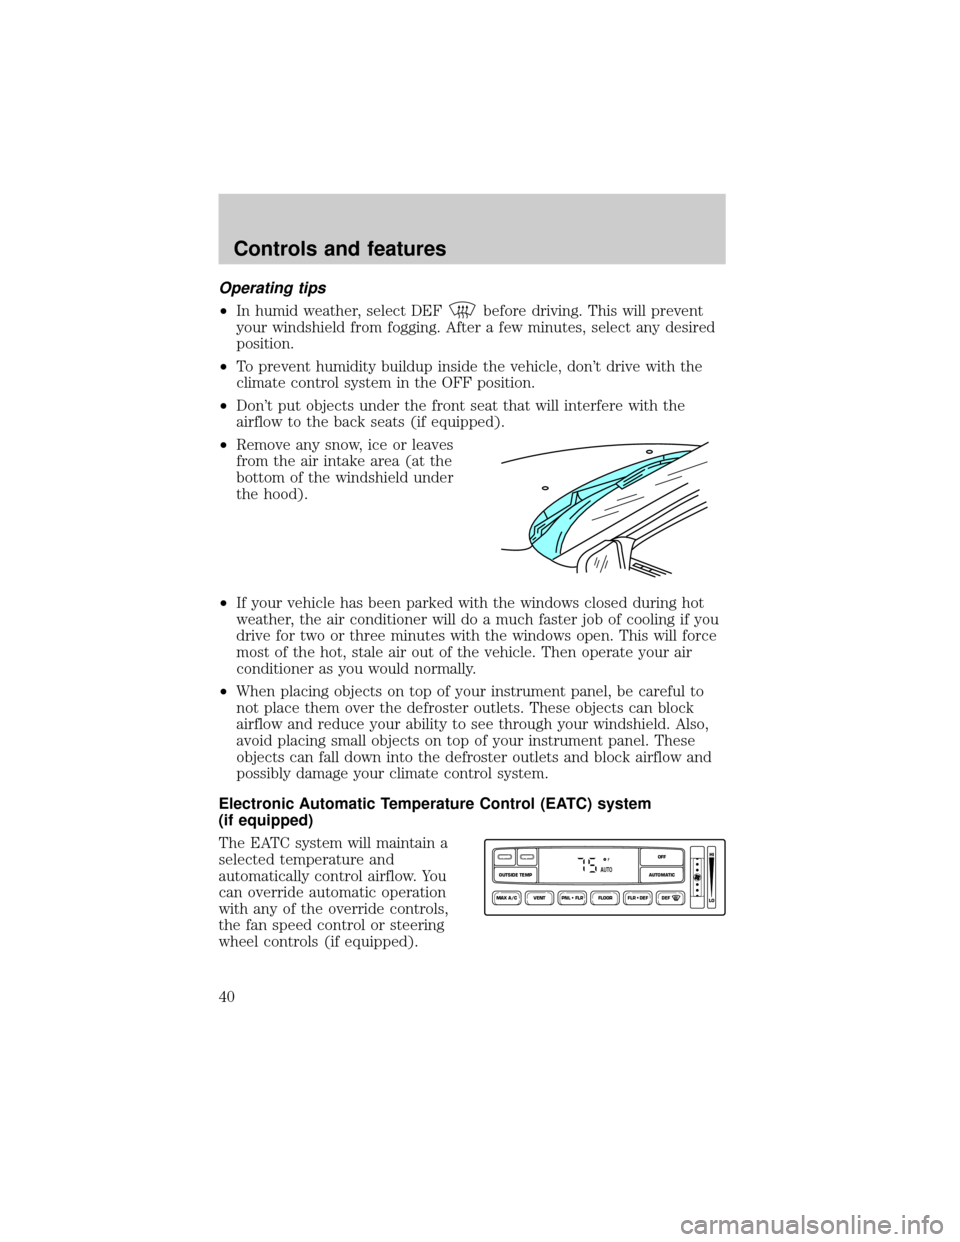
²Remove any snow, ice or leaves
from the air intake area (at the
bottom of the windshield under
the hood).
²If your vehicle has been parked with the windows closed during hot
weather, the air conditioner will do a much faster job of cooling if you
drive for two or three minutes with the windows open. This will force
most of the hot, stale air out of the vehicle. Then operate your air
conditioner as you would normally.
²When placing objects on top of your instrument panel, be careful to
not place them over the defroster outlets. These objects can block
airflow and reduce your ability to see through your windshield. Also,
avoid placing small objects on top of your instrument panel. These
objects can fall down into the defroster outlets and block airflow and
possibly damage your climate control system.
Electronic Automatic Temperature Control (EATC) system
(if equipped)
The EATC system will maintain a
selected temperature and
automatically control airflow. You
can override automatic operation
with any of the override controls,
the fan speed control or steering
wheel controls (if equipped).
VENT PNL • FLR FLOOR FLR • DEF DEF
HI
LO
MAX A/C
OUTSIDE TEMP AUTOMATICOFFFAUTO
Controls and features
40
Page 46 of 216

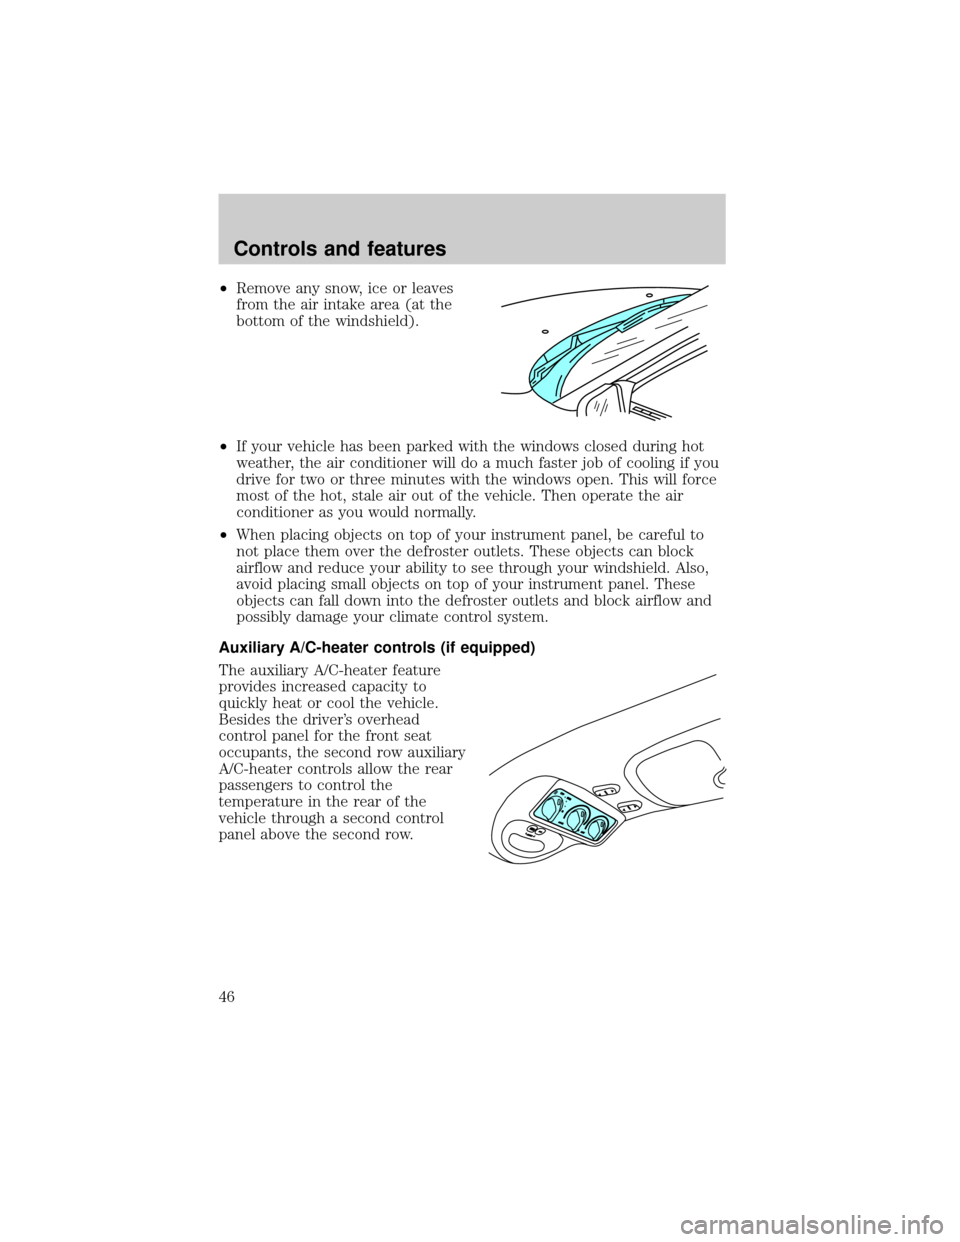
²Remove any snow, ice or leaves
from the air intake area (at the
bottom of the windshield).
²If your vehicle has been parked with the windows closed during hot
weather, the air conditioner will do a much faster job of cooling if you
drive for two or three minutes with the windows open. This will force
most of the hot, stale air out of the vehicle. Then operate the air
conditioner as you would normally.
²When placing objects on top of your instrument panel, be careful to
not place them over the defroster outlets. These objects can block
airflow and reduce your ability to see through your windshield. Also,
avoid placing small objects on top of your instrument panel. These
objects can fall down into the defroster outlets and block airflow and
possibly damage your climate control system.
Auxiliary A/C-heater controls (if equipped)
The auxiliary A/C-heater feature
provides increased capacity to
quickly heat or cool the vehicle.
Besides the driver's overhead
control panel for the front seat
occupants, the second row auxiliary
A/C-heater controls allow the rear
passengers to control the
temperature in the rear of the
vehicle through a second control
panel above the second row.
Controls and features
46