Page 9 of 73
HEATING
Air distribution unit
61
12969-1R
12965-1R
- the visor and the instrument panel,
- the switch stalk block assembly.
REMOVAL
Disconnect the battery.
Remove :
- the steering wheel bolt,
- the steering wheel after first placing the wheels
in a straight line.
ATTENTION: Follow the recommendations contai-
ned in section 88 relating to the AIR BAG system.
Remove :
- the steering wheel half-shell cowlings,Using adhesive tape, immobilise the rotor for the
air bag switch.
Remove :
- the ashtray,
- the two screws securing the heater control pa-
nel,
- the fuse holder plate securing screws (five
screws),
- the dashboard mounting nuts.
Unclip the wiring from the dashboard.
Remove the dashboard.
12971R
61-6
Page 11 of 73

HEATING
Air distribution unit
61
PRO61.3
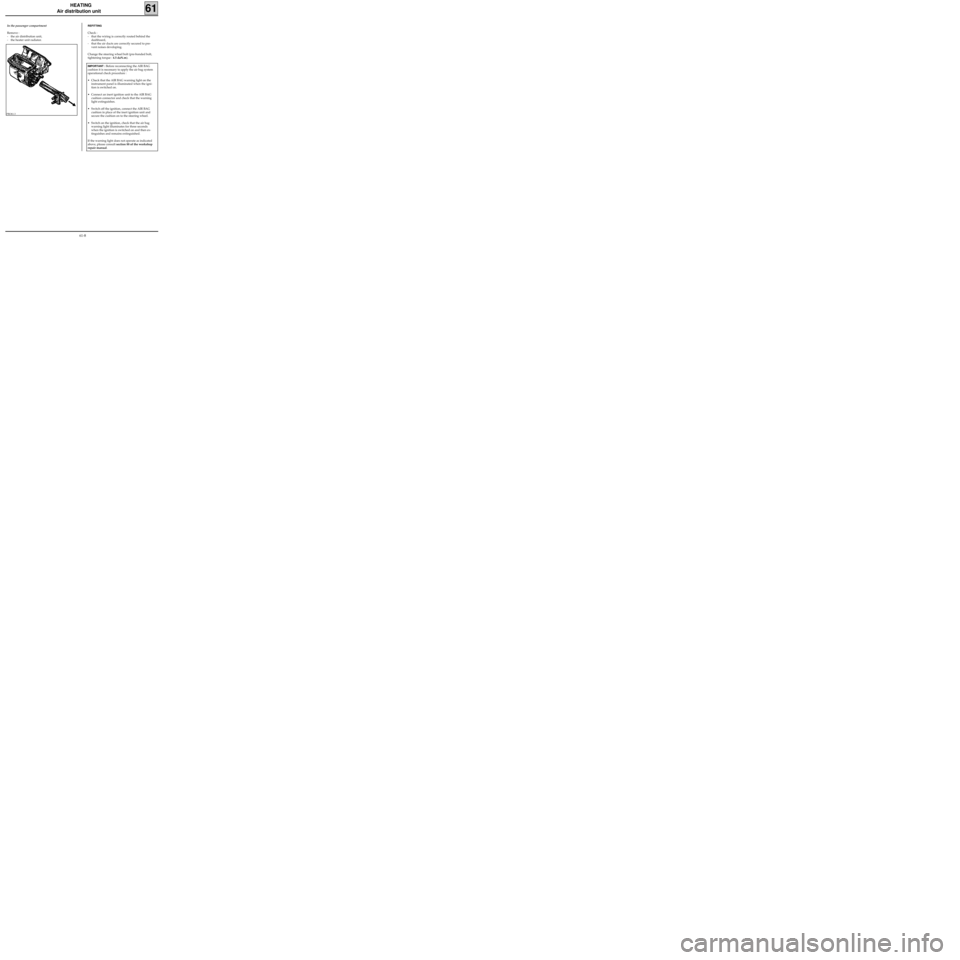
In the passenger compartment
Remove :
- the air distribution unit,
- the heater unit radiator.REFITTING
Check :
- that the wiring is correctly routed behind the
dashboard,
- that the air ducts are correctly secured to pre-
vent noises developing.
Change the steering wheel bolt (pre-bonded bolt,
tightening torque : 4.5 daN.m).
IMPORTANT : Before reconnecting the AIR BAG
cushion it is necessary to apply the air bag system
operational check procedure :
• Check that the AIR BAG warning light on the
instrument panel is illuminated when the igni-
tion is switched on.
• Connect an inert ignition unit to the AIR BAG
cushion connector and check that the warning
light extinguishes.
• Switch off the ignition, connect the AIR BAG
cushion in place of the inert ignition unit and
secure the cushion on to the steering wheel.
• Switch on the ignition, check that the air bag
warning light illuminates for three seconds
when the ignition is switched on and then ex-
tinguishes and remains extinguished.
If the warning light does not operate as indicated
above, please consult section 88 of the workshop
repair manual.
61-8
Page 60 of 73

AIR CONDITIONING
Evaporator
62
Move aside the dashboard by removing:
- the six steering column mounting bolts,
- the four dashboard side retaining nuts and the
two bolts behind the ashtray assembly.
NOTE: take care to protect the sections of the
dashboard which are susceptible to damage using
cloths.
Remove the two evaporator housing mountings
behind the dashboard on the passenger side.
Remove the evaporator housing.
Carefully remove the evaporator from its housing.
REFITTING
Check that the harness tubes are not in contact
(risk of noise).
Proceed in the reverse order to removal.
Tighten the retaining nut (connecting pipes to
pressure relief valve) to 0.8 daN.m (pay attention
to the condition of the seals).
NOTE: when refitting the dashboard, check:
- that the electrical wiring is positioned correctly,
- that the air flow pipes are positioned correctly
(glove box for example).
Create a vacuum, then fill the R134a coolant cir-
cuit using the filling equipment.
IMPORTANT
When an evaporator is changed, add 30 ml of
P.A.G. SP 10 oil to the circuit.
Use the same oil for refitting the seals taking care
to position them correctly.
62-49