Page 6 of 395
Vehicle Symbols
These are some of the symbols you may find on your vehicle.
For example,
these symbols are used on an
original battery:
POSSIBLE A
CAUTION
INJURY
PROTECT EYES BY
SHIELDING
Q
CAUSTIC
ACID COULD BAllERY
CAUSE -~~-. .
BURNS
AVOID
SPARKS
OR
FLAMES
SPARK
OR ,\I/,
COULD FLAME
EXPLODE BAllERY
I
These symbols are important
for you and
your passengers
whenever your
vehicle is
driven:
DOOR LOCK
UNLOCK
n
POWER
WINDOW
oJ4
AIR BAG p
These symbols
have to do with your lamps:
SIGNALS e3
TURN
FOG LAMPS
# 0
These symbols are on some
of
your controls:
WINDSHIELD
WIPER
WINDSHIELD
DEFROSTER
DEFOGGER
VENTILATING FAN
( rc?: A
These symbols are used on
warning
and
indicator lights:
COOLANT -
TEMP -
CHARGING I-1
BAllERY
SYSTEM
BRAKE
(a)
R
Here are some
other symbols
you may see:
FUSE
LIGHTER
n
HORN )b.
ENGINE OIL e,
PRESSURE
V
SPEAKER
b
FUEL
Page 58 of 395
Section 2 Features and Controls
Here you can learn about the many standard and optional featur\
es on your vehicle, and information on starting,
shifting and braking.
Also explained are the instrument panel and the warning systems that tell you if everything is
working properly
-- and what to do if you have a problem.
2-2
2-4 2-
10
2- 14
2-15
2-16
2-18
2- 19
2-20
2-21
2-23
2-24
2-28
2-29 2-32
2-33 2-33 Keys
Door Locks
Remote Keyless Entry (Option)
TnXnk
Theft
Universal Theft-Deterrent (Option)
PASS-Key@
I1
New Vehicle “Break-In”
Ignition Positions
Starting
Your Engine
Engine Coolant Heater (If Equipped) Automatic Transaxle Operation
Computer Command Ride (Option)
Shifting Into PARK (P)
Shifting Out
of PARK (P)
Parking Over Things That Burn Engine Exhaust 2-34
2-35
2-35
2-36
2-36
2-43
2-46
2-48 2-5
1
2-53
2-54
2-55
2-56 2-62
2-74
2-77
2-79 Running
Your Engine While You’re Parked
Windows Horn
Tilt Wheel
Turn SignaYMultifunction Lever
Exterior Lamps
Interior Lamps
Mirrors Storage Compartments
Sun Visors
Air Inflator System (Option)
Sunroof (Option)
Instrument Panel
Warning Lights, Gages and Indicators Head-Up Display (Option)
Driver Information Center (Option)
Electronic Compass (Option)
2-1
Page 77 of 395
Ignition Positions
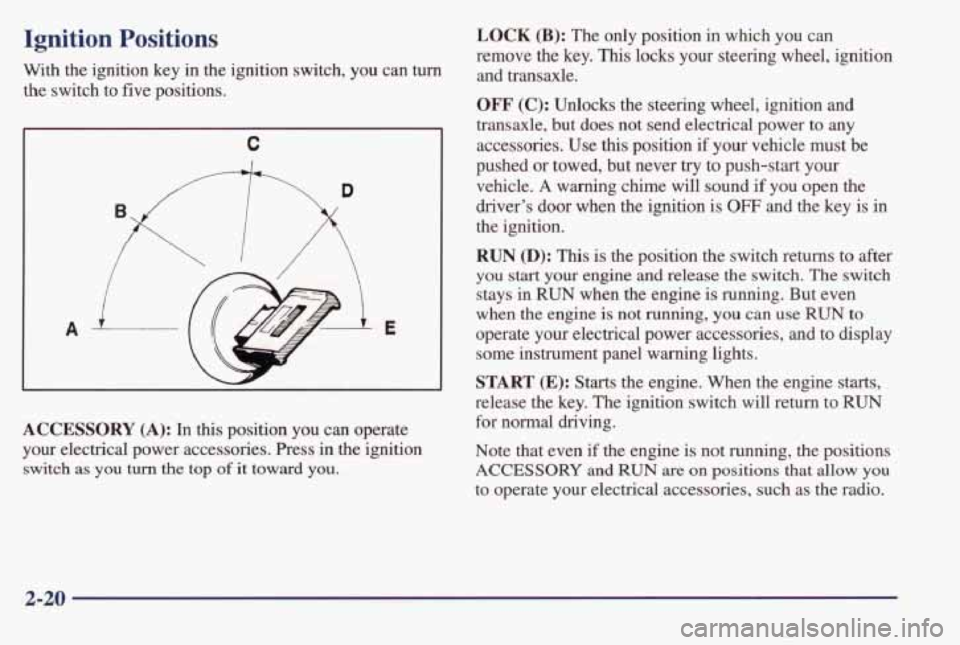
With the ignition key in the ignition switch, you can turn
the switch to five positions.
C
A E
ACCESSORY (A): In this position you can operate
your electrical power accessories. Press
in the ignition
switch as you turn the top of it toward you.
LOCK (B): The only position in which you can
remove the key.
This locks your steering wheel, ignition
and transaxle.
OFF' (C): Unlocks the steering wheel, ignition and
transaxle, but does not send electrical power to any
accessories. Use
this position if your vehicle must be
pushed or towed, but never
try to push-start your
vehicle.
A warning chime will sound if you open the
driver's door when the ignition is
OFF and the key is in
the ignition.
RUN @): This is the position the switch returns to after
you start your engine and release the switch. The switch
stays in
RUN when the engine is running. But even
when the engine is not running,
you can use RUN to
operate your electrical power accessories, and to display
some instrument panel warning lights.
START (E): Starts the engine. When the engine starts,
release the key. The ignition switch will return to
RUN
for normal driving.
Note that even if
the engine is not running, the positions
ACCESSORY and RUN are on positions that allow you
to operate your electrical accessories, such as the radio.
2-20
Page 85 of 395
Computer Command Ride (Option)
Vehicles equipped with computer command ride provide
improved passenger ride comfort under
a variety of road
and driving conditions.
For normal driving conditions, press the
TOURING
RIDE button to get a more refined comfortable ride.
When driving conditions require improved
handling,
press the PERFORM RIDE button to get a fm ride.
This mode minimizes how much the passenger
compartment leans in turns,
and decreases the
up-and-down motion of the front and rear
of the vehicle
during acceleration or
braking.
Even in the TOURING RIDE mode, the system will
adjust
to rapid cornering, acceleration or braking.
If the computer command ride detects a problem in the
system, the lights on the
TOURING RIDE and
PERFORM RIDE buttons will both come on. If this
happens, have your vehicle serviced.
Parking Brake
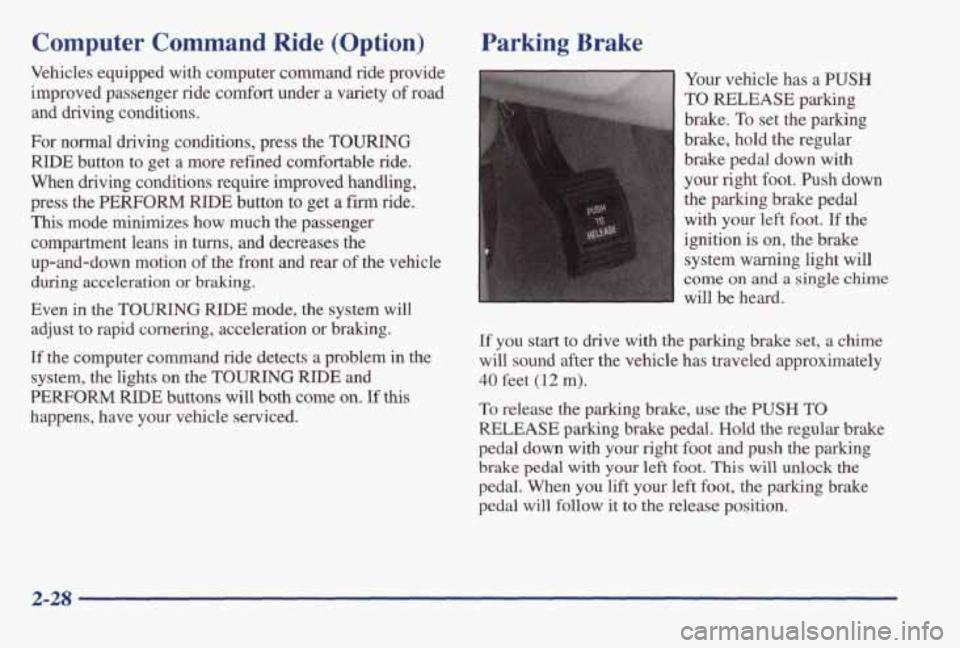
Your vehicle has a PUSH
TO RELEASE parking
brake.
To set the parking
brake, hold the regular
brake pedal down with
your right foot. Push down
the parking brake pedal
with your left foot.
If the
ignition is on, the brake
system warning light will
come on and a single chime
will be heard.
If you start to drive with the parking brake set, a chime
will sound after
the vehicle has traveled approximately
40 feet (12 m).
To release the parking brake, use the PUSH TO
RELEASE parking brake pedal. Hold the regular brake
pedal down with
your right foot and push the parking
brake pedal with your left foot. This will unlock the
pedal. When you lift your left foot, the parking brake
pedal will follow
it to the release position.
2-28
Page 96 of 395
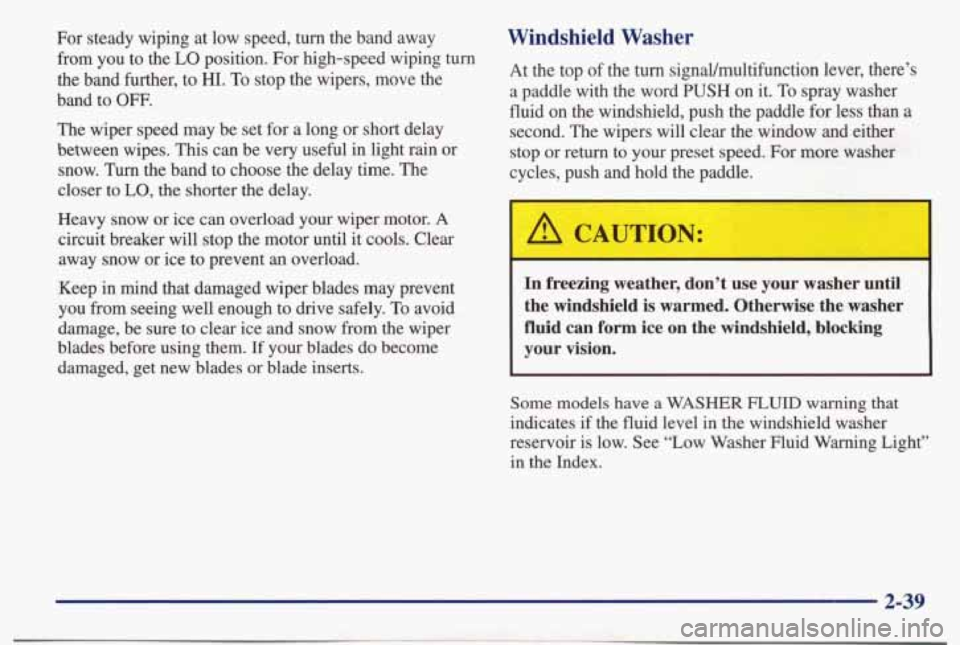
For steady wiping at low speed, turn the band away from you to the
LO position. For high-speed wiping turn
the band further,
to HI. To stop the wipers, move the
band
to OW.
The wiper speed may be set for a long or short delay
between wipes.
This can be very useful in light rain or
snow.
Turn the band to choose the delay time. The
closer to LO, the shorter the delay.
Heavy snow or ice can overload your wiper motor.
A
circuit breaker will stop the motor until it cools. Clear
away snow or ice to prevent an overload.
Keep in mind that damaged wiper blades may prevent
you from seeing well enough to drive safely.
To avoid
damage, be sure
to clear ice and snow from the wiper
blades before using them.
If your blades do become
damaged, get new blades or blade inserts.
Windshield Washer
At the top of the turn signaVmultifunction lever, there’s
a paddle with the word
PUSH on it. To spray washer
fluid on the windshield, push the paddle for less than a
second. The wipers will clear the window and either stop or return to your preset speed. For more washer
cycles, push and hold the paddle.
In freezing weather, don’t use your washer until
the windshield is warmed. Otherwise the washer
fluid can
form ice on the windshield, blocking
your vision.
Some models have a WASHER FLUID warning that
indicates if the fluid level in the windshield washer
reservoir is low. See “Low Washer Fluid Warning Light”
in the Index.
2-39
Page 100 of 395
Exterior Lamps
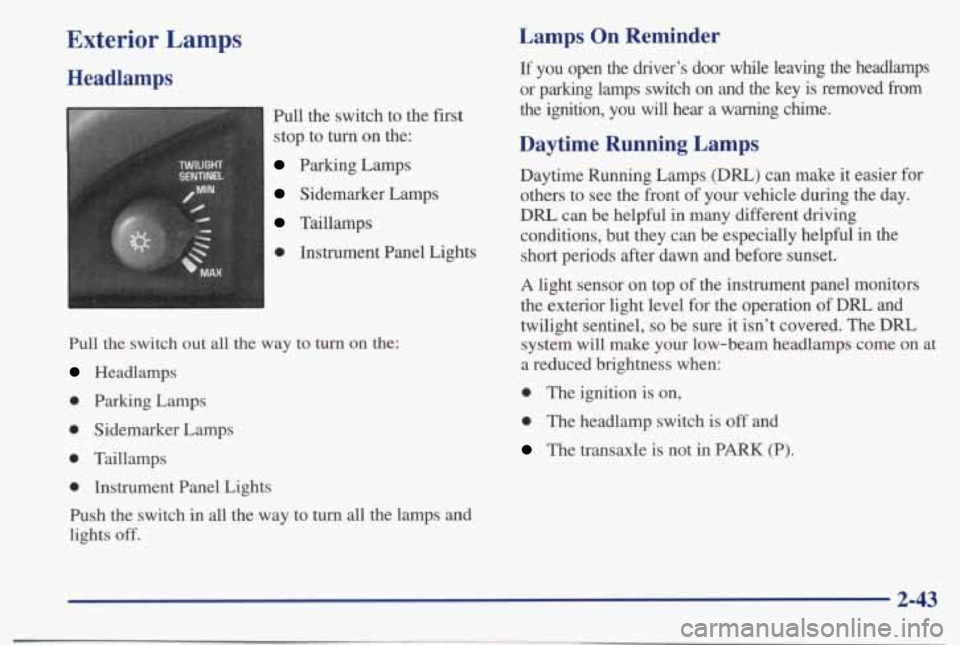
Headlamps
Pull the switch to the first
stop to turn on the:
Parking Lamps
Sidemarker Lamps
Taillamps
0 Instrument Panel Lights
Pull the switch out all the way to turn on the:
Headlamps
0 Parking Lamps
0 Sidemarker Lamps
0 Taillamps
0 Instrument Panel Lights
Push the switch
in all the way to turn all the lamps and
lights
off.
Lamps On Reminder
If you open the driver’s door while leaving the headlamps
or parking lamps switch on and the key is removed
from
the ignition, you will hear a warning chime.
Daytime Running Lamps
Daytime Running Lamps (DIU) can make it easier for
others to see the front of your vehicle during the day.
DRL can be helpful in many different driving
conditions, but they can be especially helpful
in the
short periods after dawn and before sunset.
A light sensor on top of the instrument panel monitors
the exterior light level for the operation
of DRL and
twilight sentinel,
so be sure it isn’t covered. The DRL
system
will make your low-beam headlamps come on at
a reduced brightness when:
0 The ignition is on,
0 The headlamp switch is off and
The transaxle is not in PARK (P).
2-43
Page 114 of 395
1. Tbilight SentineVHeadlamp Switch
2. Turn SignaVMultifunction Lever
3. Tilt Steering Wheel Lever
4. Instrument Cluster/Gages
5. Audio System Steering Wheel Controls
6. Ignition Switch
7. Air Outlet
8. Climate Control System
9. Glove Box
10. Audio System
1 1. Hazard Warning Flashers Switch
12. Hood Release
Page 115 of 395
Instrument Panel Clusters
Your instrument panel clusters are designed to let you know at a glance how your vehicle is running. You’ll know how
fast you’re going, how much fuel you’re using, and many
other things you’ll need to drive safely and economically.
Your vehicle is equipped with one
of these instrument panel clusters, which includes indicator warning lights and
gages that are explained on the following pages.
Cluster with Gages
2-58