1998 PONTIAC BONNEVILLE heating
[x] Cancel search: heatingPage 72 of 395
Trunk Lid
I
It can be dangerous to drive with the trunk lid
open because carbon monoxide
(CO) gas can
come into your vehicle. You can’t see or smell
CO. It can cause unconsciousness and even death.
If you must drive with the trunk lid open or if
electrical wiring or other cable connections must
pass through the
seal between the body and the
trunk lid:
Make sure all windows are shut.
Turn the fan on your heating or cooling
system to its highest speed with the setting
on ECON or VENT. That will force outside
air into your vehicle. See “Comfort
Controls”
in the Index.
If you have air outlets on or under the
instrument panel, open them
all the way.
See “Engine Exhaust” in the Index.
I
Theft
Vehicle theft is big business, especially in some cities.
Although your vehicle has a number of theft-deterrent
features, we know that nothing we put
on it can make
it impossible to steal. However, there are ways you
can help.
Key in the Ignition
If you leave your vehicle with the keys inside, it’s an
easy target for joy riders or professional thieves -- so
don’t do it.
With the ignition
off and the driver’s door open, you’ll
hear a tone reminding you to remove your key from the
ignition and take it with you. Always do this. Your
steering wheel will be locked, and
so will your ignition
and transaxle. And remember to lock
the doors.
Parking at Night
Park in a lighted spot, close all windows and lock your
vehicle. Remember to keep your valuables out of sight.
Put them in a storage area, or take them with you.
2-15
Page 110 of 395
Ashtrays and Cigarette Lighter
To use a lighter, just push the center in all the way and
let it
go. When it is ready, the center will pop back by
itself. Pull out
the entire unit to use it.
NOTICE:
Don’t hold a cigarette lighter in with your hand
while
it is heating. If you do, it won’t be able to
back away from the heating element when
it’s
ready. That can make it overheat, damaging the
lighter and the heating element.
Lift the cover to reveal the front ashtray.
To clean the ashtray, lift it out by pulling on the snuffer.
On models without a console, there’s
an
ashtraykupholder under the instrument panel. To clean
the ashtray, lift it out by pulling up
on the tabs on either
side. It snaps back into place.
To open the rear ashtrays, lift the cover.
NOTICE:
Don’t put papers and other things that burn into
your ashtrays.
If you do, cigarettes or other
smoking materials could set them
on fire,
causing damage.
Sun Visors
To block out glare, you can swing down the visors. You
can also remove them from the center mount and swing
them to the
side, while the auxiliary sunshade remains to
block glare from the front.
Visor Vanity Mirror
Open the cover to expose the vanity mirror.
If your vehicle has the optional lighted vanity mirrors,
the lamps come on when
you open the cover. You can
adjust the brightness
of the lamps by moving the switch
up or down.
2-53
Page 125 of 395
Engine Coolant Temperature Gage
280
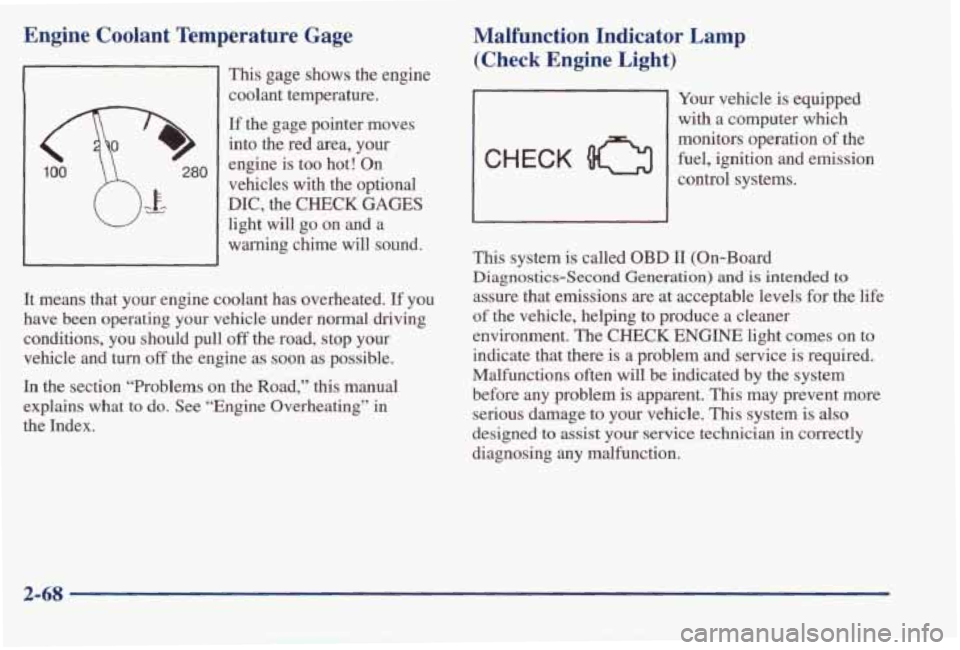
This gage shows the engine
coolant temperature.
If the gage pointer moves
into
the red area, your
engine is too hot! On
vehicles
with the optional
DIC, the CHECK GAGES
light will go on and a
warning chime will sound.
It means that your engine coolant has overheated.
If you
have been operating your vehicle under normal driving
conditions, you should pull
off the road, stop your
vehicle and
turn off the engine as soon as possible.
In the section “Problems
on the Road,” this manual
explains what to
do. See “Engine Overheating” in
the Index.
Malfunction Indicator Lamp (Check Engine Light)
CHECK 0
Your vehicle is equipped
with a computer which
monitors operation of the
fuel, ignition and emission
control systems.
This system is called OBD II (On-Board
Diagnostics-Second Generation)
and is intended to
assure that emissions are at acceptable levels for the life
of the vehicle, helping to produce a cleaner
environment. The
CHECK ENGINE light comes on to
indicate that there is a problem and service is required.
Malfunctions often will be indicated by the system
before any problem is apparent. This may prevent more
serious damage to your vehicle. This system is also
designed to assist your service technician in correctly
diagnosing any malfunction.
2-68
Page 142 of 395
v
Section 3 Comfort Controls and Audio Systems
In this section, you’ll find out how to operate the comfort control and audio systems offered w\
ith your vehicle. Be
sure to read about the particular systems supplied
with your vehicle.
3-2
3-5
3-6 3-6 3-8
3-8
3-9
3-9
3-9
3-
10
3-11
3-15
Comfort Controls Air Conditioning
Heating Ventilation System Defogging and Defrosting
Rear Window Defogger
Audio Systems Setting
the Clock for AM-FM Stereo
Setting the Clock for All Systems Except
AM-FM Stereo
AM-FM Stereo
AM-FM Stereo with Cassette Tape Player
(If Equipped)
AM-FM Stereo with Cassette Tape Player and
Equalizer (If Equipped) 3-
18
3-21
3-24
3-26
3-27
3-27
3-28
3-29 3-29
3-30
3-30
AM-FM Stereo with Compact Disc Player
(If Equipped)
AM-FM Stereo with Compact Disc Player and
Equalizer (If Equipped)
Theft-Deterrent Feature
Audio Steering Wheel Controls (If Equipped)
Understanding Radio Reception
Tips About Your Audio System
Care of Your Cassette Tape Player
Care
of Your Compact Discs
Care of Your Compact Disc Player
Fixed Mast Antenna
Power Antenna Mast Care
3-1
Page 143 of 395
Comfort Controls Temperature Knob
This section tells you how to make your air system work
for
you. Your comfort control system uses
ozone-friendly
R- 134a refrigerant.
With these systems, you can control the heating, cooling
and ventilation
in your vehicle. Your vehicle also has a
flow-through ventilation system described later
in
this section.
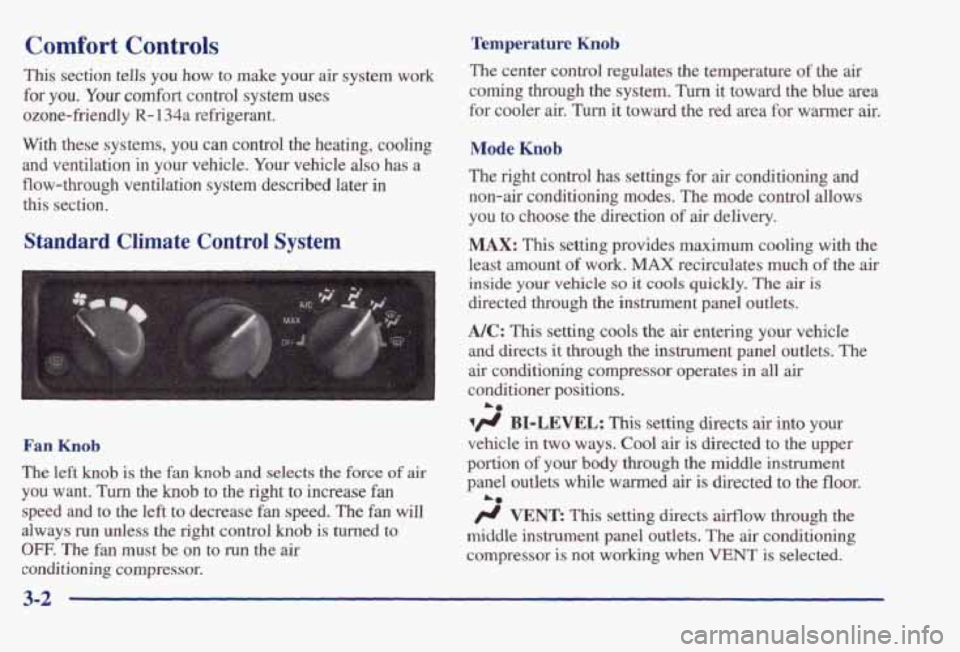
Standard Climate Control System
Fan Knob
The left knob is the fan knob and selects the force of air
you want. Turn the knob to the right to increase fan
speed and to the left to decrease fan speed. The fan will
always run unless the right control
knob is turned to
OFF. The fan must be on to run the air
conditioning compressor. The center control regulates the temperature
of the air
coming through the system.
Turn it toward the blue area
for cooler
air. Turn it toward the red area for wanner air.
Mode Knob
The right control has settings for air conditioning and
non-air conditioning modes. The mode control allows
you to choose the direction of
air delivery.
MAX: This setting provides maximum cooling with the
least amount
of work. MAX recirculates much of the air
inside your vehicle so it cools quickly. The air is
directed through the instrument panel outlets.
NC: This setting cools the air entering your vehicle
and directs it through the instrument panel outlets. The
air conditioning compressor operates in all air
conditioner positions.
1fl BI-LEVEL: This setting directs air into your
vehicle in two
ways. Cool air is directed to the upper
portion
of your body through the middle instrument
panel outlets
while warmed air is directed to the floor.
@ VENT: This setting directs airflow through the
middle instrument panel outlets. The air conditioning
compressor
is not working when VENT is selected.
A0
A*
Page 145 of 395
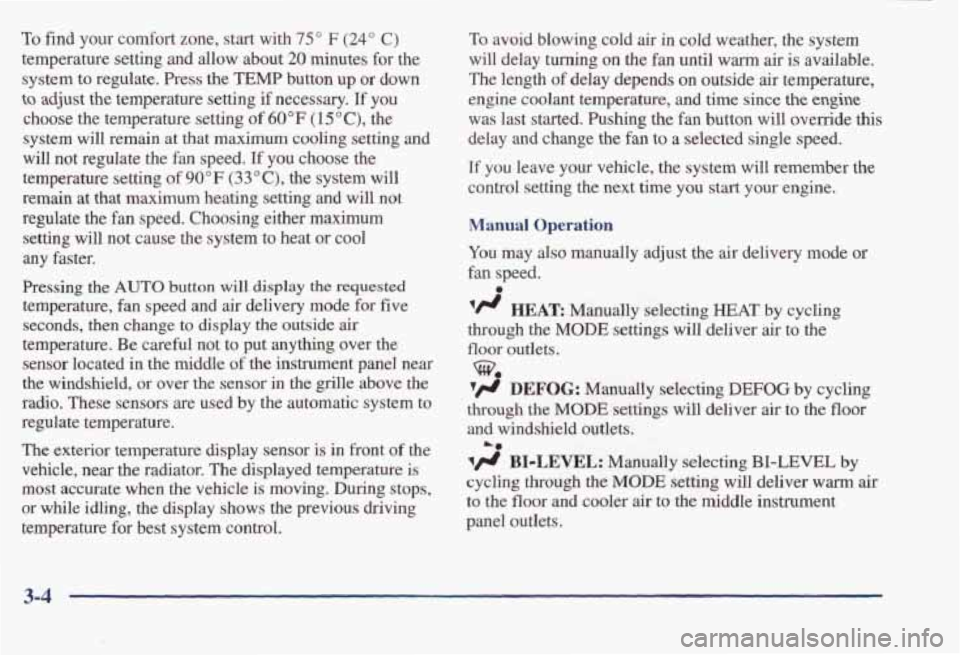
To find your comfort zone, start with 75" F (24" C)
temperature setting and allow about 20 minutes for the
system to regulate. Press the
TEMP button up or down
to adjust the temperature setting if necessary, If you
choose the temperature setting of
60°F (15 "C), the
system will remain
at that maximum cooling setting and
will not regulate the
fan speed. If you choose the
temperature setting
of 90°F (33"c), the system will
remain at that maximum heating setting and will not
regulate the fan speed. Choosing either maximum
setting will not cause the system to heat
or cool
any faster.
Pressing
the AUTO button will display the requested
temperature, fan speed and air delivery mode for five
seconds, then change
to display the outside air
temperature. Be careful not to put
anythmg over the
sensor located
in the middle of the instrument panel near
the windshield,
or over the sensor in the grille above the
radio. These sensors are used by the automatic system to
regulate temperature.
The exterior temperature display sensor is in front of the
vehicle, near the radiator. The displayed temperature is
most accurate when the vehicle is moving. During stops,
or while idling, the display shows the previous driving
temperature for best system control.
To avoid blowing cold air in cold weather, the system
will delay
turning on the fan until warm air is available.
The length of delay depends on outside
air temperature,
engine coolant temperature, and time since
the engine
was last started. Pushing the fan button will override this
delay and change the fan to a selected single speed.
If you leave your vehicle, the system will remember the
control setting
the next time you start your engine.
Manual Operation
You may also manually adjust the air delivery mode or
fan speed.
'/J HEAR Manually selecting HEAT by cycling
through
the MODE settings will deliver air to the
floor outlets.
3 DEFOG: Manually selecting DEFOG by cycling
through the
MODE settings will deliver air to the floor
and windshield outlets.
a
Lo
BIDLEVEL: Manually selecting BI-LEVEL by
cycling through the MODE setting will deliver warm air
to the floor and cooler air to the middle instrument
panel outlets.
3-4
Page 147 of 395
When the air conditioning system is in AUTO mode, the
A/C light will always be on. When the ambient
temperature outside the vehicle reaches
40°F (4"C), the
compressor will remain
on continuously.
Heating
If you have the standard system, on cold days use
HEAmR with the temperature
knob in the red area. If
you have the electronic system, press AUTO and adjust
the temperature by pressing the
TEMP up or down
button.
You may also adjust the electronic system
manually
by pressing the MODE button and selecting
HEAT. Again, adjust the temperature by pressing the
TEMP up or down button.
With each system, outside
air will be brought in and sent
through the floor outlets. The heater works best
if you
keep your windows closed while using it.
Ventilation System
For mild outside temperatures when little heating or
cooling
is needed, use VENT. (on the standard system)
to direct outside air through your vehicle. Air will
flow
through the middle instrument panel outlets.
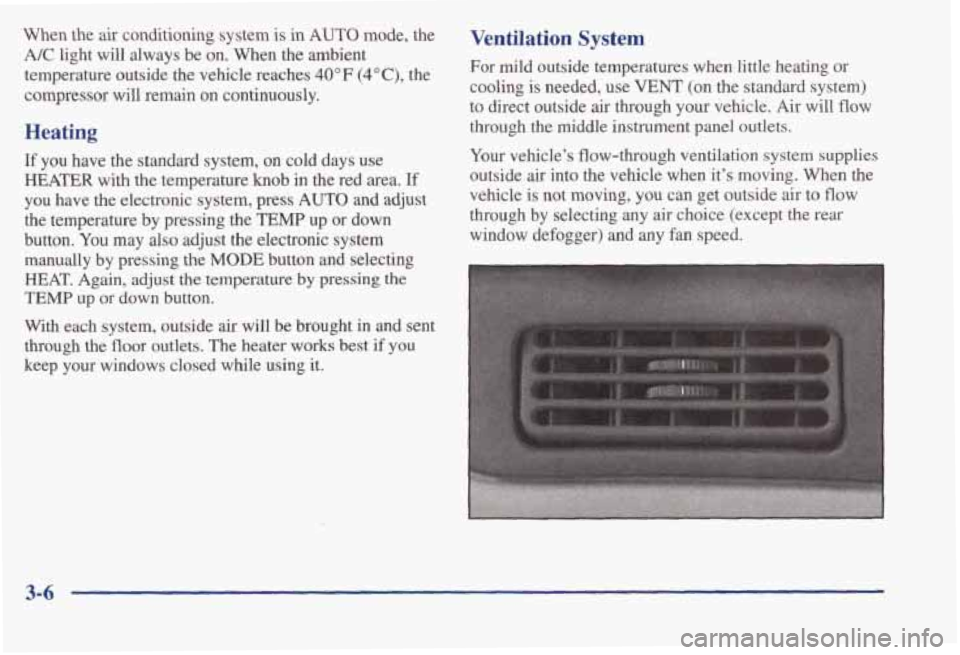
Your vehicle's flow-through ventilation system supplies
outside air into the vehicle when it's moving. When the
vehicle
is not moving, you can get outside air to flow
through by selecting any air choice (except the rear
window defogger) and
any fan speed.
3-6
Page 149 of 395
Defogging and Defrosting Rear Window Defogger
On cool, humid days, use DEFOG to keep the
windshield and side windows clear. Use
DEFROST to
remove fog or ice from the windshield quickly
in
extremely humid or cold conditions.
If you have the standard system, use DEFOG and adjust
the fan speed to your comfort level. Use
DEFROST
with the temperature toward the red area and the fan
control toward high.
If you have the electronic system, press the
DEFOG
button and adjust the fan speed by pressing the fan
button up or down to your comfort level. If you select
DEFROST from AUTO, the system will control the fan
speed. Adjust the temperature to your comfort level by
pressing the TEMP up or down button The lines
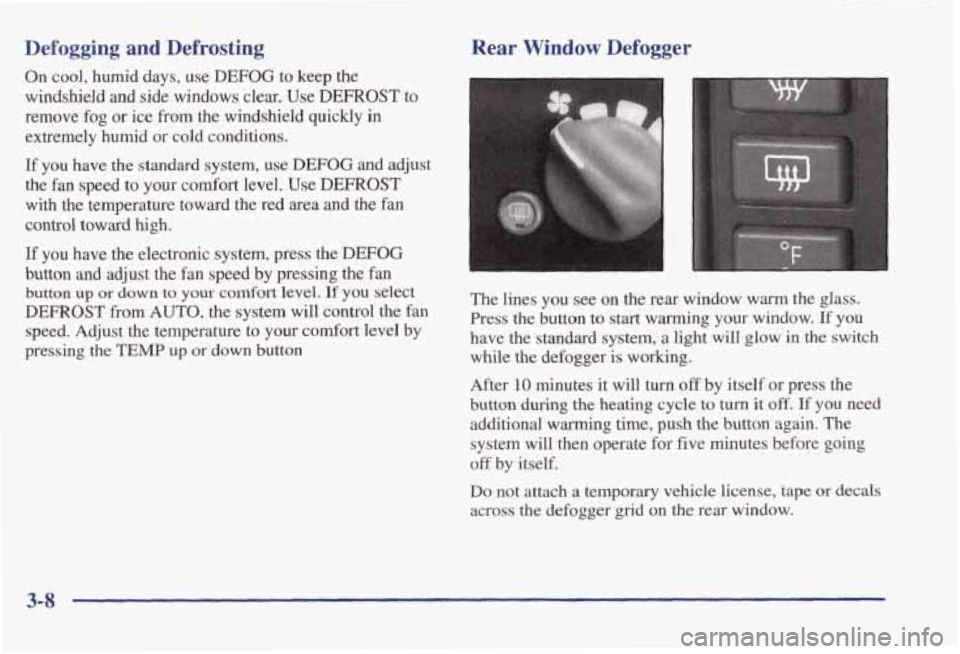
you see on the rear window warm the glass.
Press the button to start warming your window. If you
have the standard system,
a light will glow in the switch
while the defogger
is working.
After
10 minutes it will turn off by itself or press the
button
during the heating cycle to turn it off. If you need
additional warming time, push the button again. The
system will
then operate for five minutes before going
off by itself.
Do not attach a temporary vehicle license, tape or decals
across the defogger grid on the rear window.
3-8