1998 PONTIAC BONNEVILLE service
[x] Cancel search: servicePage 78 of 395
NOTICE:
If your key seems stuck in LOCK and you can’t
turn it, be sure you are using the correct key; if
so, is it all the way in? If it is, then turn the
steering wheel left and right while you turn the
key hard. But turn the key only with your hand.
Using
a tool to force it could break the key or the
ignition switch.
If none of this works, then your
vehicle needs service.
Key Reminder Warning
If you leave your key in the ignition, in the OFF
position, you will hear a warning tone when you open
the driver’s door.
Retained Accessory Power (If Equipped)
If you have this option, after you turn the ignition off
and even remove the key, you will still have electrical
power
to such accessories as the radio and power
windows for up
to 10 minutes. Power is turned off if
you open a door.
Always leave your key in LOCK. If you leave your key
in any other position than LOCK, your battery will discharge prematurely.
Starting Your Engine
Move your shift lever to PARK (P) or NEUTRAL (N).
Your engine won’t start in any other position -- that’s a
safety feature.
To restart when you’re already moving,
use
NEUTRAL (N) only.
NOTICE:
Don’t try to shift to PARK (P) if your Pontiac is
moving. If you do, you could damage the
transaxle. Shift to
PARK (P) only when your
vehicle
is stopped.
2-21
Page 83 of 395
AUTOMATIC OVERDRIVE (@I): This position is
for normal driving.
If you need more power for passing,
and you’re:
Going less than about 35 mph (55 km/h), push your
0 Going about 35 mph (55 km/h) or more, push the
You’ll shift down to the next gear and have more power.
accelerator pedal about halfway down.
accelerator
all the way down.
NOTICE:
If your vehicle seems to start up rather slowly, or
if it seems not to shift gears as you go faster,
something may be wrong with a transaxle system
sensor.
If you drive very far that way, your
vehicle can be damaged.
So, if this happens, have
your
vehicle serviced right away. Until then, you
can use
SECOND (2) when you are driving less
than 35 mph (55 km/h) and AUTOMATIC
OVERDRIVE (0) for higher speeds.
DRIVE @): This position is also used for normal
driving, however, it offers more power and lower fuel
economy than AUTOMATIC OVERDRIVE (@).
Here are some times you might choose DRIVE (D)
instead of AUTOMATIC OVERDRIVE (0):
When driving on hilly, winding roads
When towing a trailer, so there is less shifting
When going down a steep hill
SECOND (2): This position gives you more power but
lower fuel economy.
You can use SECOND (2) on hills.
It can help control your speed as you go down steep
mountain roads, but then
you would also want to use
your brakes
off and on.
between gears
NOTICE:
Don’t drive in SECOND (2) for more than
5 miles (8 km), or at speeds over 55 mph
(90 M), or you can damage your transaxle.
Use AUTOMATIC OVERDRIVE (0) or
DRIVE @) as much as possible.
Don’t shif’t into SECOND (2) unless you are going
slower than 65 mph (105 km/h), or you can
damage your engine.
2-26
Page 85 of 395
Computer Command Ride (Option)
Vehicles equipped with computer command ride provide
improved passenger ride comfort under
a variety of road
and driving conditions.
For normal driving conditions, press the
TOURING
RIDE button to get a more refined comfortable ride.
When driving conditions require improved
handling,
press the PERFORM RIDE button to get a fm ride.
This mode minimizes how much the passenger
compartment leans in turns,
and decreases the
up-and-down motion of the front and rear
of the vehicle
during acceleration or
braking.
Even in the TOURING RIDE mode, the system will
adjust
to rapid cornering, acceleration or braking.
If the computer command ride detects a problem in the
system, the lights on the
TOURING RIDE and
PERFORM RIDE buttons will both come on. If this
happens, have your vehicle serviced.
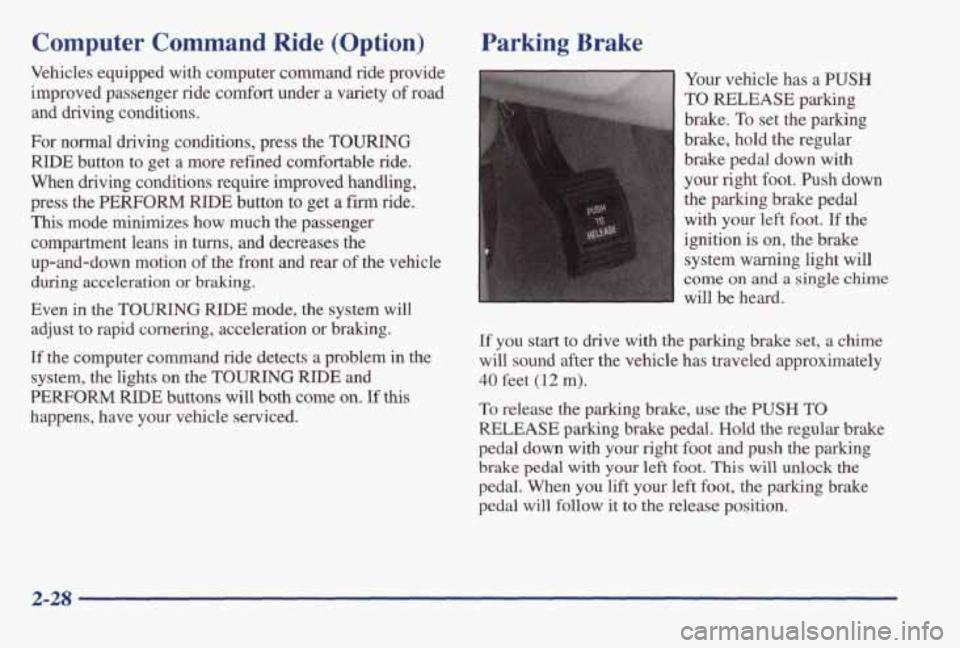
Parking Brake
Your vehicle has a PUSH
TO RELEASE parking
brake.
To set the parking
brake, hold the regular
brake pedal down with
your right foot. Push down
the parking brake pedal
with your left foot.
If the
ignition is on, the brake
system warning light will
come on and a single chime
will be heard.
If you start to drive with the parking brake set, a chime
will sound after
the vehicle has traveled approximately
40 feet (12 m).
To release the parking brake, use the PUSH TO
RELEASE parking brake pedal. Hold the regular brake
pedal down with
your right foot and push the parking
brake pedal with your left foot. This will unlock the
pedal. When you lift your left foot, the parking brake
pedal will follow
it to the release position.
2-28
Page 89 of 395
Torque Lock
If you are parking on a hill and you don’t shift your
transaxle into
PARK (P) properly, the weight of the
vehicle may put too much force on the parking pawl in
the transaxle. You may find it difficult to pull the
shift
lever out of PARK (P). This is called “torque lock.” To
prevent torque lock, set the parking brake and then shift
into
PARK (P) properly before you leave the driver’s
seat.
To find out how, see “Shifting Into PARK (P)” in
the Index.
When you are ready to drive, move the shift lever out of
PARK (P) before you release the parking brake.
If torque lock does occur, you may need to have another
vehicle push yours a little uphill to take some of the
pressure from the parking pawl in the transaxle,
so you
can pull the shift lever out of PARK
(P).
Shifting Out of PARK (P)
Your vehicle has a Brake-Transaxle Shift Interlock
(BTSI). You have to fully apply your regular brake
before you can shift from PARK (P) when the ignition is
in
RUN. See “Automatic Transaxle” in the Index.
If you cannot
shift out of PARK (P), ease pressure on
the
shift lever -- push the shift lever all the way into
PARK (P) as you maintain brake application. Then
move
the shift lever into the gear you want. If you ever
hold the brake pedal down but still can’t shift out of
PARK (P), try this:
1. Turn the ignition key to OFF. Open and close the
driver’s door
to turn off the Retained Accessory
Power feature.
2. Apply and hold the brake until the end of Step 4.
3. Shift to NEUTRAL (N).
4. Start the vehicle and then shift to the drive gear
you want.
5. Take your vehicle to an authorized service center as
soon as you can.
2-32
Page 120 of 395
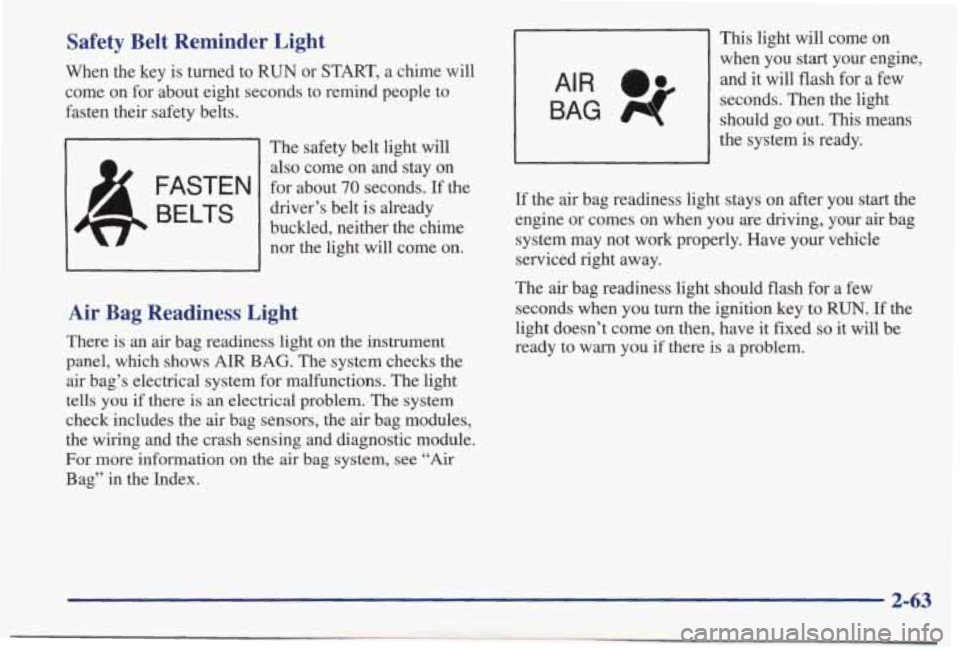
Safety Belt Reminder Light
When the key is turned to RUN or START, a chime will
come on for about eight seconds to remind people to
fasten their safety belts.
The safety belt light
will
also come on and stay on
for about
70 seconds. If the
driver’s belt is already
buckled, neither the chime nor the light will come
on.
Air Bag Readiness Light
There is an air bag readiness light on the instrument
panel, which shows
AIR BAG. The system checks the
air bag’s electrical system for malfunctions. The light
tells you if there
is an electrical problem. The system
check includes
the air bag sensors, the air bag modules,
the wiring and the crash sensing and diagnostic module.
For more information on
the air bag system, see “Air
Bag” in the Index.
BAG 4
AIR a*
This light will come on
when you start your engine,
and it will flash
for a few
seconds. Then the light
should go
out. This means
the system is ready.
If the air bag readiness light stays on after you start the
engine or comes on when you are driving, your
air bag
system may not work properly. Have your vehicle
serviced right away.
The
air bag readiness light should flash for a few
seconds when you
turn the ignition key to RUN. If the
light doesn’t come on then, have it fixed
so it will be
ready to
warn you if there is a problem.
2-63
Page 121 of 395
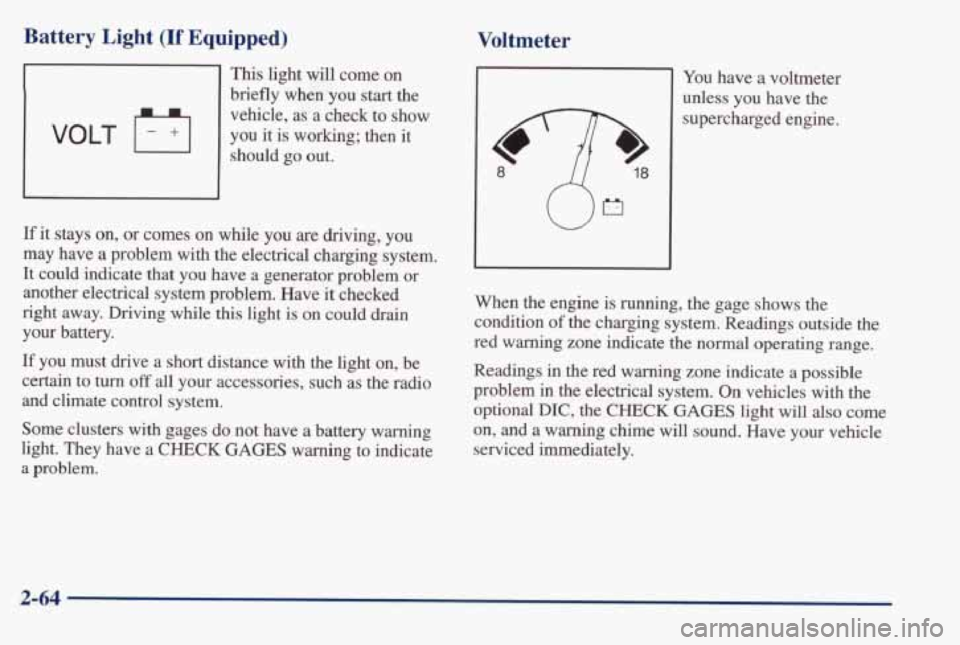
Battery Light (If Equipped)
This light will come on
briefly when you start the
vehicle, as a check to
show
should go out. VOLT F+I you it is working; then it
If it stays on, or comes on while you are driving, you
may have a problem with the electrical charging system.
It could indicate that you have a generator problem or
another electrical system problem. Have it checked
right away. Driving while
this light is on could drain
your battery.
If you must drive a short distance with the light on, be
certain to turn off all your accessories, such as the radio
and climate control system.
Some clusters with gages do not have a battery warning
light. They have
a CHECK GAGES warning to indicate
a problem.
Voltmeter
I You have a voltmeter
unless you have the
supercharged engine.
When the engine is running, the gage shows the
condition
of the charging system. Readings outside the
red
warning zone indicate the normal operating range.
Readings
in the red warning zone indicate a possible
problem in the electrical system.
On vehicles with the
optional DIC,
the CHECK GAGES light will also come
on, and
a warning chime will sound. Have your vehicle
serviced immediately.
2-64
Page 122 of 395
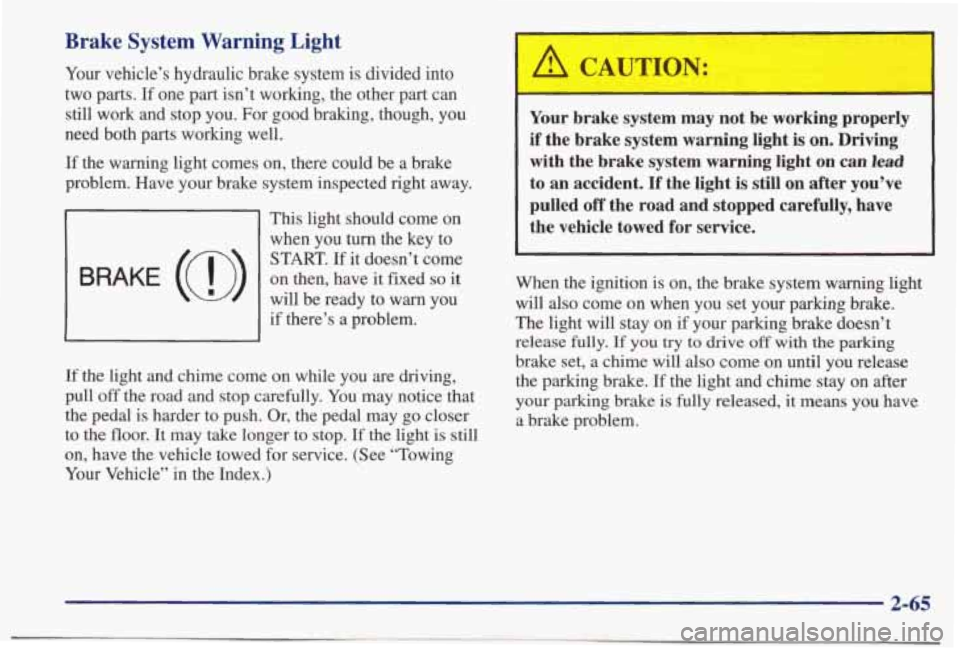
Brake System Warning Light
Your vehicle’s hydraulic brake system is divided into
two parts. If one part isn’t working, the other part can still work and stop you. For good braking, though, you
need both parts working well.
If the warning light comes on, there could be a brake
problem. Have your brake system inspected right away.
BRAKE (0)
This light should come on
when you turn the key to
START. If it doesn’t come
on then, have it fixed so it
will be ready to warn you
if there’s a problem.
If the light and chime come on while you are driving,
pull
off the road and stop carefully. You may notice that
the pedal is harder to push. Or, the pedal may go closer
to the floor. It may take longer to stop.
If the light is still
on, have the vehicle towed for service. (See “Towing
Your Vehicle” in the Index.)
A CAUTION:
Your brake system may not be working properly
if the brake system warning light is on.
Driving
with the brake system warning light on can lead
to an accident. If the light is still on after you’ve
pulled
off the road and stopped carefully, have
the vehicle towed for service.
When the ignition is on, the brake system warning light
will also come on when you set your parking brake.
The light will stay on if your parking brake doesn’t
release
fully. If you try to drive off with the parking
brake set, a chime will also come on until you release
the parking brake. If the light and chime stay on after
your parking brake is fully released. it means you have
a brake problem.
2-65
Page 123 of 395
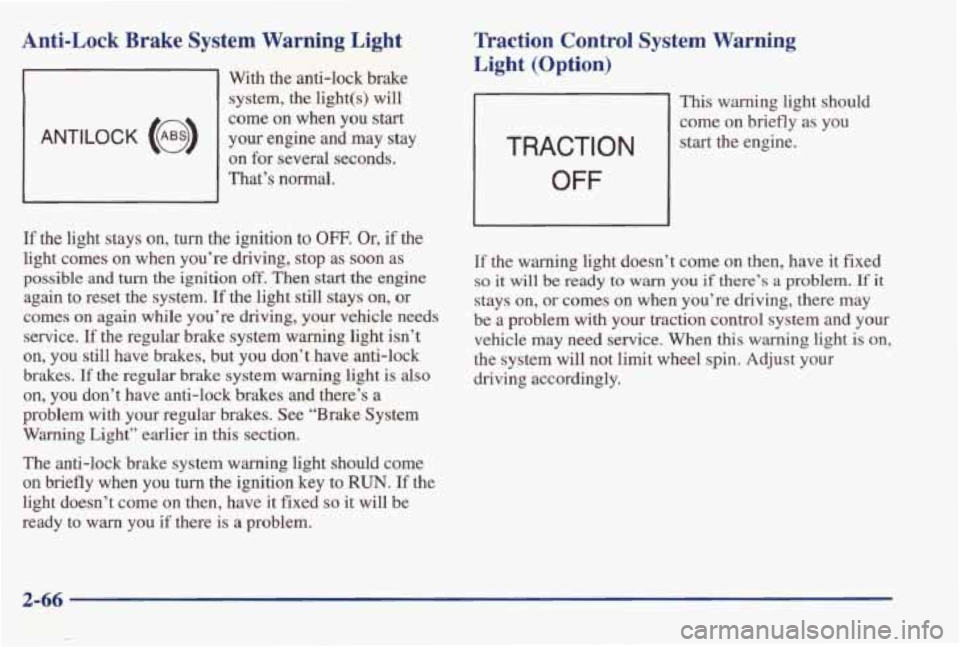
Anti-Lock Brake System Warning Light
ANTILOCK (@)
With the anti-lock brake system,
the light(s) will
come on when
you start
your engine and may stay
on for several seconds.
That’s normal.
llraction Control System Warning
Light (Option)
TRACTION
OFF
This warning light should
come on briefly as you
start the engine.
If the light stays on, turn the ignition to OFF. Or, if the
light comes on when you’re driving, stop as soon as
possible
and turn the ignition off. Then start the engine
again to reset the system.
If the light still stays on, or
comes on again while you’re driving, your vehicle needs
service. If the regular brake system warning light isn’t
on, you still have brakes, but you don’t have anti-lock
brakes.
If the regular brake system warning light is also
on, you don’t have anti-lock brakes and there’s a
problem with your regular brakes. See “Brake System
Warning Light” earlier in
this section.
If the warning light doesn’t come on then, have it fixed
so it will be ready to warn you if there’s a problem. If it
stays on, or comes on when you’re driving, there may
be a problem with your traction control system and your
vehicle may need service. When this warning light is on,
the system will not limit wheel spin. Adjust your
driving accordingly.
The anti-lock brake system warning light should come
on briefly when you turn the ignition key to RUN. If the
light doesn’t come on then, have it fixed
so it will be
ready to
warn you if there is a problem.