1998 PONTIAC BONNEVILLE child seat
[x] Cancel search: child seatPage 47 of 395

If your child restraint has a top strap, your dealer can
obtain
a kit with anchor hardware and installation
instructions specifically designed for
this vehicle. The
deder can then install the anchor for you. In Canada,
this work will be done for you free of charge. Or, you
may install the anchor yourself using the instructions
provided in the kit.
Securing a Child Restraint in a Rear
Outside Seat Position
You’ll be using the lap-shoulder belt. See the earlier part
about the top strap
if the child restraint has one. Be sure
to follow the instructions that came
with the child
restraint. Secure
the child in the child restraint when and
as the instructions say.
1. Put the restraint on the seat.
2. Pick up the latch plate, and run the lap and shoulder
portions
of the vehicle’s safety belt through or
around the restraint. The child restraint instructions
will show
you how.
3. Tilt the latch plate to adjust the belt if needed.
If the shoulder belt goes in front of the child’s face or
neck, put
it behind the child restraint.
1-40
Page 49 of 395

To remove the child restraint, just unbuckle the vehicle’s
safety belt and let it
go back all the way. The safety belt
will move freely again and be ready
to work for an adult
or larger child passenger.
Securing a Child Restraint in the Center
Rear Seat Position
You’ll be using the lap belt. Be sure to follow the
instructions that came with the child restraint. Secure
the child
in the child restraint when and as the
instructions say.
A child in a child restraint in the center front seat
can be badly injured or killed by the right front
passenger
air bag if it inflates, even though your
vehicle has reduced-force
frontal air bags. Never
secure a child restraint in the center front seat.
It’s always better to
secure a child restraint in the
rear seat.
You may secure a forward-facing child
restraint
in the right front passenger seat, but
before you do, always move the front passenger
seat as far back as it will go. It’s better to secure
the child restraint in
a rear seat.
See the earlier part about the top strap if the child
restraint
has one.
1-42
Page 50 of 395

f
1. Make the belt as long as possible by tilting the latch
2. Put the restraint on the seat.
3. Run the vehicle’s safety belt through or around the
restraint. The child restraint instructions will show
you how. plate and pulling
it along the belt.
4.
5.
6.
Buckle the belt. Make sure the release button is
positioned
so you would be able to unbuckle the
safety belt quickly if you ever had to.
To tighten the belt, pull its free end while you push
down on the child restraint. If you’re using a
forward-facing child restraint, you may find
it
helpful to use your knee to push down on the child
restraint
as you tighten the belt.
Push and pull the child restraint in different directions
to be sure it is secure.
1-43
Page 51 of 395
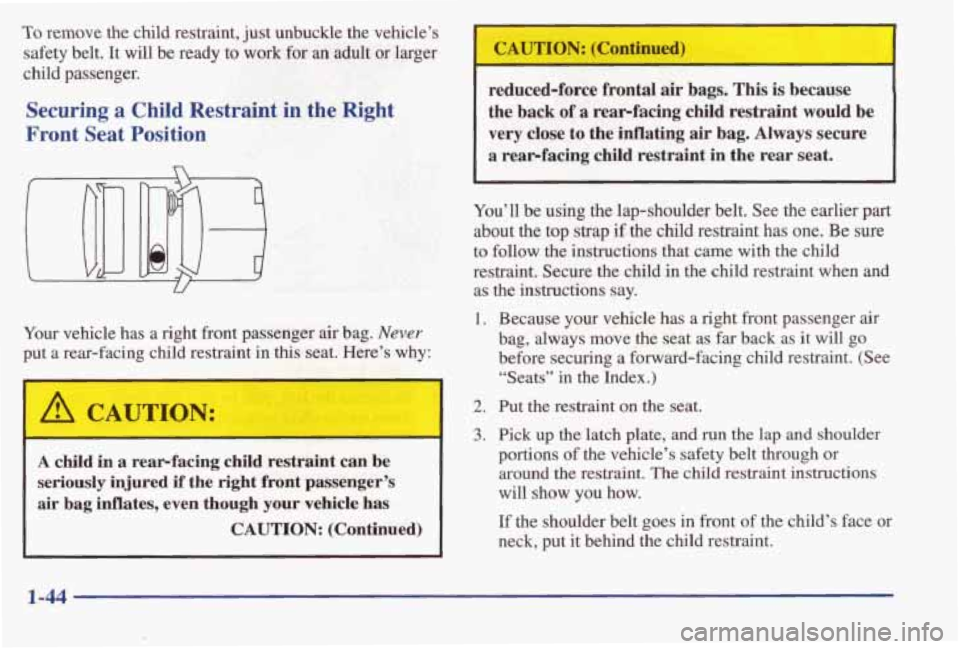
To remove the child restraint, just unbuckle the vehicle’s
safety belt. It will be ready to work
for an adult or larger
child passenger.
Securing a Child Restraint in the Right
Front
Seat Position
Your vehicle has a right front passenger air bag. Never
put a rear-facing child restraint in this seat. Here’s why:
I A CAUTION:
reduced-force frontal air bags. This is because
the back of a rearfacing child restraint
would be
very close
to the inflating air bag. Always secure
a rearfacing child restraint in the rear seat.
A child in a rearfacing child restraint can be
seriously injured if the right front passenger’s
air bag inflates, even though
your vehicle has
CAUTION: (Continued)
You’ll be using the lap-shoulder belt. See the earlier part
about the top strap if. the child restraint has one. Be sure
to follow the instructions that came with the child
restraint. Secure the child
in the child restraint when and
as the instructions
say.
1. Because your vehicle has a right front passenger air
bag, always move the seat as
far back as it will go
before securing a forward-facing child restraint. (See
“Seats” in the Index.)
’ 2. Put the restraint on the seat.
3. Pick up the latch plate, and run the lap and shoulder
portions
of the vehicle’s safety belt through or
around the restraint. The child restraint instructions
will show you
how.
If the shoulder belt goes in front of the child’s face or
neck, put it behind the child restraint.
1-44
Page 54 of 395

Accident statistics show that children are safer if they
are restrained in the rear seat. But they need to use the
safety belts properly.
Children who aren’t buckled up can be thrown out in
Children who aren’t buckled up can strike other
a
crash.
people who are.
Never do this.
Here two children are wearing the same belt. The
belt can’t properly spread the impact forces. In a
crash, the two children can be crushed together
and seriously injured.
A belt must be used by
only one person at a time.
&.’ What if a child is wearing a lap-shoulder belt,
but the child is
so small that the shoulder belt is
very close to the child’s face or neck?
A: Move the child toward the center of the vehicle, but
be sure that the shoulder belt still is on the child’s
shoulder,
so that in a crash the child’s upper body
would have the restraint that belts provide.
If the
child is sitting in a rear seat outside position, see
“Rear Safety Belt
Comfort Guides” in the Index. If
the child is so small that the shoulder belt is still
very close to the child’s face or neck, you might
want to place the child
in the center seat position,
the one that has only a lap belt.
1-47
Page 55 of 395

/1 CAUTION:
.
Never do this.
Here
a child is sitting in a seat that has a
lap-shoulder belt, but the shoulder part is behind
the child.
If the child wears the belt in this way, in
a crash the child might slide under the belt. The
belt’s force
would then be applied right on the
child’s abdomen. That could cause serious
or
fatal injuries.
Wherever the child sits, the lap portion of the belt
should be worn low and snug on the hips, just touching
the child’s thighs. This applies belt force to the child’s
pelvic bones
in a crash.
1-48
Page 204 of 395

A CAUTION: I
Things you put inside your vehicle can strike
and injure people in a sudden stop or turn, or
in
a crash.
Put things in the trunk of your vehicle. In a
trunk, put them
as far forward as you can.
Try to spread the weight evenly.
inside the vehicle
so that some of them are
above the tops of the seats.
Don’t leave an unsecured child restraint in
your vehicle.
When you carry something inside the
vehicle, secure it whenever you can.
Don’t leave a seat folded down unless you
need to.
Never stack heavier things, like suitcases,
I
Electronic Level Control (Option)
Towing a Trailer
A CAUTION:
If you don’t use the correct equipment and drive
properly, you can lose control when you pull a
trailer. For example,
if the trailer is too heavy, the
brakes may not work well
-- or even at all. You
and your passengers could be seriously injured.
You may
also damage your vehicle; the resulting
repairs would not be covered
by your warranty.
Pull a trailer only if you have followed
all the
steps in this section. Ask your dealer for advice
and information about towing
a trailer with
your vehicle.
This feature keeps the rear of your vehicle level as the
load changes. It is automatic -- you do not need to
adjust anything.
4-31
Page 375 of 395

Belt. Engine Accessory .......................... 6-67
Better Business Bureau Mediation
................... 8-9
Blizzard. Driving In
............................. 4-27
Boost Gage
.................................... 2-74
Adjustment
.................................. 6-3 1
Master Cylinder
.............................. 6-28
Parking ..................................... 2-28
Pedal Travel
................................. 6-3 1
Replacing System Parts
........................ 6-31
System Warning Light
......................... 2-65
Trailer
...................................... 4-35
Transaxle
Shift Interlock Check ............. 2-32. 7-33
Wear
....................................... 6-30
Brakes.Anti -Lock ............................... 4-7
Braking
........................................ 4-6
Braking in Emergencies
.......................... 4- 10
Break-In.
New Vehicle .......................... 2- 19
Brightness Control
.............................. 2-46
BTSI Check
.............................. 2-32, 7-33
Bulb Replacement
.............................. 6-32
Brake
Fluid
....................................... 6-28
Canadian Roadside Assistance
.................... 8-7
Capacities and Specifications
...................... 6-65
Carbon Monoxide
.......... 2.15.2.33.2.34.4.28. 4.34
Cardholder
.................................... 2-51
Cassette Deck Service ........................... 7-31
Cassette Tape Player
....................... 3-13. 3-16
Care
....................................... 3-28
Errors
................................. 3-13, 3-16
CD Player Theft-Deterrent Feature ................. 3-24 Center Passenger Position
. . , ........ ..... 1-24
CertificationLabel .............................. 4-30
CertificationEire Label
.......................... 4-30
Chains, Safety
................................. 4-35
Chains, Tire
................................... 648
Changing a Flat Tire .............................. 5-25
Check Engine Light
............................. 2-68
Check Gages Light
.............................. 2-72
Check Gages Messages
.......................... 2-78
Check Oil Level Message
........................ 2-78
Check
Oil Level Warning Light .................... 2-72
Check Washer Fluid Message
..................... 2-78
Checking
Your Restraint Systems .................. 1-49
Chemical Paint Spotting
.......................... 6-55
Securing
in the Center Rear Seat Position .......... 1-42
ChildRestraints ................................ l-34
Securing in a Rear Outside Seat Position ........... 1-40
Securing
in the Right Front Seat Position .......... 1-44
TopStrap ................................... 1-39
WheretoPut
................................ l-38
Chrome Wheels, Cleaning ........................ 6-54
Cigarette Lighter
............................... 2-53
Circuit Breakers and Fuses
....................... 6-59
Cleaner,
Air ................................... 6-17
Cleaning Aluminum or Chrome Wheels
................... 6-54
Exterior Lamps/Lenses
........................ 6-53
Fabric
...................................... 6-50
Glass
....................................... 6-51
Inside
of Your Vehicle ......................... 6-49
Instrument Panel ............................. 6-51
Interior Plastic Components
..................... 6-51
Leather
..................................... 6-51
9-2