1998 PONTIAC BONNEVILLE air condition
[x] Cancel search: air conditionPage 126 of 395
NOTICE:
If you keep driving your vehicle with this light on, after a while, your emission controls may not
work as well,
your fuel economy may not be as
good and your engine may not run as smoothly.
This could lead
to costly repairs that may not be
covered by your warranty. If the
Light Is Flashing
The
following may prevent more serious damage to
your vehicle:
Reducing vehicle speed.
Avoiding hard accelerations.
0 Avoiding steep uphill grades.
0 If you are towing a trailer, reduce the amount of
cargo being hauled as soon as it is possible.
This light should come on, as a check to show you it is
working, when the ignition is on and the engine is not
running. If the light doesn’t come on, have it repaired.
This light will also come on during a malfunction in one
of two ways:
0 Light Flashing -- A misfire condition has been
detected.
A misfire increases vehicle emissions and
may damage the emission control system on your vehicle. Dealer or qualified service center diagnosis
and service may be required.
malfunction has been detected on your vehicle.
Dealer
or qualified service center diagnosis and
service
may be required.
0 Light On Steady -- An emission control system If
the light stops flashing and remains
on steady, see
“If the Light Is On Steady” following.
If the light continues to flash, when it is safe to do so,
stop the vehicle. Find a safe place to park your vehicle.
Turn the key off, wait at least 10 seconds and restart the
engine. If the light remains on steady, see “If the Light
Is On Steady” following. If the light is still flashing,
follow the previous steps, and drive the vehicle to your
dealer or qualified service center for service.
2-69
Page 142 of 395
v
Section 3 Comfort Controls and Audio Systems
In this section, you’ll find out how to operate the comfort control and audio systems offered w\
ith your vehicle. Be
sure to read about the particular systems supplied
with your vehicle.
3-2
3-5
3-6 3-6 3-8
3-8
3-9
3-9
3-9
3-
10
3-11
3-15
Comfort Controls Air Conditioning
Heating Ventilation System Defogging and Defrosting
Rear Window Defogger
Audio Systems Setting
the Clock for AM-FM Stereo
Setting the Clock for All Systems Except
AM-FM Stereo
AM-FM Stereo
AM-FM Stereo with Cassette Tape Player
(If Equipped)
AM-FM Stereo with Cassette Tape Player and
Equalizer (If Equipped) 3-
18
3-21
3-24
3-26
3-27
3-27
3-28
3-29 3-29
3-30
3-30
AM-FM Stereo with Compact Disc Player
(If Equipped)
AM-FM Stereo with Compact Disc Player and
Equalizer (If Equipped)
Theft-Deterrent Feature
Audio Steering Wheel Controls (If Equipped)
Understanding Radio Reception
Tips About Your Audio System
Care of Your Cassette Tape Player
Care
of Your Compact Discs
Care of Your Compact Disc Player
Fixed Mast Antenna
Power Antenna Mast Care
3-1
Page 143 of 395
Comfort Controls Temperature Knob
This section tells you how to make your air system work
for
you. Your comfort control system uses
ozone-friendly
R- 134a refrigerant.
With these systems, you can control the heating, cooling
and ventilation
in your vehicle. Your vehicle also has a
flow-through ventilation system described later
in
this section.
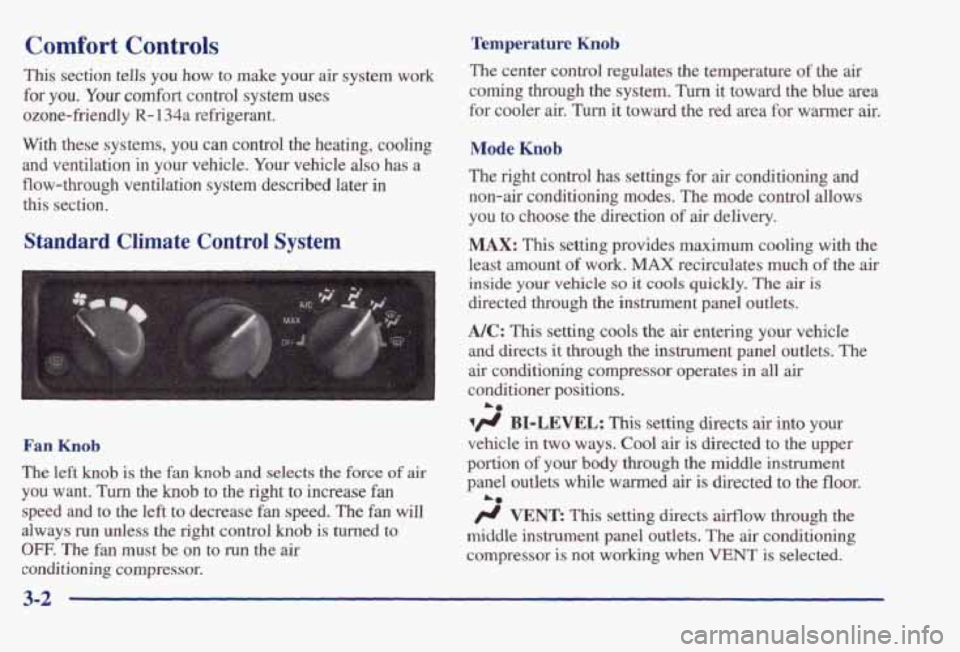
Standard Climate Control System
Fan Knob
The left knob is the fan knob and selects the force of air
you want. Turn the knob to the right to increase fan
speed and to the left to decrease fan speed. The fan will
always run unless the right control
knob is turned to
OFF. The fan must be on to run the air
conditioning compressor. The center control regulates the temperature
of the air
coming through the system.
Turn it toward the blue area
for cooler
air. Turn it toward the red area for wanner air.
Mode Knob
The right control has settings for air conditioning and
non-air conditioning modes. The mode control allows
you to choose the direction of
air delivery.
MAX: This setting provides maximum cooling with the
least amount
of work. MAX recirculates much of the air
inside your vehicle so it cools quickly. The air is
directed through the instrument panel outlets.
NC: This setting cools the air entering your vehicle
and directs it through the instrument panel outlets. The
air conditioning compressor operates in all air
conditioner positions.
1fl BI-LEVEL: This setting directs air into your
vehicle in two
ways. Cool air is directed to the upper
portion
of your body through the middle instrument
panel outlets
while warmed air is directed to the floor.
@ VENT: This setting directs airflow through the
middle instrument panel outlets. The air conditioning
compressor
is not working when VENT is selected.
A0
A*
Page 146 of 395
OFF: Press this button to turn the system off. Fresh air
will continue to flow through the vehicle, and the
system will
try to maintain the previously chosen
comfort setting. The outside temperature will show in
the display when the system is
off.
AIC: Press this button to turn the air conditioning on and
off. The system will cool and dehumiw the air inside the
vehicle.
In the AUTO mode, the display will show that
A/C
is active, but the air conditioning compressor only
operates when the system determines it is needed.
RECIRC: Press this button to limit the amount of fresh
air entering your vehicle. You may use this setting to
limit odors entering your vehicle. Press RECIRC to
change to a manual
MODE and air will recirculate until
the RECIRC button is pressed again. RECIRC will show
on
the display and then return to EXT TEMP display.
Operating the RECIRC mode
in cold temperatures or
under high humidity conditions may cause moisture
to
form on the inside of the windshield. If this condition
occurs, press the RECIRC button again.
DEFROST: Press this button to clear the windshield.
The system will automatically control the fan speed if
you select defrost from AUTO.
OF "C: Press this button to display the temperature in
degrees Fahrenheit or Celsius.
Air Conditioning
On hot days, open the windows long enough to let hot
inside air escape. This reduces the time it takes for your
vehicle to cool down. Then keep your windows closed
for the air conditioner to work its best.
If you have the standard system, for quick cool-down on
very hot days, use
MAX with the temperature knob in
the blue area.
If this setting is used for long periods of
time, the air in your vehicle may become too cold and
dry. For normal cooling on hot days, use A/C with the
temperature knob in the blue area. This setting cools the
air entering your vehicle and directs
it through the
instrument panel outlets.
If you have the electronic system, press the A/C button
to turn the system on. The system will cool and
dehumidify the air inside the vehicle. Also while in
AUTO mode, the system will use RECIRC as necessary
to cool
the air.
On cool, but sunny days, with the standard system or
through manual operation of the electronic system, use
BI-LEVEL to deliver warm air to the floor and cooler
air to the middle instrument panel outlets.
To warm or
cool the air delivered, push the
TEMP button up
or down.
3-5
Page 147 of 395
When the air conditioning system is in AUTO mode, the
A/C light will always be on. When the ambient
temperature outside the vehicle reaches
40°F (4"C), the
compressor will remain
on continuously.
Heating
If you have the standard system, on cold days use
HEAmR with the temperature
knob in the red area. If
you have the electronic system, press AUTO and adjust
the temperature by pressing the
TEMP up or down
button.
You may also adjust the electronic system
manually
by pressing the MODE button and selecting
HEAT. Again, adjust the temperature by pressing the
TEMP up or down button.
With each system, outside
air will be brought in and sent
through the floor outlets. The heater works best
if you
keep your windows closed while using it.
Ventilation System
For mild outside temperatures when little heating or
cooling
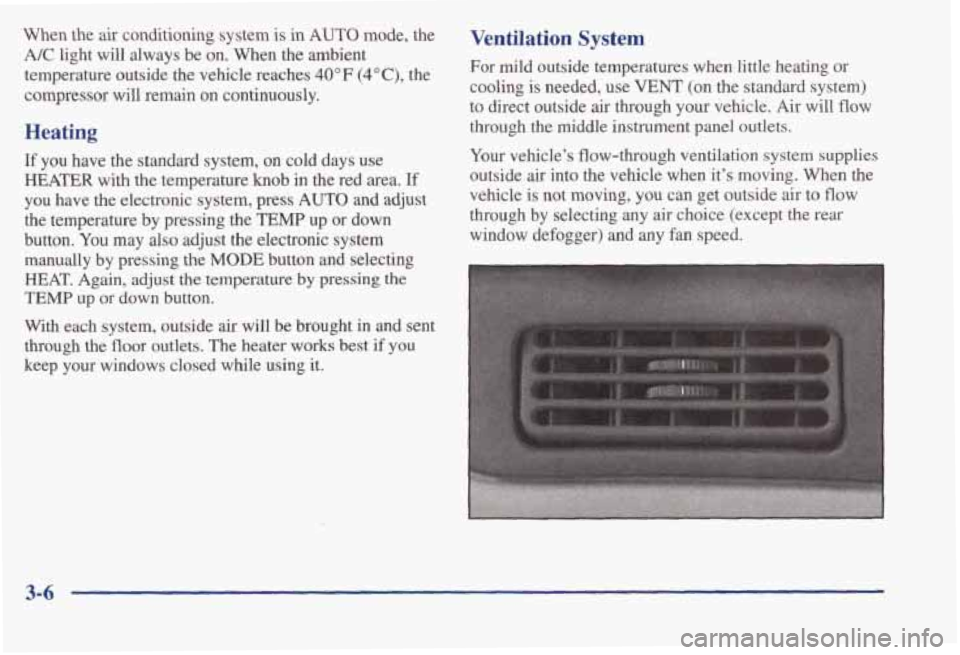
is needed, use VENT. (on the standard system)
to direct outside air through your vehicle. Air will
flow
through the middle instrument panel outlets.
Your vehicle's flow-through ventilation system supplies
outside air into the vehicle when it's moving. When the
vehicle
is not moving, you can get outside air to flow
through by selecting any air choice (except the rear
window defogger) and
any fan speed.
3-6
Page 188 of 395
If your vehicle starts to slide, ease your foot off the
accelerator pedal and quickly steer the way you want the
vehicle to go. If you start steering quickly enough, your
vehicle may straighten out. Always be ready for a
second skid if it occurs.
Of course, traction is reduced when water, snow, ice,
gravel or other material is on the road.
For safety, you’ll
want
to slow down and adjust your driving to these
conditions.
It is important to slow down on slippery
surfaces because stopping distance
will be longer and
vehicle control more limited.
While driving on
a surface with reduced traction, try
your best to avoid sudden steering, acceleration or
braking (including engine braking by shifting to a
lower gear). Any sudden changes could cause the tires
to slide. You may not realize the surface is slippery until
your vehicle is skidding. Learn to recognize warning
clues -- such as enough water, ice or packed snow on
the road to make a “mirrored surface”
-- and slow down
when you have any doubt.
Remember: Any anti-lock brake system
(ABS) helps
avoid only the braking skid.
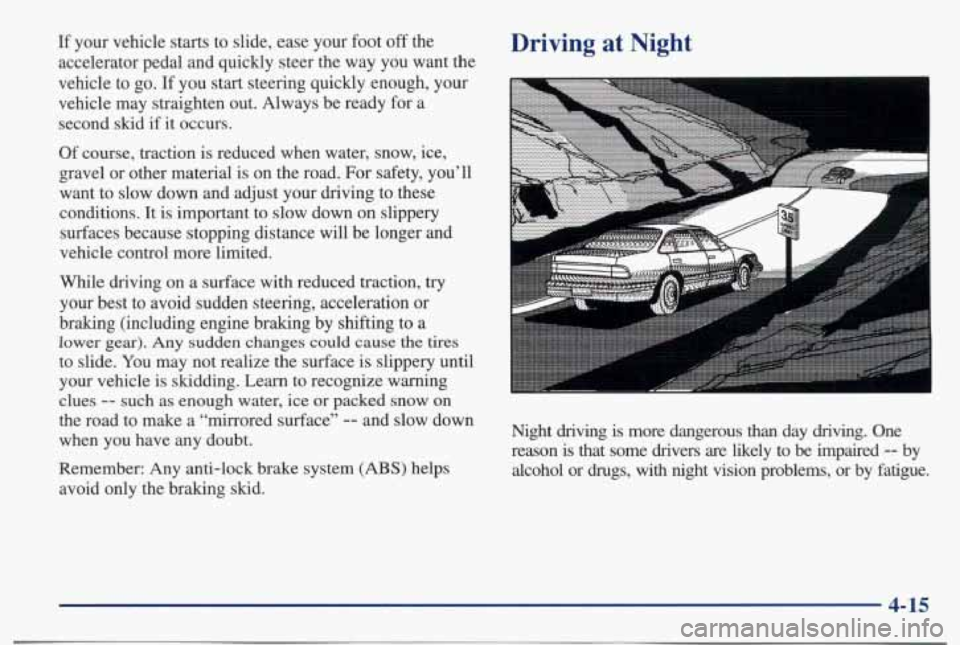
Driving at Night
..... ............ ........... ............ ........... ............ ...................I____
Night driving is more dangerous than day driving. One
reason is that some drivers are likely to
be impaired -- by
alcohol or drugs, with night vision problems, or
by fatigue.
4-15
Page 229 of 395
If No Steam Is Coming From Your Engine
If you get the overheat waming but see or hear no
steam, the problem may not be too serious. Sometimes the engine can get a little too hot when you:
0 Climb a long hill on a hot day.
0 Stop after high-speed driving.
Idle for long periods in traffic.
Tow a trailer.
If you get the overheat warning with no sign of steam,
try this for a minute or so:
1. Turn off your air conditioner.
2. Turn on your heater to full hot at the highest fan
speed
and open the window as necessary.
3. If you’re in a trafEc jam, shift to NEUTRAL (N);
otherwise, shift to the highest gear while
driving
-- AUTOMATIC OVERDRIVE (@)
or DRIVE (D).
If you no longer have the overheat warning, you can
drive. Just to be safe,
drive slower for about 10 minutes.
If the warning doesn’t come back on, you can
drive normally.
If the warning continues, pull over, stop, and park your
vehicle right away.
If there’s
still no sign of steam, you can idle the engine
for two or three minutes while you’re parked, to see if
the warning stops. But then, if you still have the
warning,
turn oflthe engine and get everyone out of
the vehicle until it cools down.
You may decide not to lift the hood but to get service
help right away.
5-16
Page 252 of 395
Section 6 Service and Appearance Care
Here you will find information about the care of your vehicle.\
This section begins with service and fuel information,
and then it
shows how to check important fluid and lubricant levels. There is also technical information about your
vehicle, and a part devoted to its appearance care.
6-2
6-3
6-5
6-6
6-9
6-9
6-13
6- 17
6-20
6-23
6-26
6-26
6-27
6-28
6-32
6-32
6-40
Service
Fuel
Fuels in Foreign Countries
Filling Your
Tank
Filling a Portable Fuel Container
Checking Things Under the Hood
Engine
Oil
Air Cleaner
Automatic Transaxle Fluid
Engine Coolant
Radiator Pressure Cap
Power Steering Fluid
Windshield Washer Fluid Brakes
Battery
Bulb Replacement Windshield Wiper Blade Replacement
6-4 1
6-49
6-49
6-5
1
6-52
6-54
6-54
6-56
6-57
6-58
6-64
6-65
6-65 6-66
6-66
6-66
Tires
Appearance Care
Cleaning the Inside of Your Vehicle
Care
of Safety Belts
Cleaning the Outside of Your Vehicle
Cleaning Aluminum or Chrome Wheels
(If Equipped)
Sheet Metal Damage
Appearance Care Materials Chart
Vehicle Identification Number
(VIN)
Electrical System
Replacement Bulbs
Capacities and Specifications
Air Conditioning Refrigerants
Engine Specifications
Normal Maintenance Replacement
Parts
Vehicle Dimensions
6-1