1998 PONTIAC BONNEVILLE turn signal
[x] Cancel search: turn signalPage 6 of 395
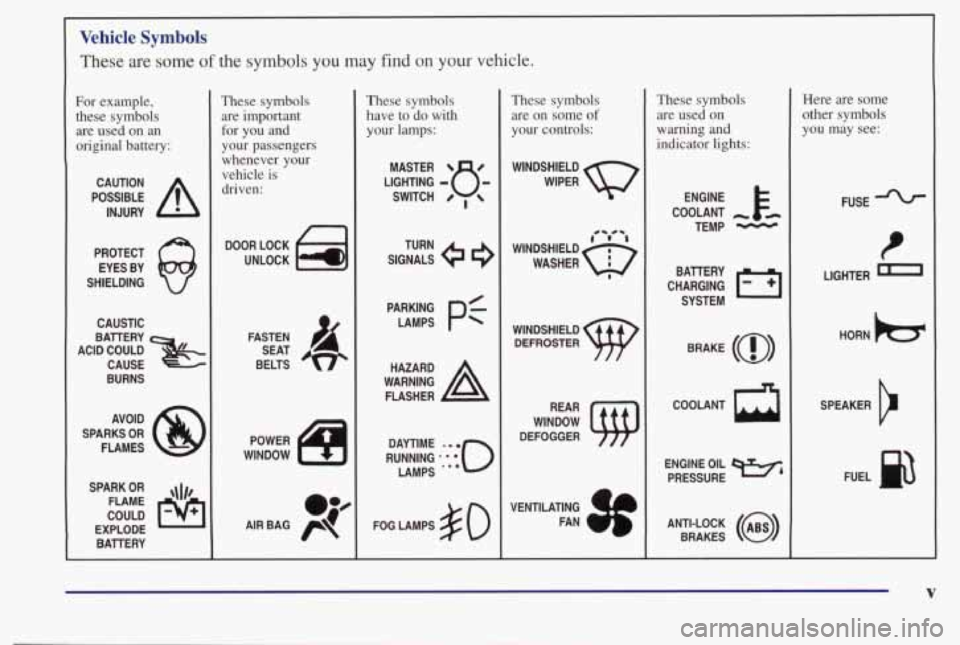
Vehicle Symbols
These are some of the symbols you may find on your vehicle.
For example,
these symbols are used on an
original battery:
POSSIBLE A
CAUTION
INJURY
PROTECT EYES BY
SHIELDING
Q
CAUSTIC
ACID COULD BAllERY
CAUSE -~~-. .
BURNS
AVOID
SPARKS
OR
FLAMES
SPARK
OR ,\I/,
COULD FLAME
EXPLODE BAllERY
I
These symbols are important
for you and
your passengers
whenever your
vehicle is
driven:
DOOR LOCK
UNLOCK
n
POWER
WINDOW
oJ4
AIR BAG p
These symbols
have to do with your lamps:
SIGNALS e3
TURN
FOG LAMPS
# 0
These symbols are on some
of
your controls:
WINDSHIELD
WIPER
WINDSHIELD
DEFROSTER
DEFOGGER
VENTILATING FAN
( rc?: A
These symbols are used on
warning
and
indicator lights:
COOLANT -
TEMP -
CHARGING I-1
BAllERY
SYSTEM
BRAKE
(a)
R
Here are some
other symbols
you may see:
FUSE
LIGHTER
n
HORN )b.
ENGINE OIL e,
PRESSURE
V
SPEAKER
b
FUEL
Page 64 of 395
If your vehicle is not equipped with remote keyless
entry, use the following procedure to change modes:
1. Close all doors and turn the ignition on. Keep all
doors closed throughout this procedure.
2. Press and hold thedriver’s power door lock switch in
the LOCK position through Step
3.
3. Cycle the shift lever, starting in PARK (P), through the
gear selections to advance by one mode for each cycle.
After the first cycle, you will hear a door locking action, which identifies the current mode.
4. Release the power door lock switch.
Delayed Locking (Option)
This feature lets the driver delay the actual locking of
the
vehicle. When the power door lock switch is pressed
with the key removed from the ignition and the driver’s
door open, a chime will sound three times to signal that
the delayed locking system is active. When
all doors
have been closed, the doors will lock automatically after five seconds. If any door is opened before this, the
five-second timer will reset itself once all the doors have
been closed again.
Pressing the door lock switch twice within two seconds
will override this feature.
Personalization Programming
The delayed locking feature can be turned on or off for
each driver’s remote keyless entry transmitter. Vehicles are delivered with each remote keyless entry transmitter
defaulted with delayed locking
off.
If your vehicle has the remote keyless entry system, do
the following to turn the feature on:
1. Press and hold the power door lock switch in the
LOCK position throughout this procedure. All the
doors will lock.
2. Press the UNLOCK button on the transmitter.
The lock delay is still
off and all the doors will
remain locked.
again. Lock delay is now active and
all the doors
will unlock.
3. Press the UNLOCK button on the transmitter
4. Release the power door lock switch.
To turn this feature off, repeat the previous procedure.
This procedure changes the mode for only the
transmitter used
to change this setting. The procedure
will need to be repeated for the second transmitter.
2-7
Page 93 of 395
Tilt Wheel Turn SignallMultifunction Lever
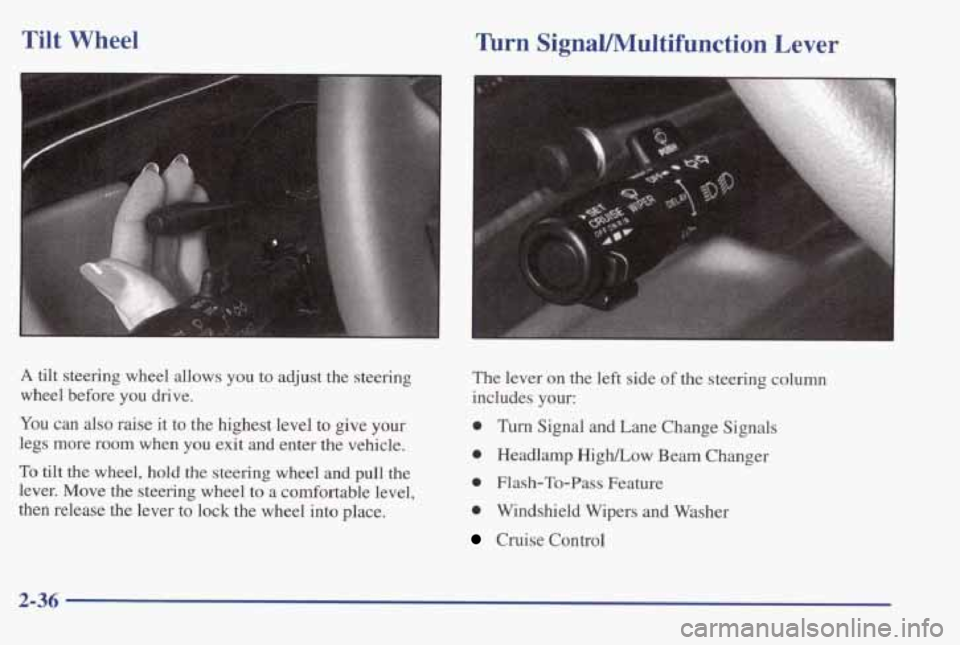
A tilt steering wheel allows you to adjust the steering
wheel before you drive.
You can also raise it to the highest level to give your
legs more room when
you exit and enter the vehicle.
To
tilt the wheel, hold the steering wheel and pull the
lever. Move the steering wheel to a comfortable level,
then release the lever to lock the wheel into place.
The lever on the left side of the steering column
includes your:
0 Turn Signal and Lane Change Signals
0 Headlamp HighLow Beam Changer
0 Flash-To-Pass Feature
0 Windshield Wipers and Washer
Cruise Control
2-36
Page 94 of 395
Wrn and Lane Change Signals
The turn signal has two upward (for right) and two
downward (for left) positions. These positions allow you
to signal a turn or
a lane change.
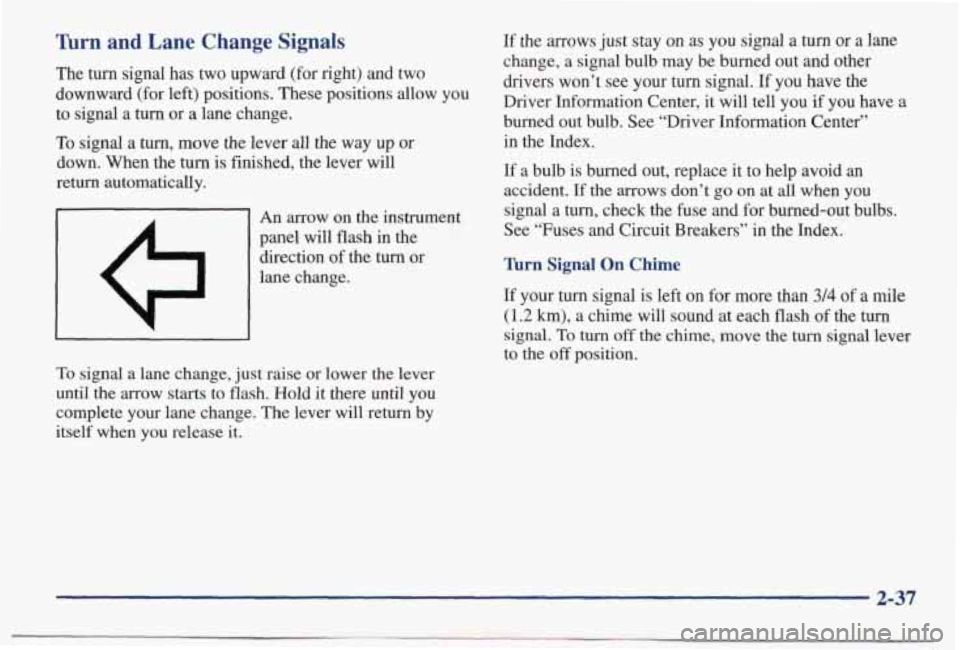
To signal a turn, move the lever all the way up or
down. When the turn is finished, the lever will
return automatically,
CII
An arrow on the instrument
panel will flash in the
direction of the
turn or
lane change.
To signal a lane change, just raise or lower the lever
until the arrow starts to flash. Hold it there until
you
complete your lane change. The lever will return by
itself when you release
it.
If the arrows just stay on as you signal a turn or a lane
change, a signal bulb may be burned out and other
drivers won’t see your turn signal. If
you have the
Driver Information Center, it will tell
you if you have a
burned out bulb. See “Driver Information Center”
in the Index.
If a bulb
is burned out, replace it to help avoid an
accident. If the arrows don’t go on at all when you
signal a turn, check the fuse and for burned-out bulbs.
See “Fuses and Circuit Breakers” in the Index.
Tbrn Signal On Chime
If your turn signal is left on for more than 3/4 of a mile
(1.2 km), a chime will sound at each flash of the turn
signal.
To turn off the chime, move the turn signal lever
to the
off position.
2-37
Page 95 of 395
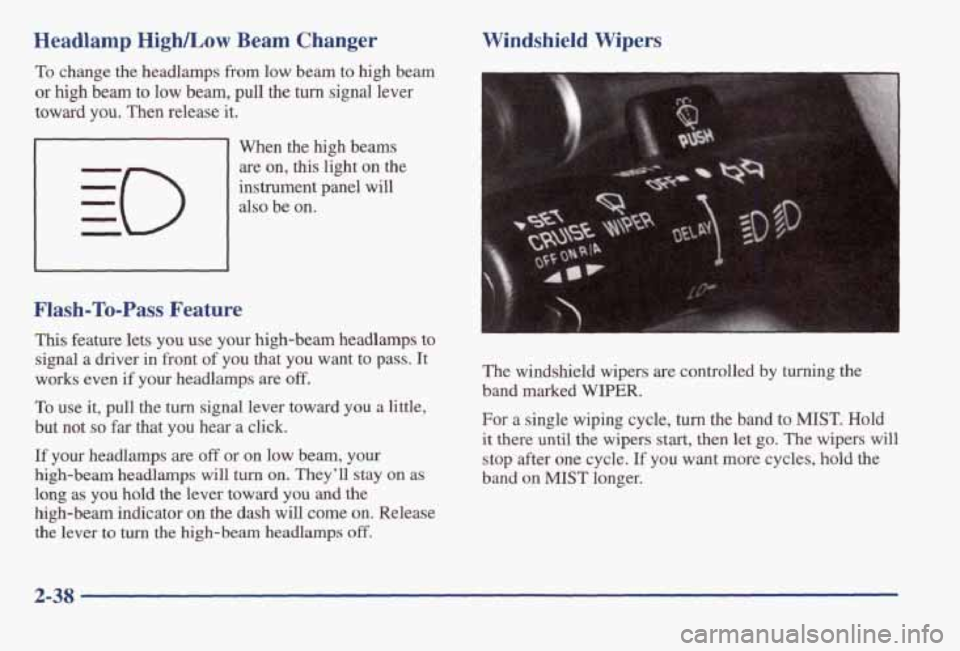
Headlamp HighLow Beam Changer
To change the headlamps from low beam to high beam
or high beam to low beam, pull the turn signal lever
toward you. Then release it.
Flash-To-Pass Feature
When the high beams are on, this light
on the
instrument panel will
also be on.
This feature lets you use your high-beam headlamps to
signal
a driver in front of you that you want to pass. It
works even
if your headlamps are off.
To use it, pull the turn signal lever toward you a little,
but not
so far that you hear a click.
If your headlamps are off or on low beam, your
high-beam headlamps
will turn on. They’ll stay on as
long as you hold
the lever toward you and the
high-beam indicator on the dash will come on. Release
the lever
to turn the high-beam headlamps off.
Windshield Wipers
The windshield wipers are controlled by turning the
band marked WIPER.
For a single wiping cycle, turn the band to MIST. Hold
it there
until the wipers start, then let go. The wipers will
stop after one cycle.
If you want more cycles, hold the
band on MIST longer.
2-38
Page 131 of 395
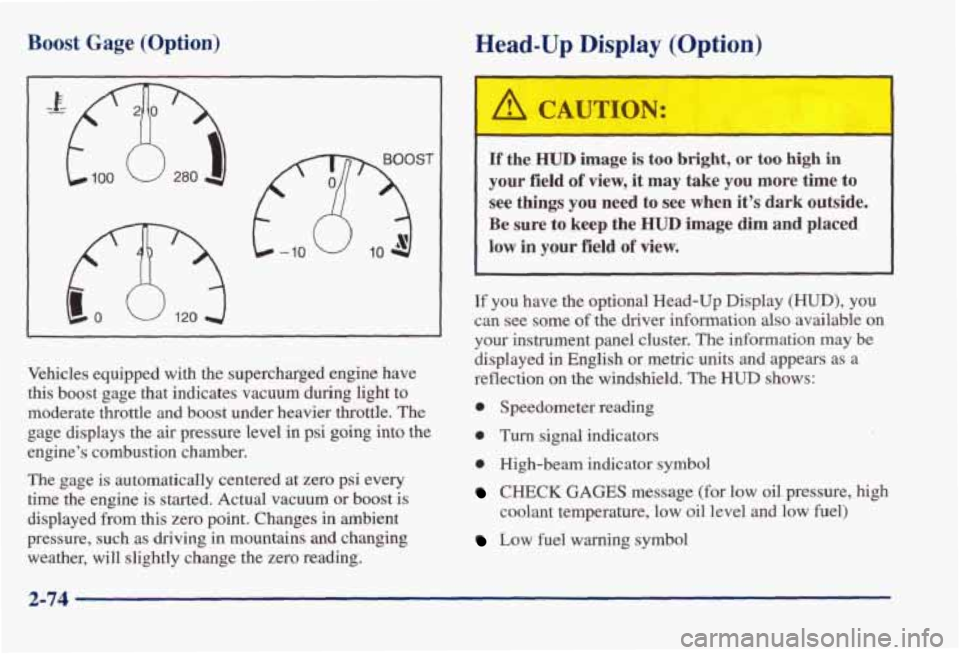
Boost Gage (Option) Head-Up Display (Option)
fXjST
Vehicles equipped with the supercharged engine have
this boost gage that indicates vacuum during light
to
moderate throttle and boost under heavier throttle. The
gage displays the air pressure level in psi going into the
engine’s combustion chamber.
The gage is automatically centered at zero psi every
time the engine is started. Actual vacuum or boost
is
displayed from this zero point. Changes in ambient
pressure, such as driving in mountains
and changing
weather, will slightly change the zero reading.
If the HUD image is too bright, or too high in
your field of view, it may take you more time to
see things you need to see when it’s dark outside.
Be sure to keep the HUD image dim and placed
low in your field of view.
If you have the optional Head-Up Display (HUD), you
can see some
of the driver information also available on
your instrument panel cluster. The information
may be
displayed in English or metric units and appears as a
reflection on the windshield. The
HUD shows:
0 Speedometer reading
0 Turn signal indicators
0 High-beam indicator symbol
CHECK GAGES message (for low oil pressure, high
coolant temperature, low oil level and low fuel)
Low fuel warning symbol
2-74
Page 135 of 395
FUNCTION MONITOR: This lets you know if you are
low on fluids or have a problem with a vehicle function:
0
0
0
0
CHECK OIL LEVEL: This message could mean
your oil level
is low. If it comes on for more than
three seconds, see “Check Oil
Level Warning Light”
in the Index.
WASHER FLUID: This message means your
washer fluid
tank is less than about 30 percent full.
The windshield portion
of the vehicle outline will
also glow,
If these come on, see “Windshield Washer
Fluid” in the Index.
LOW COOLANT: This message means your
coolant level has fallen to about half full. If it comes
on,
see “Engine Coolant” in the Index.
CHECK GAGES: If this light comes on and stays
on while you are driving, check your gages for fuel,
coolant temperature, oil pressure or battery voltage.
SECURITY: You’ll get a DOOR AJAR message if a
door is not fully closed. The vehicle outline will show
you which door
it is. You will also get a HOOD AJAR
or TRUNK AJAR message if the hood or the trunk isn’t
fully closed. The vehicle outline will
also show you
these are ajar.
LAMP MONITOR: Whenever you try to use one of
the following lamps, the LAMP MONITOR will tell you
if a bulb is out.
0 Headlamp (Low and High Beam)
0 Turn Signal/Parking/Stop
0 Parking Lamp/Sidemarker
Brake Lamp and Center High-Mounted Stoplamp
0 Back-up Lamp
0 Taillamp~rn/Sidemarker/License
If a bulb is out, you will see a message, such as PARK
LAMP, and you will also see where the problem is on
the vehicle outline.
The message stays on until the
problem
is fixed. See “Replacement Bulbs” in the
Index for bulb details.
2-78
Page 136 of 395
If a bumed-out bulb is replaced, the warning light will
stay on until the bulb is used.
Message
Hi Beam Lamp . .
Head Lamp .......
Turn Signal .........
Back Up . .
Tail ......
.......
ParkLamp . .
Bulbs Monitored
. Both Headlamp High Beams
. , Both Headlamp Low Beams
.... 1 Front Left Turn/Park
1 Front Right Turn/Park
1 Rear Left Turn
1 Rear Right Turn
..... .2 Back-up Lamps
......... 4 Tail Only
4 Stop/Tail
2 License Plate
1 Right Rear Sidemarker
1 Left Rear Sidemarker
1 Center High-Mounted Stop
............ 2 Front Park
Right Sidemarker Left Sidemarker
Brake Lamp
............... 4 Rear Stop/Tail./Tbm
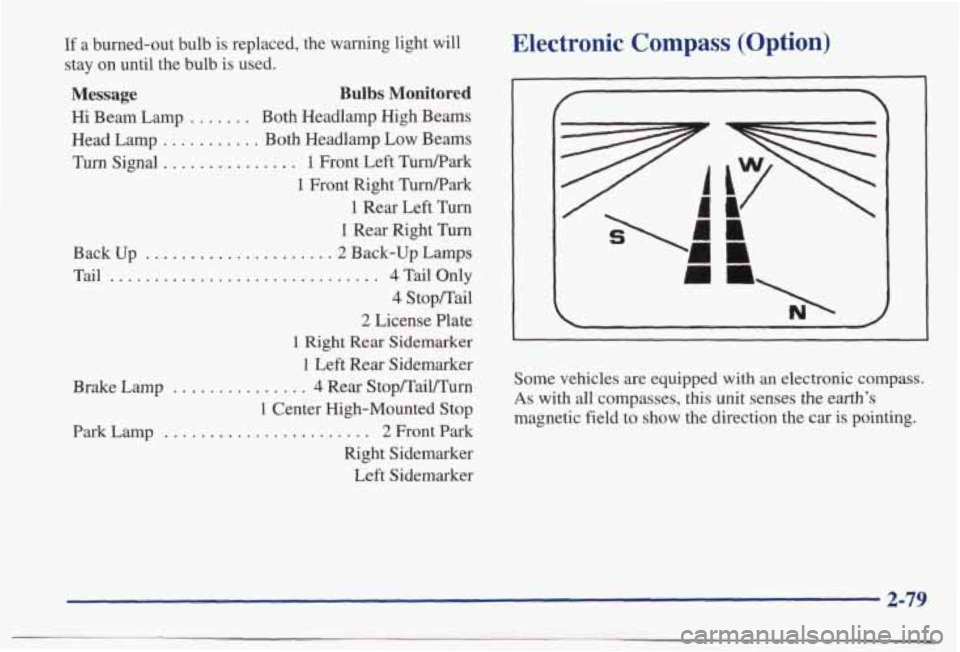
Electronic Compass (Option)
Some vehicles are equipped with an electronic compass.
As with all compasses, this unit senses the earth's
magnetic field to
show the direction the car is pointing.
2-79