1998 NISSAN FRONTIER run flat
[x] Cancel search: run flatPage 50 of 224

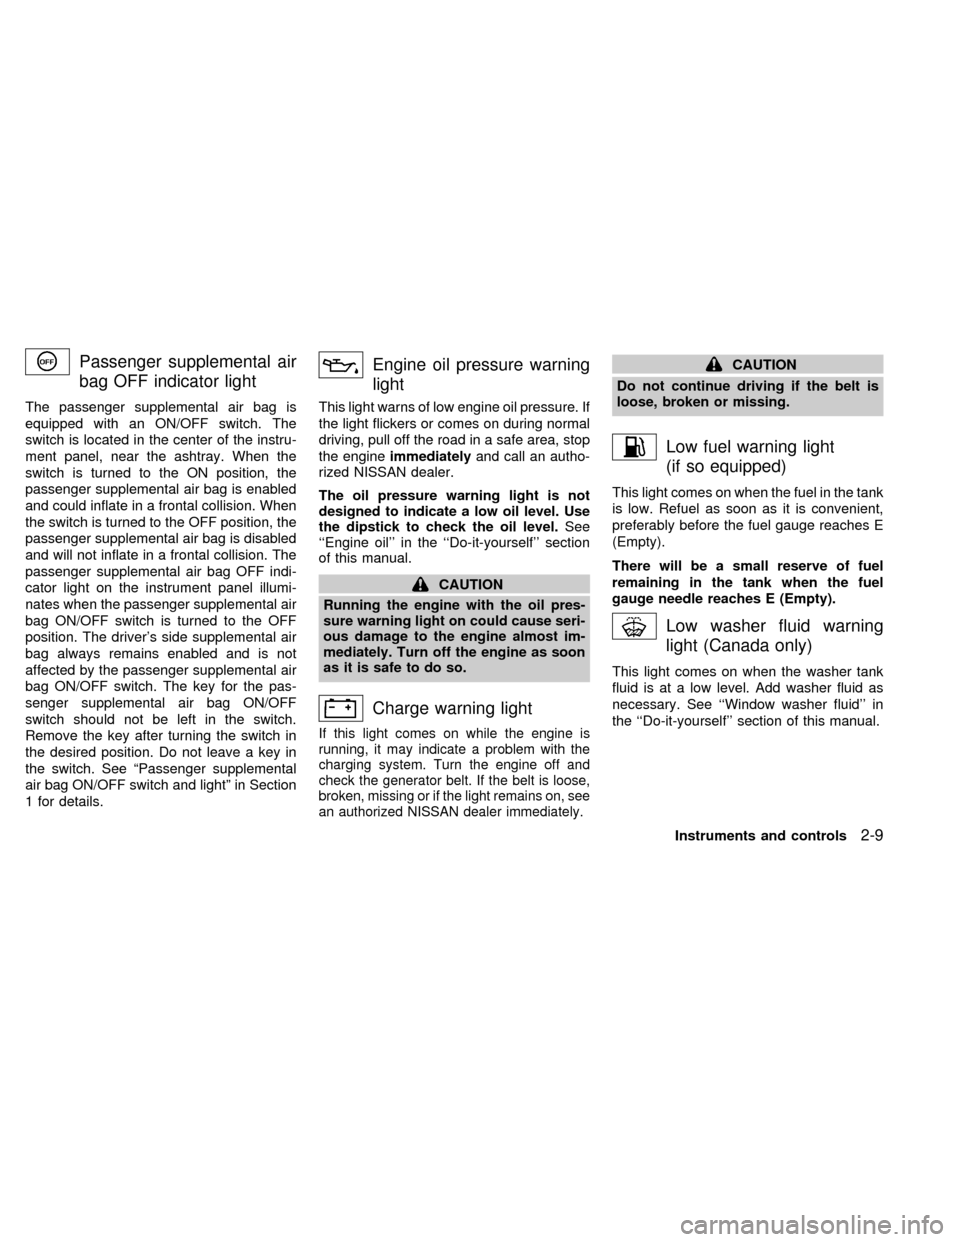
Passenger supplemental air
bag OFF indicator light
The passenger supplemental air bag is
equipped with an ON/OFF switch. The
switch is located in the center of the instru-
ment panel, near the ashtray. When the
switch is turned to the ON position, the
passenger supplemental air bag is enabled
and could inflate in a frontal collision. When
the switch is turned to the OFF position, the
passenger supplemental air bag is disabled
and will not inflate in a frontal collision. The
passenger supplemental air bag OFF indi-
cator light on the instrument panel illumi-
nates when the passenger supplemental air
bag ON/OFF switch is turned to the OFF
position. The driver's side supplemental air
bag always remains enabled and is not
affected by the passenger supplemental air
bag ON/OFF switch. The key for the pas-
senger supplemental air bag ON/OFF
switch should not be left in the switch.
Remove the key after turning the switch in
the desired position. Do not leave a key in
the switch. See ªPassenger supplemental
air bag ON/OFF switch and lightº in Section
1 for details.
Engine oil pressure warning
light
This light warns of low engine oil pressure. If
the light flickers or comes on during normal
driving, pull off the road in a safe area, stop
the engineimmediatelyand call an autho-
rized NISSAN dealer.
The oil pressure warning light is not
designed to indicate a low oil level. Use
the dipstick to check the oil level.See
``Engine oil'' in the ``Do-it-yourself'' section
of this manual.
CAUTION
Running the engine with the oil pres-
sure warning light on could cause seri-
ous damage to the engine almost im-
mediately. Turn off the engine as soon
as it is safe to do so.
Charge warning light
If this light comes on while the engine is
running, it may indicate a problem with the
charging system. Turn the engine off and
check the generator belt. If the belt is loose,
broken, missing or if the light remains on, see
an authorized NISSAN dealer immediately.
CAUTION
Do not continue driving if the belt is
loose, broken or missing.
Low fuel warning light
(if so equipped)
This light comes on when the fuel in the tank
is low. Refuel as soon as it is convenient,
preferably before the fuel gauge reaches E
(Empty).
There will be a small reserve of fuel
remaining in the tank when the fuel
gauge needle reaches E (Empty).
Low washer fluid warning
light (Canada only)
This light comes on when the washer tank
fluid is at a low level. Add washer fluid as
necessary. See ``Window washer fluid'' in
the ``Do-it-yourself'' section of this manual.
Instruments and controls
2-9
ZX
Page 135 of 224

WARNING
cIncorrect wheel nuts or improperly
tightened wheel nuts can cause the
wheel to become loose or come off.
This could cause an accident.
cDo not use oil or grease on the wheel
studs or nuts. This could cause the
nuts to become loose.
Installing the spare tire
The spare tire is designed for emergency
use. See specific instructions under the
heading ``Wheels and tires'' in the ``Do-it-yourself'' section of this owner's
manual.
1. Clean any mud or dirt from the surface
between the wheel and hub.
2. Carefully put the spare tire on and tighten
the wheel nuts finger tight.
3. With the wheel nut wrench, tighten the
wheel nuts alternately and evenly until
they are tight.
4. Lower the vehicle slowly until the tire
touches the ground. Then, with the wheel
nut wrench, tighten the wheel nuts se-
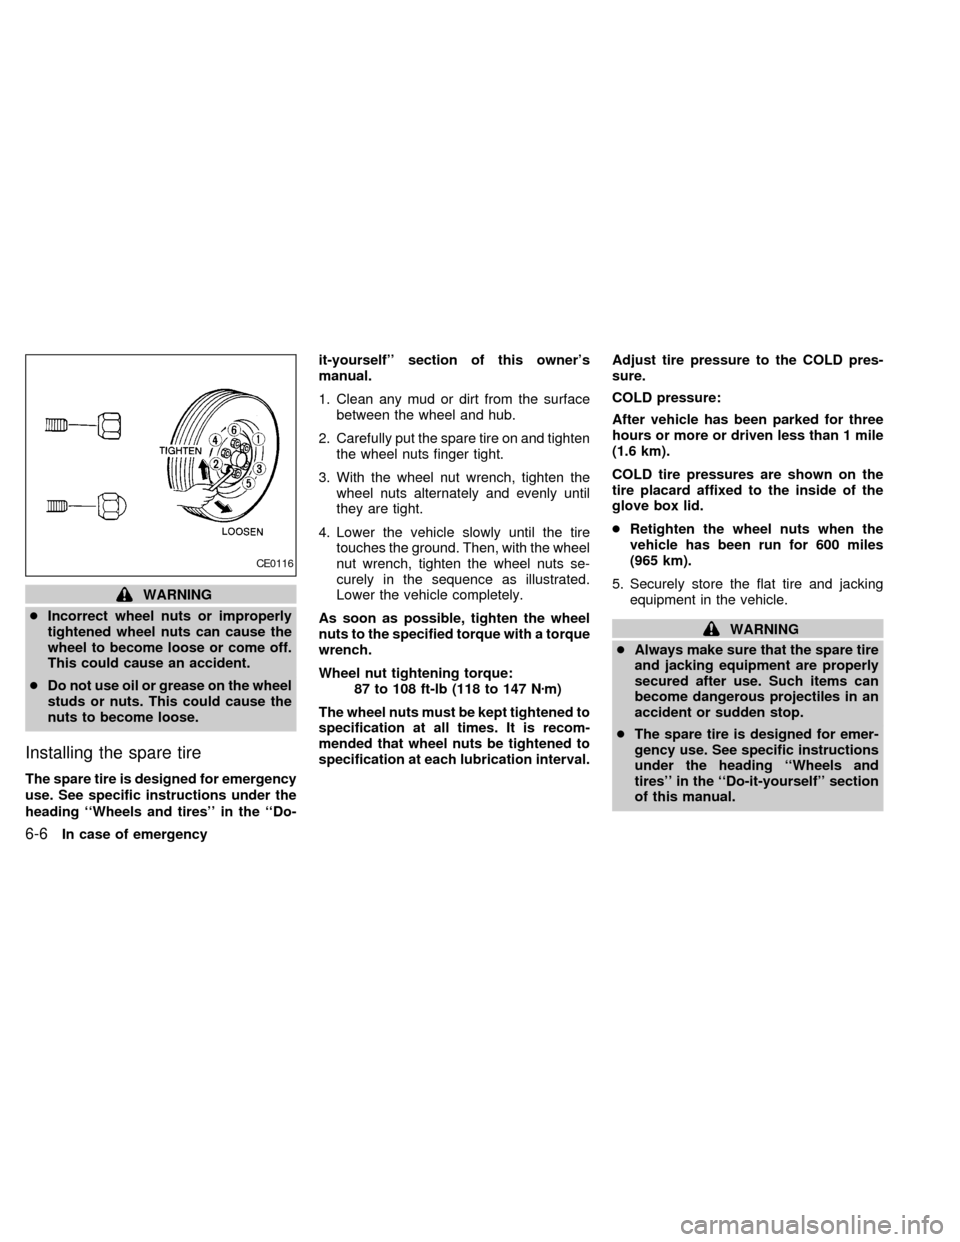
curely in the sequence as illustrated.
Lower the vehicle completely.
As soon as possible, tighten the wheel
nuts to the specified torque with a torque
wrench.
Wheel nut tightening torque:
87 to 108 ft-lb (118 to 147 Nzm)
The wheel nuts must be kept tightened to
specification at all times. It is recom-
mended that wheel nuts be tightened to
specification at each lubrication interval.Adjust tire pressure to the COLD pres-
sure.
COLD pressure:
After vehicle has been parked for three
hours or more or driven less than 1 mile
(1.6 km).
COLD tire pressures are shown on the
tire placard affixed to the inside of the
glove box lid.
cRetighten the wheel nuts when the
vehicle has been run for 600 miles
(965 km).
5. Securely store the flat tire and jacking
equipment in the vehicle.
WARNING
cAlways make sure that the spare tire
and jacking equipment are properly
secured after use. Such items can
become dangerous projectiles in an
accident or sudden stop.
cThe spare tire is designed for emer-
gency use. See specific instructions
under the heading ``Wheels and
tires'' in the ``Do-it-yourself'' section
of this manual.
CE0116
6-6In case of emergency
ZX
Page 175 of 224

Tire rotation
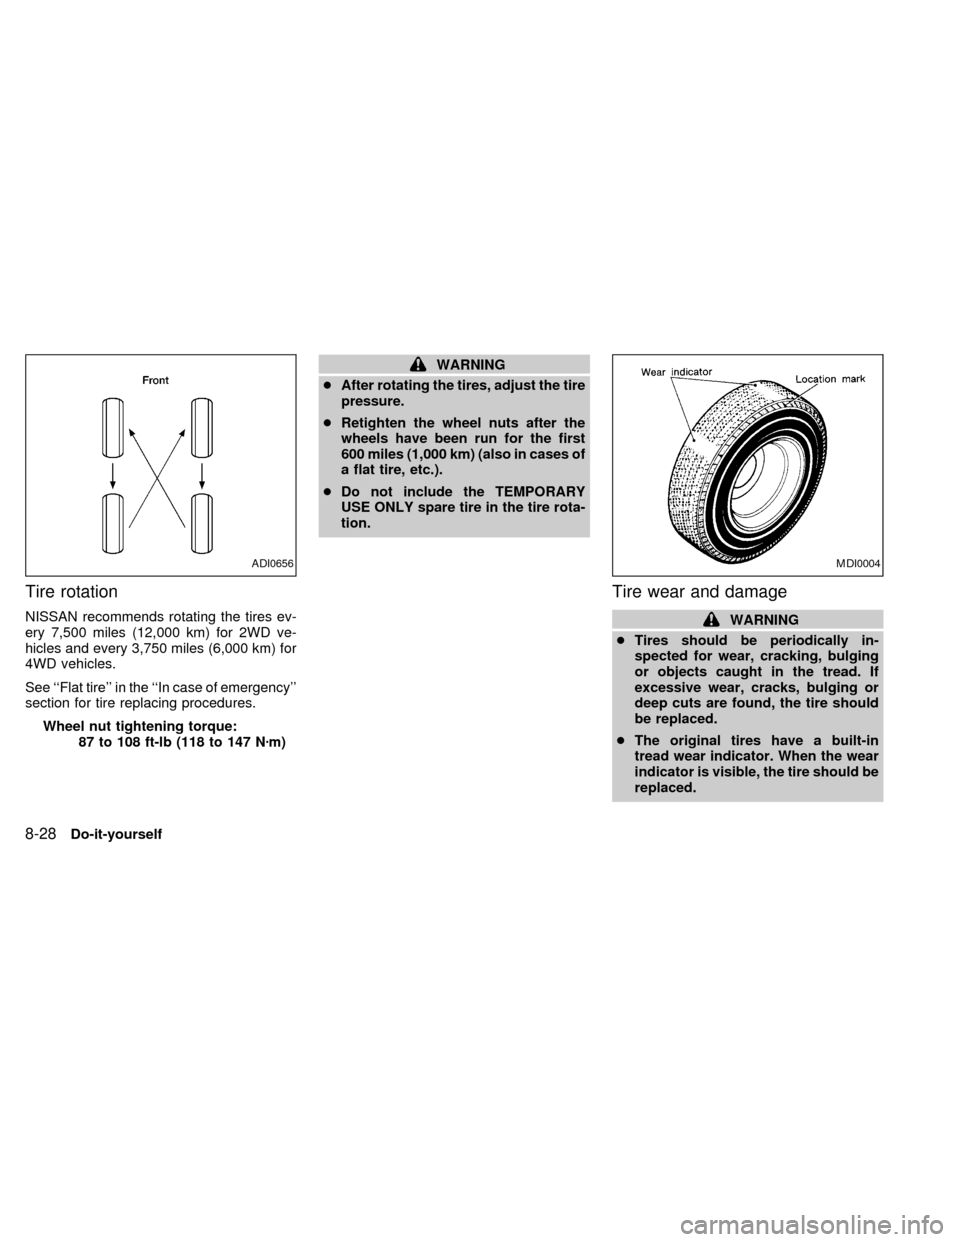
NISSAN recommends rotating the tires ev-
ery 7,500 miles (12,000 km) for 2WD ve-
hicles and every 3,750 miles (6,000 km) for
4WD vehicles.
See ``Flat tire'' in the ``In case of emergency''
section for tire replacing procedures.
Wheel nut tightening torque:
87 to 108 ft-lb (118 to 147 Nzm)
WARNING
cAfter rotating the tires, adjust the tire
pressure.
cRetighten the wheel nuts after the
wheels have been run for the first
600 miles (1,000 km) (also in cases of
a flat tire, etc.).
cDo not include the TEMPORARY
USE ONLY spare tire in the tire rota-
tion.
Tire wear and damage
WARNING
cTires should be periodically in-
spected for wear, cracking, bulging
or objects caught in the tread. If
excessive wear, cracks, bulging or
deep cuts are found, the tire should
be replaced.
cThe original tires have a built-in
tread wear indicator. When the wear
indicator is visible, the tire should be
replaced.
ADI0656MDI0004
8-28Do-it-yourself
ZX
Page 219 of 224

D
Daytime running light system (Canada
only) ........................................................... 2-14
Dimensions and weights.......................... 10-11
Door locks .................................................... 3-2
Drive belts .................................................. 8-14
Driving
Auto-lock free-running hubs ................. 5-16
Cold weather driving............................. 5-26
Driving with automatic transmission ....... 5-6
Driving with manual transmission ........... 5-8
Driving your 4-wheel drive safely ......... 5-21
Manual-lock free-running hubs ............. 5-19
Precautions when starting and driving ... 5-2
E
Economy - fuel........................................... 5-14
Emission control information label........... 10-13
Emission control system warranty ........... 10-25
Engine
Before starting the engine ...................... 5-6
Capacities and recommended fuel/
lubricants .............................................. 10-2
Changing engine coolant........................ 8-5
Changing engine oil................................ 8-7
Changing engine oil filter........................ 8-9
Checking engine coolant level ............... 8-4
Checking engine oil level ....................... 8-6
Engine compartment check locations .... 8-3Engine coolant temperature gauge ........ 2-5
Engine cooling system ........................... 8-4
Engine oil ................................................ 8-6
Engine oil and oil filter
recommendation ................................... 10-6
Engine oil pressure warning light ........... 2-9
Engine oil viscosity ............................... 10-7
Engine serial number ......................... 10-13
Engine specifications ............................ 10-9
Starting the engine ............................... 5-10
Exhaust gas (Carbon monoxide) ................. 5-2
F
Flashers (See hazard warning flasher
switch) ........................................................ 2-16
Flat tire ......................................................... 6-2
Floor mat positioning aid ............................. 7-4
Fluid
Automatic transmission fluid (ATF) ........ 8-9
Brake fluid ................................... 10-3, 8-11
Capacities and recommended fuel/
lubricants .............................................. 10-2
Clutch fluid ............................................ 8-11
Engine coolant ........................................ 8-4
Engine oil ................................................ 8-6
Power steering fluid .............................. 8-11
Window washer fluid ............................ 8-12
F.M.V.S.S. certification label ................... 10-13
Front seats
Bench...................................................... 1-4
Separate ................................................. 1-2Fuel
Capacities and recommended fuel/
lubricants .............................................. 10-2
Fuel economy ....................................... 5-14
Fuel filler cap .......................................... 3-9
Fuel gauge.............................................. 2-6
Fuel octane rating................................. 10-5
Fuel recommendation ........................... 10-4
Fuses ......................................................... 8-22
G
Gauge
Engine coolant temperature gauge ........ 2-5
Fuel gauge.............................................. 2-6
Odometer ................................................ 2-3
Speedometer .......................................... 2-3
Tachometer............................................. 2-5
General maintenance .................................. 9-2
H
Hazard warning flasher switch .................. 2-16
Head restraints ............................................ 1-3
Headlight and turn signal switch ............... 2-14
Headlights .................................................. 8-23
Heater
Heater and air conditioner controls ........ 4-3
Heater operation ..................................... 4-4
Heater operation .......................................... 4-4
Hood release ............................................... 3-8
11-2
ZX