Page 154 of 224
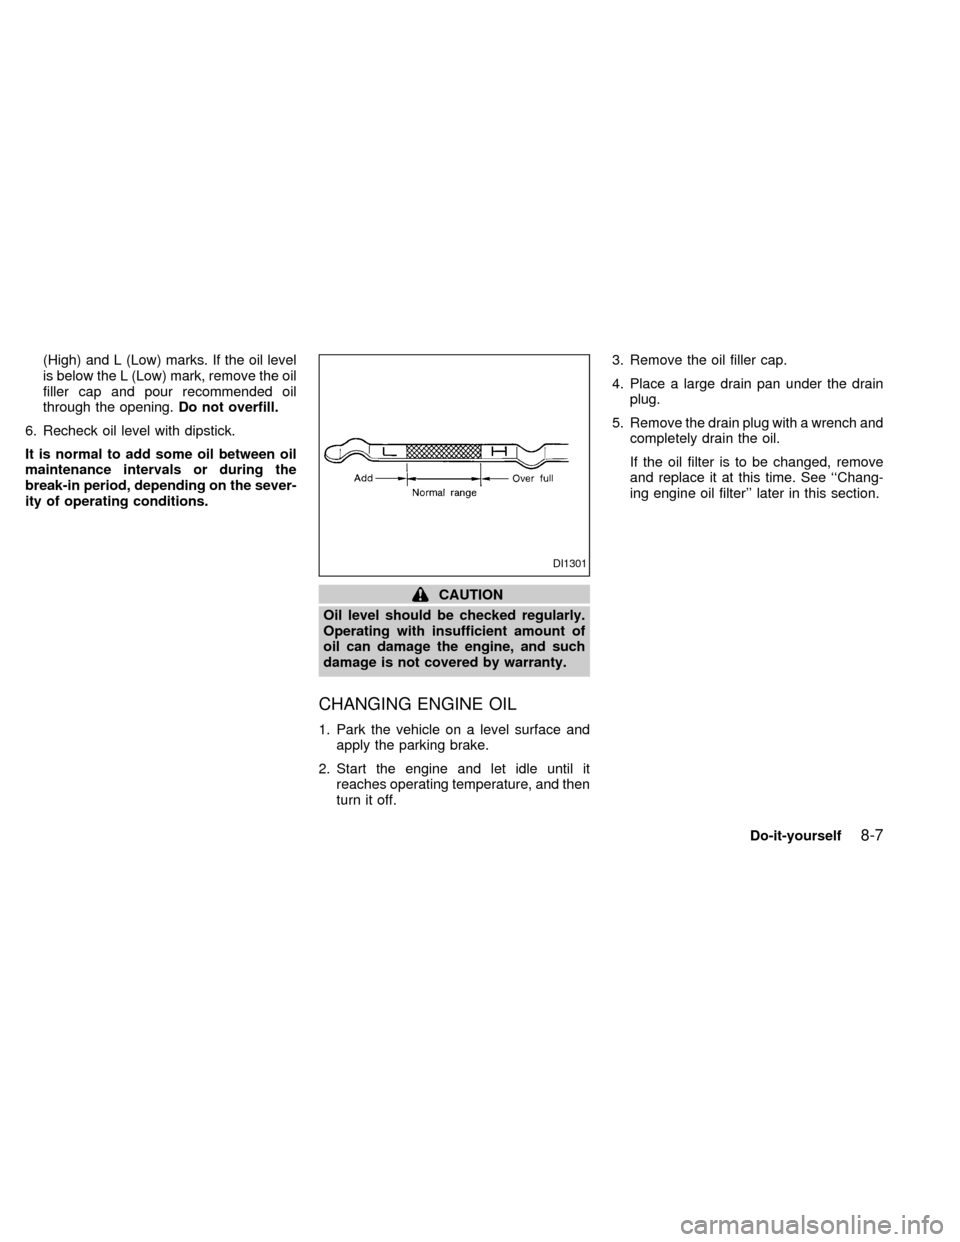
(High) and L (Low) marks. If the oil level
is below the L (Low) mark, remove the oil
filler cap and pour recommended oil
through the opening.Do not overfill.
6. Recheck oil level with dipstick.
It is normal to add some oil between oil
maintenance intervals or during the
break-in period, depending on the sever-
ity of operating conditions.
CAUTION
Oil level should be checked regularly.
Operating with insufficient amount of
oil can damage the engine, and such
damage is not covered by warranty.
CHANGING ENGINE OIL
1. Park the vehicle on a level surface and
apply the parking brake.
2. Start the engine and let idle until it
reaches operating temperature, and then
turn it off.3. Remove the oil filler cap.
4. Place a large drain pan under the drain
plug.
5. Remove the drain plug with a wrench and
completely drain the oil.
If the oil filter is to be changed, remove
and replace it at this time. See ``Chang-
ing engine oil filter'' later in this section.
DI1301
Do-it-yourself8-7
ZX
Page 155 of 224
WARNING
cProlonged and repeated contact with
used engine oil may cause skin can-
cer.
cTry to avoid direct skin contact with
used oil. If skin contact is made,
wash thoroughly with soap or hand
cleaner as soon as possible.
cKeep used engine oil out of reach of
children.
CAUTION
Be careful not to burn yourself, as the
engine oil is hot.
Waste oil must be disposed of properly.
Check your local regulations.
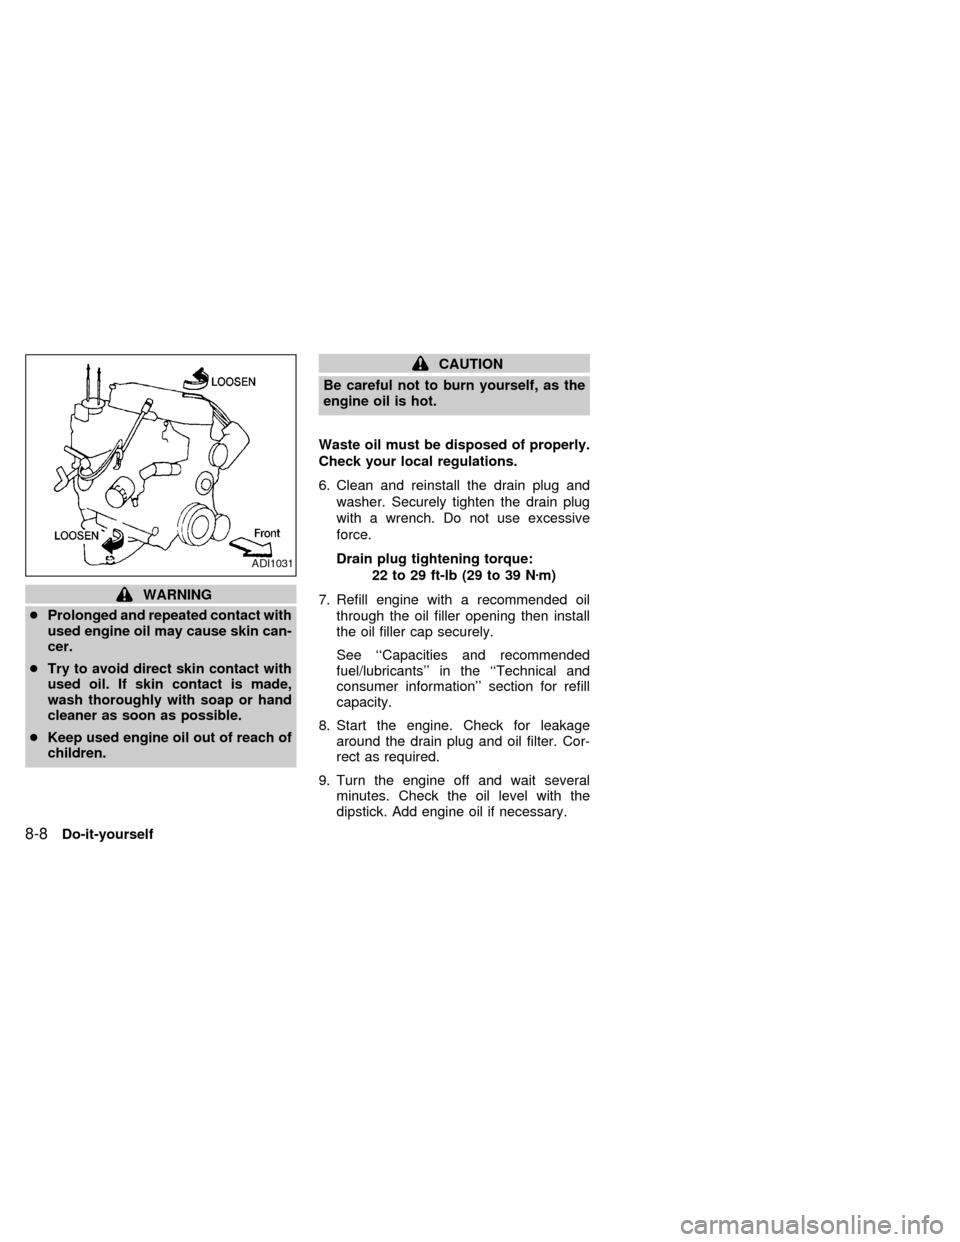
6. Clean and reinstall the drain plug and
washer. Securely tighten the drain plug
with a wrench. Do not use excessive
force.
Drain plug tightening torque:
22 to 29 ft-lb (29 to 39 Nzm)
7. Refill engine with a recommended oil
through the oil filler opening then install
the oil filler cap securely.
See ``Capacities and recommended
fuel/lubricants'' in the ``Technical and
consumer information'' section for refill
capacity.
8. Start the engine. Check for leakage
around the drain plug and oil filter. Cor-
rect as required.
9. Turn the engine off and wait several
minutes. Check the oil level with the
dipstick. Add engine oil if necessary.
ADI1031
8-8Do-it-yourself
ZX
Page 156 of 224
CHANGING ENGINE OIL FILTER
1. Park the vehicle on a level surface and
apply the parking brake.
2. Turn the engine off.
3. Place a large drain pan under the oil
filter.
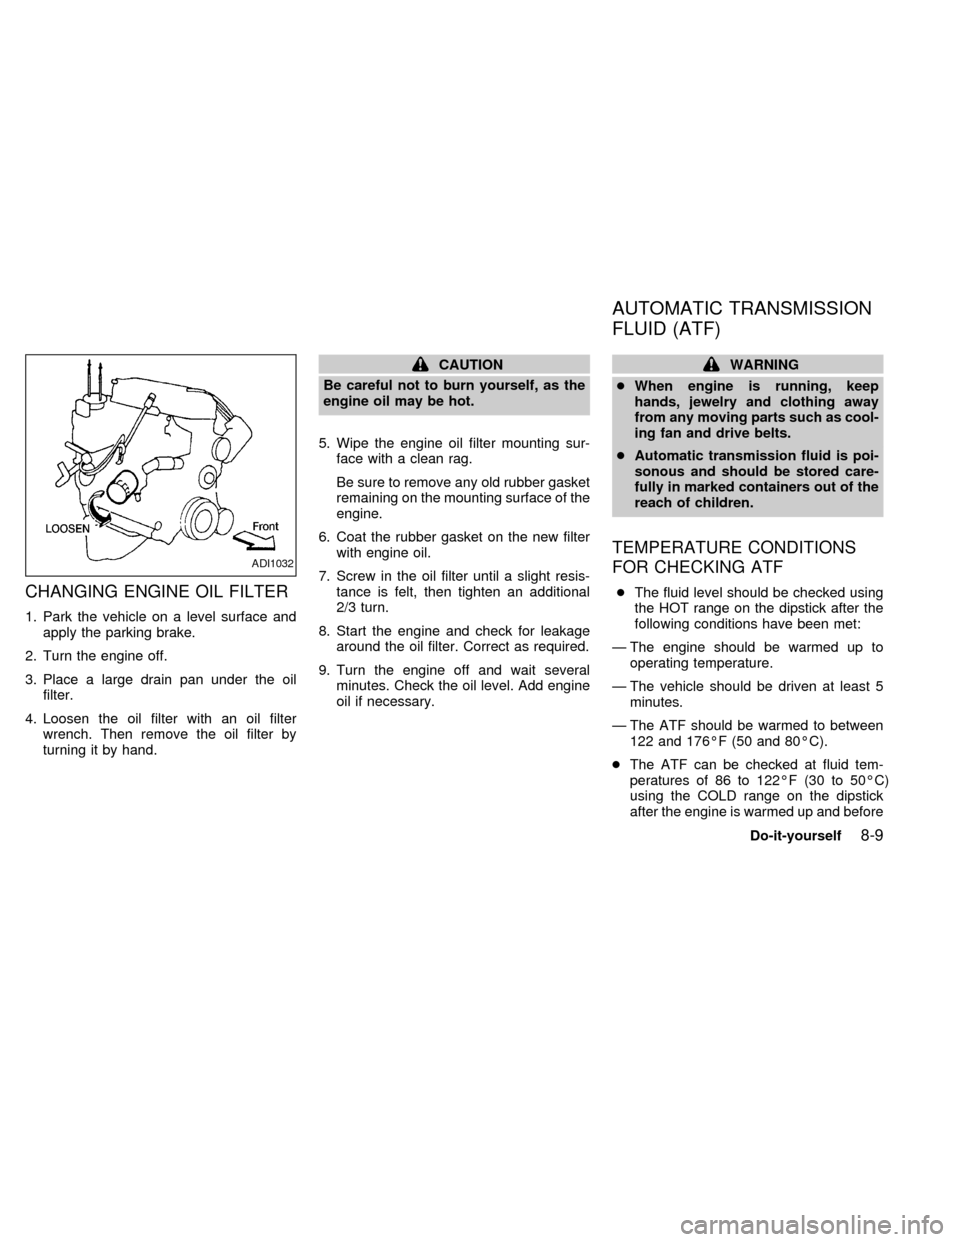
4. Loosen the oil filter with an oil filter
wrench. Then remove the oil filter by
turning it by hand.
CAUTION
Be careful not to burn yourself, as the
engine oil may be hot.
5. Wipe the engine oil filter mounting sur-
face with a clean rag.
Be sure to remove any old rubber gasket
remaining on the mounting surface of the
engine.
6. Coat the rubber gasket on the new filter
with engine oil.
7. Screw in the oil filter until a slight resis-
tance is felt, then tighten an additional
2/3 turn.
8. Start the engine and check for leakage
around the oil filter. Correct as required.
9. Turn the engine off and wait several
minutes. Check the oil level. Add engine
oil if necessary.WARNING
cWhen engine is running, keep
hands, jewelry and clothing away
from any moving parts such as cool-
ing fan and drive belts.
cAutomatic transmission fluid is poi-
sonous and should be stored care-
fully in marked containers out of the
reach of children.
TEMPERATURE CONDITIONS
FOR CHECKING ATF
cThe fluid level should be checked using
the HOT range on the dipstick after the
following conditions have been met:
Ð The engine should be warmed up to
operating temperature.
Ð The vehicle should be driven at least 5
minutes.
Ð The ATF should be warmed to between
122 and 176ÉF (50 and 80ÉC).
cThe ATF can be checked at fluid tem-
peratures of 86 to 122ÉF (30 to 50ÉC)
using the COLD range on the dipstick
after the engine is warmed up and before
ADI1032
AUTOMATIC TRANSMISSION
FLUID (ATF)
Do-it-yourself8-9
ZX
Page 157 of 224
driving. However, the fluid should be
re-checked using the HOT range.
1. Park the vehicle on a level surface and
set the parking brake.
2. Start the engine and then move the se-
lector lever through each gear range,
ending in P (Park).
3. Check the fluid level with the engine
idling.
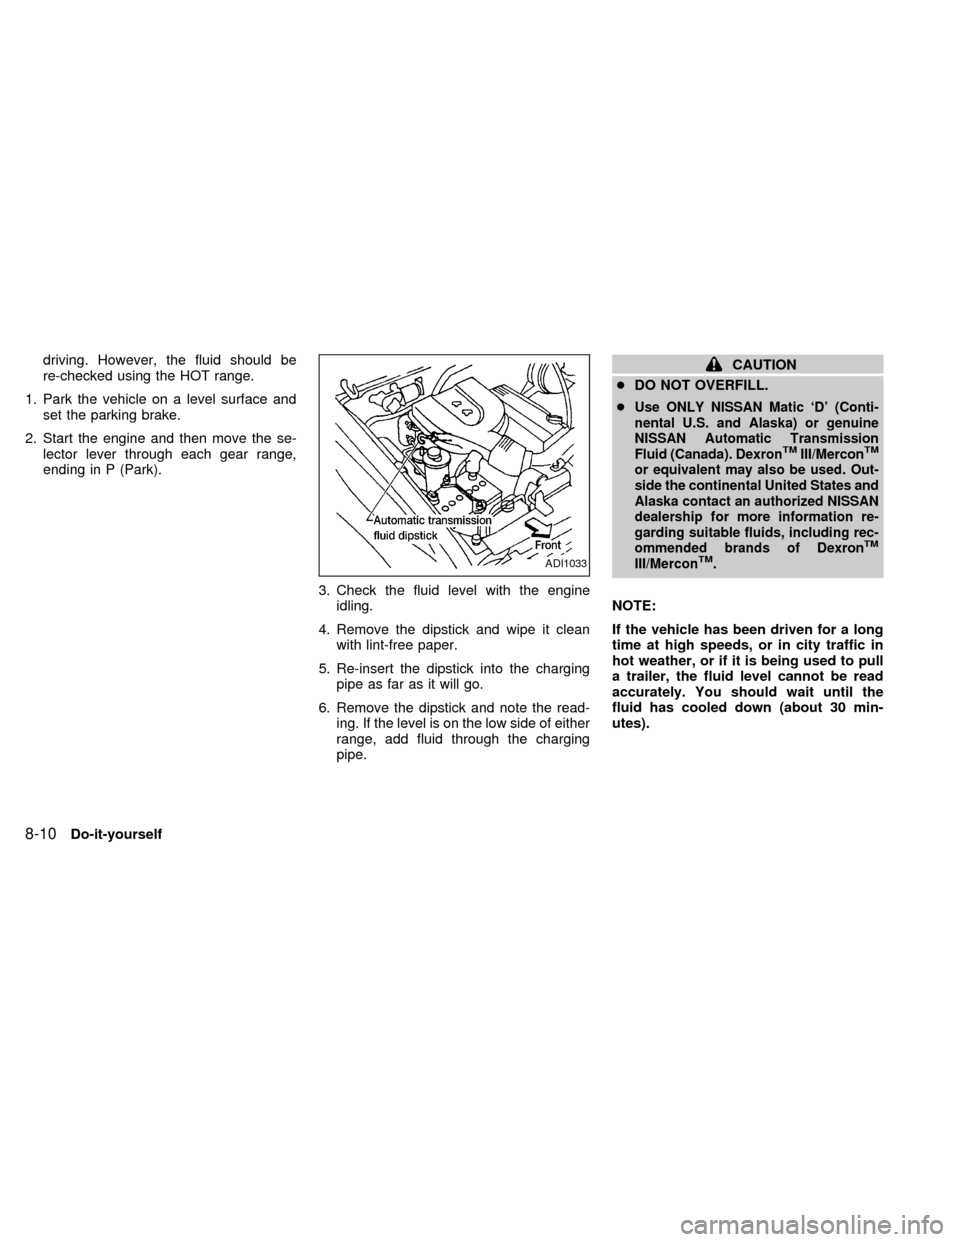
4. Remove the dipstick and wipe it clean
with lint-free paper.
5. Re-insert the dipstick into the charging
pipe as far as it will go.
6. Remove the dipstick and note the read-
ing. If the level is on the low side of either
range, add fluid through the charging
pipe.CAUTION
cDO NOT OVERFILL.
c
Use ONLY NISSAN Matic `D' (Conti-
nental U.S. and Alaska) or genuine
NISSAN Automatic Transmission
Fluid (Canada). Dexron
TMIII/MerconTM
or equivalent may also be used. Out-
side the continental United States and
Alaska contact an authorized NISSAN
dealership for more information re-
garding suitable fluids, including rec-
ommended brands of Dexron
TM
III/MerconTM.
NOTE:
If the vehicle has been driven for a long
time at high speeds, or in city traffic in
hot weather, or if it is being used to pull
a trailer, the fluid level cannot be read
accurately. You should wait until the
fluid has cooled down (about 30 min-
utes).
ADI1033
8-10Do-it-yourself
ZX
Page 159 of 224
For further brake and clutch fluid specifica-
tion information, refer to ``Capacities and
recommended fuel/lubricants'' in the ``Tech-
nical and consumer information'' section of
this manual.
WARNING
Use only new fluid from a sealed con-
tainer. Old, inferior or contaminated
fluid may damage the brake and clutch
systems. The use of improper fluids
can damage the brake system and af-
fect the vehicle's stopping ability.
CAUTION
Do not spill the fluid on any painted
surfaces. This will damage the paint. If
fluid is spilled, wash with water.USA Only
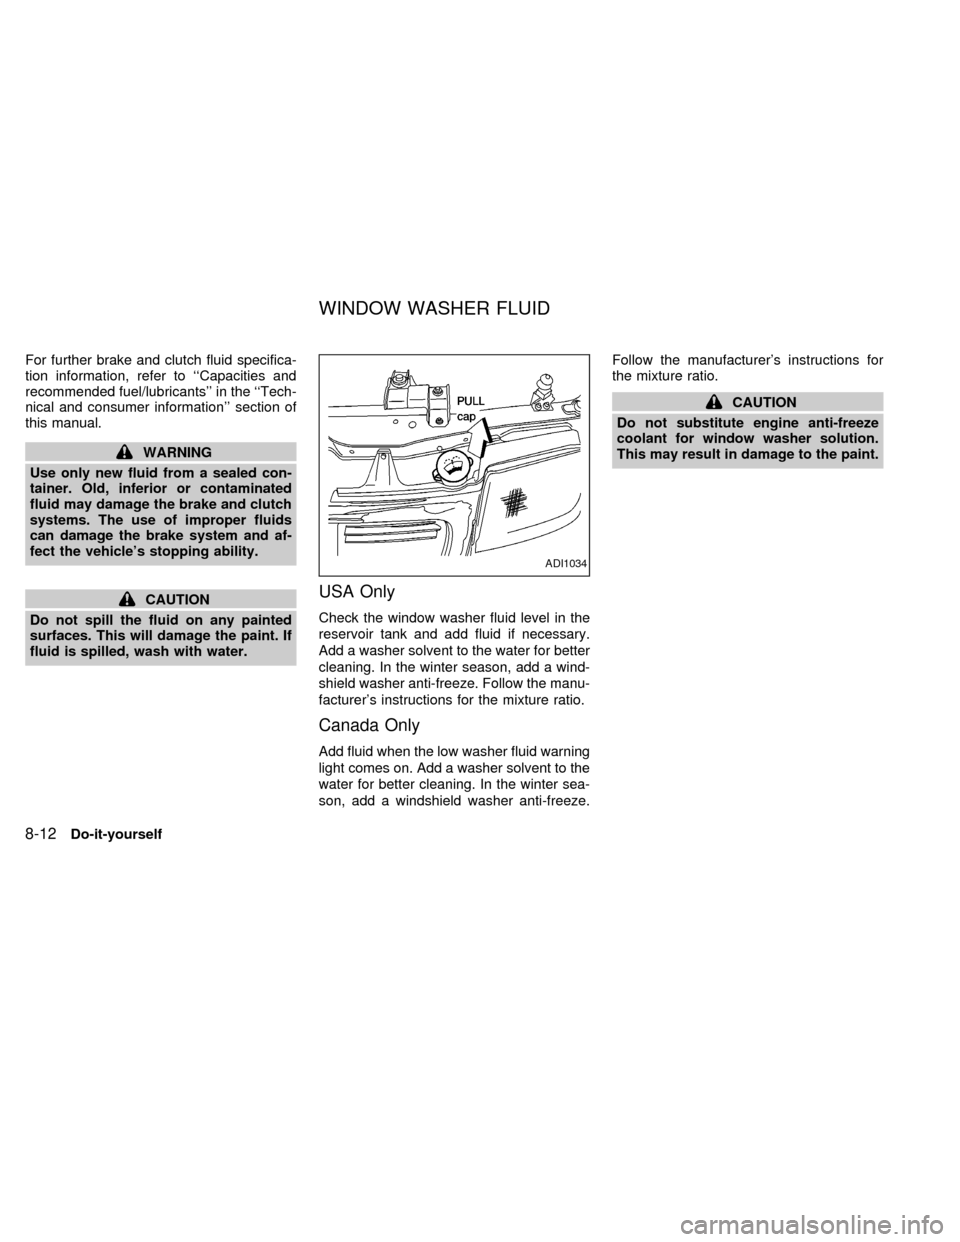
Check the window washer fluid level in the
reservoir tank and add fluid if necessary.
Add a washer solvent to the water for better
cleaning. In the winter season, add a wind-
shield washer anti-freeze. Follow the manu-
facturer's instructions for the mixture ratio.
Canada Only
Add fluid when the low washer fluid warning
light comes on. Add a washer solvent to the
water for better cleaning. In the winter sea-
son, add a windshield washer anti-freeze.Follow the manufacturer's instructions for
the mixture ratio.
CAUTION
Do not substitute engine anti-freeze
coolant for window washer solution.
This may result in damage to the paint.
ADI1034
WINDOW WASHER FLUID
8-12Do-it-yourself
ZX
Page 160 of 224
cKeep the battery surface clean and dry.
Any corrosion should be washed off with
a solution of baking soda and water.
cMake certain the terminal connections
are clean and securely tightened.
c
If the vehicle is not to be used for 30 days
or longer, disconnect the negative (þ) bat-
tery terminal cable to prevent discharge.
WARNING
cDo not expose the battery to flames
or electrical sparks. Hydrogen gas
generated by battery action is explo-
sive. Do not allow battery fluid to
contact your skin, eyes, fabrics, or
painted surfaces. After touching a
battery or battery cap, do not touch
or rub your eyes. Thoroughly wash
your hands. If the acid contacts your
eyes, skin or clothing, immediately
flush with water for at least 15 min-
utes and seek medical attention.
cWhen working on or near a battery,
always wear suitable eye protection
and remove all jewelry.
cKeep the battery out of the reach of
children.
JUMP STARTING
If jump starting is necessary, see ``Jump
starting'' in the ``In case of emergency''
section. If the engine does not start by jump
starting, the battery may have to be re-
placed. Contact an authorized NISSAN
dealer.
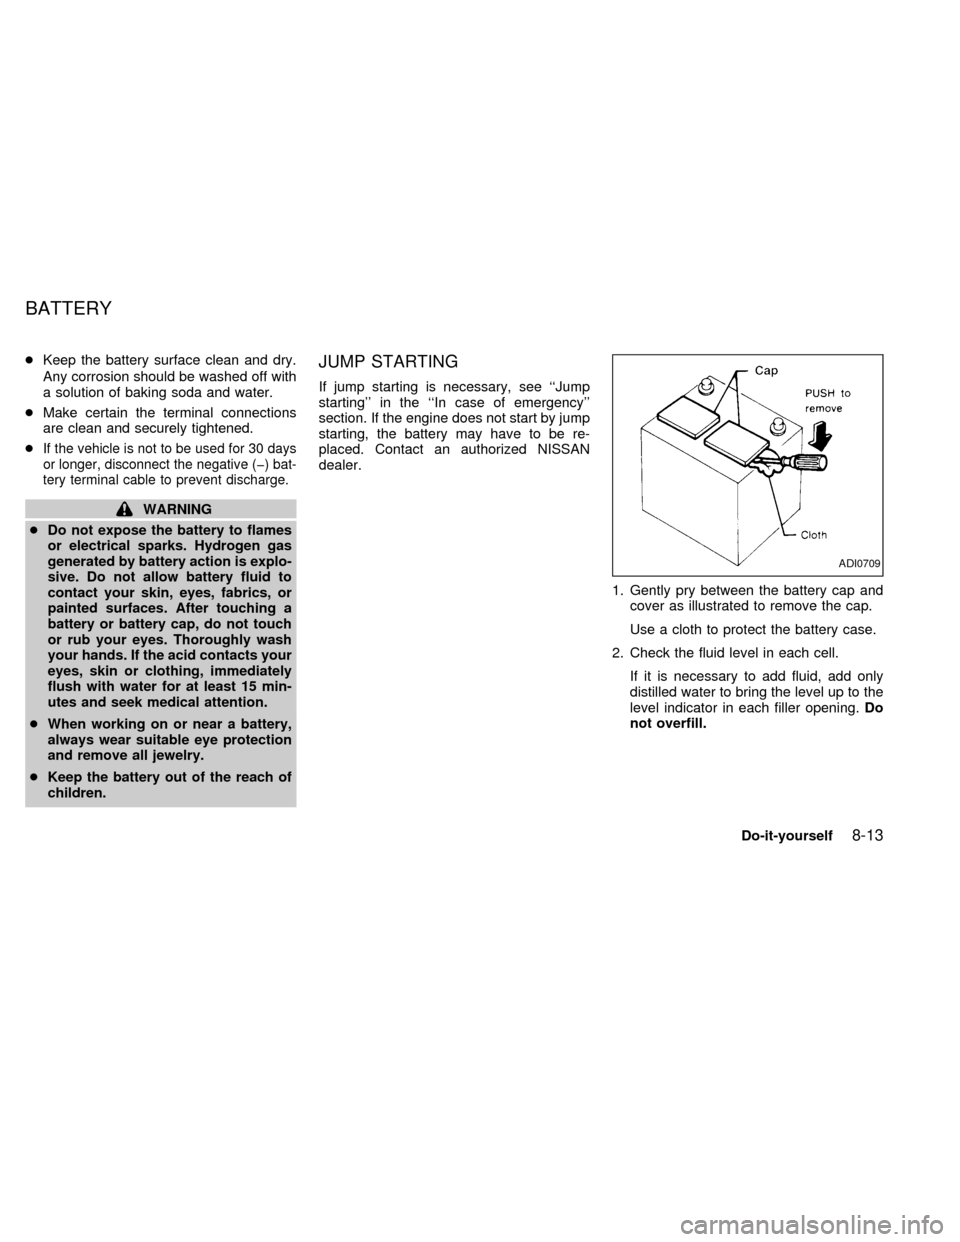
1. Gently pry between the battery cap and
cover as illustrated to remove the cap.
Use a cloth to protect the battery case.
2. Check the fluid level in each cell.
If it is necessary to add fluid, add only
distilled water to bring the level up to the
level indicator in each filler opening.Do
not overfill.
ADI0709
BATTERY
Do-it-yourself8-13
ZX
Page 161 of 224
WARNING
Be sure the ignition key is OFF. The
engine could rotate unexpectedly.
1. Visually inspect each belt for signs of
unusual wear, cuts, fraying or looseness.
If the belt is in poor condition or loose,
have it replaced or adjusted by an autho-
rized NISSAN dealer.
2. Have the belts checked regularly for con-
dition and tension in accordance with the
maintenance schedule found in the
``Maintenance'' section of this manual.
ADI0710ADI0730
DRIVE BELTS
8-14Do-it-yourself
ZX
Page 162 of 224
WARNING
Be sure the engine and ignition switch
are off and that the parking brake is
engaged securely.
CAUTION
Be sure to use the correct socket to
remove the plugs. An incorrect socket
can cause damage.
1. Disconnect spark plug cables. Keep
track of the original cable locations.When disconnecting, always hold the
boots Ð not the cables. Mark all cables
to identify their original location.
2. Remove spark plugs with a spark plug
socket.
3. Check each new spark plug gap with a
feeler gauge. Correct it as required.
4. Install spark plugs.
When installing a plug, turn it two or
three turns by hand and then tighten with
a spark plug socket. Be careful not to
overtighten it.Tightening torque:
14 to 22 ft-lb (20 to 29 Nzm)
5. Reconnect the spark plug cables to their
original positions.
DI1229MDI0065
SPARK PLUG REPLACEMENT
Do-it-yourself8-15
ZX