1998 LINCOLN CONTINENTAL light
[x] Cancel search: lightPage 149 of 176

EMISSION CONTROL SYSTEM
Your vehicle is equipped with various emission control components and a
catalytic converter which will enable your vehicle to comply with
applicable exhaust emission standards. To make sure that the catalytic
converter and other emission control components continue to work
properly:
²Use only unleaded fuel.
²Avoid running out of fuel.
²Do not turn off the ignition while your vehicle is moving, especially at
high speeds.
²Have the services listed in your ªService Guideº performed according
to the specified schedule.
The Scheduled Maintenance Services listed in the ªService Guideº are
required because they are considered essential to the life and
performance of your vehicle and to its emissions system.
If other than Ford, Motorcraft or Ford authorized parts are used for
maintenance replacements or for service of components affecting
emission control such non-Ford parts should be equivalent to genuine
Ford Motor Company parts in performance and durability.
Do not park, idle, or drive your vehicle in dry grass or other dry
ground cover. The emission system heats up the engine
compartment and exhaust system, which can start a fire.
Watch for fluid leaks, strange odors, smoke, loss of oil pressure, the
charging system warning light, the ªService Engine Soonº light or the
temperature warning light. These events could indicate that the emission
control system is not working properly.
If you smell exhaust fumes of any kind inside your vehicle, have
the dealer inspect and fix your vehicle immediately. Do not drive
if you smell exhaust fumes. These fumes are harmful and could kill
you.
Do not make any unauthorized changes to your vehicle or engine. By
law, vehicle owners and anyone who manufactures, repairs, services,
sells, leases, trades vehicles, or supervises a fleet of vehicles are not
permitted to intentionally remove an emission control device or prevent
it from working. Information about your vehicle's emission system is on
Maintenance and care
149
Page 150 of 176

the Vehicle Emission Control Information Decal located on or near the
engine. This decal identifies engine displacement and gives some tune up
specifications.
Please consult your ªWarranty Guideº for complete emission warranty
information.
Readiness for inspection/maintenance (I/M) testing
In some localities, it may be a legal requirement to pass an I/M test of
the on-board diagnostic (OBD-II) system. If your ªcheck engine/service
engine soonº light is on, reference the applicable light description in the
Warning Lights and Chimessection of your owners guide. Your vehicle
may not pass the I/M test with the ªcheck engine/service engine soonº
light on.
If the vehicle's powertrain system or its battery has just been serviced,
the OBD-II system is reset to a ªnot ready for I/M testº condition. To
ready the OBD-II system for I/M testing, a minimum of 30 minutes of city
and highway driving is necessary as described below:
²First, at least 10 minutes of driving on an expressway or highway.
²Next, at least 20 minutes driving in stop and go, city type traffic with
at least four idle periods.
Allow the vehicle to sit for at least eight hours without starting the
engine. Then, start the engine and complete the above driving cycle. The
engine must warm up to its normal operating temperature. Once started,
do not turn off the engine until the above driving cycle is complete.
EXTERIOR BULBS
Replacing headlamp bulbs
Handle a halogen headlamp bulb carefully and keep out of
children's reach. Grasp the bulb only by its plastic base and do
not touch the glass. The oil from your hand could cause the bulb to
break the next time the headlamps are operated.
To remove the headlamp bulb:
1. Make sure headlamp switch is in OFF position.
2. Lift the hood and remove the plastic sight shield covering the back of
the headlamps by lifting up on the rear corners to release the velcro
attachments. Lift the shield and pull towards the windshield.
Maintenance and care
150
Page 151 of 176

3. At the back of the headlamp, pull back and up slightly on the two
right angle brackets to release the headlamp assembly from the vehicle.
4. Carefully pull the headlamp assembly away from the vehicle to expose
the back of the bulb and wiring connector.
5. Disconnect the electrical
connector from the bulb by pulling
the connector rearward.
6. Remove the bulb retaining ring by
rotating it counterclockwise (when
viewed from the rear) about an
eighth of a turn to free it from the
bulb socket, and by sliding the ring
off the plastic base. Keep the ring
because it will be used again to
retain the new bulb.
7. Remove the old bulb from its socket by gently pulling it straight back
out of the socket. Do not turn the bulb while removing it.
To install the new bulb:
1. With the flat side of the bulb's
plastic base facing upward, insert
the glass end of the bulb into the
socket. You may need to turn the
bulb left or right to line up the
grooves in the plastic base with the
tabs in the socket. When the
grooves are aligned, push the bulb into the socket until the plastic base
contacts the rear of the socket.
2. Slip the bulb retaining ring over the plastic base until it contacts the
rear of the socket by rotating it clockwise until you feel a ªstop.º
3. Push the electrical connector into the rear of the plastic base until it
snaps, locking it into position.
4. Before reinstalling the plastic sight shield, make sure the sight shield
tabs are properly seated under the grille molding.
Maintenance and care
151
Page 154 of 176

3. The ªUº and ªDº on the bubble
indicate the directional change (up
or down) of the vertical aim.
4.Usea4mmwrench or socket to
turn the vertical adjusting screw
until the bubble is centered between
the two red lines which represents
the ª0º mark position.
When the horizontal and vertical indicators are set to the ª0º mark, the
headlamp has been properly aimed.
5. Replace the protective cover.
REPLACING THE INTERIOR BULBS
Check the operation of the following interior bulbs frequently:
²interior overhead lamp
²map lamp
Using the right bulbs
Function Trade Number
Headlamp 9007
Cornering lamp (front) 3156K
Backup lamp 3156
High-mount brakelamp 912
Park/turn lamp (front) 3157K
License plate lamp 168
Luggage compartment lamp (decklid ajar) 912
Side marker (front) 194NA
Side marker (rear) 916
Stoplamp and tail lamp 3157K
Redundant turn lamp (rear) 3157K
Glovebox lamp 194
Ash receptacle 1445
Ash tray (rear) 37
Cigar lighter (console) 1893
D U
Maintenance and care
154
Page 155 of 176

Function Trade Number
Door mounted lamp (front) 214-2
Illuminated visor mirror 74
Overhead console reading lamp (without
moon roof)912
Passenger assist handle (rear seat) 211-2
To replace all instrument panel lights - see your dealer.
CLEANING AND CARING FOR YOUR VEHICLE
Refer to the ªCustomer Assistance Guideº for a list of Ford-approved
cleaners, polishes and waxes.
Washing your vehicle
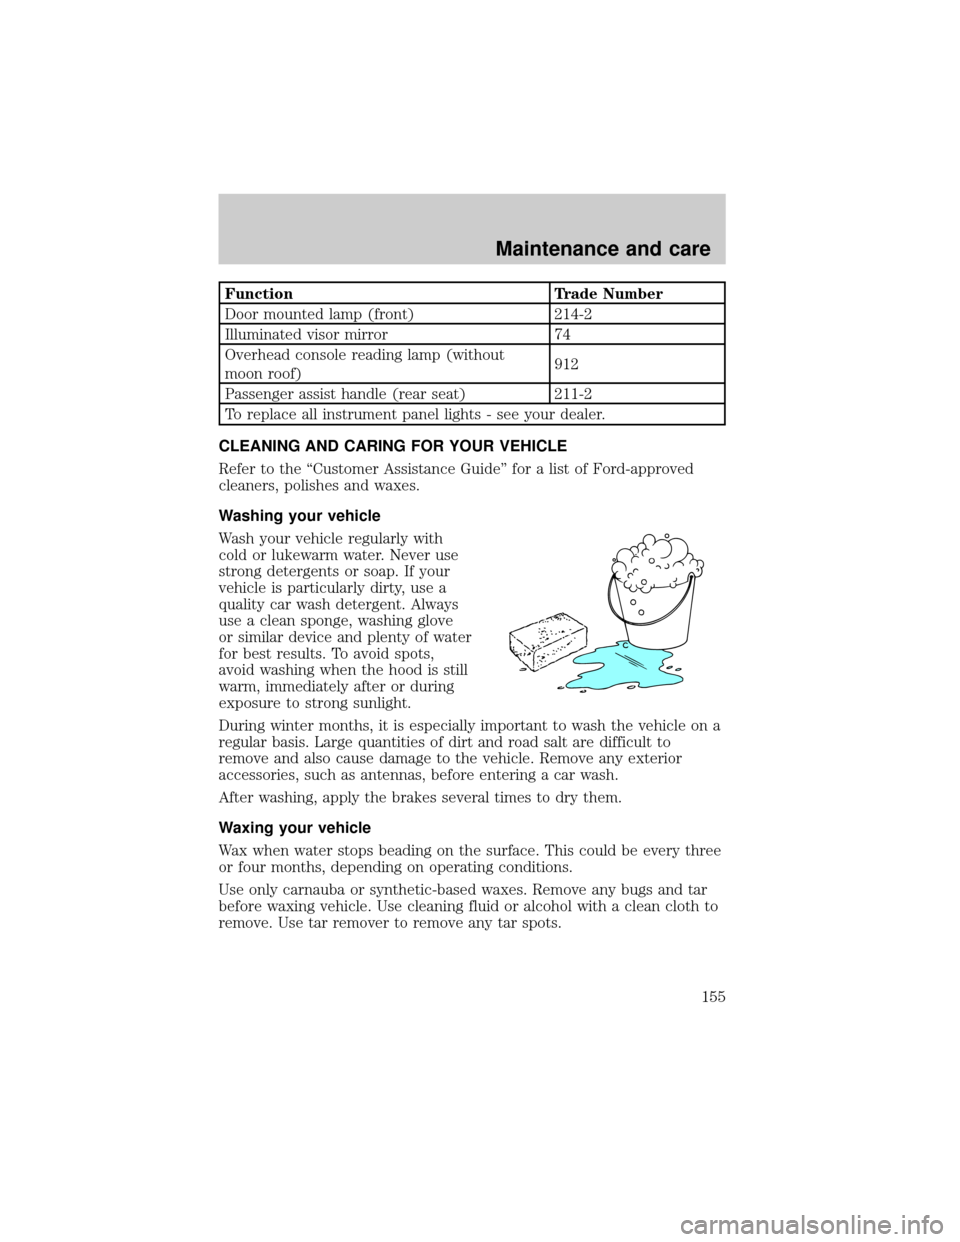
Wash your vehicle regularly with
cold or lukewarm water. Never use
strong detergents or soap. If your
vehicle is particularly dirty, use a
quality car wash detergent. Always
use a clean sponge, washing glove
or similar device and plenty of water
for best results. To avoid spots,
avoid washing when the hood is still
warm, immediately after or during
exposure to strong sunlight.
During winter months, it is especially important to wash the vehicle on a
regular basis. Large quantities of dirt and road salt are difficult to
remove and also cause damage to the vehicle. Remove any exterior
accessories, such as antennas, before entering a car wash.
After washing, apply the brakes several times to dry them.
Waxing your vehicle
Wax when water stops beading on the surface. This could be every three
or four months, depending on operating conditions.
Use only carnauba or synthetic-based waxes. Remove any bugs and tar
before waxing vehicle. Use cleaning fluid or alcohol with a clean cloth to
remove. Use tar remover to remove any tar spots.
Maintenance and care
155
Page 156 of 176

Repairing paint chips
Minor scratches or paint damage from road debris may be repaired with
touch-up paint, repair foil or aerosol paint spray from the Ford accessory
line. Observe the application instructions on the products.
Remove particles such as bird droppings, tree sap, insect remains, tar
spots, road salt and industrial fallout immediately.
Cleaning the wheels
Wash with the same detergent as the body of your vehicle. Do not use
acid-based wheel cleaners, steel wool, fuel or strong detergents. Never
use abrasives that will damage the finish of special wheel surfaces. Use a
tar remover to remove grease and tar.
Cleaning the engine
Engines are more efficient when they are clean because grease and dirt
buildup keep the engine warmer than normal. When washing:
²Take care when using a power washer to clean the engine. The high
pressure fluid could penetrate the sealed parts and cause damage.
²Do not spray with cold water to avoid cracking the engine block or
other engine components.
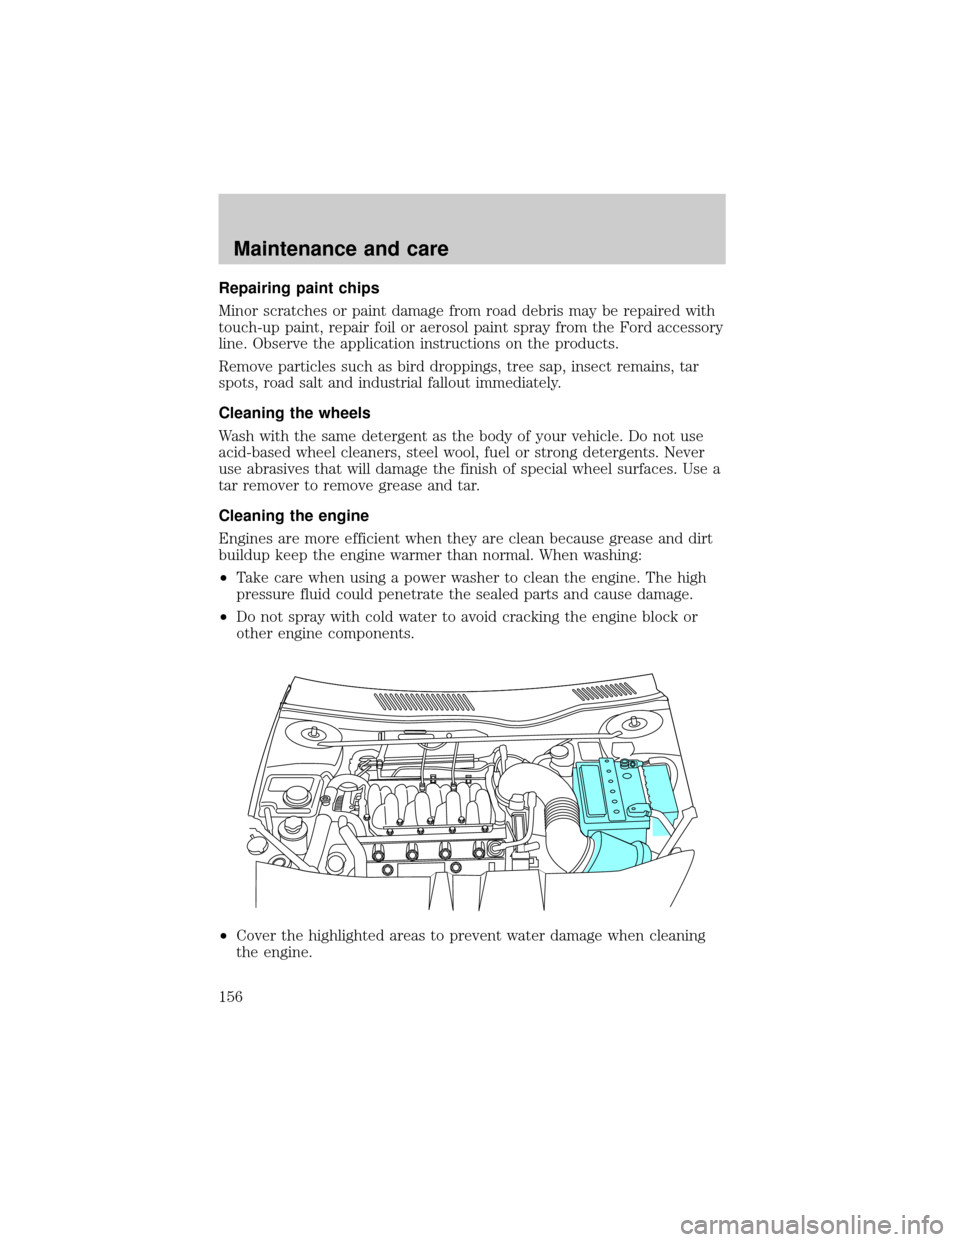
²Cover the highlighted areas to prevent water damage when cleaning
the engine.
Maintenance and care
156
Page 167 of 176

Air bag supplemental restraint
system ..........................................80
and child safety seats ..............81
description ................................80
disposal ......................................83
indicator light ...........................82
passenger air bag .....................81
Air suspension
description ................................98
Anti-lock brake system
(ABS)#$description
Anti-theft system ........................63
Battery .......................................136
Brakes ..........................................95
anti-lock .....................................95
anti-lock brake system (ABS)
warning light .............................95
fluid, checking and adding ....130
traction control .........................97
Brake-shift interlock ...................99
Break-in period .............................2
Bulbs, replacing ........................150
headlamps ...............................150
specifications ..........................154
Changing a tire .........................119
Child safety seats ........................84
Childproof locks ..........................61
Chime
headlamps on ..............................9
Cleaning your vehicle ...............155
engine compartment ..............156
instrument panel ....................157
plastic parts ............................157
safety belts ..............................157
tail lamps .................................157
washing ....................................155
waxing .....................................155
wheels ......................................156
windows ..................................159
woodtone trim ........................158Climate control system
automatic temperature
control ..............27,28,29,30,31,32
Clock ............................................33
Compass, electronic ....................55
calibration .................................57
set zone adjustment .................56
Controls .......................................62
Electronic sound system ............62
Emission control system ..........149
Engine ........................................162
service points ..........................127
Engine block heater ...................93
Engine coolant
checking and adding .......131,132
disposal ....................................133
refill capacities ........................133
Engine oil ...........................128,129
changing oil and oil filter .......130
checking and adding .......128,129
Exhaust fumes ............................93
Floor mats ...................................63
Fuel
calculating fuel economy .......148
improving fuel economy ........108
octane rating ...........................147
quality ......................................147
running out of fuel .................148
safety information relating to
automotive fuels .....................146
Fuel gauge ...................................10
Fuel pump shut-off switch .......109
Fuse panels
instrument panel ....................110
power distribution box ...........117
Fuses ...................................109,110
Gauges, Mechanical ....................10
engine coolant temperature
gauge .........................................11
Headlamps
autolamp system .......................27
flashing ......................................26
Index
167
Page 168 of 176

high beam .................................26
Heating ........................................27
High beams
indicator light .............................8
Hood
release lever ............................127
Ignition
positions of the ignition ...........34
Jump-starting your vehicle .....122,
123
attaching cables ......................123
disconnecting cables ..............124
Keyless entry system
autolock .....................................70
keypad .......................................68
programming entry code ........68,
69,70
Keys
key in ignition chime .................9
Lamps
interior lamps ....................40,154
map lamps .................................40
Lights, warning and indicator
air bag ..........................................7
anti-lock brakes (ABS) ..............8
brake ............................................7
charging system ..........................8
oil pressure .................................9
safety belt ...................................7
service engine soon ....................6
turn signal indicator ...................8
Lubricant specifications ...........161
Message center ...........................12
date/economy button ...............15
menu button ..............16,17,18,19
reset button ..............................16
system check button ................13
warning messages .....................13
Mirrors
automatic dimming rearview
mirror ........................................57
cleaning ...................................159heated ........................................61
side view mirrors (power) .......60
Moon roof ....................................52
Odometer .....................................10
Panic alarm feature, remote
entry system ................................66
Parking brake ..............................96
Parts (see Motorcraft parts) ....160
Power door locks ........................58
Power steering
fluid, checking and adding ....134
Refill capacities for fluids ........160
Relays ........................................109
Remote entry system .................65
illuminated entry ......................67
locking/unlocking doors ...........65
replacement/additional
transmitters ...............................67
replacing the batteries .............66
Reporting safety defects ..........166
Safety restraints
automatic locking mode
(retractor) ............................75,76
extension assembly ..................78
for children ...............................83
lap and shoulder belts ........74,75
maintenance ..............................79
proper use .................................73
warning light and chime ..9,78,79
Safety seats for children
attaching with tether straps ....88
automatic locking mode
(retractor) .................................85
in rear seat ................................88
tether anchorage hardware .....88
Seats ............................................71
adjusting the seat, power ........71
head restraints ..........................71
heated seats ..............................73
lumbar support .........................73
Servicing your vehicle ..............126
precautions when servicing ...126
Index
168