Page 34 of 176

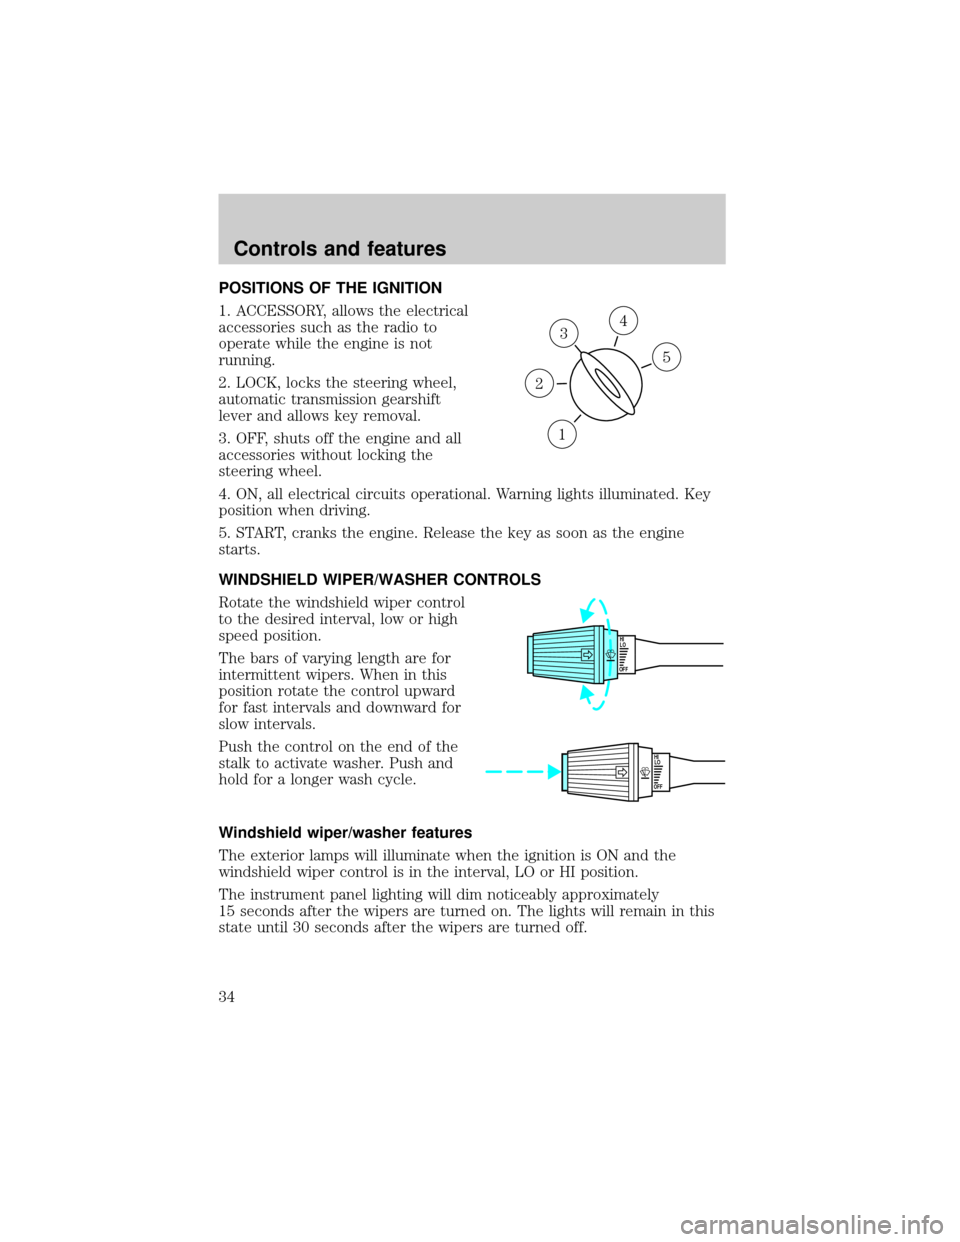
POSITIONS OF THE IGNITION
1. ACCESSORY, allows the electrical
accessories such as the radio to
operate while the engine is not
running.
2. LOCK, locks the steering wheel,
automatic transmission gearshift
lever and allows key removal.
3. OFF, shuts off the engine and all
accessories without locking the
steering wheel.
4. ON, all electrical circuits operational. Warning lights illuminated. Key
position when driving.
5. START, cranks the engine. Release the key as soon as the engine
starts.
WINDSHIELD WIPER/WASHER CONTROLS
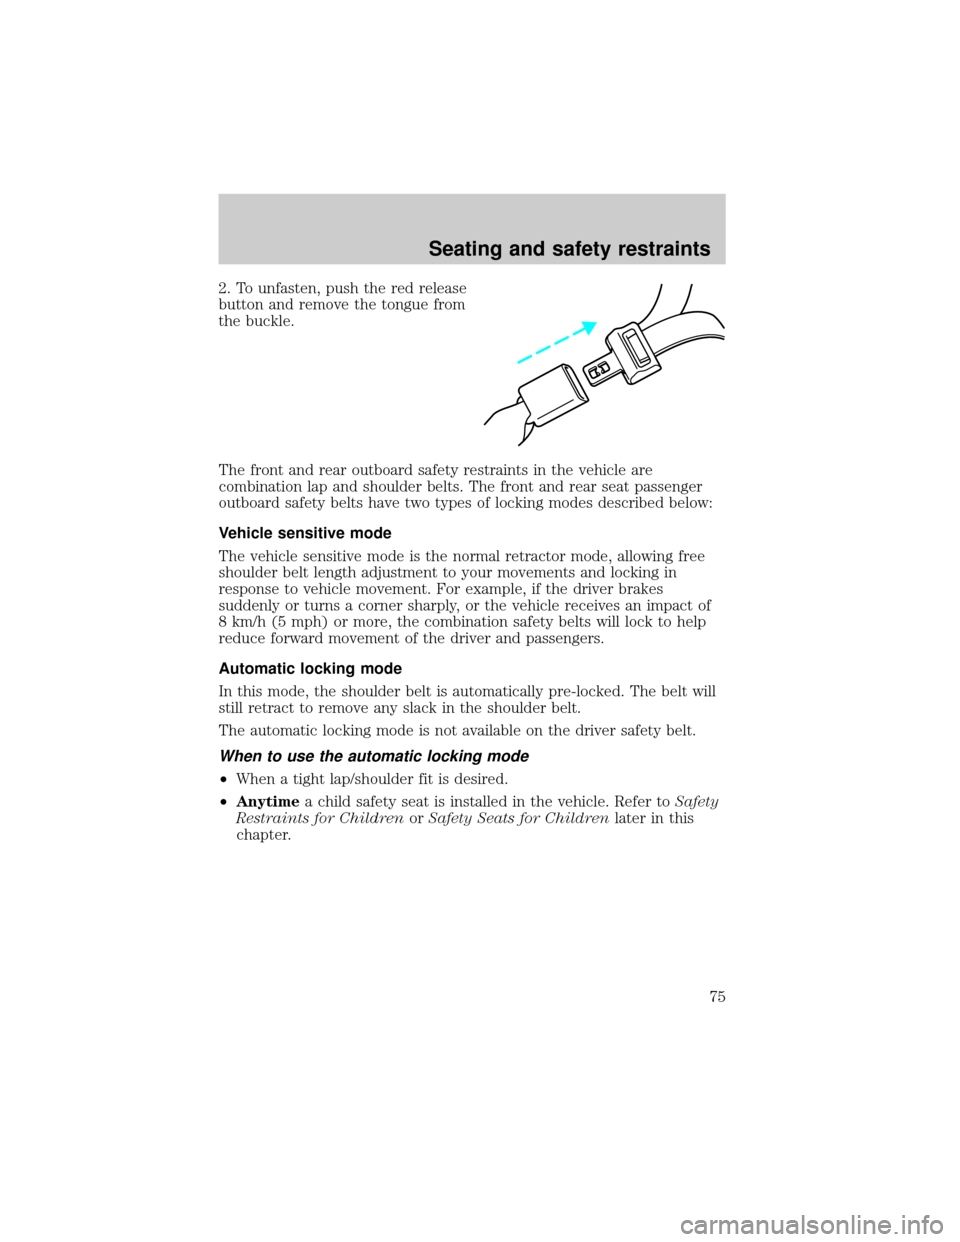
Rotate the windshield wiper control
to the desired interval, low or high
speed position.
The bars of varying length are for
intermittent wipers. When in this
position rotate the control upward
for fast intervals and downward for
slow intervals.
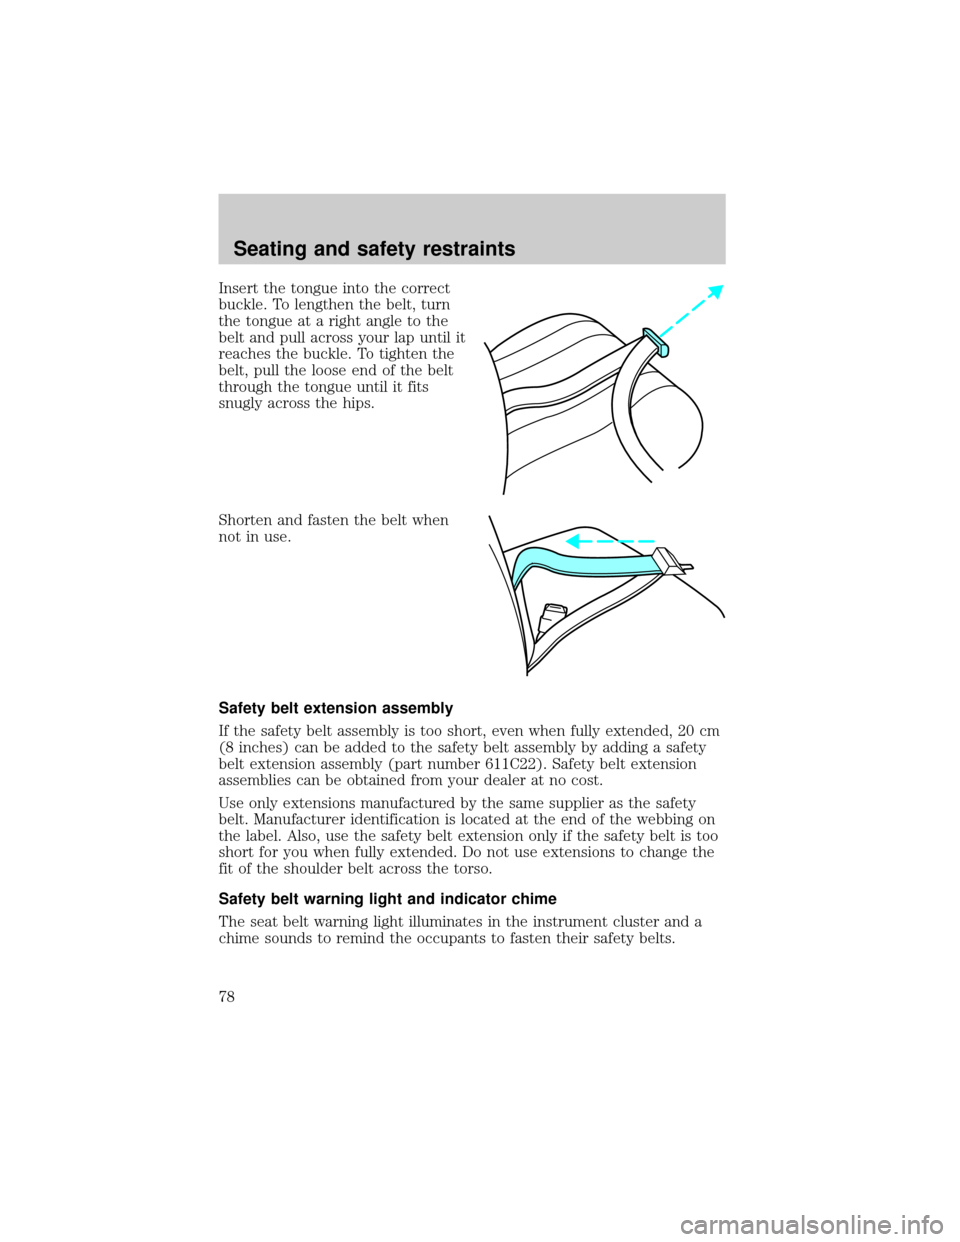
Push the control on the end of the
stalk to activate washer. Push and
hold for a longer wash cycle.
Windshield wiper/washer features
The exterior lamps will illuminate when the ignition is ON and the
windshield wiper control is in the interval, LO or HI position.
The instrument panel lighting will dim noticeably approximately
15 seconds after the wipers are turned on. The lights will remain in this
state until 30 seconds after the wipers are turned off.
3
1
2
5
4
OFFHI
LO
OFFHI
LO
Controls and features
34
Page 75 of 176

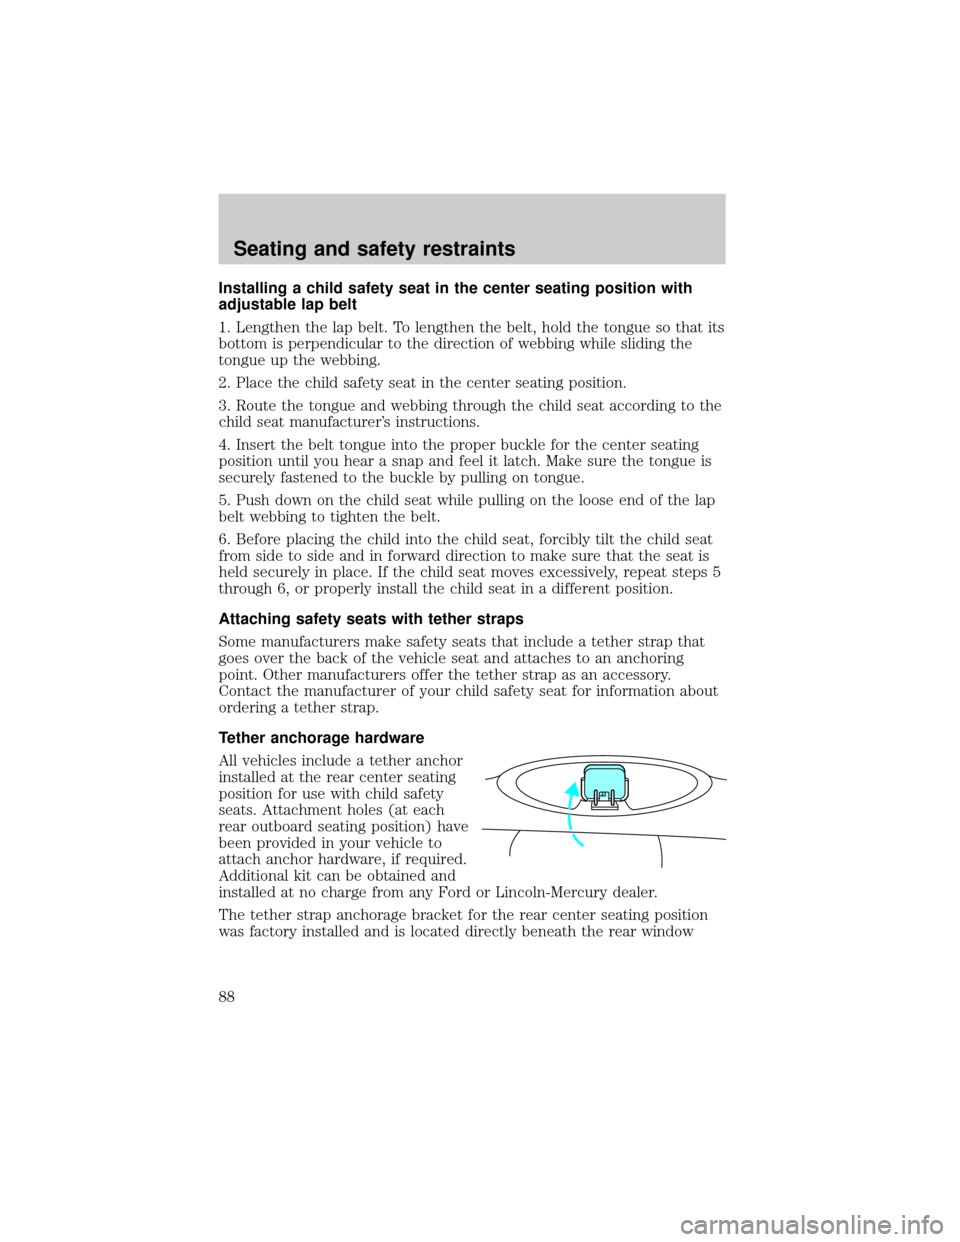
2. To unfasten, push the red release
button and remove the tongue from
the buckle.
The front and rear outboard safety restraints in the vehicle are
combination lap and shoulder belts. The front and rear seat passenger
outboard safety belts have two types of locking modes described below:
Vehicle sensitive mode
The vehicle sensitive mode is the normal retractor mode, allowing free
shoulder belt length adjustment to your movements and locking in
response to vehicle movement. For example, if the driver brakes
suddenly or turns a corner sharply, or the vehicle receives an impact of
8 km/h (5 mph) or more, the combination safety belts will lock to help
reduce forward movement of the driver and passengers.
Automatic locking mode
In this mode, the shoulder belt is automatically pre-locked. The belt will
still retract to remove any slack in the shoulder belt.
The automatic locking mode is not available on the driver safety belt.
When to use the automatic locking mode
²When a tight lap/shoulder fit is desired.
²Anytimea child safety seat is installed in the vehicle. Refer toSafety
Restraints for ChildrenorSafety Seats for Childrenlater in this
chapter.
Seating and safety restraints
75
Page 78 of 176

Insert the tongue into the correct
buckle. To lengthen the belt, turn
the tongue at a right angle to the
belt and pull across your lap until it
reaches the buckle. To tighten the
belt, pull the loose end of the belt
through the tongue until it fits
snugly across the hips.
Shorten and fasten the belt when
not in use.
Safety belt extension assembly
If the safety belt assembly is too short, even when fully extended, 20 cm
(8 inches) can be added to the safety belt assembly by adding a safety
belt extension assembly (part number 611C22). Safety belt extension
assemblies can be obtained from your dealer at no cost.
Use only extensions manufactured by the same supplier as the safety
belt. Manufacturer identification is located at the end of the webbing on
the label. Also, use the safety belt extension only if the safety belt is too
short for you when fully extended. Do not use extensions to change the
fit of the shoulder belt across the torso.
Safety belt warning light and indicator chime
The seat belt warning light illuminates in the instrument cluster and a
chime sounds to remind the occupants to fasten their safety belts.
Seating and safety restraints
78
Page 88 of 176

Installing a child safety seat in the center seating position with
adjustable lap belt
1. Lengthen the lap belt. To lengthen the belt, hold the tongue so that its
bottom is perpendicular to the direction of webbing while sliding the
tongue up the webbing.
2. Place the child safety seat in the center seating position.
3. Route the tongue and webbing through the child seat according to the
child seat manufacturer's instructions.
4. Insert the belt tongue into the proper buckle for the center seating
position until you hear a snap and feel it latch. Make sure the tongue is
securely fastened to the buckle by pulling on tongue.
5. Push down on the child seat while pulling on the loose end of the lap
belt webbing to tighten the belt.
6. Before placing the child into the child seat, forcibly tilt the child seat
from side to side and in forward direction to make sure that the seat is
held securely in place. If the child seat moves excessively, repeat steps 5
through 6, or properly install the child seat in a different position.
Attaching safety seats with tether straps
Some manufacturers make safety seats that include a tether strap that
goes over the back of the vehicle seat and attaches to an anchoring
point. Other manufacturers offer the tether strap as an accessory.
Contact the manufacturer of your child safety seat for information about
ordering a tether strap.
Tether anchorage hardware
All vehicles include a tether anchor
installed at the rear center seating
position for use with child safety
seats. Attachment holes (at each
rear outboard seating position) have
been provided in your vehicle to
attach anchor hardware, if required.
Additional kit can be obtained and
installed at no charge from any Ford or Lincoln-Mercury dealer.
The tether strap anchorage bracket for the rear center seating position
was factory installed and is located directly beneath the rear window
Seating and safety restraints
88
Page 102 of 176
D (Overdrive)
The overdrive position is the normal
driving position for an automatic
overdrive transaxle. It works the
same way as 3 (Third) but shifts to
a fourth gear Ð an overdrive gear
Ð when your vehicle cruises at a
constant speed for any length of
time. This fourth gear will increase
your fuel economy when you travel
at cruising speeds.
Overdrive may not be appropriate for certain terrains. If the transaxle
shifts back and forth between third and fourth gears while you are
driving hilly roads or if your vehicle requires additional power for
climbing hills, shift into 3 (Third).
When to use 3 (Third)
3 (Third) eliminates the needless
shifting back and forth between
third and fourth gears that your
vehicle may do when driving on hilly
terrain. It also gives more engine
braking than overdrive to slow your
vehicle on downgrades.
Driving
102
Page 163 of 176
VEHICLE DIMENSIONS
Vehicle dimensions mm (in)
(1) Overall length 5 294.7 (208.4)
(2) Overall width 1 870.3 (76.3)
(3) Overall height 1 421.9 (55.9)
(4) Wheelbase 2 769.8 (109.0)
(5) Track - Front 1 600.2 (63.0)
(5) Track - Rear 1 562.1 (61.5)
1
4
Capacities and specifications
163