Page 53 of 176

and gates, and can also control home or office lighting and security
systems (with the available accessory package).
When programming your HomeLinktUniversal Transmitter, you
will be operating the garage door or gate. Be sure that people
and objects are out to the way to prevent potential harm or damage.
Do not use the HomeLinktUniversal Transmitter with any garage door
opener that lacks safety stop and reverse features as required by U.S.
federal safety standards (this includes any garage door opener model
manufactured before April 1, 1982). A garage door which cannot detect
an object, signaling the door to stop and reverse, does not meet current
U.S. federal safety standards. For more information on this matter, call
toll-free: 1±800±355±3515.
Programming
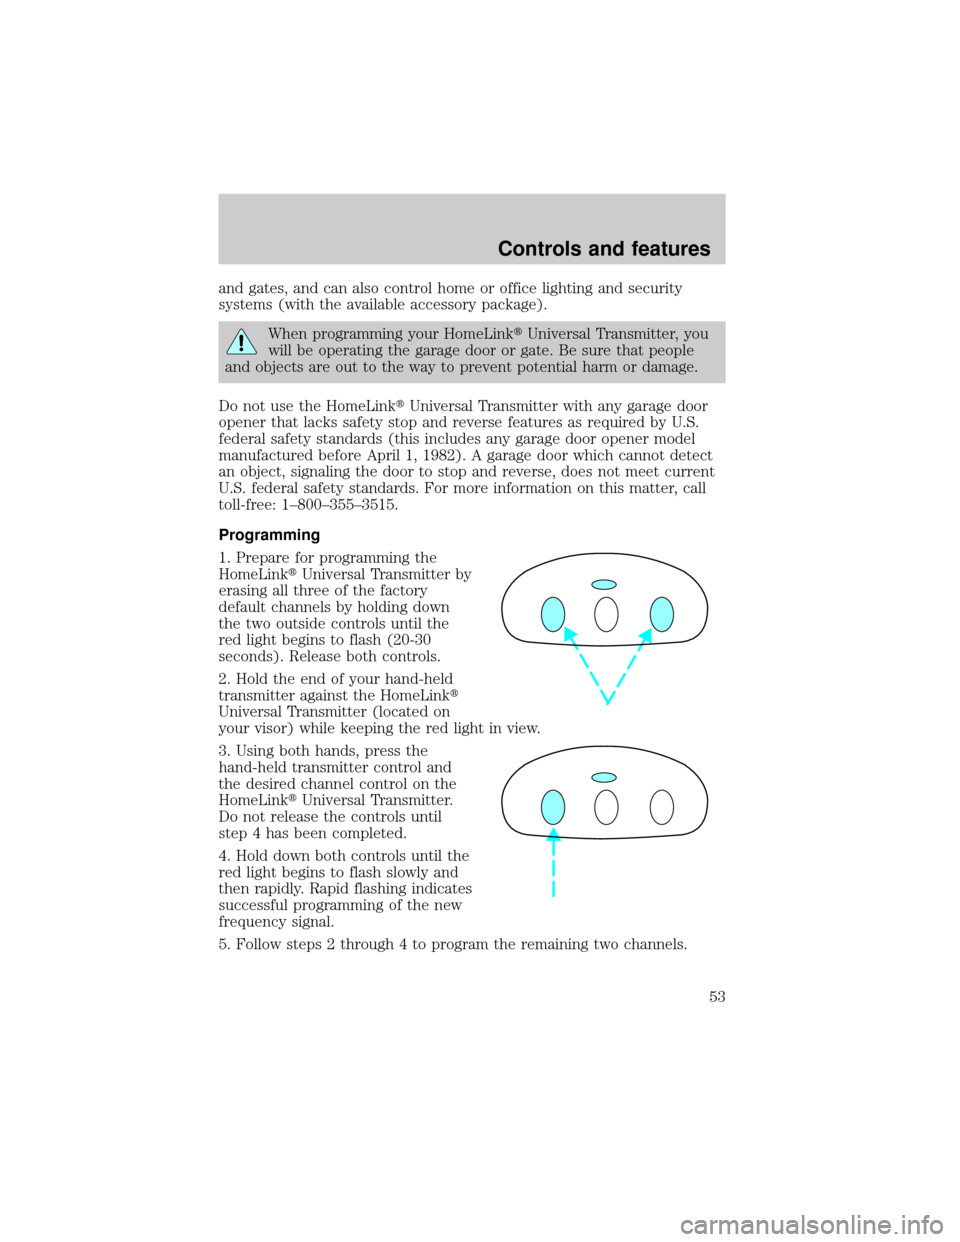
1. Prepare for programming the
HomeLinktUniversal Transmitter by
erasing all three of the factory
default channels by holding down
the two outside controls until the
red light begins to flash (20-30
seconds). Release both controls.
2. Hold the end of your hand-held
transmitter against the HomeLinkt
Universal Transmitter (located on
your visor) while keeping the red light in view.
3. Using both hands, press the
hand-held transmitter control and
the desired channel control on the
HomeLinktUniversal Transmitter.
Do not release the controls until
step 4 has been completed.
4. Hold down both controls until the
red light begins to flash slowly and
then rapidly. Rapid flashing indicates
successful programming of the new
frequency signal.
5. Follow steps 2 through 4 to program the remaining two channels.
Controls and features
53
Page 54 of 176

If you do not successfully program the HomeLinktUniversal Transmitter
after repeated attempts, refer toTraining a rolling codewhich follows
or call toll-free customer assistance: 1±800±355±3515.
Note to Canadian residents
During programming, your hand-held transmitter may automatically stop
transmitting after two seconds which may not be long enough to
program the HomeLinktUniversal Transmitter.
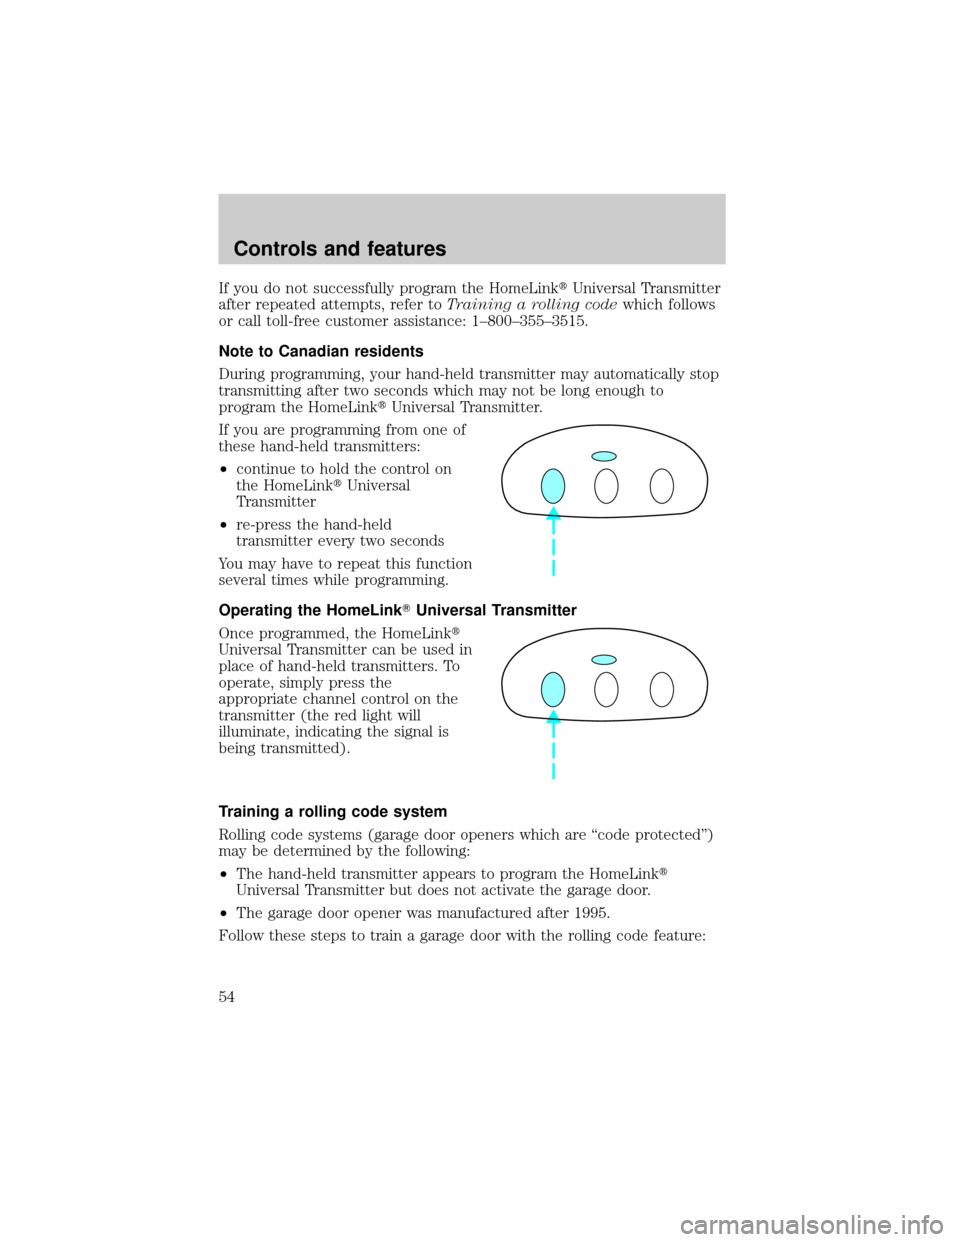
If you are programming from one of
these hand-held transmitters:
²continue to hold the control on
the HomeLinktUniversal
Transmitter
²re-press the hand-held
transmitter every two seconds
You may have to repeat this function
several times while programming.
Operating the HomeLinkTUniversal Transmitter
Once programmed, the HomeLinkt
Universal Transmitter can be used in
place of hand-held transmitters. To
operate, simply press the
appropriate channel control on the
transmitter (the red light will
illuminate, indicating the signal is
being transmitted).
Training a rolling code system
Rolling code systems (garage door openers which are ªcode protectedº)
may be determined by the following:
²The hand-held transmitter appears to program the HomeLinkt
Universal Transmitter but does not activate the garage door.
²The garage door opener was manufactured after 1995.
Follow these steps to train a garage door with the rolling code feature:
Controls and features
54
Page 55 of 176

1. Locate the training control on the garage door opener receiver. Refer
to the garage door opener manual or call 1±800±355±3515 if there is
difficulty locating the training control.
2. Press the training control on the garage door opener receiver until the
training light (next to the control) begins to flash (1-2 seconds).
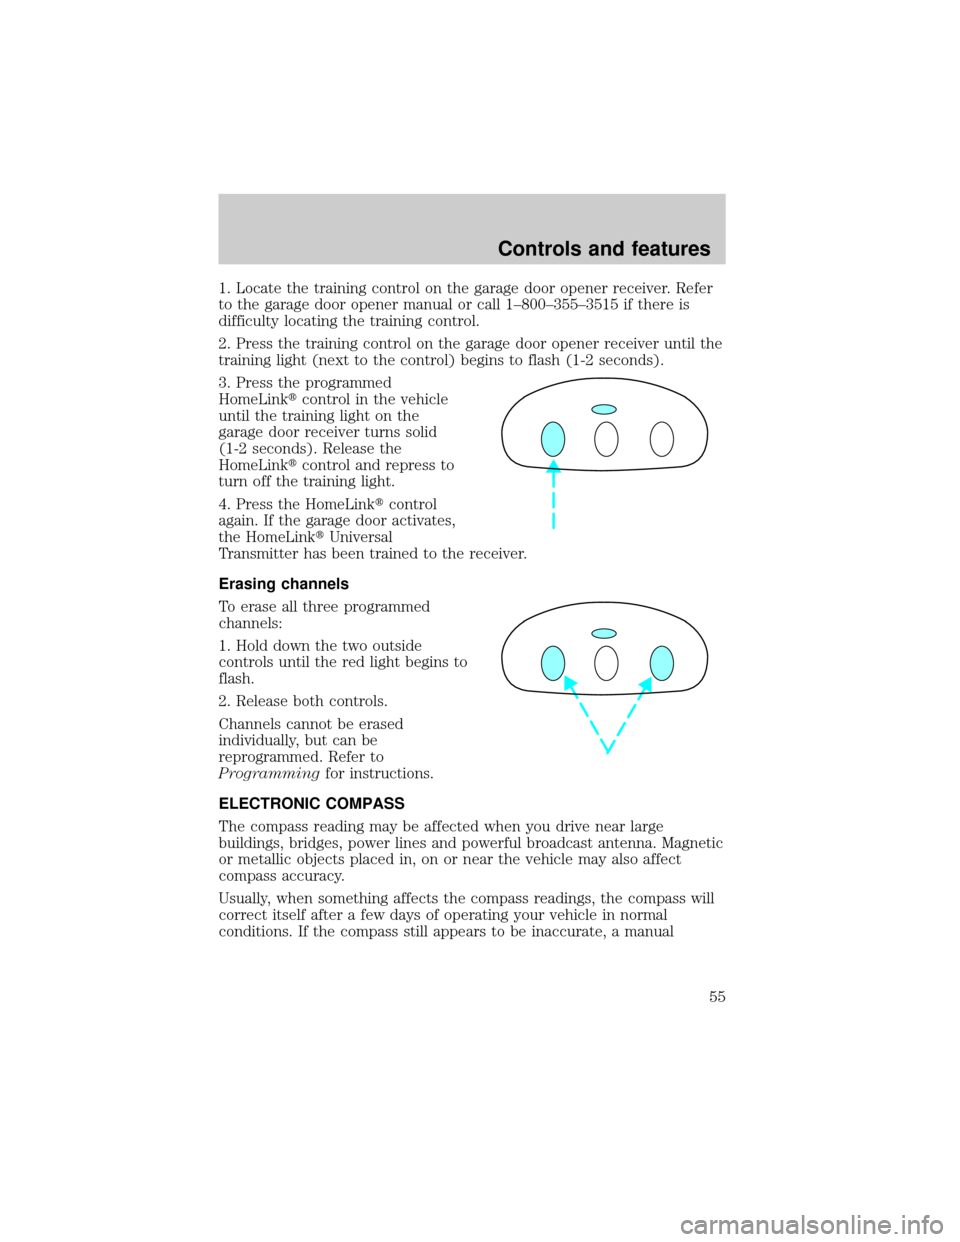
3. Press the programmed
HomeLinktcontrol in the vehicle
until the training light on the
garage door receiver turns solid
(1-2 seconds). Release the
HomeLinktcontrol and repress to
turn off the training light.
4. Press the HomeLinktcontrol
again. If the garage door activates,
the HomeLinktUniversal
Transmitter has been trained to the receiver.
Erasing channels
To erase all three programmed
channels:
1. Hold down the two outside
controls until the red light begins to
flash.
2. Release both controls.
Channels cannot be erased
individually, but can be
reprogrammed. Refer to
Programmingfor instructions.
ELECTRONIC COMPASS
The compass reading may be affected when you drive near large
buildings, bridges, power lines and powerful broadcast antenna. Magnetic
or metallic objects placed in, on or near the vehicle may also affect
compass accuracy.
Usually, when something affects the compass readings, the compass will
correct itself after a few days of operating your vehicle in normal
conditions. If the compass still appears to be inaccurate, a manual
Controls and features
55
Page 56 of 176
calibration may be necessary. Refer toCompass calibration
adjustment.
Most geographic areas (zones) have a magnetic north compass point that
varies slightly from the northerly direction on maps. This variation is four
degrees between adjacent zones and will become noticeable as the
vehicle crosses multiple zones. A correct zone setting will eliminate this
error. Refer toCompass zone adjustment.
Compass zone adjustment
1. Determine which magnetic zone
you are in for your geographic
location by referring to the zone
map.
2. Locate the compass module
mounted at the base of mirror.
3. Turn the ignition to the ON
position.
4. Insert an appropriate diameter
rod (paperclip) into the right switch
access hole underneath the compass
module and gently press for 1 to 2
seconds until ZONE and the current
zone setting are displayed on the
upper right corner of the mirror.
1
2
3
4
5
6
7891011121314 15
Controls and features
56
Page 57 of 176

5. Release the switch, then slowly press it down again. Press the switch
repeatedly until the correct zone setting for your geographic location is
displayed on the upper right corner of the mirror.
6. To exit the zone setting mode, release pressure from the switch for
greater than two seconds.
Compass calibration adjustment
Perform this adjustment in an open area free from steel structures and
high voltage lines.
For optimum calibration, turn off all electrical accessories (heater/air
conditioning, wipers, etc.) and make sure all vehicle doors are shut.
1. Start the vehicle.
2. Locate the compass module
mounted on the base of mirror.
3. Insert an appropriate diameter
rod (paperclip) into the left switch
access hole underneath the compass
module.
4. Gently press the switch for 1 to
2 seconds until CAL and a direction
are displayed on the upper right
corner of the mirror. (To exit CAL
before performing a compass adjustment, turn the ignition to OFF.)
5. Release pressure from the switch.
6. Slowly drive the vehicle in a circle (less than 5 km/h [3 mph]) until
the CAL indicator turns off. This will take up to five circles to complete
calibration.
7. The compass is now calibrated.
The compass display will remain on for approximately 40-45 minutes
after the ignition key is removed. The battery saver will then shut off the
display.
AUTOMATIC DIMMING INSIDE REAR VIEW MIRROR
The electronic day/night mirror will change from the normal state to the
non-glare state when bright lights (glare) reach the mirror. When the
mirror detects bright light from front or behind, it will automatically
adjust to minimize glare.
Controls and features
57
Page 58 of 176
Press the control to turn the mirror
on or off. The mirror will
automatically return to the normal
state whenever the vehicle is placed
in R (reverse)(when the mirror is
on) to ensure a bright clear view
when backing up.
Do not clean the housing or glass of
any mirror with harsh abrasives, fuel
or other petroleum-based cleaning
products.
On vehicles equipped with a moonroof, the automatic rear view mirror
has two map lamps. Refer toInterior lightsfor more information.
POWER DOOR LOCKS
Press U to unlock all doors and L to
lock all doors.
Smart locks
With the key in the ignition, in any
switch position, and either the
driver's or passenger's door open,
the doors cannot be locked using
the front door lock switches.
While the key is in the ignition, the
vehicle can be locked by manually
pressing down the lock control or
with remote entry transmitter.
AUTO
U
L
U
L
Controls and features
58
Page 62 of 176
CENTER CONSOLE (IF EQUIPPED)
Your vehicle is equipped with a
variety of console features. These
include:
²utility compartment
²cupholders
²ashtray and lighter
²compact disc changer
(if equipped)
²power point
²cellular phone (if equipped)
Use only soft cups in the cupholder. Hard objects can injure you
in a collision.
Compact disc changer (if equipped)
The compact disc changer is located inside the front center console.
For information on the compact disc changer, refer to the ªAudio Guideº.
Mini console (if equipped)
The mini console is available in the six passenger vehicle only, and
consists of the:
²beverage holder
²digital audio compact disc player
(if equipped)
²ash receptacle
²cigar lighter knob and element
Use only soft cups in the cupholder. Hard objects can injure you
in a collision.
Controls and features
62
Page 68 of 176

The inside lights will not turn off if:
²they have been turned on with the dimmer control or
²any door is open.
The battery saver will shut off the interior lamps 40 minutes after the
ignition has been turned to the OFF position.
KEYLESS ENTRY SYSTEM
With the keyless entry keypad, you
can:
²lock or unlock the vehicle doors
without using the key.
²arm and disarm the perimeter
alarm system (if equipped).
²reprogram remote entry transmitters.
See alsoRemote entry systemandPerimeter alarm systemin this
chapter for more information.
Your vehicle has a factory-set 5 digit code that operates the keyless entry
system. You can also program your own 5 digit personal entry code.
The factory-set code is located:
²on the owner's wallet card in the glove compartment
²taped to the computer module
²in the interior of the trunk
When pressing the controls on the keyless entry keypad, press the
middle of the buttons to ensure a good activation.
Programming your own entry code
1. Enter the factory-set code (keypad will illuminate when pressed).
2. Press the 1/2 control within five
seconds of step 1.
3. Enter your personal 5 digit code.
Enter each digit within five seconds
of the previous one.
4. Enter a sixth digit to indicate which personality feature should be
recalled by the personal code.
²1/2 recalls personality 1
123
45678
90
123
45678
90
Controls and features
68