1998 LINCOLN CONTINENTAL parking brake
[x] Cancel search: parking brakePage 103 of 176

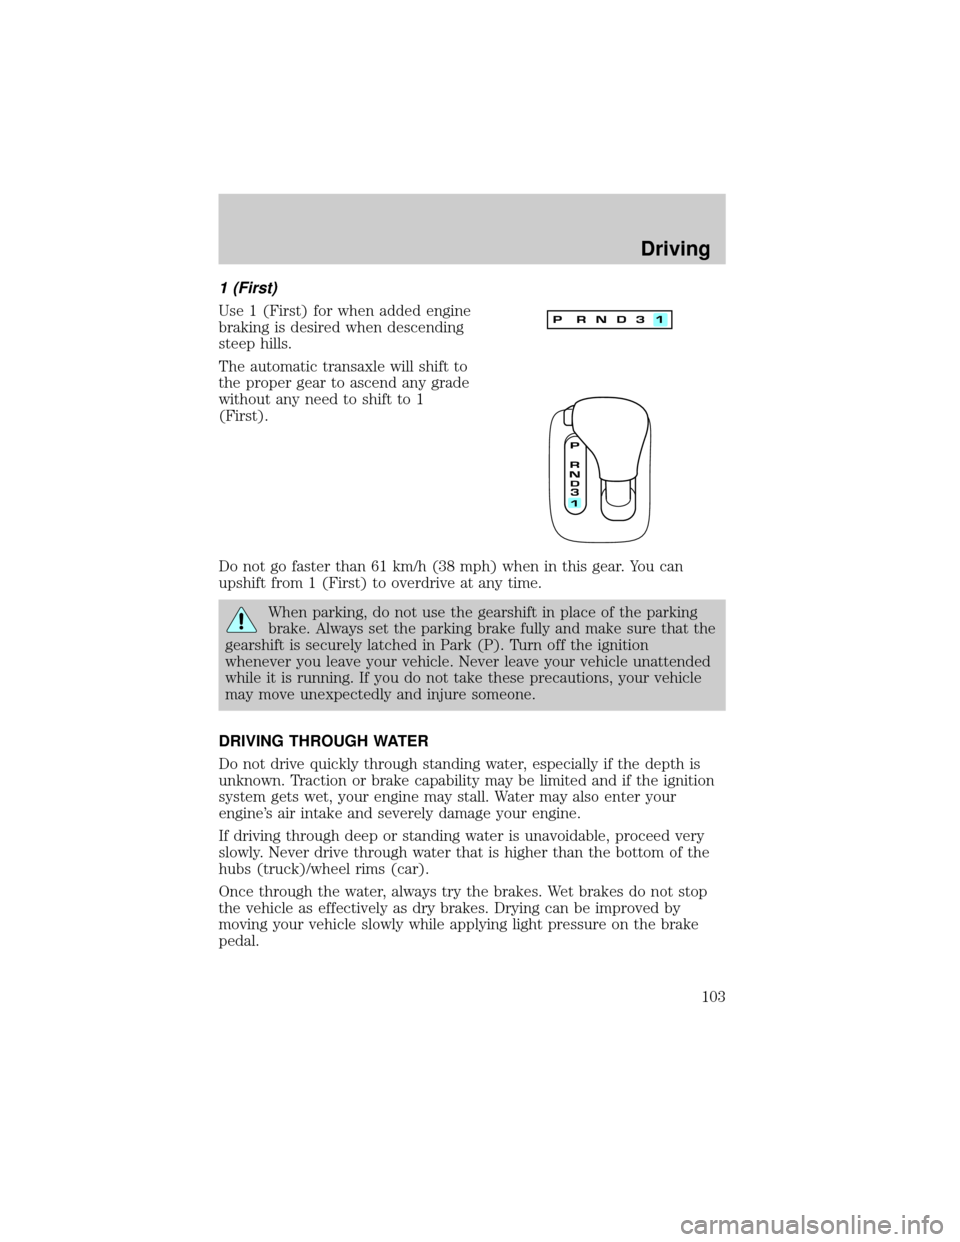
1 (First)
Use 1 (First) for when added engine
braking is desired when descending
steep hills.
The automatic transaxle will shift to
the proper gear to ascend any grade
without any need to shift to 1
(First).
Do not go faster than 61 km/h (38 mph) when in this gear. You can
upshift from 1 (First) to overdrive at any time.
When parking, do not use the gearshift in place of the parking
brake. Always set the parking brake fully and make sure that the
gearshift is securely latched in Park (P). Turn off the ignition
whenever you leave your vehicle. Never leave your vehicle unattended
while it is running. If you do not take these precautions, your vehicle
may move unexpectedly and injure someone.
DRIVING THROUGH WATER
Do not drive quickly through standing water, especially if the depth is
unknown. Traction or brake capability may be limited and if the ignition
system gets wet, your engine may stall. Water may also enter your
engine's air intake and severely damage your engine.
If driving through deep or standing water is unavoidable, proceed very
slowly. Never drive through water that is higher than the bottom of the
hubs (truck)/wheel rims (car).
Once through the water, always try the brakes. Wet brakes do not stop
the vehicle as effectively as dry brakes. Drying can be improved by
moving your vehicle slowly while applying light pressure on the brake
pedal.
Driving
103
Page 119 of 176

Fuse/Relay Location Fuse Amp Rating Description
8 30A* Front Passenger
Window
1 - A/C Diode
2 - PCM Diode
* Mini Fuses ** Maxi Fuses
CHANGING THE TIRES
If you get a flat tire while driving, do not apply the brake heavily.
Instead, gradually decrease your speed. Hold the steering wheel firmly
and slowly move to a safe place on the side of the road.
Tire change procedure
1. Park on a level surface, activate hazard flashers and set parking brake.
2. Place gearshift lever in P (Park).
3. Remove the spare tire, jack and
lug wrench.
4. Remove the center ornament
from the aluminum wheel with the
tapered end of the wheel nut
wrench that came with your vehicle.
Insert and twist the handle, then
pry against the wheel.
Roadside emergencies
119
Page 122 of 176

JUMP STARTING YOUR VEHICLE
The gases around the battery can explode if exposed to flames,
sparks, or lit cigarettes. An explosion could result in injury or
vehicle damage.
Do not push start your vehicle. You could damage the catalytic
converter.
Batteries contain sulfuric acid which burns skin, eyes, and
clothing.
Preparing your vehicle
Also see the label on the battery.
1. Use only a 12±volt supply to start your vehicle. If you connect your
battery to a 24±volt power supply you can damage your starter, ignition
system and other electrical components.
2. Do not disconnect the battery of the disabled vehicle as this could
damage the vehicle's electrical system.
3. Park the booster vehicle close to the hood of the disabled vehicle
making sure theydo nottouch. Set the parking brake on both vehicles
and stay clear of the engine cooling fan and other moving parts.
4. Check all battery terminals and remove any excessive corrosion before
you attach the battery cables.
5. Turn the heater fan on in both vehicles to protect any electrical
surges. Turn all other accessories off.
Roadside emergencies
122
Page 126 of 176

SERVICE RECOMMENDATIONS
To help you service your vehicle:
²We highlight do-it-yourself items in the engine compartment for easy
location.
²We provide a ªService Guideº which makes tracking routine service
easy.
If your vehicle requires professional service, your dealership can provide
necessary parts and service. Check your ªWarranty Guideº to find out
which parts and services are covered.
Use only recommended fuels, lubricants, fluids and service parts
conforming to specifications. Motorcraft parts are designed and built to
provide the best performance in your vehicle.
PRECAUTIONS WHEN SERVICING YOUR VEHICLE
Be especially careful when inspecting or servicing your vehicle.
²Do not work on a hot engine.
²When the engine is running, avoid wearing loose clothing, jewelry or
long hair that could get caught up in moving parts.
²Do not work on a vehicle with the engine running in an enclosed
space, unless you are sure you have enough ventilation.
²Keep all lit cigarettes, open flames and other lit material away from
the battery and all fuel related parts.
If you disconnect the battery, the engine must ªrelearnº its idle
conditions before your vehicle will drive properly, as explained in
theBatterysection in this chapter.
Working with the engine off
1. Set the parking brake, and ensure the gearshift is securely latched in
park.
2. Turn off the engine and remove the key.
3. Block the wheels to prevent the vehicle from moving unexpectedly.
Working with the engine on
1. Set the parking brake and
ensure the gearshift is securely latched in P (Park).
2. Block the wheels to prevent the vehicle from moving unexpectedly.
Maintenance and care
126
Page 128 of 176

3. Engine coolant reservoir
4. Passenger compartment air filter assembly
5. Transaxle fluid dipstick
6. Brake fluid reservoir
7. Battery
8. Air filter assembly
9. Engine oil dipstick
10. Engine oil fill cap
ENGINE OIL
Checking the engine oil
Check the engine oil each time you fuel your vehicle.
1. Make sure the vehicle is on level ground.
2. Turn the engine off and wait a few minutes for the oil to drain into the
oil pan.
3. Set the parking brake and ensure the gearshift is securely latched in P
(Park).
4. Open the hood. Protect yourself from engine heat.
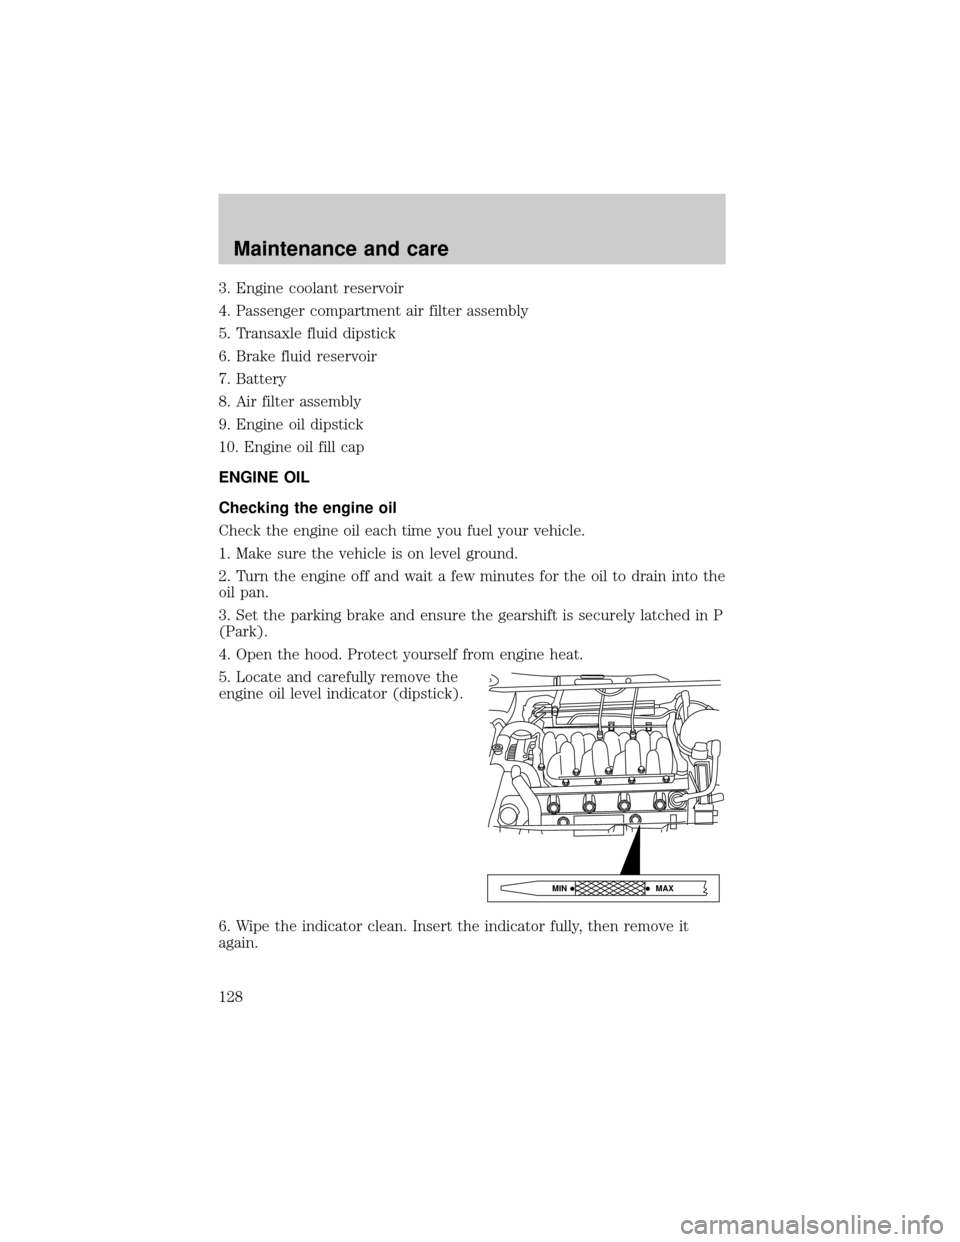
5. Locate and carefully remove the
engine oil level indicator (dipstick).
6. Wipe the indicator clean. Insert the indicator fully, then remove it
again.
MAX MIN
Maintenance and care
128
Page 135 of 176

Before adding any fluid,make sure the correct type is used. The
type of fluid used is normally indicated on the dipstick and/or dipstick
handle and also in theLubricant specificationssection in the
Capacities and specificationschapter.
Do not drive the vehicle if the fluid level is below the hole at the bottom
of the dipstick and outside temperatures are above 10ÉC (50ÉF).
Your transmission does not use up fluid. However, it is recommended
that you check the transmission fluid at least twice a year. The fluid level
should be checked if the transmission is not working properly, i.e., if the
transmission slips or shifts slowly or if you notice some sign of fluid
leakage.
Transmission fluid should be checked at normal operating temperatures
66ÉC-77ÉC (150ÉF-170ÉF) on a level surface. The normal operating
temperature can be reached after approximately 32 km (20 miles) of
driving.
If your vehicle has been operated for an extended period at high speeds,
in city traffic during hot weather or pulling a trailer, the vehicle should
be turned off for about 30 minutes to allow the fluid to cool before
checking.
1. Park the vehicle on a level surface and engage the parking brake.
2. With the parking brake engaged
and your foot on the brake pedal,
start the engine and move the
gearshift lever through all of the
gear ranges. Allow sufficient time for each gear to engage.
3. Latch the gearshift lever in P (Park) and leave the engine running.
4. Remove the dipstick, wiping it clean with a clean, dry lint free rag.
5. Install the dipstick making sure it is fully seated in the filler tube.
6. Remove the dipstick and inspect
the fluid level. The fluid level should
be in the crosshatched area on the
dipstick.
7. If necessary, add fluid in .25L (1/2 pint) increments through the filler
tube until the level is correct.
P R N D 3 1
DON’T ADD IF IN CROSSHATCH AREA--CHECH WHEN HOT-IDLING
Maintenance and care
135
Page 168 of 176

high beam .................................26
Heating ........................................27
High beams
indicator light .............................8
Hood
release lever ............................127
Ignition
positions of the ignition ...........34
Jump-starting your vehicle .....122,
123
attaching cables ......................123
disconnecting cables ..............124
Keyless entry system
autolock .....................................70
keypad .......................................68
programming entry code ........68,
69,70
Keys
key in ignition chime .................9
Lamps
interior lamps ....................40,154
map lamps .................................40
Lights, warning and indicator
air bag ..........................................7
anti-lock brakes (ABS) ..............8
brake ............................................7
charging system ..........................8
oil pressure .................................9
safety belt ...................................7
service engine soon ....................6
turn signal indicator ...................8
Lubricant specifications ...........161
Message center ...........................12
date/economy button ...............15
menu button ..............16,17,18,19
reset button ..............................16
system check button ................13
warning messages .....................13
Mirrors
automatic dimming rearview
mirror ........................................57
cleaning ...................................159heated ........................................61
side view mirrors (power) .......60
Moon roof ....................................52
Odometer .....................................10
Panic alarm feature, remote
entry system ................................66
Parking brake ..............................96
Parts (see Motorcraft parts) ....160
Power door locks ........................58
Power steering
fluid, checking and adding ....134
Refill capacities for fluids ........160
Relays ........................................109
Remote entry system .................65
illuminated entry ......................67
locking/unlocking doors ...........65
replacement/additional
transmitters ...............................67
replacing the batteries .............66
Reporting safety defects ..........166
Safety restraints
automatic locking mode
(retractor) ............................75,76
extension assembly ..................78
for children ...............................83
lap and shoulder belts ........74,75
maintenance ..............................79
proper use .................................73
warning light and chime ..9,78,79
Safety seats for children
attaching with tether straps ....88
automatic locking mode
(retractor) .................................85
in rear seat ................................88
tether anchorage hardware .....88
Seats ............................................71
adjusting the seat, power ........71
head restraints ..........................71
heated seats ..............................73
lumbar support .........................73
Servicing your vehicle ..............126
precautions when servicing ...126
Index
168