Page 149 of 272

The Braking System
Important Safety Reminders
ABS does not reduce the time or distance it takes to stop the
vehicle, it only helps with steering control during braking. You should
always maintain a safe following distance from other vehicles.
ABS will not prevent a skid that results from changing direction
abruptly, such as trying to take a
corner too fast or making a sudden
lane change. Always drive at a safe,
prudent speed for the road and
weather conditions.
ABS cannot prevent a loss of stability. Always steer moderately
when you are braking hard. Severe or sharp steering wheel movement
can still cause your vehicle to veer
into oncoming traffic or off the road. A vehicle with ABS may require a
longer distance to stop on loose or
uneven surfaces, such as gravel orsnow, than a vehicle without anti-
lock. Slow down and allow a greater
distance between vehicles under
those conditions.
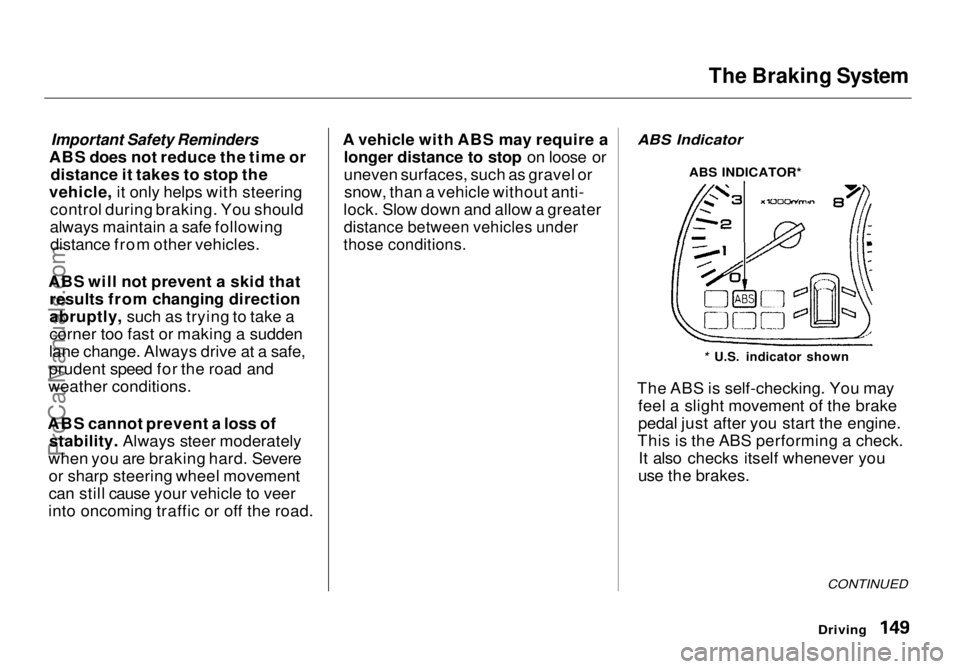
ABS Indicator
The ABS is self-checking. You may feel a slight movement of the brake
pedal just after you start the engine.
This is the ABS performing a check. It also checks itself whenever you
use the brakes.
Driving
CONTINUED
* U.S. indicator shown
ABS INDICATOR*ProCarManuals.comMain Menu Table of Contents s t
Page 150 of 272

The Braking System, Driving in Bad Weather
If anything goes wrong, the ABS
indicator on the instrument panel
comes on (see page 53). This means
the anti-lock function of the braking system has shut down. The brakes
still work like a conventional system
without anti-lock, providing normal stopping ability. You should have the
dealer inspect your vehicle as soon
as possible if this light stays on after
you start the engine, or comes on
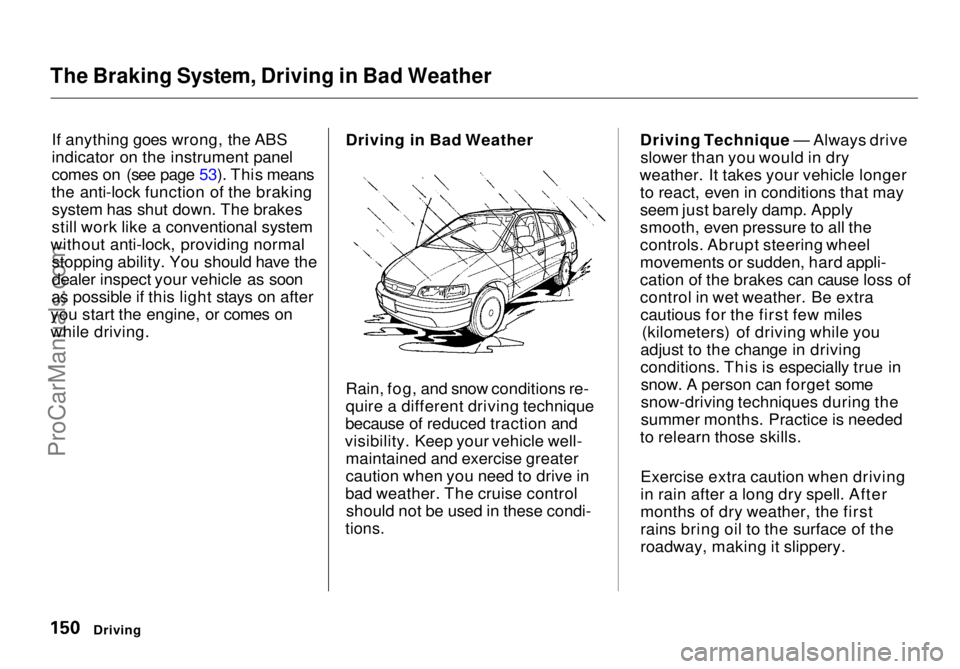
while driving. Driving in Bad Weather
Rain, fog, and snow conditions re-
quire a different driving technique
because of reduced traction and
visibility. Keep your vehicle well- maintained and exercise greater
caution when you need to drive in
bad weather. The cruise control should not be used in these condi-
tions.
Driving Technique — Always drive
slower than you would in dry
weather. It takes your vehicle longer to react, even in conditions that may
seem just barely damp. Apply
smooth, even pressure to all the
controls. Abrupt steering wheel
movements or sudden, hard appli-
cation of the brakes can cause loss of
control in wet weather. Be extracautious for the first few miles (kilometers) of driving while you
adjust to the change in driving
conditions. This is especially true in snow. A person can forget some
snow-driving techniques during the
summer months. Practice is needed
to relearn those skills.
Exercise extra caution when driving
in rain after a long dry spell. After
months of dry weather, the first
rains bring oil to the surface of the
roadway, making it slippery.
DrivingProCarManuals.comMain Menu Table of Contents s t
Page 151 of 272

Driving in Bad Weather
Visibility — Being able to see clearly in all directions and being
visible to other drivers are important in all weather conditions. This is
more difficult in bad weather. To beseen more clearly during daylight
hours, turn on your headlights.
Inspect your windshield wipers and
washers frequently. Keep the wind- shield washer reservoir full of the
proper fluid. Have the windshield
wiper blades replaced if they start to streak the windshield or leave parts
unwiped. Use the defrosters and air
conditioning to keep the windows
from fogging up on the inside (see
page 99).
Traction — Check your tires
frequently for wear and proper
pressure. Both are important in
preventing "hydroplaning" (loss of
traction on a wet surface). In the
winter, mount snow tires on all four
wheels for the best handling.
Watch road conditions carefully, they can change from moment to
moment. Wet leaves can be as slip-
pery as ice. "Clear" roads can have
patches of ice. Driving conditionscan be very hazardous when the
outside temperature is near freezing.
The road surface can become covered with areas of water puddles
mixed with areas of ice, so your
traction can change without warning.
Be careful when downshifting. If
traction is low, you can lock up the drive wheels for a moment and cause
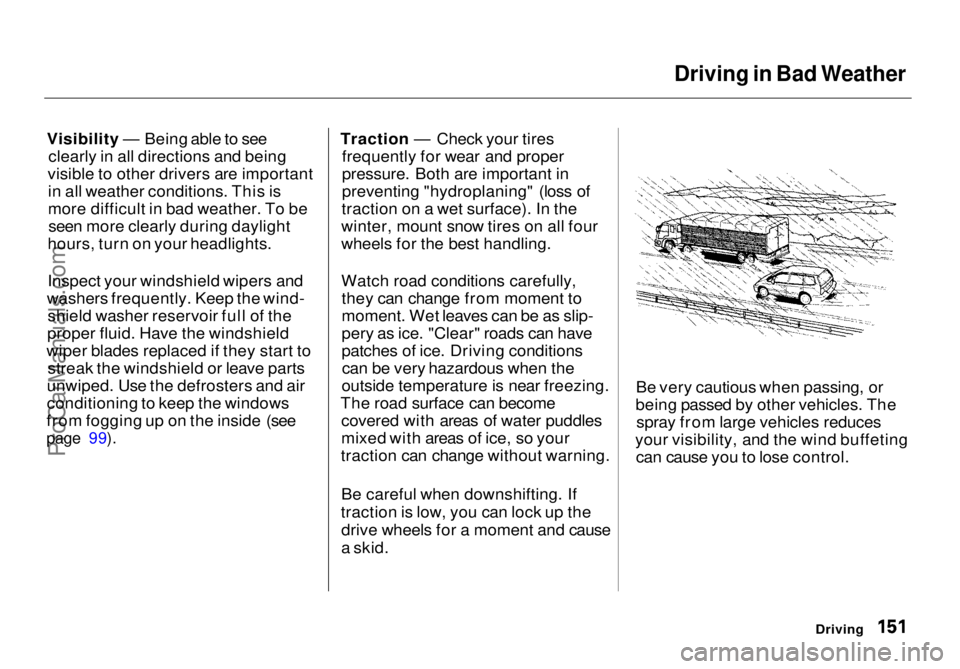
a skid. Be very cautious when passing, or
being passed by other vehicles. The spray from large vehicles reduces
your visibility, and the wind buffeting can cause you to lose control.
DrivingProCarManuals.comMain Menu Table of Contents s t
Page 177 of 272
Cooling System
1. Make sure the engine and radiator
are cool.
2. Turn the radiator cap counter- clockwise, without pressing down
on it, until it stops. This relieves
any pressure remaining in the
cooling system.
3. Remove the radiator cap by pushing down and turning
counterclockwise.
4. The coolant level should be up to
the base of the filler neck. Addcoolant if it is low.
5. Put the radiator cap back on. Tighten it fully.
6. Pour coolant into the reserve tank. Fill it to halfway between the MAXand MIN marks. Put the cap back
on the reserve tank.
Do not add any rust inhibitors or
other additives to your vehicle's
cooling system. They may not be
compatible with the coolant or
engine components.
Maintenance RADIATOR CAP
RESERVE TANKProCarManuals.comMain Menu Table of Contents s t
Page 178 of 272
Cooling System
Replacing Engine Coolant
The cooling system should be completely drained and refilled with
new coolant according to the time
and distance recommendations in
the maintenance schedule. Only use Genuine Honda antifreeze/coolant.
Draining the coolant requires access
to the underside of the vehicle. Unless you have the tools and
knowledge, you should have this
maintenance done by a skilled
mechanic.
1. Slide the heater temperature
control lever to maximum heat.
Open the hood. Make sure the
engine and radiator are cool to the
touch.
2. Remove the radiator cap. 3. Loosen the drain plug on the
bottom of the radiator. Thecoolant will drain through the
splash guard. Remove the drain
bolt and washer from the engine
block.
CONTINUED
Maintenance
DRAIN PLUG
DRAIN BOLTProCarManuals.comMain Menu Table of Contents s t
Page 179 of 272

Cooling System
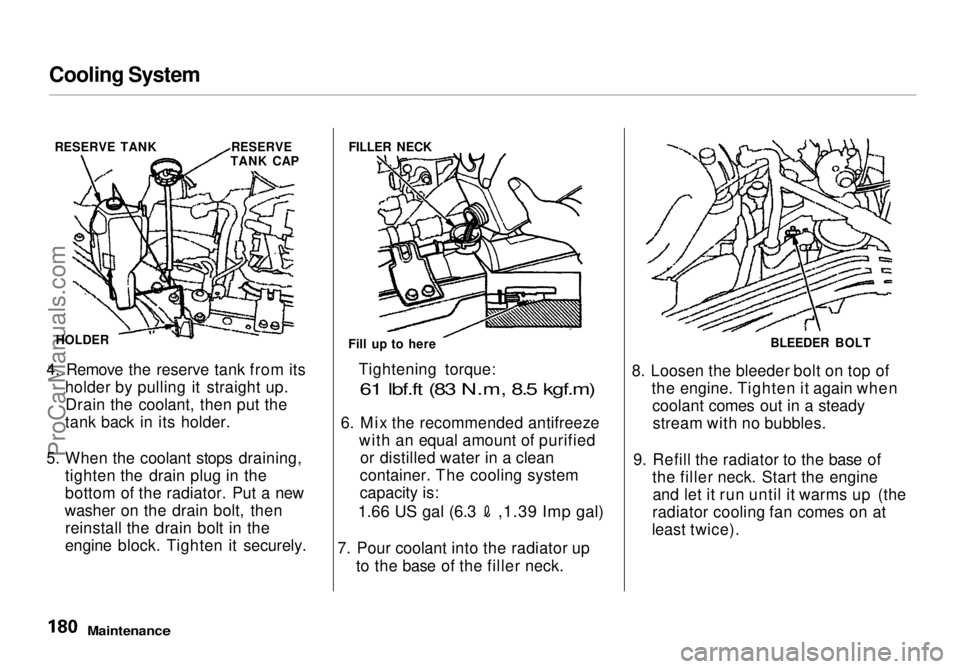
4. Remove the reserve tank from its holder by pulling it straight up.Drain the coolant, then put the
tank back in its holder.
5. When the coolant stops draining, tighten the drain plug in the
bottom of the radiator. Put a new
washer on the drain bolt, then reinstall the drain bolt in the
engine block. Tighten it securely. Tightening torque:
61 lbf.ft (83 N.m, 8.5 kgf.m)
6. Mix
the recommended antifreeze
with an equal amount of purified or distilled water in a clean
container. The cooling system
capacity is:
1.66 US gal (6.3 ,1.39 Imp gal)
7. Pour coolant into the radiator up
to the base of the filler neck. 8. Loosen the bleeder bolt on top of
the engine. Tighten it again whencoolant comes out in a steadystream with no bubbles.
9. Refill the radiator to the base of the filler neck. Start the engineand let it run until it warms up (the
radiator cooling fan comes on at
least twice).
Maintenance
RESERVE TANK RESERVE
TANK CAP
HOLDER FILLER NECK
Fill up to here BLEEDER BOLT
ProCarManuals.comMain Menu Table of Contents s t
Page 183 of 272
Power Steering
Check the level when the engine is
cold. Look at the side of the
reservoir. The fluid should be
between the UPPER LEVEL and LOWER LEVEL. If it is below the
LOWER LEVEL, add power steering
fluid to the UPPER LEVEL. Always use Genuine Honda Power
Steering Fluid. If it is not available,
you may use another power steering fluid as an emergency replacement.However, continued use can cause
increased wear and poor steering in
cold weather. Have the power
steering system flushed and refilled
with Honda PSF as soon as possible. A low power steering fluid level can
indicate a leak in the system. Check
the fluid level frequently and have
the system inspected as soon as
possible.
Turning the steering wheel to full left
or right lock and holding it there can
damage the power steering pump.
Maintenance
UPPER LEVEL
LOWER LEVEL NOTICEProCarManuals.comMain Menu Table of Contents s t
Page 185 of 272
Air Cleaner Element
3. Loosen the four bolts and remove the air cleaner housing cover.
Remove the maintenance hole capso you can reach the right front
bolt through the hole.
4. Remove the old air cleaner
element.
Clean the inside of the air cleaner
housing with a damp rag. 5. Place the new air cleaner element
in the air cleaner housing.
6. Reinstall the air cleaner housing cover, tighten the four bolts.
7. Reinstall the air intake cover. Reinstall the two pins and secure
them by pushing on the heads
until they lock. 8. Reinstall the air duct on the air
cleaner housing cover.
Reinstall the maintenance hole cap.
Maintenance
MAINTENANCE
HOLE CAP
BOLTS
AIR CLEANER ELEMENTProCarManuals.comMain Menu Table of Contents s t