Page 97 of 251
Audio System
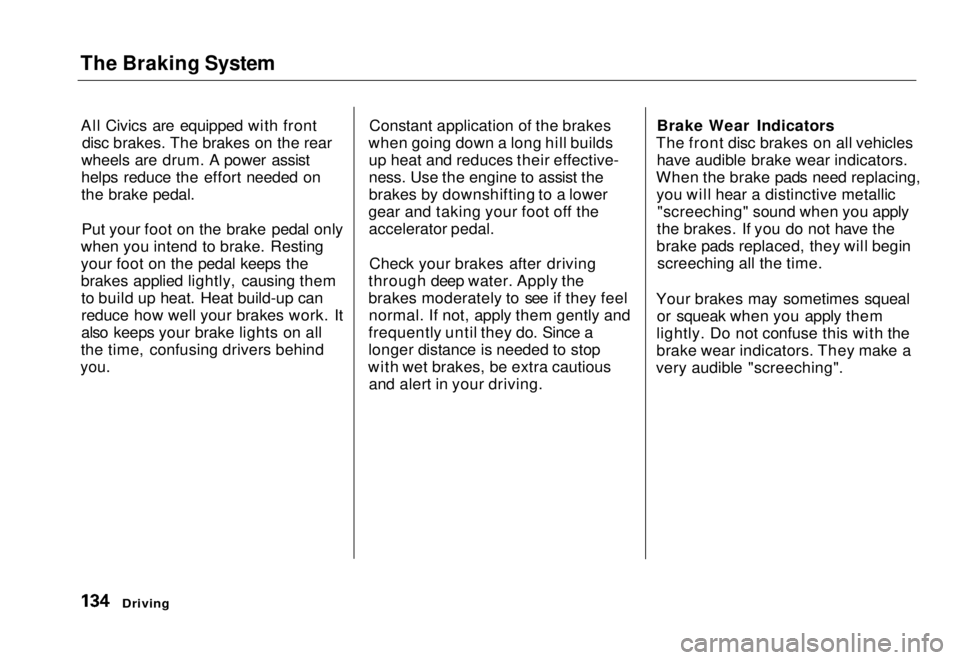
To store a frequency: 1. Select the desired band, AM or FM. FM1 and FM2 let you store
two frequencies with each Preset
button.
2. Use the TUNE or SEEK function to tune the radio to a desired
station.
3. Pick the Preset button you want for that station. Press the buttonand hold it until you hear a beep.
4. Repeat steps 1 to 3 to store a total of six stations on AM and twelve
on
FM.
Once a station's frequency is stored,
simply press and release the proper
Preset button to tune to it.
The preset frequencies will be lost if your vehicle's battery goes dead, is disconnected or the radio fuse is
removed.
* Security system is optional
equipment.
Comfort and Convenience Features
PWR/VOL KNOB
STEREO INDICATOR
AM/FM BUTTON
TUNE/SEEK BAR
PRESET BUTTONS
SECURITY SYSTEMINDICATOR*Main Menu Table of Contents s t
Page 136 of 251

The Braking System
All Civics are equipped with front disc brakes. The brakes on the rear
wheels are drum. A power assist
helps reduce the effort needed on
the brake pedal.
Put your foot on the brake pedal only
when you intend to brake. Resting
your foot on the pedal keeps the
brakes applied lightly, causing them to build up heat. Heat build-up can
reduce how well your brakes work. It
also keeps your brake lights on all
the time, confusing drivers behind
you.
Constant application of the brakes
when going down a long hill builds up heat and reduces their effective-
ness. Use the engine to assist the
brakes by downshifting to a lower
gear and taking your foot off the accelerator pedal.
Check your brakes after driving
through deep water. Apply the
brakes moderately to see if they feel normal. If not, apply them gently and
frequently until they do. Since a
longer distance is needed to stop
with wet brakes, be extra cautious and alert in your driving. Brake Wear Indicators
The front disc brakes on all vehicles have audible brake wear indicators.
When the brake pads need replacing, you will hear a distinctive metallic "screeching" sound when you apply
the brakes. If you do not have the
brake pads replaced, they will begin screeching all the time.
Your brakes may sometimes squeal or squeak when you apply them
lightly. Do not confuse this with the
brake wear indicators. They make a
very audible "screeching".
DrivingMain Menu Table of Contents s t
Page 205 of 251

Taking Care of the Unexpected
This section covers the more- common problems that motoristsexperience with their vehicles. It
gives you information about how to safely evaluate the problem and what
to do to correct it. If the problem has stranded you on the side of the road,
you may be able to get going again. If not, you will also find instructionson getting your vehicle towed. Compact Spare Tire....................... 206
Changing a Flat Tire..................... 207
If Your Engine Won't Start........... 212
Nothing Happens or theStarter Motor OperatesVery Slowly............................. 212
The Starter Operates
Normally.................................213
Jump Starting................................. 213
If Your Engine Overheats............. 215
Low Oil Pressure Indicator.......... 217
Charging System Indicator........... 218
Malfunction Indicator Lamp ........ 219
Brake System Indicator................ 220
Closing the Moonroof................... 221
Fuses............................................... 222
Checking and Replacing........... 223
Emergency Towing....................... 227
Taking Care of the UnexpectedMain Menu s t
Page 212 of 251

If Your Engine Won't Start
Diagnosing why your engine won't
start falls into two areas, depending
on what you hear when you turn the
key to START (III):
You hear nothing, or almostnothing. The engine's starter
motor does not operate at all, or
operates very slowly.
You can hear the starter motor operating normally, or the starter
motor sounds like it is spinning
faster than normal, but the engine does not start up and run. Nothing Happens or the Starter
Motor Operates Very Slowly
When you turn the ignition switch to START (III), you do not hear the
normal noise of the engine trying to
start. You may hear a clicking sound
or series of clicks, or nothing at all.
Check these things:
Check the transmission interlock.
If you have a manual transmission,
the clutch pedal must be pushed
all the way to the floor or the
starter will not operate. With an
automatic transmission, it must be
in Park or Neutral.
Turn the ignition switch to ON (II).
Turn on the headlights and check their brightness. If the headlights
are very dim or don't light at all,
the battery is discharged. See
Jump Starting on page 213.
Turn the ignition switch to START
(III). If the headlights do not dim,
check the condition of the fuses. If
the fuses are OK, there is proba-
bly something wrong with the
electrical circuit for the ignition switch or starter motor. You will
need a qualified technician to determine the problem. (See
Emergency Towing on page 227).
If the headlights dim noticeably or
go out when you try to start the engine, either the battery is dis-
charged or the connections are
corroded. Check the condition of
the battery and terminal connec-
tions (see page 173). You can
then try jump starting the vehicle
from a booster battery (see page 213).
Taking Care of the UnexpectedMain Menu Table of Contents s t
Page 213 of 251

If Your Engine Won't Start, Jump Starting
The Starter Operates Normally In this case, the starter motor'sspeed sounds normal, or even faster
than normal, when you turn the ignition switch to START (III), but
the engine does not run.
Are you using the proper startingprocedure? Refer to Starting the
Engine on page 121.
Do you have fuel? Turn the
ignition switch to ON (II) for a
minute and watch the fuel gauge.
The low fuel level warning light may not be working, so you were
not reminded to fill the tank.
There may be an electrical problem, such as no power to the
fuel pump. Check all the fuses (see page 223).
If you find nothing wrong, you will
need a qualified technician to find
the problem. See Emergency Towing on page 227. Jump Starting
If your vehicle's battery has rundown, you may be able to start the
engine by using a booster battery.
Although this seems like a simple procedure, you should take several
precautions.
You cannot start a Honda with anautomatic transmission by pushing
or pulling it. To jump start your vehicle, follow
these directions closely:
1. Open the hood and check the physical condition of the battery(see page 150). In very cold
weather, check the condition of the electrolyte. If it seems slushyor like ice, do not try jump starting
until it thaws.
If a battery sits in extreme cold, the
electrolyte inside can freeze.
Attempting to jump start with a frozen
battery can cause it to rupture.
2. Turn off all the electrical acces- sories: heater, A/C, stereo system,
lights, etc.
Put the transmission in Neutral or
Park and set the parking brake.
CONTINUED
Taking Care of the Unexpected
A battery can explode if you do
not follow the correct procedure,
seriously injuring anyone nearby.
Keep all sparks, open flames,
and smoking materials away
from the battery.
NOTICEMain Menu Table of Contents s t
Page 221 of 251
Closing the Moonroof
If the electric motor will not close
the moonroof, do the following: 1. Check the fuse for the moonroof motor (see page 234). If the fuse
is blown, replace it with one of thesame or lower rating.
2. Try closing the moonroof. If the new fuse blows immediately or the
moonroof motor still does notoperate, you can close the
moonroof manually.
3. Get the moonroof wrench out of the tool kit in the trunk. 4. Use a screwdriver or coin to
remove the round plug in the
center of the headliner. 5. Insert the moonroof wrench into
the socket behind this plug. Turn
the wrench until the moonroof is
fully closed.
6. Remove the wrench. Replace the
round plug.
Taking Care of the Unexpected
ROUND PLUG
SOCKETMain Menu Table of Contents s t
Page 222 of 251
Fuses
All the electrical circuits in your vehicle have fuses to protect them
from a short circuit or overload.
These fuses are located in two or three fuse boxes.
The interior fuse box is underneaththe dashboard on the driver's side.
Remove the fuse box lid by swinging
the lid down and pulling it straightout of its hinges. The under-hood fuse box is located
in the engine compartment next to
the battery. To open it, push the tab
as shown.
Taking Care of the Unexpected
INTERIOR
TAB
UNDER-HOODMain Menu Table of Contents s t
Page 223 of 251
Fuses
Vehicles equipped with ABS have a third fuse box for the ABS. It is in
the engine compartment on the
passenger's side.
Checking and Replacing Fuses
If something electrical in your
vehicle stops working, the first thing
you should check for is a blown fuse. Determine from the chart on pages 198 and 199, or the diagram on the
fuse box lid, which fuse or fuses control that component. Check those
fuses first, but check all the fuses
before deciding that a blown fuse is not the cause. Replace any blown
fuses and check the component's
operation.
1. Turn the ignition switch to LOCK (0). Make sure the headlights and
all other accessories are off.
2. Remove the cover from the fuse box. 3. Check each of the large fuses in
the under-hood fuse box bylooking through the top at the wire
inside. Removing these fuses
requires a Phillips-head screw-
driver.
CONTINUED
Taking Care of the Unexpected
ABS FUSE BOX
FUSE
BLOWNMain Menu Table of Contents s t