Page 47 of 251

Additional Information About Your SRS
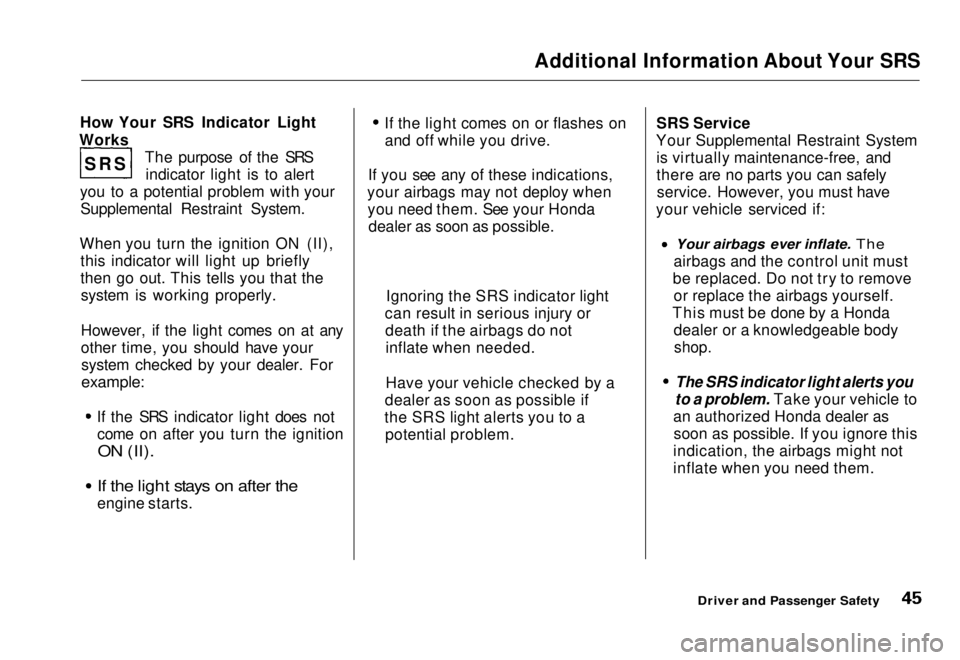
How Your SRS Indicator Light
Works The purpose of the SRSindicator light is to alert
you to a potential problem with your Supplemental Restraint System.
When you turn the ignition ON (II), this indicator will light up briefly
then go out. This tells you that thesystem is working properly.
However, if the light comes on at any
other time, you should have yoursystem checked by your dealer. For
example:
If the SRS indicator light does not
come on after you turn the ignition
ON (II). If the light stays on after the
engine starts. If the light comes on or flashes on
and off while you drive.
If you see any of these indications,
your airbags may not deploy when you need them. See your Honda dealer as soon as possible. SRS Service
Your Supplemental Restraint System is virtually maintenance-free, and
there are no parts you can safelyservice. However, you must have
your vehicle serviced if:
Your airbags ever inflate. The
airbags and
the control unit must
be replaced. Do not try to remove or replace the airbags yourself.
This must be done by a Honda dealer or a knowledgeable body
shop.
The SRS indicator light alerts you
to a problem. Take your vehicle to
an authorized Honda dealer as soon as possible. If you ignore this
indication, the airbags might not
inflate when you need them.
Driver and Passenger Safety
SRS
Ignoring the SRS indicator light
can result in serious injury or death if the airbags do notinflate when needed.
Have your vehicle checked by a
dealer as soon as possible if
the SRS light alerts you to a potential problem.Main Menu Table of Contents s t
Page 55 of 251

Indicator Lights
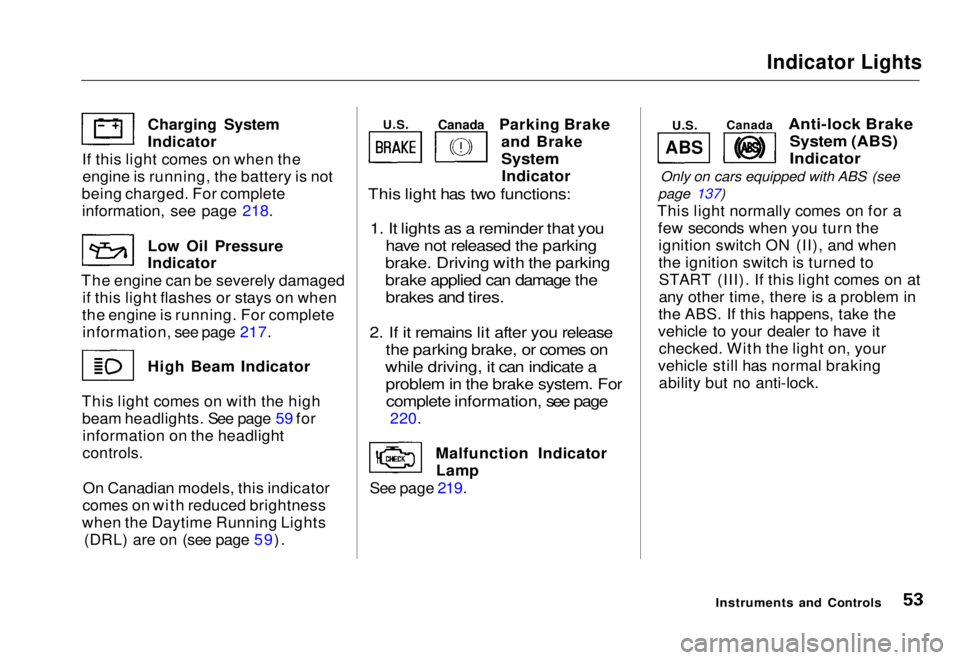
Parking Brake and Brake
System
Indicator
This light has two functions:
1. It lights as a reminder that you have not released the parking
brake. Driving with the parking
brake applied can damage the brakes and tires.
2. If it remains lit after you release the parking brake, or comes on
while driving, it can indicate a problem in the brake system. Forcomplete information, see page
220.
Malfunction Indicator Lamp
See page 219.
Anti-lock Brake
System (ABS)
Indicator
Only on cars equipped with ABS (see
page 137)
This light normally comes on for a few seconds when you turn theignition switch ON (II), and when
the ignition switch is turned toSTART (III). If this light comes on at
any other time, there is a problem in
the ABS. If this happens, take the
vehicle to your dealer to have it checked. With the light on, your
vehicle still has normal braking ability but no anti-lock.
Instruments and Controls
Charging System Indicator
If this light comes on when the engine is running, the battery is not
being charged. For complete
information
,
see page 218.
Low Oil
Pressure
Indicator
The engine can be severely damaged if this light flashes or stays on when
the engine is running. For complete information, see page 217. High Beam Indicator
This light comes on with the high beam headlights. See page 59 forinformation on the headlight
controls.
On Canadian models, this indicator
comes on with reduced brightness
when the Daytime Running Lights (DRL) are on (see page 59).
ABS
U.S.
Canada
U.S.
CanadaMain Menu Table of Contents s t
Page 58 of 251

Gauges
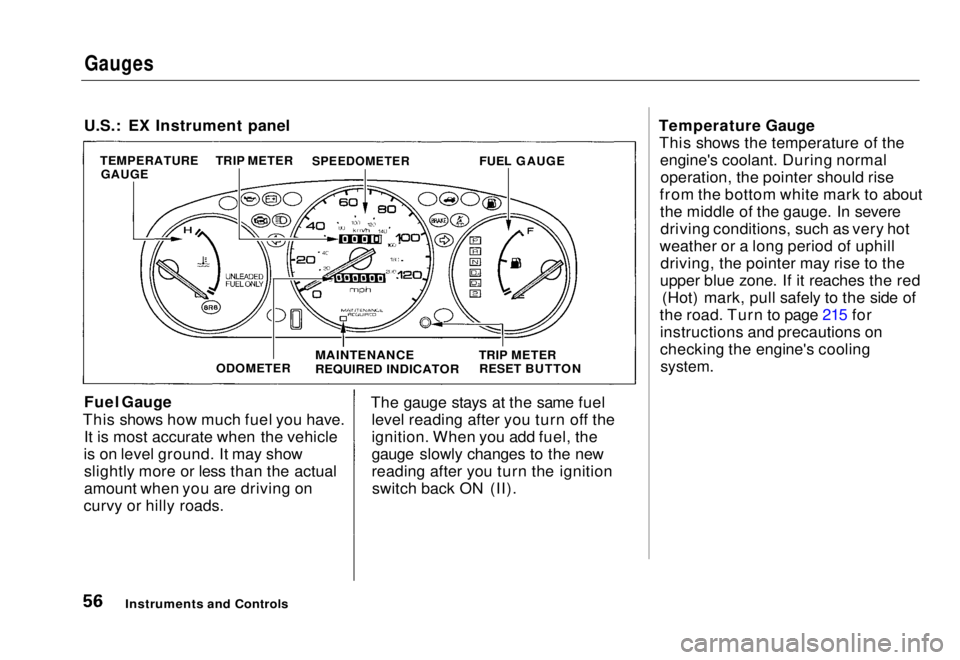
U.S.: EX Instrument panel
Fuel Gauge
This shows how much fuel you have. It is most accurate when the vehicle
is on level ground. It may show slightly more or less than the actual
amount when you are driving on
curvy or hilly roads. The gauge stays at the same fuel
level reading after you turn off the
ignition. When you add fuel, the
gauge slowly changes to the new
reading after you turn the ignitionswitch back ON (II). Temperature Gauge
This shows the temperature of the engine's coolant. During normaloperation, the pointer should rise
from the bottom white mark to about the middle of the gauge. In severedriving conditions, such as very hot
weather or a long period of uphill driving, the pointer may rise to the
upper blue zone. If it reaches the red (Hot) mark, pull safely to the side of
the road. Turn to page 215 for instructions and precautions on
checking the engine's cooling
system.
Instruments and Controls
TEMPERATURE
GAUGE TRIP METER
SPEEDOMETER
FUEL GAUGE
ODOMETER
MAINTENANCE
REQUIRED INDICATOR
TRIP METER
RESET BUTTONMain Menu Table of Contents s t
Page 109 of 251
Before Driving
Before you begin driving your Honda,
you should know what gasoline to use, and how to check the levels of
important fluids. You also need to
know how to properly store luggage or packages. The information in this
section will help you. If you plan to
add any accessories to your vehicle,
please read the information in this section first.
Break-in Period.............................. 108
Gasoline.......................................... 108
Service Station Procedures .......... 109 Filling the Fuel Tank................. 109Opening the Hood..................... 110
Oil Check................................ 111
Engine Coolant Check.......... 112
Fuel Economy................................ 113 Vehicle Condition...................... 113Driving Habits............................ 113
Accessories and Modifications.... 114 Carrying Cargo.............................. 116
Before DrivingMain Menu s t
Page 113 of 251
Service Station Procedures
Oil Check
Check the engine oil level every time
you fill the vehicle with fuel. Wait a few minutes after turning the engine off before you check the oil.
1. Remove the dipstick (orange
handle).
2. Wipe the dipstick with a clean
cloth or paper towel. 3. Insert it all the way back in its tube.
CONTINUED
Before Driving
DIPSTICKMain Menu Table of Contents s t
Page 114 of 251
Service Station Procedures
4. Remove the dipstick again and check the level. It should be
between the upper and lower marks.
If it is near or below the lower mark, see Adding Oil on page 155. Engine Coolant Check
Look at the coolant level in the
radiator reserve tank. Make sure it is
between the MAX and MIN lines. If it is below the MIN line, see Adding
Engine Coolant on page 159 for
information on adding the proper
coolant.
Refer to Owner Maintenance
Checks on page 153 for information
on checking other items in your
Honda.
Before Driving
UPPER MARK
LOWER MARK
RESERVE
TANK
MAX
MINMain Menu Table of Contents s t
Page 115 of 251

Fuel Economy
The condition of your vehicle and your driving habits are the two mostimportant things that affect the fuel
mileage you get.
Vehicle Condition Always maintain your vehicle accord- ing to the maintenance schedule.
This will keep it in top operating
condition.
An important part of that mainte- nance is the Owner Maintenance
Checks (see page 153). For
example, an underinflated tire
causes more "rolling resistance,"
which uses fuel. It also wears out
faster, so check the tire pressure at
least monthly.
In winter, the build-up of snow on
your vehicle's underside adds weight and rolling resistance. Frequent
cleaning helps your fuel mileage and
reduces the chance of corrosion. Driving Habits
You can improve fuel economy by driving moderately. Rapid acceler-
ation, abrupt cornering, and hard
braking use more fuel.
Always drive in the highest gear that allows the engine to run and acceler-ate smoothly.
Depending on traffic conditions, try
to maintain a constant speed. Every time you slow down and speed up,
your vehicle uses extra fuel. Use the cruise control, when appropriate, to
increase fuel economy. A cold engine uses more fuel than a
warm engine. It is not necessary to "warm-up" a cold engine by letting it
idle for a long time. You can drive
away in about a minute, no matter
how cold it is outside. The engine
will warm up faster, and you get better fuel economy. To cut down on
the number of "cold starts," try tocombine several short trips into one.
The air conditioning puts an extra load on the engine which makes ituse more fuel. Turn off the A/C to
cut down on air conditioning use.
Use the flow-through ventilation
when the outside air temperature is moderate.
Before DrivingMain Menu Table of Contents s t
Page 122 of 251

Preparing to Drive
You should do the following checks and adjustments every day before
you drive your vehicle.
1. Make sure all windows, mirrors, and outside lights are clean and
unobstructed. Remove frost, snow, or ice.
2. Check that the hood and trunk are fully closed.
3. Visually check the tires. If a tire looks low, use a gauge to check its
pressure.
4. Check that any items you may be
carrying with you inside are stored
properly or fastened down
securely.
5. Check the adjustment of the seat (see page 74).
6. Check the adjustment of the inside and outside mirrors (see
page 79).
7. Check the adjustment of the steering wheel (see page 63).
8. Make sure the doors are securely closed and locked. 9. Fasten your seat belt. Check that
your passengers have fastened
their seat belts (see page 7).
10. Turn the ignition switch ON (II). Check the indicator lights in the
instrument panel.
11. Start the engine (see page 121).
12. Check the gauges and indicator lights in the instrument panel (see
page 33).
DrivingMain Menu Table of Contents s t