1998 GMC SIERRA fuse
[x] Cancel search: fusePage 11 of 452
Vehicle Symbols
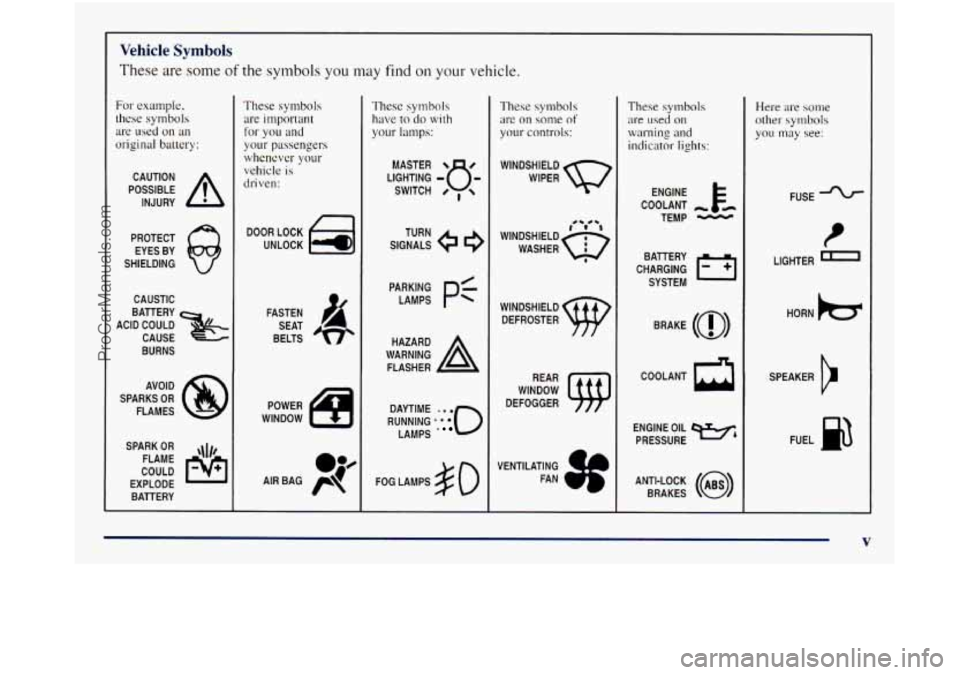
These are some of the symbols you may find on your vehicle.
For example.
these symbols are used
on an
originnl battery:
POSSIBLE A
CAUTION
INJURY
PROTECT EYES BY
SHIELDING
CAUSTIC
ACID COULD
BATTERY
CAUSE
BURNS
AVOID
SPARKS
OR
FLAMES
SPARK
OR ,\I/,
COULD FLAME
EXPLODE BATTERY
These symbols are important
for you
and
your passengers whenever your
vehicle is
driven:
DOOR LOCK
UNLOCK
FASTEN SEAT
BELTS
POWER
WINDOW
These symbols
have to do with
your lamps:
SIGNALS e e
TURN
RUNNING
*'***'O
DAYTIME LAMPS
*
FOG LAMPS # 0
These symbols
are on some of
your controls:
WIPER Q
WINDSHIELD
DEFROSTER
WINDOW
DEFOGGER
VENTILATING FAN
These symbols
are used on
warning and
indicator lights:
ENGINE k
COOLANT - td
TEMP -
CHARGING BATTERY
SYSTEM
BRAKE
(@)
rr
ENGINE OIL w,
PRESSURE
ANTI-LOCK
(@)
BRAKES
Here are some
other symbols
you may see:
FUSE -%-
t
LIGHTER
HORN
)tr
SPEAKER
b
FUEL no
V
ProCarManuals.com
Page 14 of 452
Seats and Seat Controls
This section tells you about the seats -- how to adjust
them, and fold them up and down. It also tells you about
reclining front seatbacks and head restraints.
Manual Front Seat
I /! CAUTIO-.:
You can lose control of the vehicle if you try to
adjust a manual driver’s seat while the vehicle
is
moving. The sudden movement could startle and
confuse you, or make you push a pedal when you
don’t want to. Adjust the driver’s seat only when
the vehicle is
not moving.
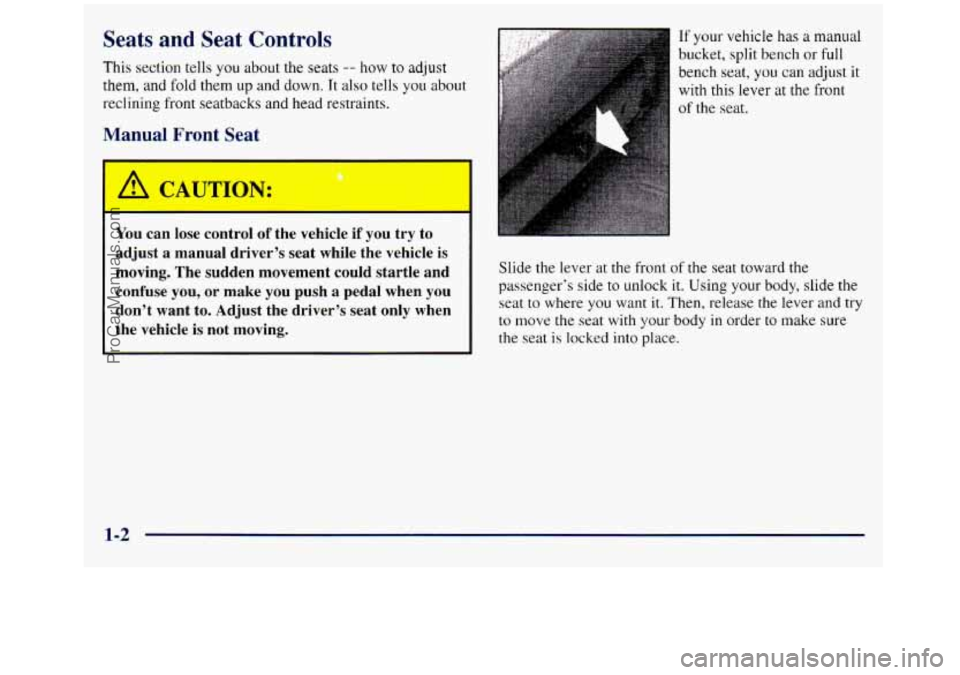
If your vehicle has a manual
bucket, split bench or full
bench seat, you can adjust it
with
this lever at the front
of the seat.
Slide the lever at the front of
the seat toward the
passenger’s side to
unlock it. Using your body, slide the
seat to where
you want it. Then, release the lever and try
to move the seat with your body in order to make sure
the seat
is locked into place.
1-2
ProCarManuals.com
Page 94 of 452

Passlock@ New Vehicle “Break-In”
Your vehicle is equipped with the Passlock
theft-deterrent system.
Passlock is a passive theft-deterrent system. The
system
is armed once the key is removed from the ignition.
Passlock enables fuel if the ignition lock cylinder
is
turned with a valid key. If a correct key is not used, f~lel
is disabled.
During normal operation, the
SECURITY light will go
off after the engine is started.
If the engine stalls and the SECURITY light flashes.
wait
until the light stops flashing before trying to restart
the engine. Remember to release the key from the
START position as soon as the engine starts.
If you are driving and the SECURITY light comes on, you
will be able to restart the engine
if you turn the engine off.
However, your Passlock system is not working properly
and must be serviced by your dealer. Your vehicle is not
protected by Passlock at this time,
You may also want to
check the fuse (see “Fuses
and Circuit Breakers” in the
Index), See your dealer for service.
If the SECURITY light comes on while the engine is
running, a problem has been detected and the system
may need service. See your dealer for service.
In an emergency, call the Roadside Assistance Center.
NOTICE:
Your vehicle doesn’t need an elaborate
“break-in.” But it will perform better in the long
run if you follow these guidelines:
0
0
0
0
Keep your speed at 55 mph (88 kmh) or
less for the first
500 miles (805 km).
Don’t drive at any one speed
-- fast or
slaw
-- for the first 500 miles (805 km).
Don’t make full-throttle starts.
Avoid making hard stops for the first
200 miles (322 km) or so. During this time
your new brake linings aren’t yet broken
in. Hard stops with new linings can mean
premature wear and earlier replacement.
Follow this breaking-in guideline every
time you get new brake linings.
Don’t tow
a trailer during break-in.
See “Towing
a Trailer” in the Index for
more information.
ProCarManuals.com
Page 120 of 452
If a bulb is burned out, replace it to help avoid an
accident. If the arrows don’t go on at all when you
signal
a turn, check for burned-out bulbs and a blown
fuse (see “Fuses and Circuit Breakers”
in the Index).
Headlamp HighLow-Beam Changer
To change the headlamps from low to high beam or high
to low beam, pull the multifunction lever all the way
toward
you. Then release it.
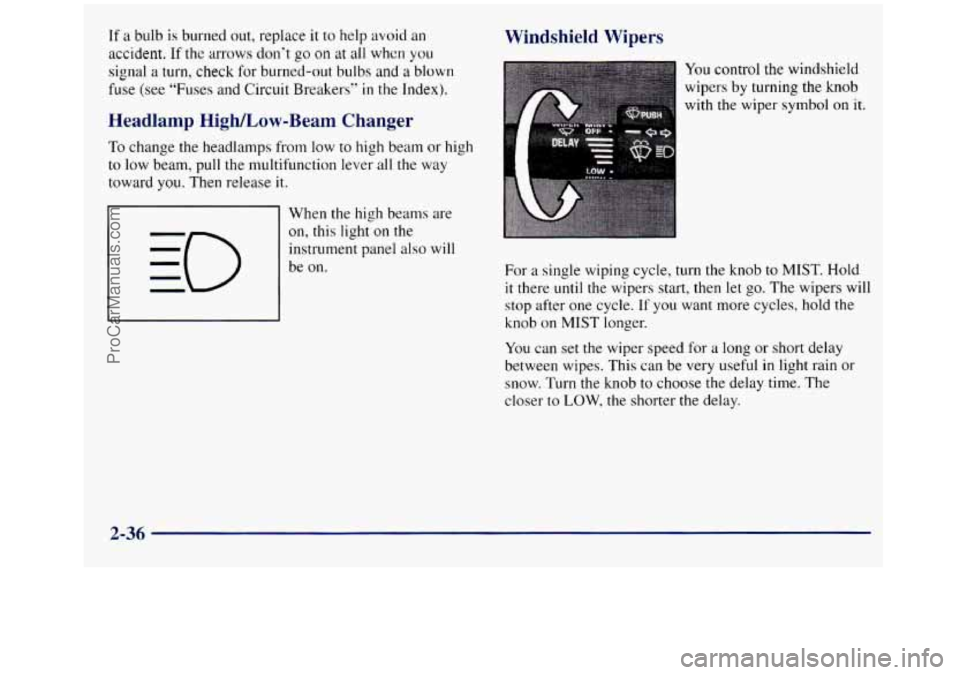
When the high beams are
on, this light
on the
instrument panel also will
be on.
Windshield Wipers
You control the windshield
wipers
by turning the knob
with the wiper
symbol on it.
For a single wiping cycle, turn the knob to MIST. Hold
it there until the wipers start, then let
go. The wipers will
stop after one cycle.
If you want more cycles, hold the
knob on MIST longer.
You can set
the wiper speed for a long or short delay
between wipes. This can be very useful
in light rain or
snow. Turn the knob to choose the delay time. The
closer to
LOW, the shorter the delay.
2-36
ProCarManuals.com
Page 121 of 452
For steady wiping at low speed, turn the knob to the LOW
position. For high-speed wiping, turn the knob hrther, to
HIGH.
To stop the wipers, move the knob to OW.
Damaged wiper blades may prevent you from seeing
well enough to drive safely.
To avoid damage, be sure to
clear ice and
snow from the wiper blades before using
them.
If they are frozen to the windshield, carefully
loosen
or thaw them. If your blades do become
damaged, get new blades or blade inserts.
Heavy ice or snow can overload your wipers. The
windshield wiper motor
is protected from overload by a
circuit breaker and a fuse. If the motor overheats due
to
heavy snow, etc., the wiper will stop until the motor
cools. Although protected from electrical overload,
overload due
to heavy snow, etc. may cause wiper
linkage damage. Always clear ice and heavy snow from
the windshield before using your windshield wipers.
Windshield Washer
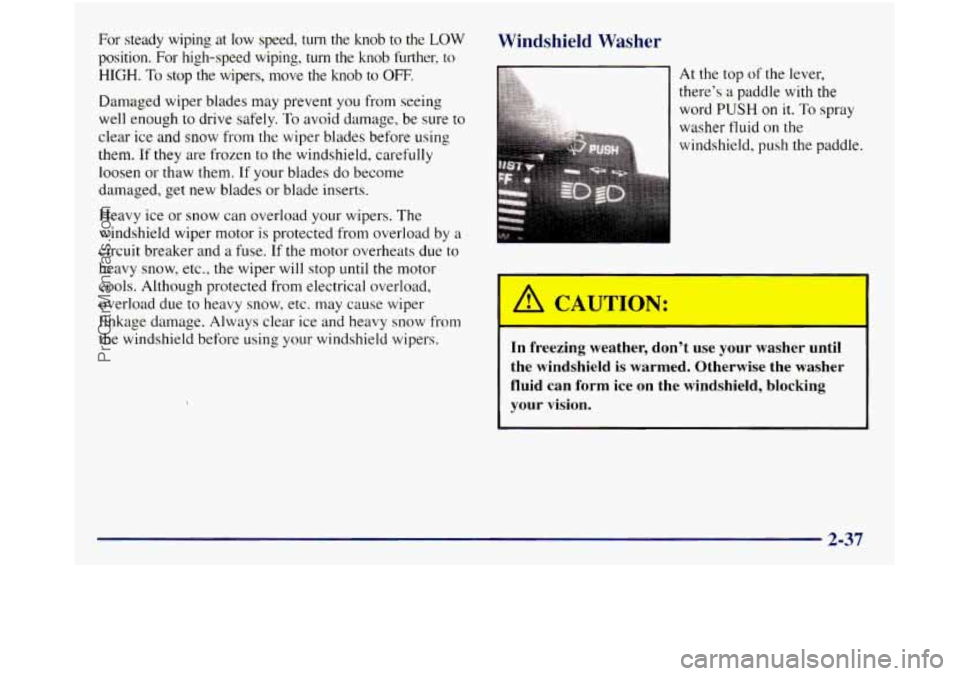
At the top of the lever,
%:.. there’s a paddle with the 4 g& .,.~ ...... ...... ... .. . . word PUSH on it. To spray
washer fluid
on the
windshield, push the paddle.
A CAU 1ION:
In freezing weather, don’t use your washer until
the windshield is warmed. Otherwise the washer
fluid can form ice on the windshield, blocking
your vision.
2-37
ProCarManuals.com
Page 145 of 452

A. Dome Lamp Switch
B. Lamp Controls
C. Air Outlets
D. Multifunction Lever
E. Instrument Cluster
F. Gearshift Lever
G. Audio System
H. Comfort Control System
I. Glove Box
J. Ashtray
K. Cupholder
L. Auxiliary Power Outlets
M. Storage Area or Compact Disc Player (If Equipped)
N. Rear Window Defogger Switch (If Equipped)
0. Passenger Air Bag Off Switch (If Equipped)
P. Electronic Transfer Case Switch (If Equipped)
Q. Tilt Lever (If Equipped)
R. Parking Brake Release
S. Hood Release
T. Fuse
Block
2-61
ProCarManuals.com
Page 203 of 452
Environmental Concerns
0
0
0
Cargo on the load floor piled higher man
the seatbacks can be thrown forward during a sudden stop. You or
your
passengers could be injured. Keep cargo
below the top of the seatbacks.
Unsecured cargo on the load floor can be
tossed about when driving over rough
terrain. You or your passengers can be
struck
by flying objects. Secure the
cargo properly.
Heavy loads on the roof raise the vehicle's
center of gravity, making it more likely to
roll over. You can be seriously or fatally
injured if the vehicle rolls over. Put heavy
loads inside the cargo area, not on the roof.
Keep cargo in the cargo area as
far forward
and low as possible.
You'll find other important information in this manual.
See "Vehicle Loading," "Luggage Carrier" and "Tires"
in the Index. Off-road
driving can provide wholesome and satisfying
recreation. However,
it also raises environmental
concerns.
GM recognizes these concerns and urges
evesy off-roader to follow these basic rules for
protecting the environment:
0
0
0
e
0
Always use established trails, roads and areas that
have been specially set aside
for public off-road
recreational driving; obey all posted regulations.
Avoid any driving practice that could damage the
environment
-- shrubs, flowers, trees, grasses -- or
disturb wildlife (this includes wheel-spinning,
breaking down trees or unnecessary driving through
streams or over soft ground
j.
Always carry a litter bag . . . make sure all refuse is
removed from any campsite before leaving.
Take extreme care
with open fires (where permitted),
camp stoves and lanterns.
Never park your vehicle over dry grass or other
combustible materials that could catch fire from the
heat of the vehicle's exhaust system.
4-15
ProCarManuals.com
Page 248 of 452
Trailer Wiring Harness
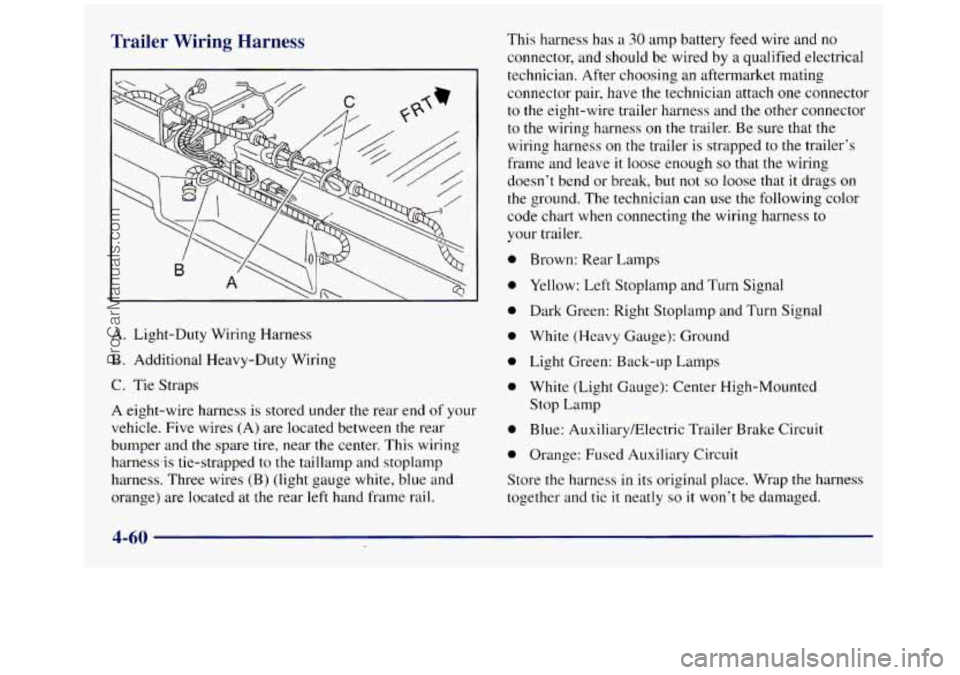
A. Light-Duty Wiring Harness
B. Additional Heavy-Duty Wiring
C. Tie Straps
A eight-wire harness is stored under the rear end of your
vehicle. Five wires (A) are located between the rear
bumper and the spare tire, near the center. This wiring
harnewis tie-strapped to the taillamp and stoplamp
harness. Three wires (B) (light gauge white, blue and
orange) are located at
the rear left hand frame rail. This
harness has a
30 amp battery feed wire and no
connector, and should be wired
by a qualified electrical
technician. After choosing an aftermarket mating
connector pair, have the technician attach one connector
to the eight-wire trailer harness and the other connector
to the wiring harness on the trailer. Be sure that the
wiring harness on the trailer is strapped to the trailer’s
frame and leave
it loose enough so that the wiring
doesn’t bend or break, but not
so loose that it drags on
the ground. The technician can use the following color
code chart when connecting the wiring harness to
your trailer.
0 Brown: Rear Lamps
0 Yellow: Left Stoplamp and Turn Signal
0 Dark Green: Right Stoplamp and Turn Signal
0 White (Heavy Gauge): Ground
0 Light Green: Back-up Lamps
0 White (Light Gauge): Center High-Mounted
Stop Lamp
0 Blue: Auxiliary/Electric Trailer Brake Circuit
0 Orange: Fused Auxiliary Circuit
Store the harness
in its original place. Wrap the harness
together and tie
it neatly so it won’t be damaged.
4-60
ProCarManuals.com