1998 GMC SIERRA change time
[x] Cancel search: change timePage 8 of 452

GENERAL MOTORS, GM, the GM Emblem, GMC,
the GMC Emblem and the name SIERRA are registered
trademarks of General Motors Corporation.
This manual includes the latest information at the time
it was printed, We reserve the right
to make changes
in the product after that time without further notice.
For vehicles first sold in Canada, substitute the name
“General Motors of Canada Limited” for GMC
whenever
it appears in this manual.
Please keep this manual in
your vehicle, so it will be
there
if you ever need it when you’re on the road. If you
sell the vehicle, please leave this manual in it so the new
owner can use
it.
Litho in U.S.A.
X9804 B First Edition
WE SUPPORT VOLUNTARY TECHNICIAN
CERTIFICATION THROUGH
National Institute far
AUTOMOTIVE
SERVICE
EXCELLENCE
We support voluntary
technician certification.
For Canadian Owners Who Prefer a
French Language Manual:
Aux propribtaires canadiens: Vous pouvez vous
procurer
un exemplaire de ce guide en fraqais chez
votre concessionaire
ou au:
DGN Marketing Services Ltd.
1500 Bonhill Rd.
Mississauga, Ontario
L5T IC7
@Copyright General Motors Corporation
1997
All Rights Reserved
ii
ProCarManuals.com
Page 90 of 452

~ Power Door Locks (If Equipped)
Press the bottom of the
power door lock switch,
marked
LOCK, on either
front door to lock all the
doors at once. Press the
ribbed side
of the switch to
unlock all the doors at once.
Leaving Your Vehicle
If you are leaving the vehicle, take your keys, open your
door and set the locks from inside. Then get out and
close the door.
Keyless Entry System (If Equipped)
If your vehicle has this option, you can lock and unlock
your doors from about
3 feet (1 m) up to 30 feet (9 m)
away using the remote keyless entry transmitter supplied
with your vehicle. Your
interior lamps will be illuminated for a set period
of time when the transmitter signal is received by the
Keyless Entry System.
In addition, your vehicle’s horn
will chirp if you press the
LOCK button twice, to let you
know that the doors have locked.
Your keyless entry system operates on a radio frequency
subject to Federal Communications Commission (FCC)
Rules and with Industry Canada.
This device complies with
Part 15 of the FCC Rules.
Operation is subject to the following two conditions:
(1) this device may not cause harmful interference, and
(2) this device must accept any interference received,
including interference that may cause undesired operation.
This device complies with RSS-210
of Industry Canada.
Operation is subject to the following two conditions:
(1) this device may not cause interference, and
(2) this
device must accept any interference received, including
interference that may cause undesired operation
of
the device.
Changes or modifications to this system by other than an
authorized service facility could void authorization
to
use this equipment.
2-6 -
ProCarManuals.com
Page 92 of 452

Battery Replacement
Under normal use, the battery in your remote keyless
entry transmitter should last about two years.
You can tell the battery is weak if the transmitter won't
work at the normal range
in any location. If you have to
get close to your vehicle before the transmitter works,
it's probably time to change the battery.
NOTICE:
When repIacing the battery, use care not to
touch
any of the circuitry. Static from your
body transferred to these surfaces may damage
the transmitter.
Use one three volt, type CR2032, or equivalent battery.
To replace the battery:
1. Insert a small coin, or flathead screwdriver, to
separate the bottom
of the transmitter from the top.
2. Remove the battery and replace it with a new one,
making s11re the positive
(+) side of the battery is
facing down.
3. Snap the top and bottom together.
4. Test the operation of the transmitter with your
vehicle.
If the transmitter does not work, try
synchronizing the transmitter with the receiver.
2-8
ProCarManuals.com
Page 97 of 452

Manual Transmission
The gear selector should be in NEUTRAL (N) and the
parking
brake engaged. Hold the clutch pedal to the
floor and start the engine. YOLU vehicle won‘t start if the
clutch pedal is not all the way
down -- that‘s a
safety feature.
How to Start the Engine
1. Without pushing the accelerator pedal. turn your
ignition key to START. When the engine starts: let
engine
gets warm.
z (TO of the key. The idle speed will go down as your
I NOTICE:
Holding your key in SrI‘,4KT for longer than
15 seconds at a time will cause your battery to be
drained much sooner. And the excessive heat can
damage your starter motor. 3.
If your
engine still won’t start (or starts but then
stops), wait
15 seconds and start over.
When the engine starts,
let go of the key and the
accelerator pedal.
NOTICE:
Your engine is designed to work with the
electronics in your vehicle. If you add electrical
parts or accessories, you could change the way
the engine operates. Before adding electrical
equipment, check with your dealer.
If you don’t,
your engine might not perform properly.
If you ever have to have your vehicle towed, see
the part
of this manual that tells how to do it
without damaging your vehicle. See “Towing
Your Vehicle” in
the Index.
2-13
ProCarManuals.com
Page 120 of 452

If a bulb is burned out, replace it to help avoid an
accident. If the arrows don’t go on at all when you
signal
a turn, check for burned-out bulbs and a blown
fuse (see “Fuses and Circuit Breakers”
in the Index).
Headlamp HighLow-Beam Changer
To change the headlamps from low to high beam or high
to low beam, pull the multifunction lever all the way
toward
you. Then release it.
When the high beams are
on, this light
on the
instrument panel also will
be on.
Windshield Wipers
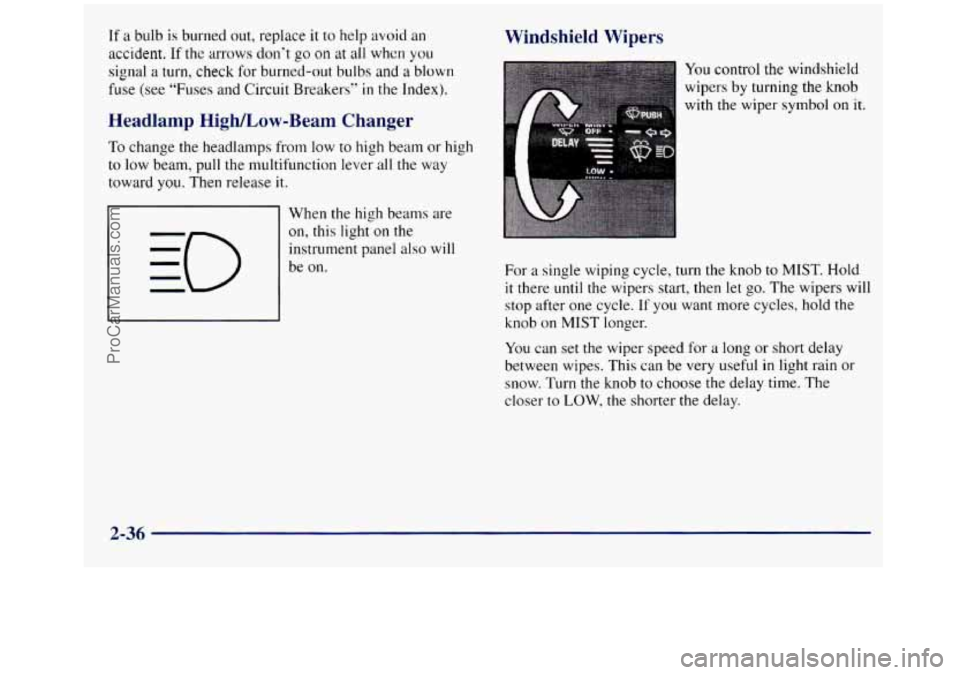
You control the windshield
wipers
by turning the knob
with the wiper
symbol on it.
For a single wiping cycle, turn the knob to MIST. Hold
it there until the wipers start, then let
go. The wipers will
stop after one cycle.
If you want more cycles, hold the
knob on MIST longer.
You can set
the wiper speed for a long or short delay
between wipes. This can be very useful
in light rain or
snow. Turn the knob to choose the delay time. The
closer to
LOW, the shorter the delay.
2-36
ProCarManuals.com
Page 126 of 452

Clearance Lamps (If Equipped)
Taillamps License Plate Lamps
Instrument Panel Lights
Transfer Case Shift Indicator Light (Four-Wheel-Drive Vehicles)
Rotate the knob to the right again to the master
lighting symbol
to turn on all the lamps listed as
well as the headlamps.
Rotate the knob to the left,
to OFF, to turn off
your lamps.
Rotate the thumb wheel next to
the knob up to adjust
instrument panel lights. Rotate the thumb wheel
up to
the first notch to return the radio display and gearshift
indicator
LED display to full intensity when the
headlamps or parking lamps are on.
You can switch your headlamps from high
to low beams
by pulling on the turn signal/multifunction lever.
Headlamps On Reminder
A buzzer will sound when your headlamps are turned on
and the key
is turned to the OFF, LOCK or
ACCESSORY position.
If you need to use your
headlamps when the key is turned to OFF-
LOCK or ACCESSORY, the
buzzer can be turned off by turning
the thumb wheel next
to the parking lamp/headlamp
knob all the way down.
Daytime Running Lamps
Daytime Running Lamps (DRL) can make it easier for
others to see the front of your vehicle during the day.
DRL can be helpful
in many different driving
conditions, but they can be especially helpful
in the
short periods after dawn and before sunset.
The DRL system
will make your headlamps come on at
a reduced brightness when:
0 the ignition is on,
0 the headlamp switch is off and
the parking brake is released.
When the DRL are on, only your headlamps will be on.
The taillamps, sidemarker and other lamps won’t
be on.
Your instrument panel won’t be lit
up either.
When it begins to get dark, your DRL indicator light is a
reminder to turn your headlamp switch on. The other lamps
that come
on with your headlanips will also come on.
When you
turn off the headlamp switch, the regular
lamps will
go off, and your headlamps will change to
the reduced brightness of DRL.
2-42
ProCarManuals.com
Page 196 of 452

The anti-lock system can change the brlzke pressure faster
than any driver could. The computer is programmed
to
make the most of available tire and road conditions.
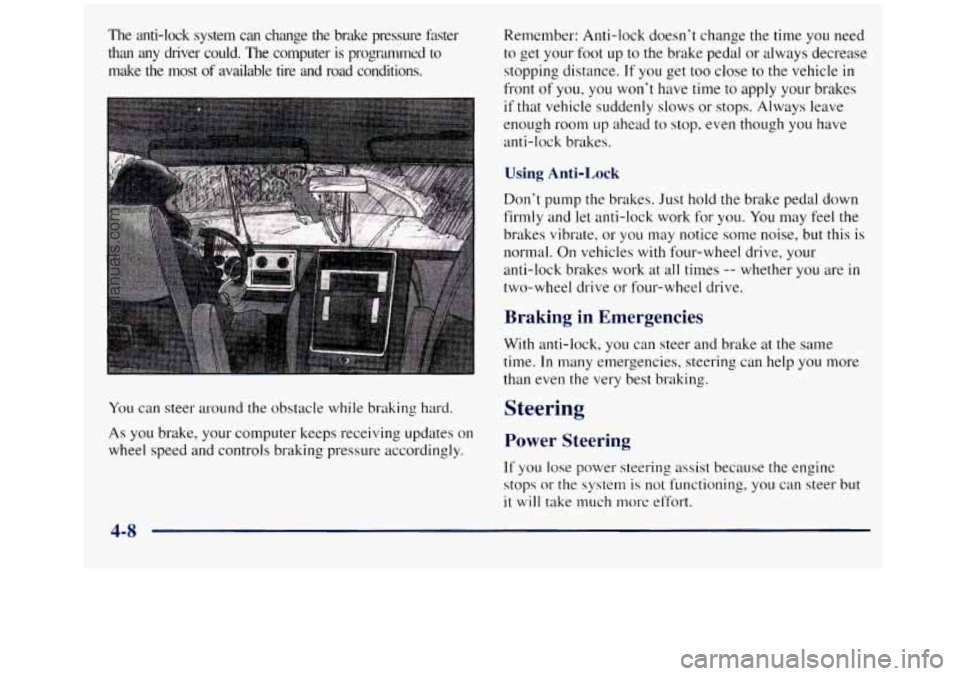
You can steer around the obstacle while braking hard.
As you brake, your computer keeps receiving updates on
wheel speed and controls braking pressure accordingly. Remember: Anti-lock doesn’t change the
time you need
to get your foot
up to the brake pedal or always decrease
stopping distance.
If you get too close to the vehicle in
front of you, you won’t have time to apply your brakes
if that vehicle. suddenly slows or stops. Always leave
enough room
up ahead to stop, even though you have
anti-lock brakes.
Using Anti-Lock
Don’t pump the brakes. Just hold the brake pedal down
firmly and let anti-lock work for you.
You may feel the
brakes vibrate, or you may notice some noise, but this is
normal. On vehicles
with four-wheel drive, your
anti-lock brakes work at all times
-- whether you are in
two-wheel drive or four-wheel drive.
Braking in Emergencies
With anti-lock, you can steer and brake at the same
time. In many emergencies, steering can help you more
than even the very best braking.
Steering
Power Steering
If you lose power steering assist because the engine
stops
or the system is not functioning, you can steer but
it will take much more effort.
4-8
ProCarManuals.com
Page 200 of 452

Do not get too close to the vehicle you want to pass
while you’re awaiting
an opportunity. For one thing,
following too closely reduces your area
of vision,
especially if you’re following a larger vehicle.
Also, you
won’t have adequate space if the vehicle ahead suddenly
slows or stops. Keep back a reasonable distance.
When it looks like a chance to pass is coming up,
start
to accelerate but stay in the right lane and don’t
get too close. Time your move
so you will be
increasing speed as the time comes
to move into the
other lane. If
the way is clear to pass, you will have a
“running start” that more than makes up for the
distance you would lose by dropping back. And if
something happens to cause you to cancel your pass,
you need only slow down and drop back again and
wait for another opportunity.
If other cars are lined up to pass a slow vehicle, wait
your turn. But take care that someone
isn’t trying to
pass you as you pull
out to pass the slow vehicle.
Remember
to glance over your shoulder and check
the blind spot.
Check your mirrors, glance over your shoulder and
start your
left lane change signal before moving out
of the right lane to pass. When
you are far enough
ahead
of the passed vehicle to see its front in your
inside mirror, activate your right lane change signal
and move back into the right lane. (Remember that if
your right outside mirror
is convex, the vehicle you
just passed may seem to be farther away from you
than it really is.)
Try not to pass more than one vehicle at a time
on two-lane roads. Reconsider before passing the
next vehicle.
Don’t overtake a slowly moving vehicle too rapidly.
Even though the brake lamps are not flashing, it may
be slowing down or starting
to turn.
If you’re being passed, make it easy for the
following driver to get ahead
of you. Perhaps you
can ease a little to the right.
4-12
ProCarManuals.com