1998 GMC SIERRA air condition
[x] Cancel search: air conditionPage 7 of 452
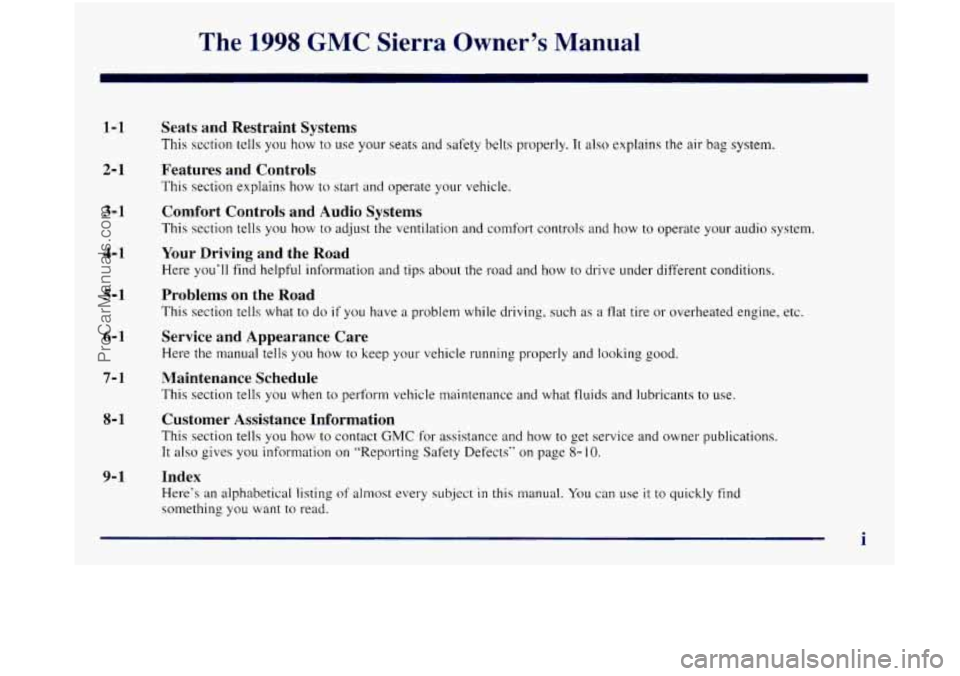
The 1998 GMC Sierra Owner's Manual
1-1
2- 1
3- 1
4- 1
5-1
6-1
7-1
8- 1
9-1
Seats and Restraint Systems
This section tells you how to use your seats and safety belts properly. Tt also explains the air bag system.
Features and Controls
This section explains how to start and operate your vehicle.
Comfort Controls and Audio Systems
This section tells you how to adjust the ventilation and comfort controls and how to operate your audio system.
Your Driving and the Road
Here you'll find helpful information and tips about the road and how to drive under different conditions.
Problems on the Road
This section tells what to do if you have a problem while driving? such as a flat tire or overheated engine, etc.
Service and Appearance Care
Here the manual tells you how to keep your vehicle running properly and looking good.
Maintenance Schedule
This section tells you when to perform vehicle maintenance and what fluids and lubricants to use.
Customer Assistance Information
This section tells you how to contact GMC for assistance and how to get service and owner publications.
It also gives you information on "Reporting Safety Defects" on page 8- 10.
Index
Here's an alphabetical listing of almost every subject in this manual. You can use it to quickly find
something you want to read.
i
ProCarManuals.com
Page 39 of 452
p, CAUTION:
If something is between an occupant and an air
bag, the bag might not inflate properly or it
might force the object into that person. The path
of an inflating air bag must be kept clear. Don’t
put anything between an occupant and an air
bag, and don’t attach or put anything on the
steering wheel hub or on or near any other air
bag covering.
When should an air bag inflate?
An air bag is designed to inflate in a moderate to severe
frontal or near-frontal crash. The air bag will inflate
only if the impact speed
is above the system’s designed
“threshold level.” If your vehicle goes straight into a
wall that doesn’t move or deform,
the threshold level is
about
9 to 16 mph (14 to 26 km/h). The threshold level
can vary, however, with specific vehicle design,
so that
it can be somewhat above or below this range. If your
vehicle strikes something that will move or deform, such as
a parked car, the threshold
level will be higher. The
air bag
is not designed to inflate in rollovers, side
impacts or rear impacts, because inflation would not
help the occupant.
In any particular crash,
no one can say whether an air
bag should have inflated simply because of the damage
to a vehicle or because of what the repair costs were.
Inflation is determined by the angle of the impact and
how quickly the vehicle slows down
in frontal or
near-frontal impacts.
The air bag system is designed to work properly under a
wide range
of conditions, including off-road usage.
Observe safe driving speeds, especially
on rough terrain.
As always, wear your safety belt. See ”Off-Road
Driving’‘
in the Index for more tips on off-road driving.
What makes an air bag inflate?
In an impact of sufficient severity, the air bag sensing
system detects
that the vehide is in a crash. The sensing
system triggers a release
of gas from the inflator, which
inflates
the air bag. The inflator, air bag and related
hardware are all part
of the air bag modules inside the
steering wheel and in the instrument panel
in front of the
right front passenger.
1-27
ProCarManuals.com
Page 43 of 452

Adding Equipment to Your Air
Bag-Equipped Vehicle
e.” If I add a push bumper or a bicycle rack to the
front of my vehicle, will it keep the air
bags
from working properly?
A: As long as the push bumper or bicycle rack is
attached to your vehicle so that the vehicle’s basic
structure isn’t changed, it’s not likely to keep the
air bags from working properly in a crash.
Q.” Is there anything I might add to the front of the
vehicle that could keep the air bags from
working properly?
A: Yes. If you add things that change your vehicle’s
frame, bumper system, front end sheet metal or
height, they may keep the air bag system from
working properly. Also, the air bag system may
not
work properly if you relocate any of the air bag
sensors. If
you have any questions about this, you
should contact Customer Assistance before you
modify your vehicle. (The phone numbers and
addresses for Customer Assistance are
in Step Two
of the Customer Satisfaction Procedure in this
manual. See “Customer Satisfaction Procedure” in
the Index.)
What if I add a snow plow? Will it keep the air
bags from working properly?
A: We’ve designed our air bag systems to work
properly under a
wide range of conditions,
including snow plowing with vehicles equipped
with the
optional Snow Plow Prep Package (RPO
VYU). But don’t change or defeat the snow plow’s
“tripping mechanism.”
If you do, it can damage
your snow plow and your vehicle, and
it may cause
an air bag inflation.
ProCarManuals.com
Page 151 of 452
After the engine starts, the light should go out. If it stays
on or comes on while you are driving, you may have a
problem with your charging system. It could indicate a
problem with the generator
drive belt, or some other
charging system problem. Have it checked right away.
Driving while this light
is on could drain your battery.
If you must drive a short distance with this light on, it
helps to turn off all your accessories, such as the radio
and the
air conditioner.
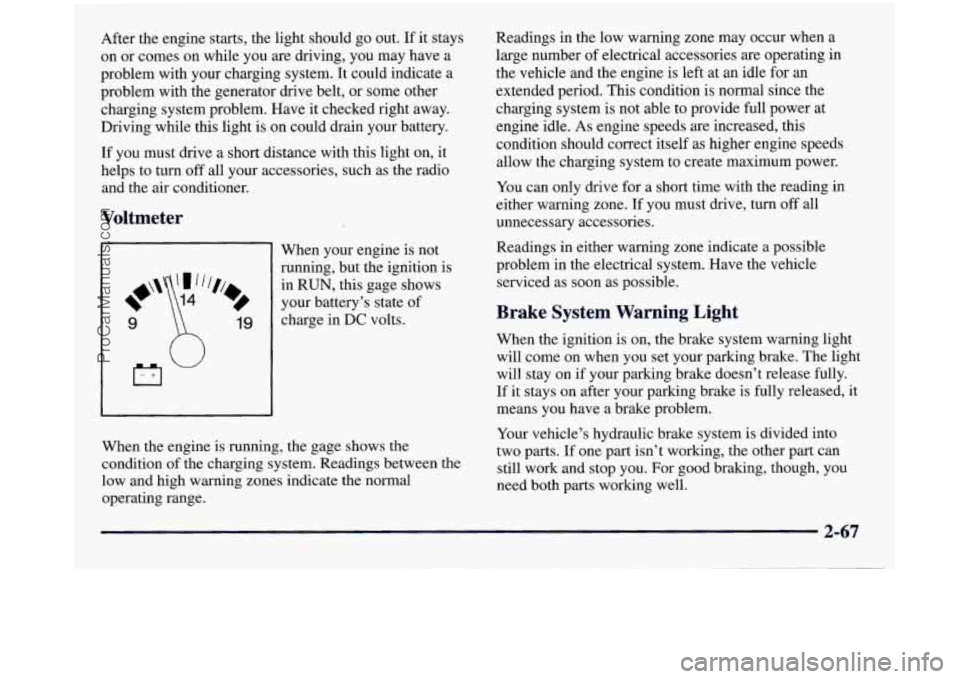
Voltmeter
19
When your engine is not
running, but the ignition is
in RUN, this gage shows
your battery’s state of
charge in
DC volts.
When the engine is running, the gage shows the
condition of the charging system. Readings between the
low and high warning zones indicate the normal
operating range. Readings
in the low warning zone may occur when a
large number
of electrical accessories are operating in
the vehicle and the engine is left at an idle for an
extended period.. This condition is normal since the
charging system
is not able to provide full power at
engine idle. As engine speeds are increased, this
condition should correct itself as higher engine speeds
allow the charging system to create maximum power.
You can only drive for a short time with the reading in
either warning zone. If you must drive, turn off all
unnecessary accessories.
Readings in either warning zone indicate a possible
problem in the electrical system. Have the vehicle
serviced as soon as possible.
Brake System Warning Light
When the ignition is on, the brake system warning light
will come on when you set your parking brake. The light
will stay on
if your parking brake doesn’t release fully.
If it stays on after your parking brake is fully released, it
means you have a brake problem.
Your vehicle’s hydraulic brake system is divided into
two parts. If one part isn’t working, the other part can
still work and stop you. For good braking, though,
you
need both parts working well.
2-67
ProCarManuals.com
Page 154 of 452
This system is called OBD I1 (On-Board
Diagnostics-Second Generation) and is intended to
assure that emissions are at acceptable levels for the life
of the vehicle, helping to produce a cleaner
environment. The
SERVICE ENGINE SOON light
comes on to indicate that there is a problem and service
is required. Malfunctions often will be indicated by the
system before any problem is apparent. This may
prevent more serious damage to your vehicle. This
system is also designed to assist your service technician
in correctly diagnosing any malfunction.
~OTICE:
If you keep driving your vehicle with this light
on, after a while, your emission controls may not
work as well, your fuel economy may not be as
good and your engine may not run as smoothly.
This could lead to costly repairs that may not be
covered by your warranty.
This light should come on, as a check to show you it is
working, when the ignition is on and the engine is not
running. If the light doesn’t come on, have it repaired.
2-70
This light will also come on during a malfunction in one
of two ways:
0 Light Flashing -- A misfire condition has been
detected. A misfire increases vehicle emissions and
may damage the emission control system on your
vehicle. Dealer or qualified service center diagnosis
and service may be required.
0 Light On Steady -- An emission control system
malfunction has been detected on your vehicle.
Dealer or qualified service center diagnosis and
service may be required.
If the Light Is Flashing
The following may prevent’more serious aamage to
your vehicle:
Reducing vehicle speed.
Avoiding hard accelerations.
0 Avoiding steep uphill grades.
0 If you are towing a trailer, reduce the amount of
cargo being hauled as soon as it is possible.
If the light stops flashing
and remains on steady, see “If
the Light Is On Steady” following.
If the light continues
to flash, when it is safe to do so,
stop the vehicle. Find a safe place to park your vehicle.
ProCarManuals.com
Page 155 of 452
Turn the key off, wait at least 10 seconds and restart the
engine.
If the light remains on steady, see “If the Light
Is On Steady” following. If the light is still flashing,
follow the previous steps, and drive the vehicle to your
dealer or qualified service center
for service.
If the Light Is On Steady
You may be able to correct the emission system
malfunction by considering the following:
Did you recently
put fuel into your vehicle?
If
so, reinstall the fuel cap, making sure to fully install
the cap. The diagnostic system can determine if the fuel
cap has been left off or improperly installed.
A loose or
missing fuel cap will allow fuel to evaporate into the
atmosphere.
A few driving trips with the cap properly
installed should turn the light
off.
Did you just drive through a deep puddle of water‘?
If so, your electrical system may be wet. The condition
will usually be corrected when the electrical system
dries out.
A few driving trips should turn the light off.
Are you low on fuel? As
your engine starts to run
out of fuel, your engine may
not run
as efficiently as designed since small amounts of
air are sucked into the fuel line causing
a misfire. The
system can detect this. Adding fuel should correct this
condition. Make sure to install the
fuel cap properly. It
will take
a few driving trips to turn the light off.
Have you recently changed brands of fuel?
If
so, be sure to fuel your vehicle with quality fuel (see
“Fuel”
in the Index). Poor fuel quality will cause your
engine not to run
as efficiently as designed. You may
notice this as stalling after start-up, st.alling
when you
put the vehicle into gear, misfiring, hesitation on
acceleration or stumbling on acceleration. (These
conditions may go away once the engine is warmed up.)
This will be detected by the system and cause the light
to turn on.
If
you experience one or more of these conditions,
change the fuel brand
you use. It will require at least one
full tank of the proper fuel to turn the light off.
If none of the above steps have made the light turn off,
have your dealer or qualified service center check the
vehicle. Your dealer has the proper test equipment and
diagnostic
tools to fix any mechanical or electrical
problems that may have developed.
ProCarManuals.com
Page 161 of 452

Section 3 Comfort Controls and Audio Systems
In this section, you’ll find out how to operate the comfort control and audio systems offered with your vehicle. Be
sure to read about the particular systems supplied with your vehicle.
3-2 3
-4
3-5
3-5
3-6
3-6 3
-7
3-7
3-7
3-8
3-9
3-12 Comfort
Controls
Air Conditioning
Heating
Ventilation System
Defogging and Defrosting Rear Window Defogger
(If Equipped)
Audio Systems Setting the Clock
AM-FM Stereo Radio
Playing the Radio
AM-FM Stereo with Cassette
Tape Player
(If Equipped)
AM-FM Stereo with Cassette Tape and
Automatic
Tone Control (If Equipped) 3-
15
3- 16
3-20
3-2
1
3-23
3-24
3-25
3-26
3-26
3-26 CD
Adapter
Kit
AM-FM Stereo with Compact Disc Player and
Automatic Tone Control
(If Equipped)
Remote Compact Disc Player (If Equipped)
Theft-Deterrent Feature
Understanding Radio Reception
Tips About Your Audio System
Care of Your Cassette Tape Player
Care
of Your Compact Discs
Care of Your Compact Disc Player
Fixed Mast Antenna
3-1
ProCarManuals.com
Page 163 of 452
w.
+’ DEFOG: This setting directs air to the heater
outlets and toward the windshield.
DEFROST: This setting directs air toward
the windshield.
Heater and Air Conditioning Control
System
(If Equipped)
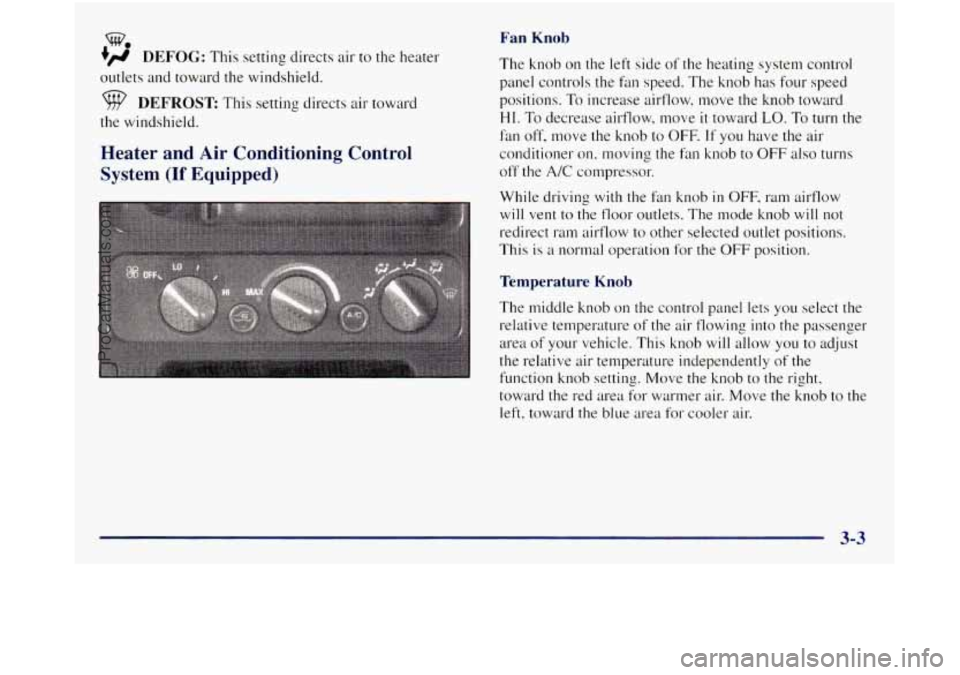
Fan Knob
The knob on the left side of the heating system control
panel controls the fan speed. The knob has four speed
positions. To increase airflow. move the knob toward
HI. To decrease airflow, move it toward LO. To turn the
fan
off, move the knob to OFF. If you have the air
conditioner
on. moving the fan knob to OFF also turns
off the
A/C compressor.
While driving
with the fan knob in OFF, ram airtlow
will vent to the
floor outlets. The mode knob will not
redirect ram airflow to other selected outlet positions.
This is
a normal operation for the OFF position.
Temperature Knob
The middle knob on the control panel lets you select the
relative temperature of the air flowing into the passenger
area of your vehicle. This knob will allow you to adjust
the relative air temperature independently
of the
function knob setting. Move the
knob to the right,
toward the red area for warmer
air. Move the knob to the
left, toward the blue area for cooler air.
3-3
ProCarManuals.com